How to Make Fruit Magnets with Clay
Air dry clay is an incredibly versatile product, there's lots of things you can make and do. Why not create some bright, eye-catching fruit magnets to display on your fridge or around your home?
They couldn't be simpler to make following our instructions and you will only need a few products alongside some craft essentials.
You will need
Subtotal
Is $ 4.49
Subtotal
Is $ 9.49
Subtotal
Is $ 7.49
How to make
You will also need:
*A rolling pin
*A knife
*A paint brush
*Glue
1. Break off a piece of clay about the size of a golf ball and roll it into the shape of a barrel.
2. Cut in half length ways down the middle – you should be left with half a barrel with a flat back (and two flat ends). Keep the spare clay as you will need that to make the foliage on the top.
3. Using a knife, score diagonal lines across the curved surface of the barrel. Repeat this one way, trying to fit about five diagonal lines across the surface. Repeat this process going the other way, to create an even criss-cross surface.
4. Now take the other half of the barrel and break off around a third of it, flatten until it is around the thickness and width of a pound coin.
5. Using a knife, carefully cut out the shape of a six point star.
6. Attach the star to the flat back side of the barrel so half of it is showing, and the other half is used to stick to the back. Leave the clay to fully dry.
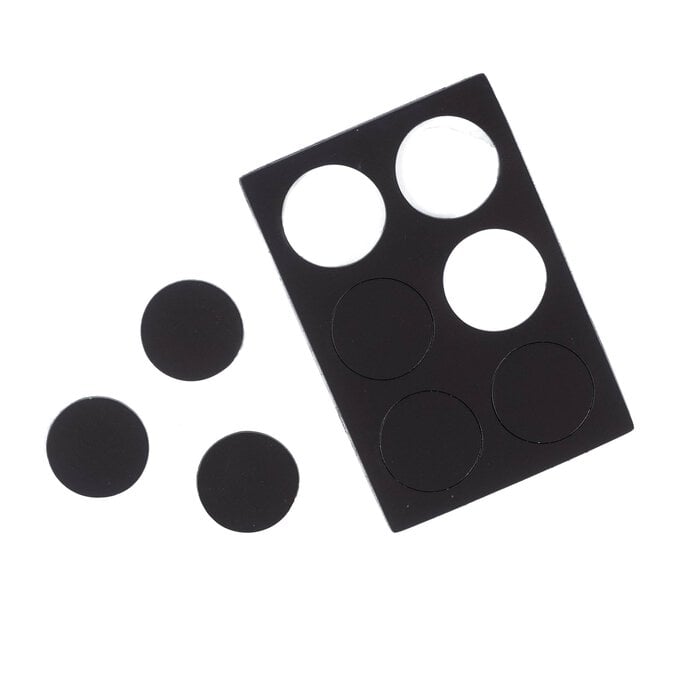
7. Attach the magnet to the back of the barrel with glue and leave to dry.
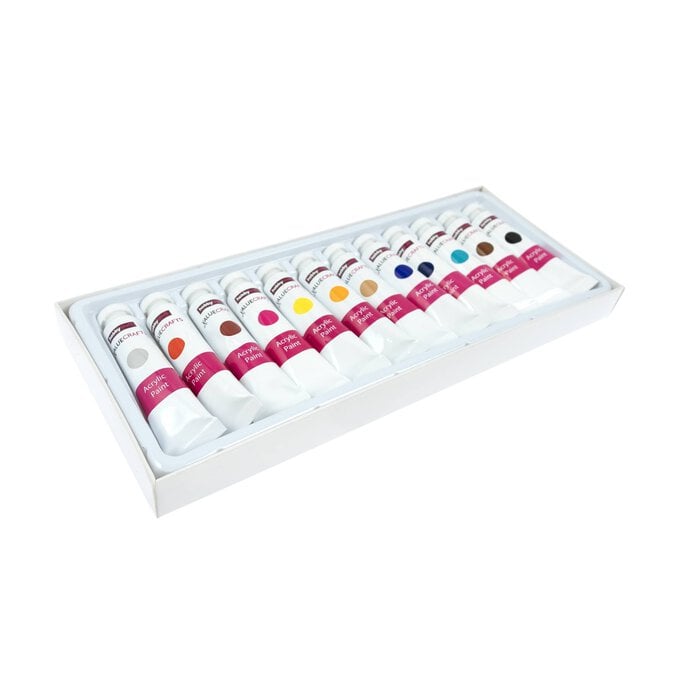
8. Paint the body of the pineapple yellow and the top of the star green. Leave to dry before displaying.
1. Take a small lump of clay and roll out flat.
2. With a knife cut out a semi-circular shape.
3. Using the end of a knife draw a line following the curved edge.
4. Use spare bits of clay to make tiny seeds and attach to the watermelon.
5. Push the magnet into the back of the watermelon shape and leave to dry.
6. Once dry paint with acrylic paints, and leave to dry.


