How to Make Marbled Wrapping Paper
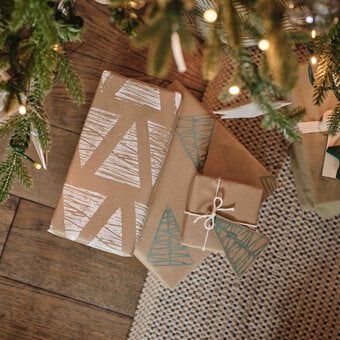
Up your gift wrapping game with a matchy-matchy marbled collection of wraps, tags and ribbons. The nature of marbling and the unique patterns it creates give this technique such a luxurious and high-end feel. You’ll often see it in luxury packaging so here’s how you can create your own.
I always like to go the extra mile with gift wrapping because I find it such a joyful experience, making my own papers, wrapping gifts and giving them to loved ones. Here are some ways to add that extra level of detail to your gift wrapping.
Marbling by Zeena Shah (Quadrille, £15), photography© Kristin Perers.
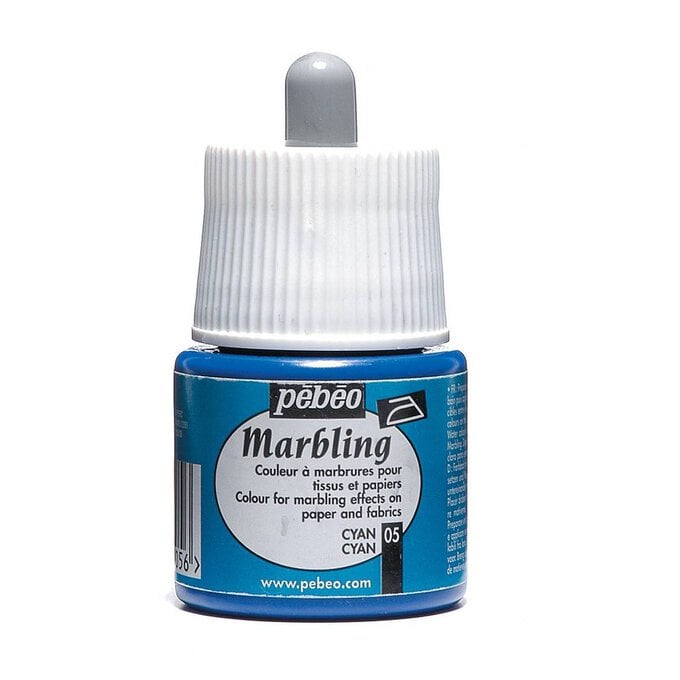
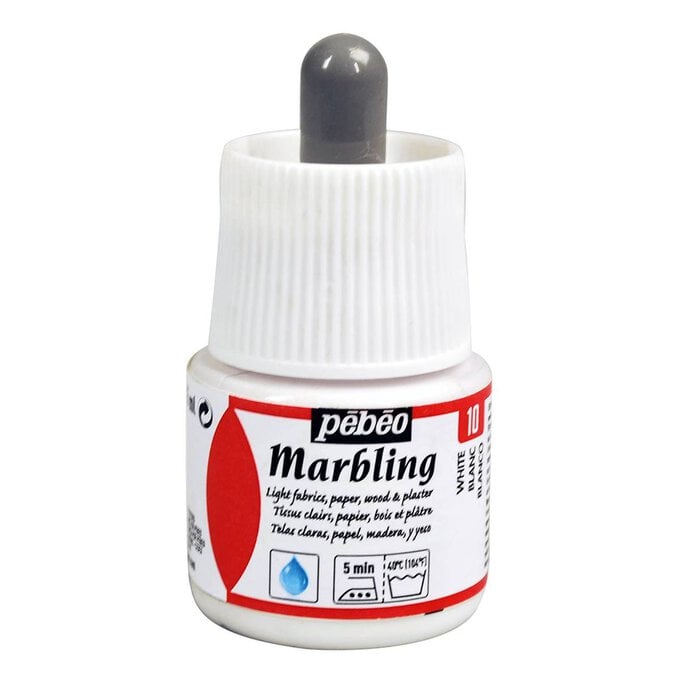
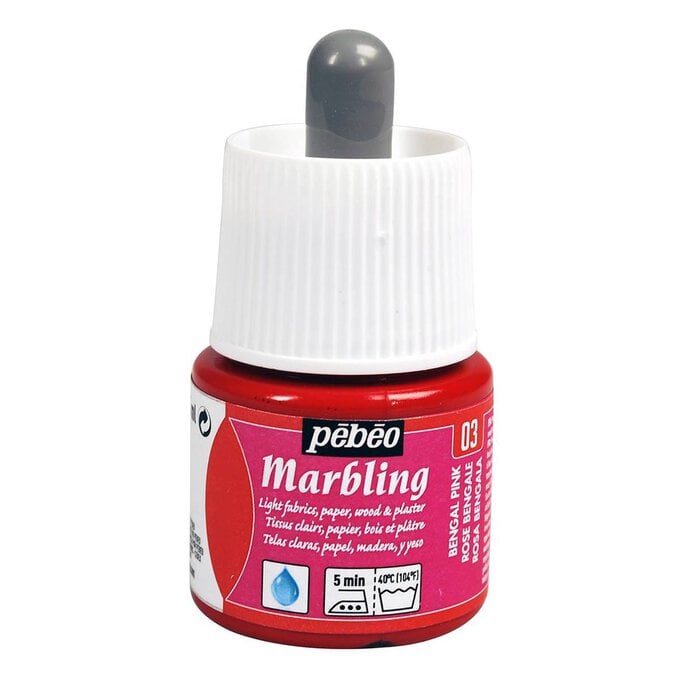
You will need
Subtotal
Is $ 9.49
Subtotal
Is $ 9.49
Subtotal
Is $ 9.49
You will also need:
*A large tray (that your paper size will fit in comfortably)
*Room-temperature distilled water
*A stylus or something to move the inks around the water
*Gloves
*A heavy board or books
*Drying space
We’ll be using water marbling with ready-made inks for this project.
Fill your tray two thirds full with water.
Drop the first ink colour into the tray, making sure to cover the surface of the water.
Next, drop any other colours into the water.
You can manipulate the colours to create your design but remember to work quickly as the inks will dry after a couple of minutes.
When you are happy with the design and placement of the inks in the water, gently bow the paper in the centre and lower it down into the water. This will help to avoid any air bubbles or misprints in the centre of the sheet. You can also lower the paper into the water at a 45-degree angle to ensure a good coverage of inks on the paper surface.
Tip: If you don’t have a tray large enough for a full sheet of paper, you could just dip a section of the sheet to marble it.
Set aside to dry. Whilst still just damp, place the marbled paper under a stack of heavy books to flatten it out as the water will leave some creases in the paper.
Leave for 24 hours and it will be as flat as a pancake and ready for wrapping.
Why not create a more sustainable version of this gift wrap and create a Japanese furoshiki wrapping cloth? A 40 x 40cm (16 x 16in) piece of cotton or silk will make a gorgeous wrapping for a small gift. See Marbling by Zeena Shah for how to marble onto fabric.
I like to save ribbons I am gifted over the years and always reuse them for crafting and gifting. Try marbling them to give them a new lease of life and burst of colour!
Invest in a large paper and card punch to create your own gift tags from card and paper scraps. These come in a variety of shapes and sizes and I love reusing paper packaging for marbling, then punching out shapes. You could also create a simple decorative garland by stitching through the shapes on a sewing machine, or use the shapes for collage.
