Cricut: How to Make Sprinkle Cups Using Vinyl Scraps
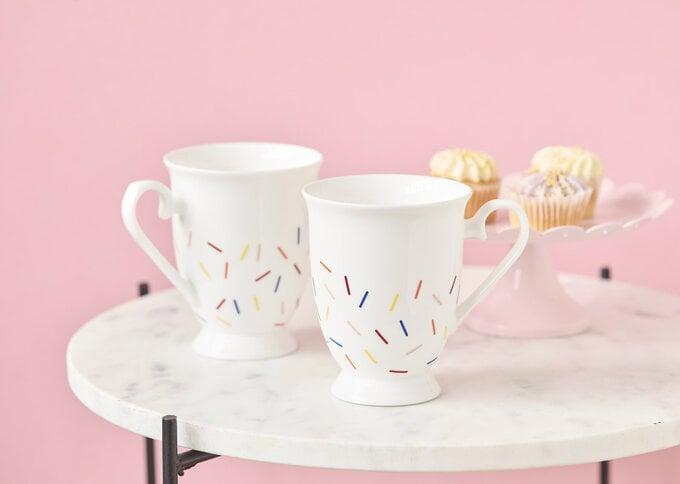
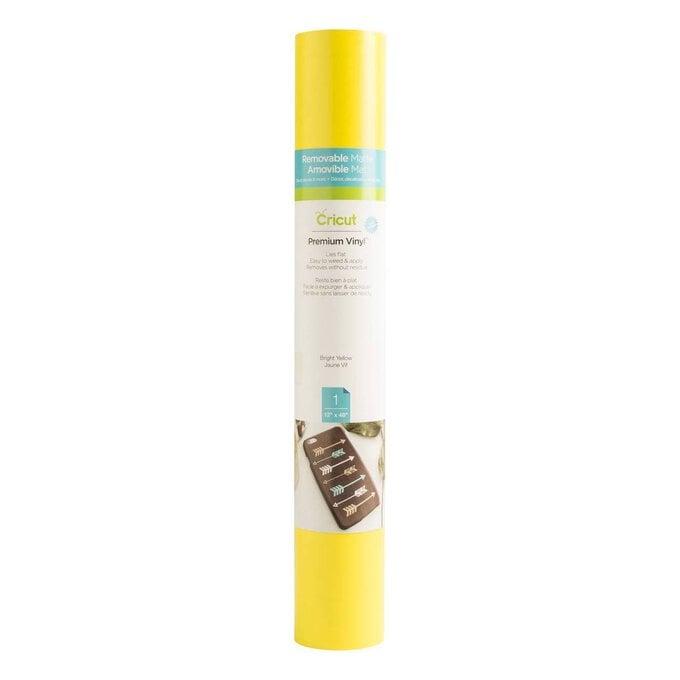
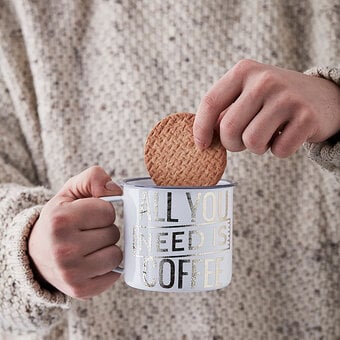
Personalise your mugs and teacups with dainty details that add a pop of colour! This is a great way to add a little fun to your hot chocolate mugs as you use up scrap pieces of vinyl you've got lying around from other projects.
The Cricut Maker was used to create this project; however, an Explore or Joy can also be used.
Project and instructions by Hobbycraft Artisan Joey Daley.
This project contains paid-for content from Cricut's Design Space app. Screen reference images are taken from the iPad version of Design Space.
You will need
Subtotal
Is $ 598.00
Subtotal
Is $ 11.00 , was $ 14.00
Subtotal
Is $ 34.00 , was $ 42.00
Subtotal
Is $ 9.49 , was $ 12.00
Out of stock
How to make
You will also need mugs for your choice
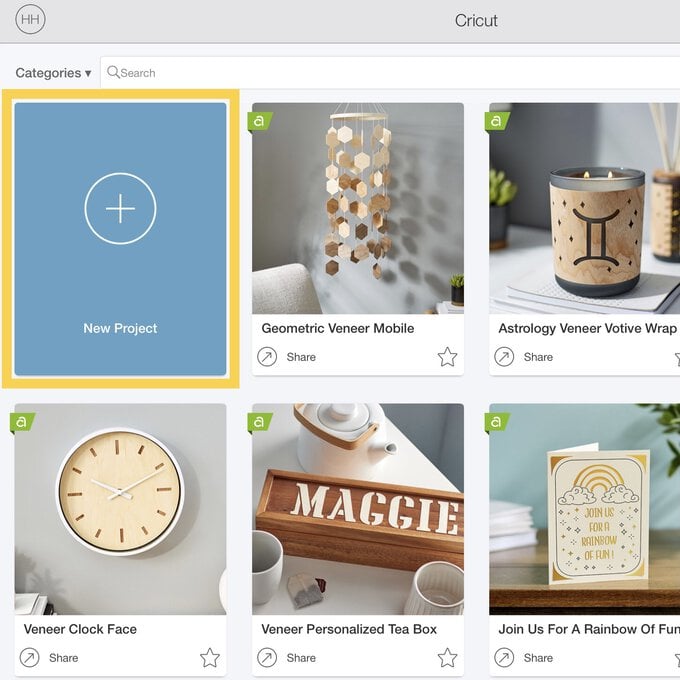
Open the Cricut Design Space and start a new project.
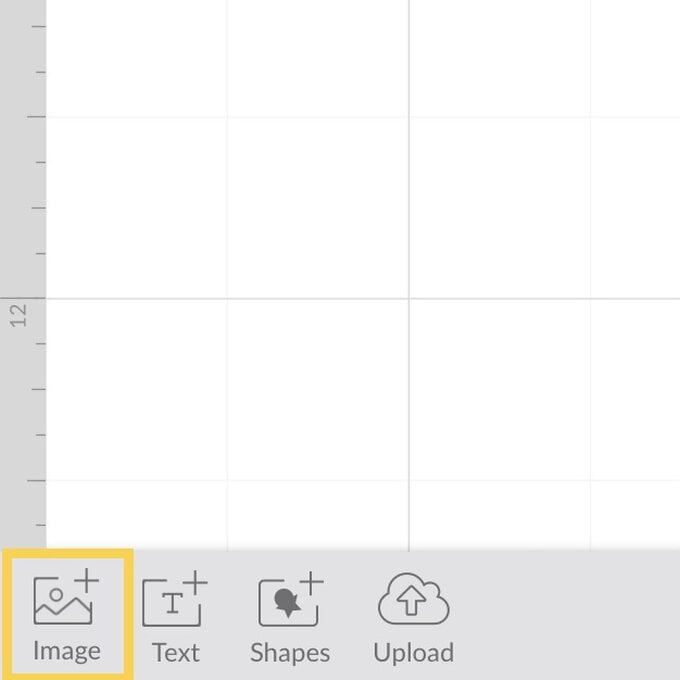
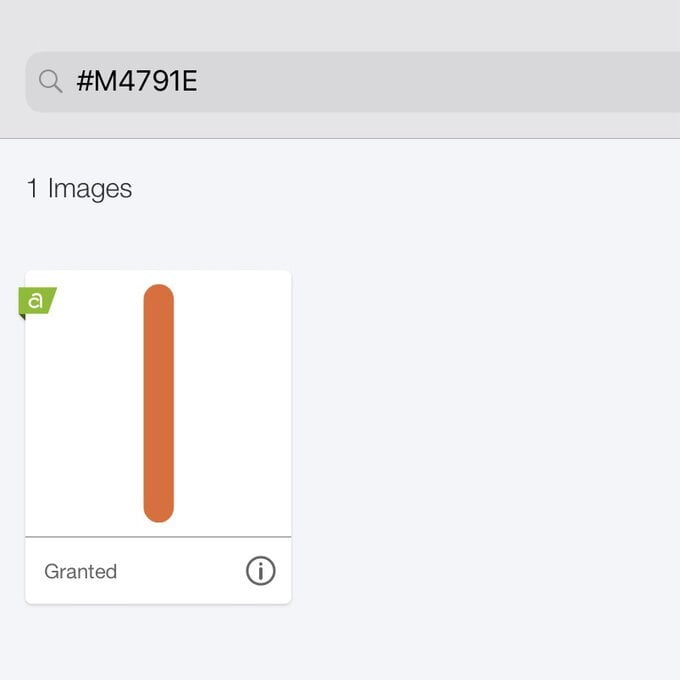
In the 'Image' library, search for #M4791E. Select the image and 'Insert' onto the canvas
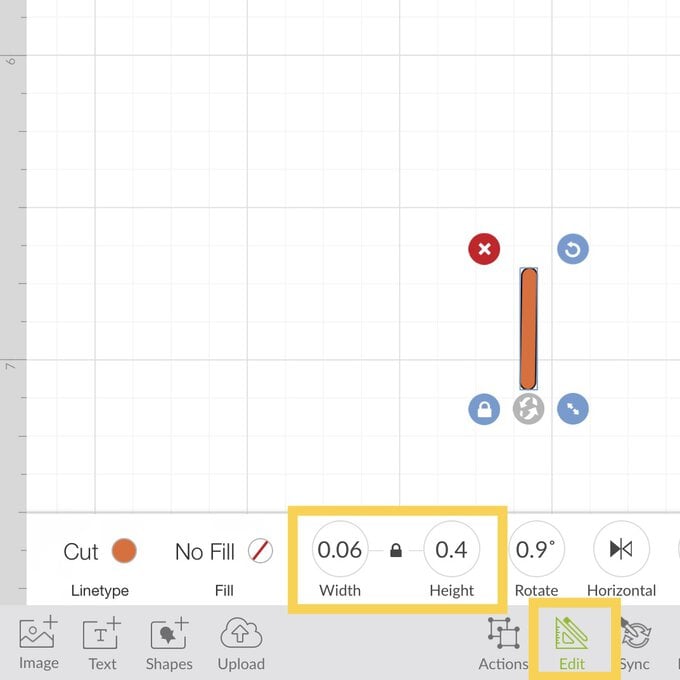
Using the 'Edit' menu change the size of the image, this will be dependent on the size sprinkle you would like to use. We have adjusted to 0.4” in 'Height'.
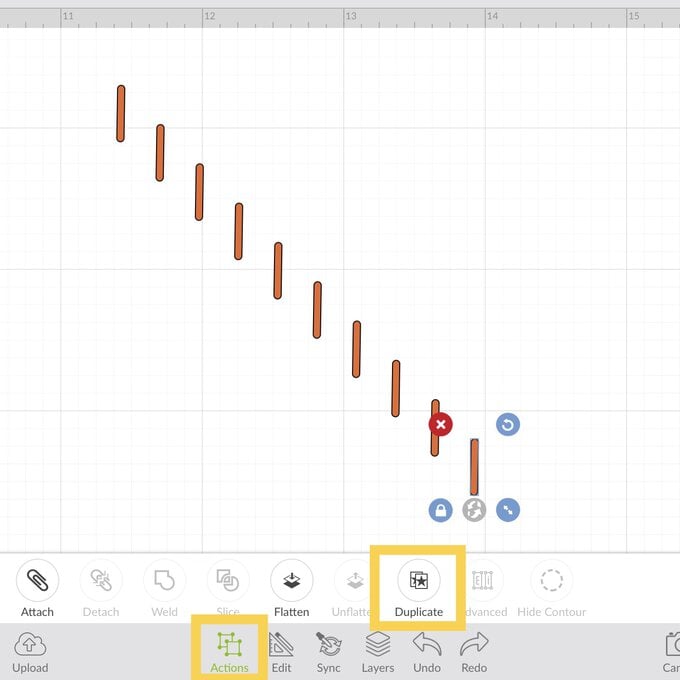
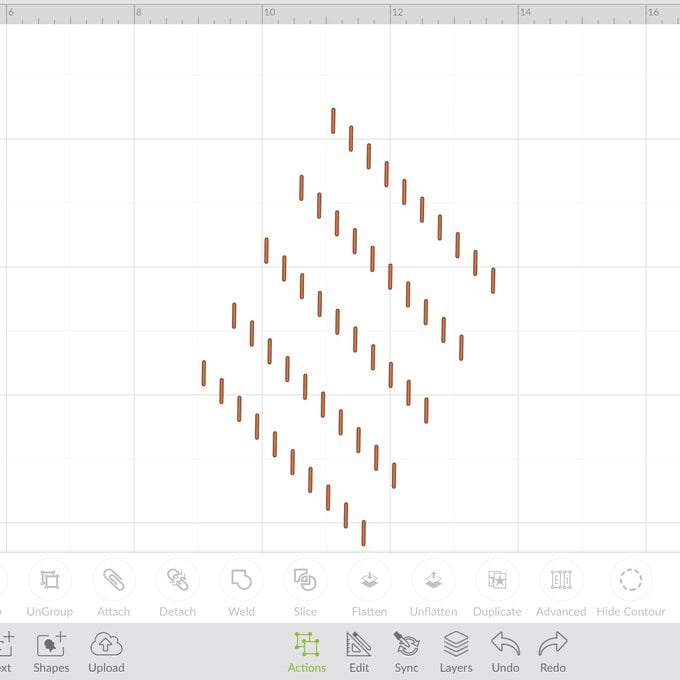
In the 'Action' menu 'Duplicate' the image a number of times.
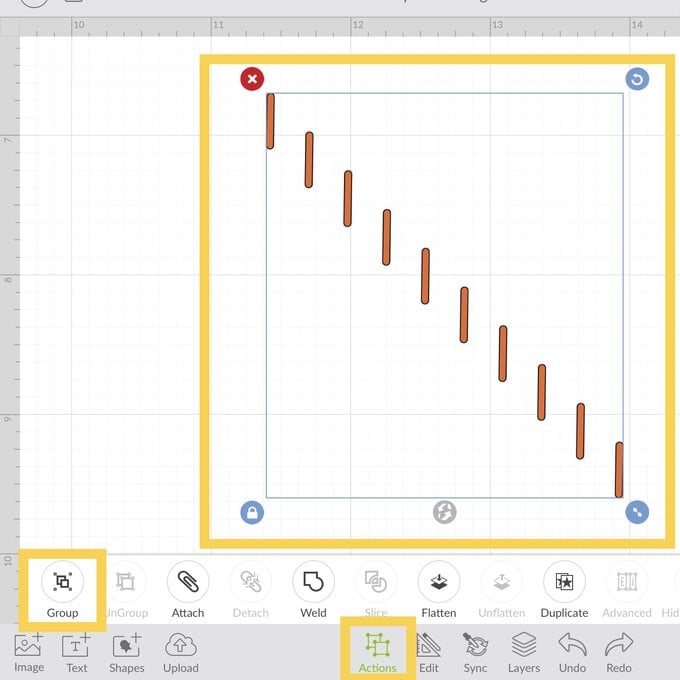
Select all the images and still in the 'Action' menu 'Group' together.
'Duplicate' again, this time to as many colours of sprinkles you would like.
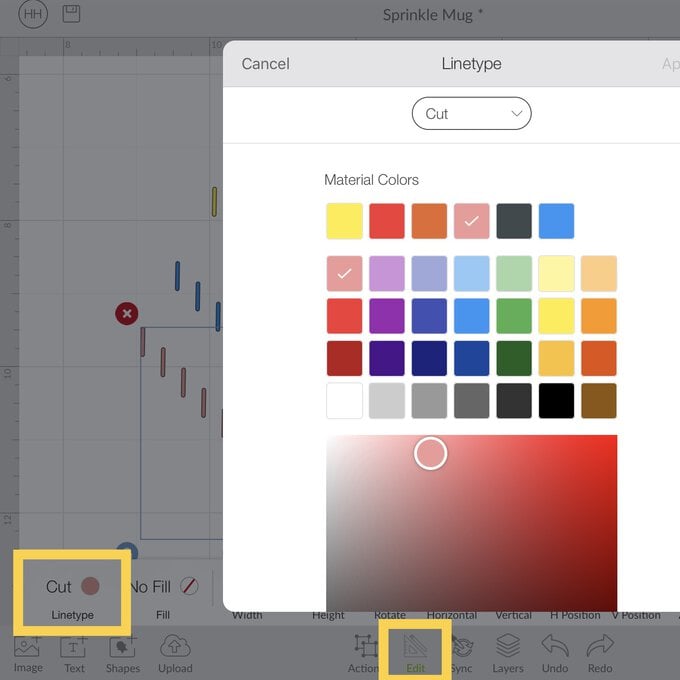
In the 'Edit' menu, select each group of images and change the 'Cut Linetype' colour to match you chosen scrap vinyl colours.
Once happy, press 'Make It'. This will show you the preview mat screen. Here you can adjust the position of the sprinkles to work with your scrap vinyl pieces.
Top Tip: If you are using iOS, you can use 'SnapMat' to help you position your images. The SnapMat feature snaps a picture of you cutting material on your cutting mat, allowing you to move the images perfectly into position.
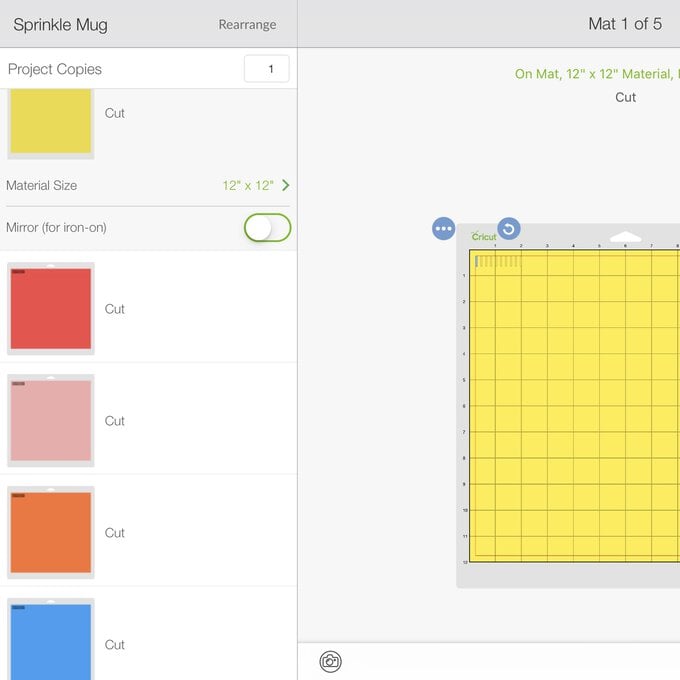
Press 'Continue' once in position and follow the onscreen instructions to select your correct material.
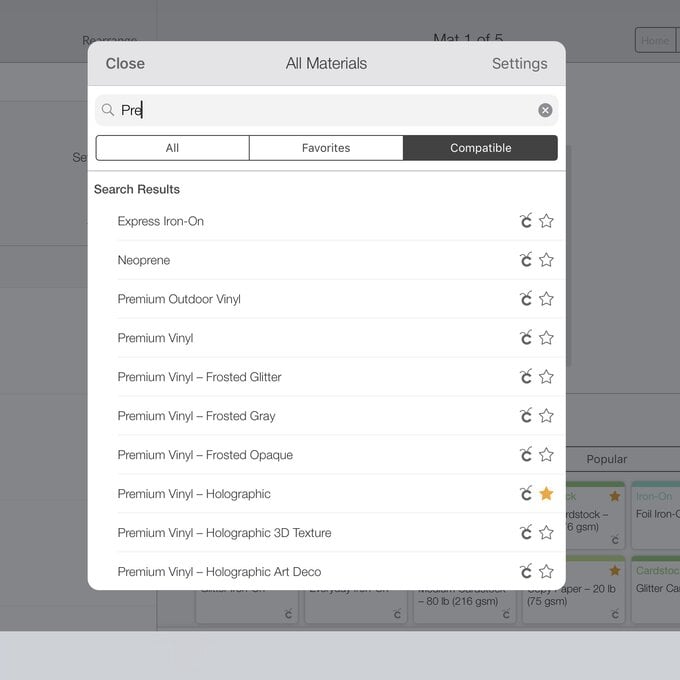
Cut out the sprinkles using the onscreen instructions. Weed the vinyl pieces ready for application.
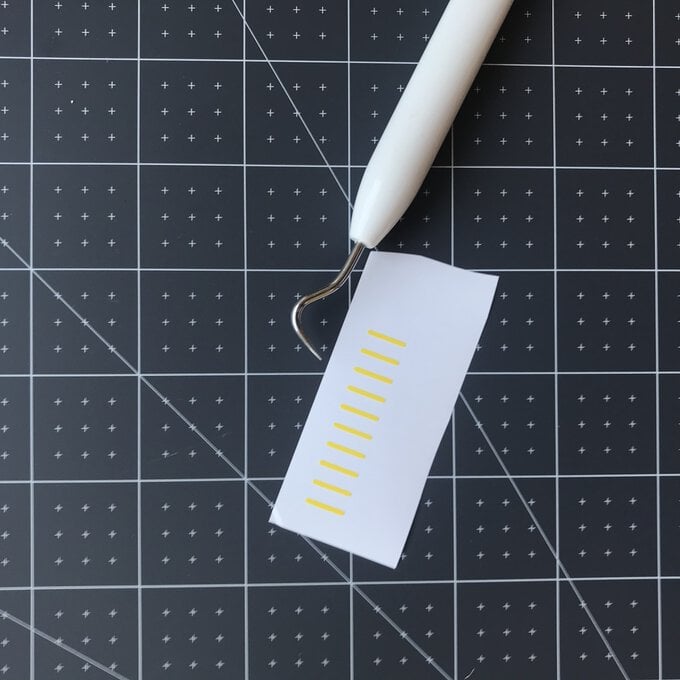
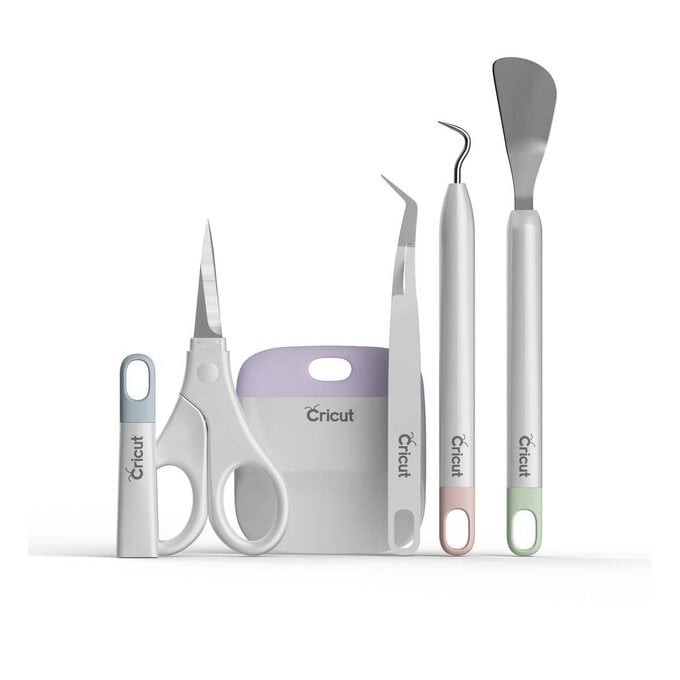
Ensure your mug is clean and dust free. Apply the sprinkles in random and mix-match patterns, use tweezers to help if needed.
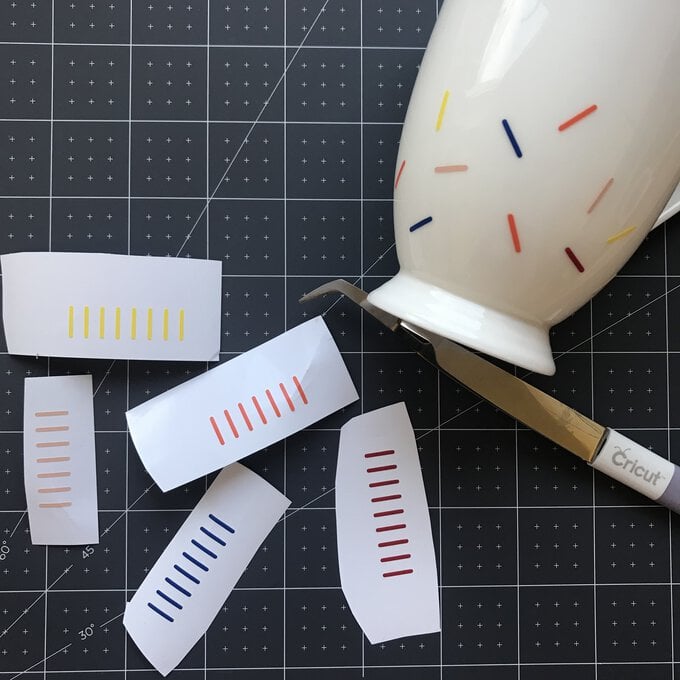
Allow the mug to cure for 24-48hrs before using to ensure a secure adhesion. This mug maybe hand wash only depending on what vinyl you have used.
