How to Make Temporary Tattoo Plant Pots
You will need
Subtotal
Is $ 7.49
Subtotal
Is $ 4.49
Subtotal
Is $ 4.49
Subtotal
Is $ 3.49
Subtotal
Is $ 7.49
How to make
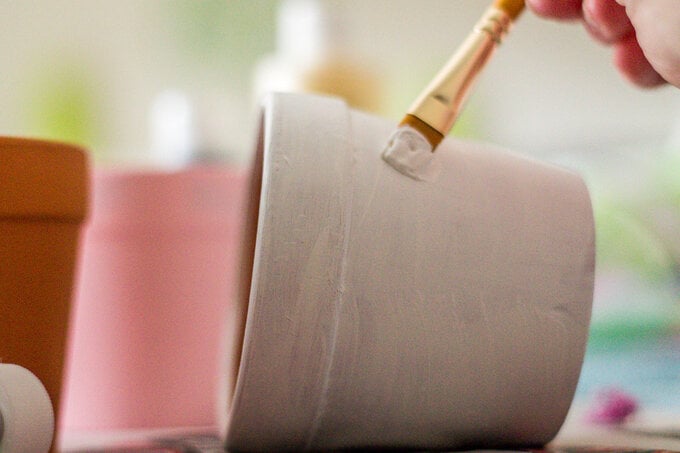
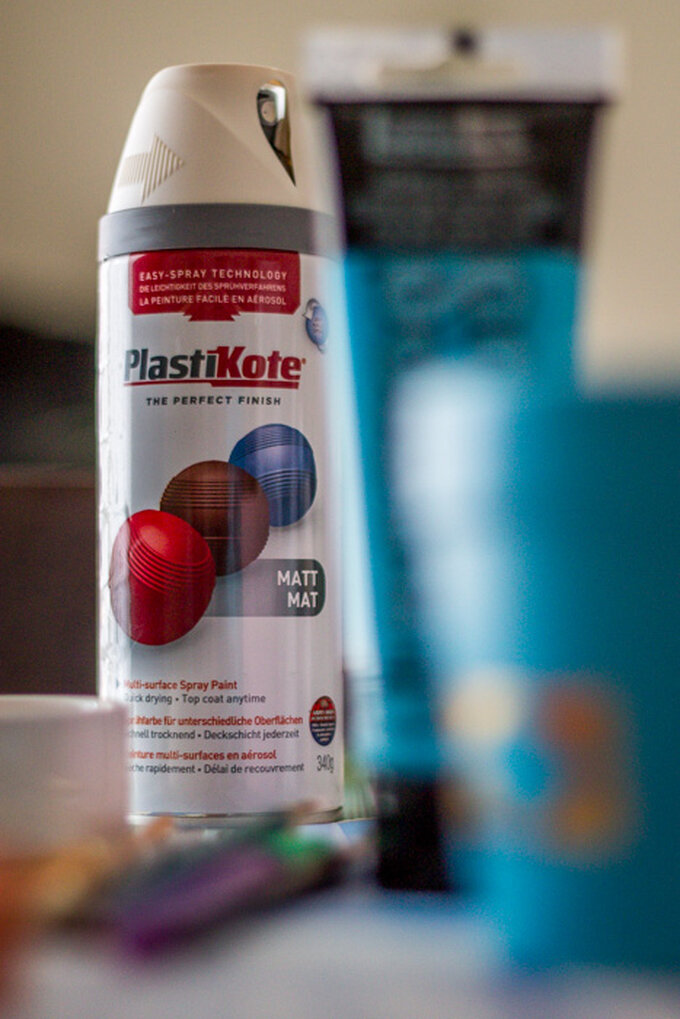
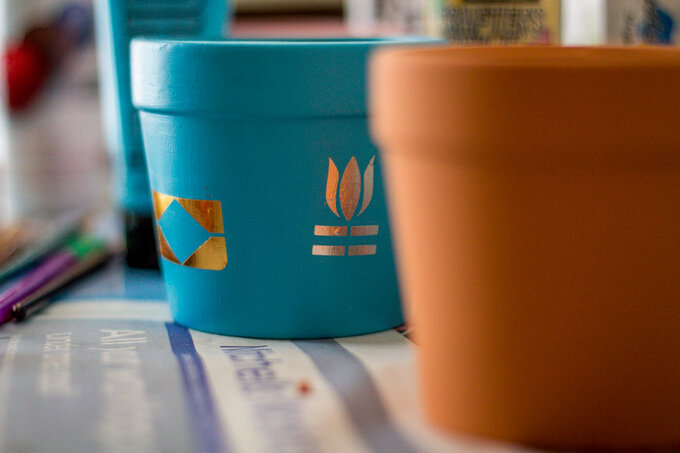
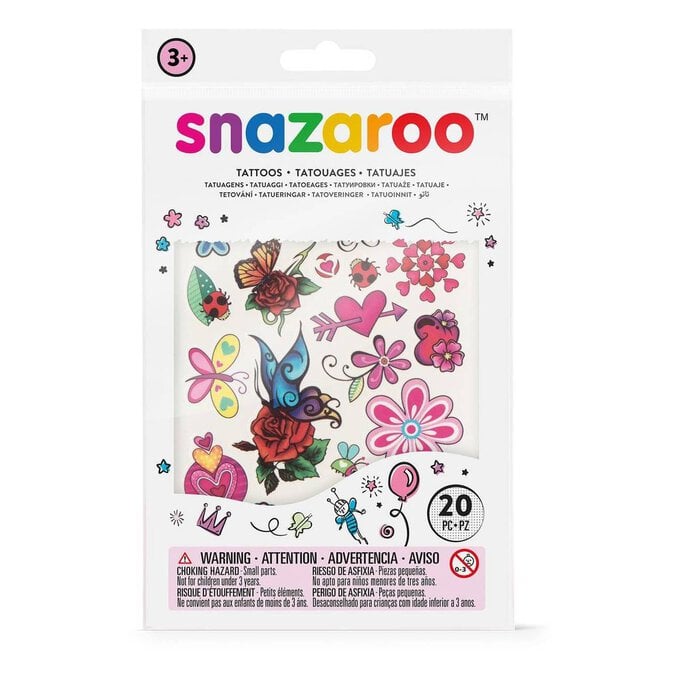
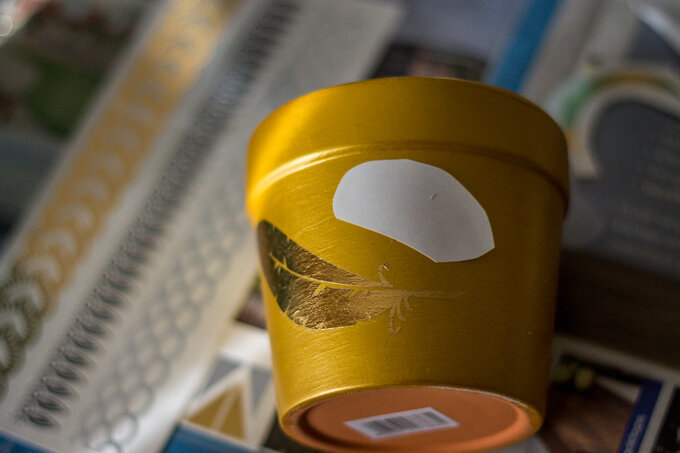
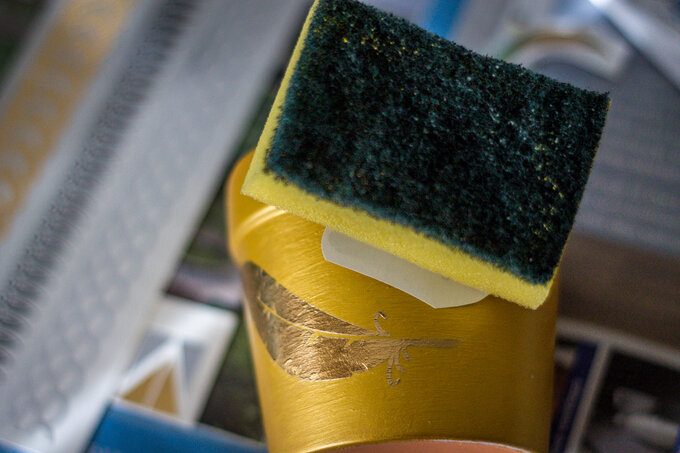
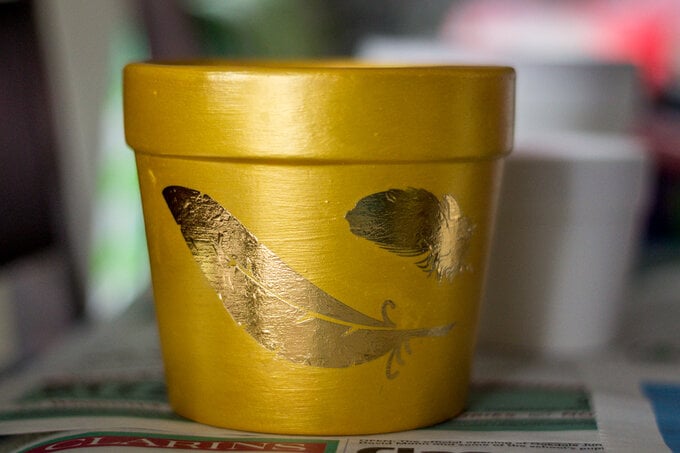
Cut around the jewellery tattoo/s of your choice, peel off the protective plastic film from the front and place it onto your pot. Take note! Once you have removed the film, the tattoo becomes partially adhesive; be careful in your placement as moving it at this stage can leave some of the tattoo behind.
If you plan to use these pots in the garden, I recommend that you seal them first with a couple of coats of Mod Podge to help protect your handiwork from the elements!
Temporary tattoos are meant to be used on a flat surface – which means that you may get the occasional wrinkle or bump; just smooth them out carefully with your finger.
