How to Sew a Dog Collar with Removable Bow Tie
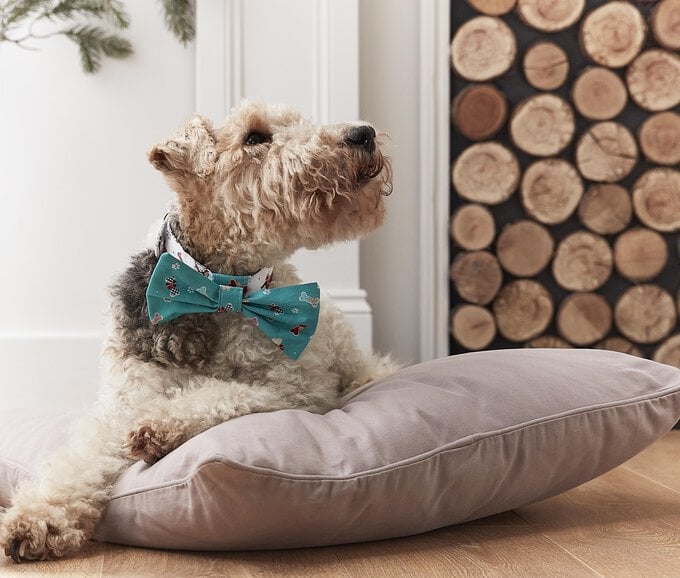
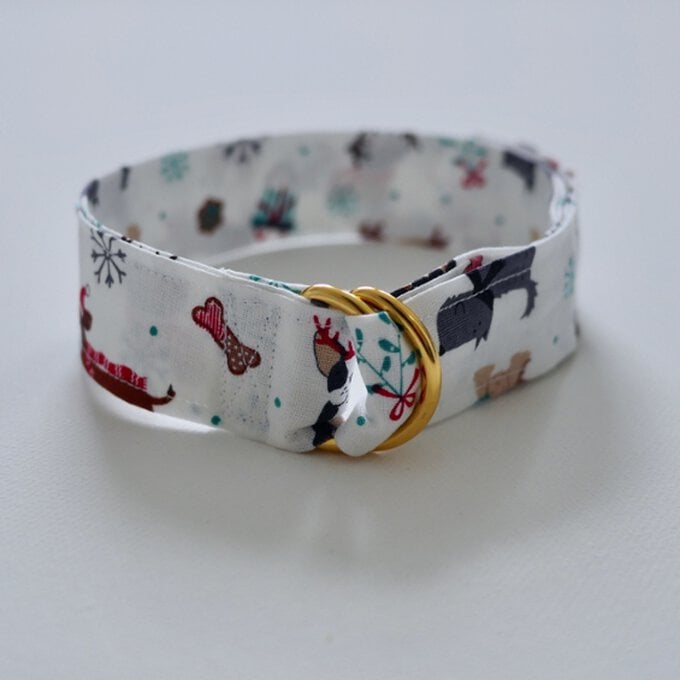
Treat your pet this winter with this festive collar and bow tie, or make the set as a gift to a pet-loving friend! You'll have the most dapper dog around with the quirky combo, and you can personalise it to suit your pet.
This is a great weekend project to enjoy making, and then perhaps gifting.
Project and instructions by Sophia from @sew__jessali
Please note: All sewn edges use a 10mm seam allowance within this project.
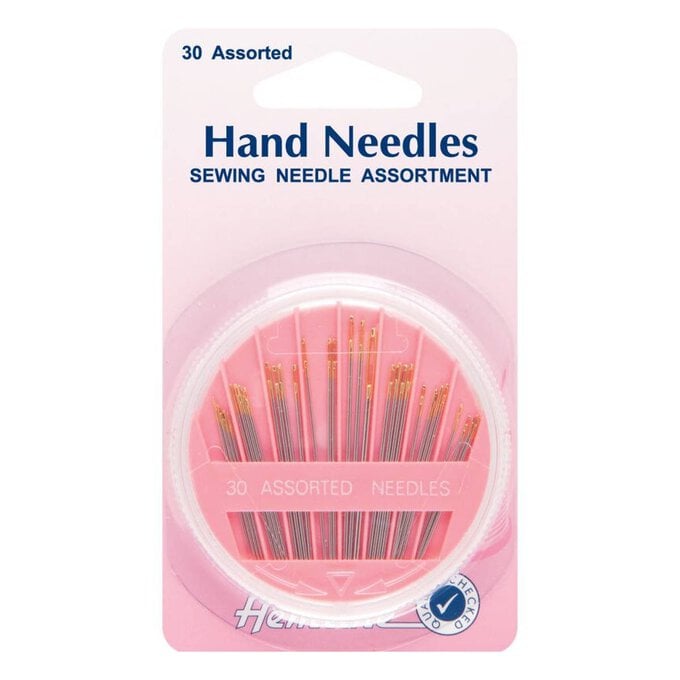
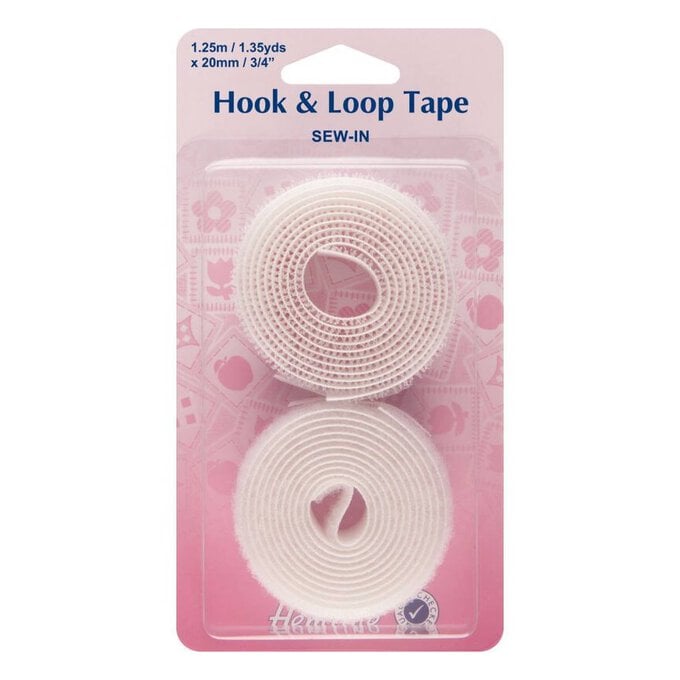
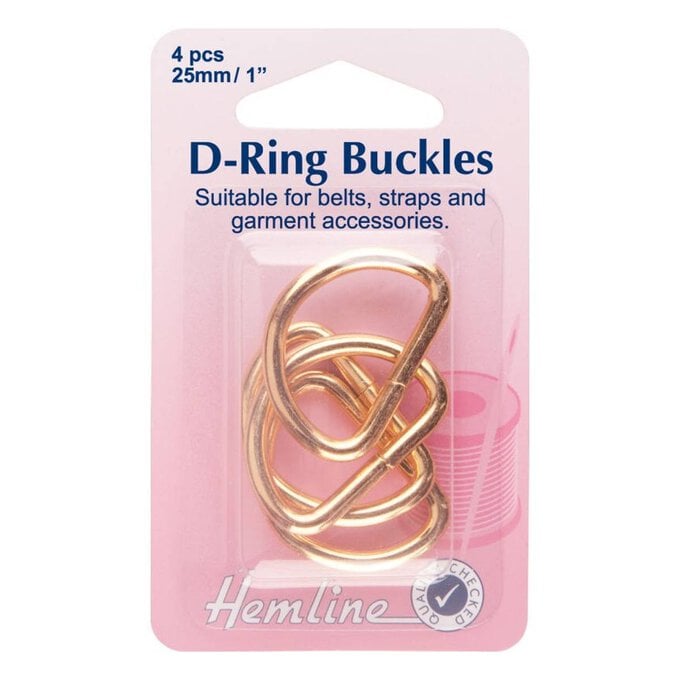
You will need
Subtotal
Is $ 14.00
Subtotal
Is $ 4.49
Subtotal
Is $ 5.49
Subtotal
Is $ 6.49
Subtotal
Is $ 7.49
Subtotal
Is $ 7.49
Subtotal
Is $ 5.49
How to make
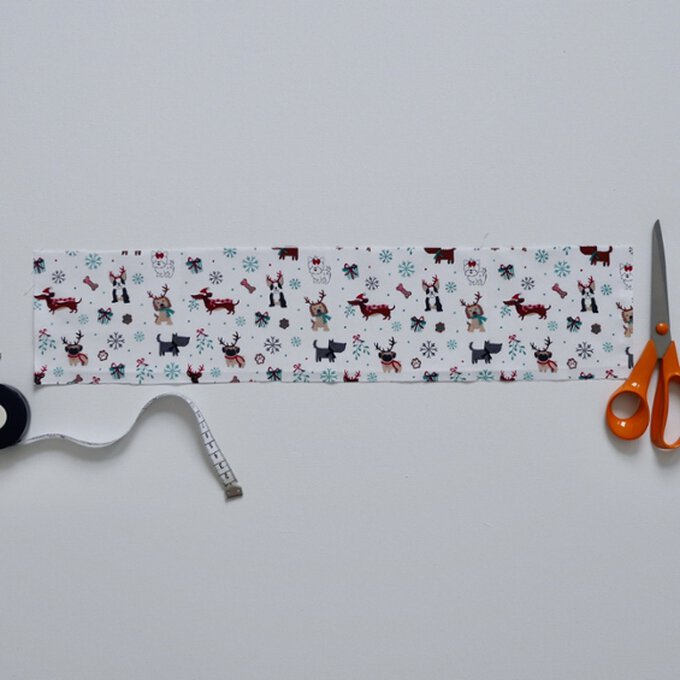
Cut a rectangle that measures 54 x 12cm.
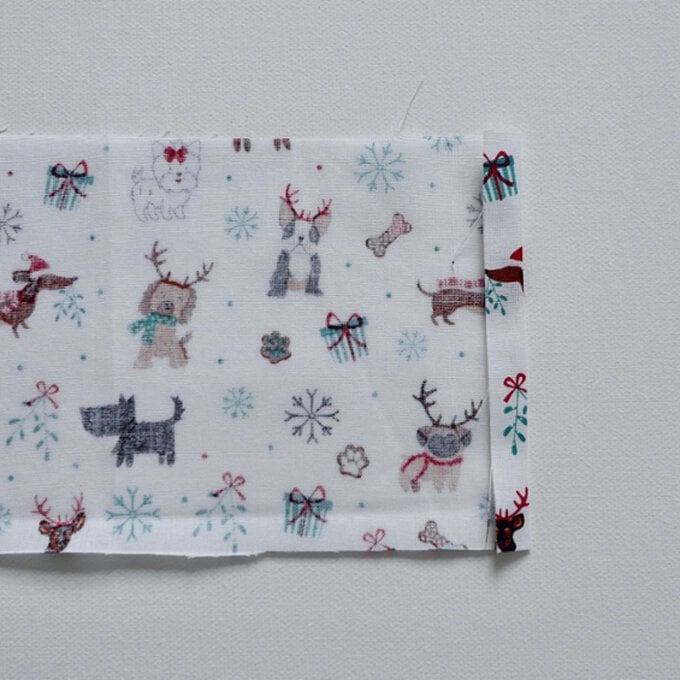
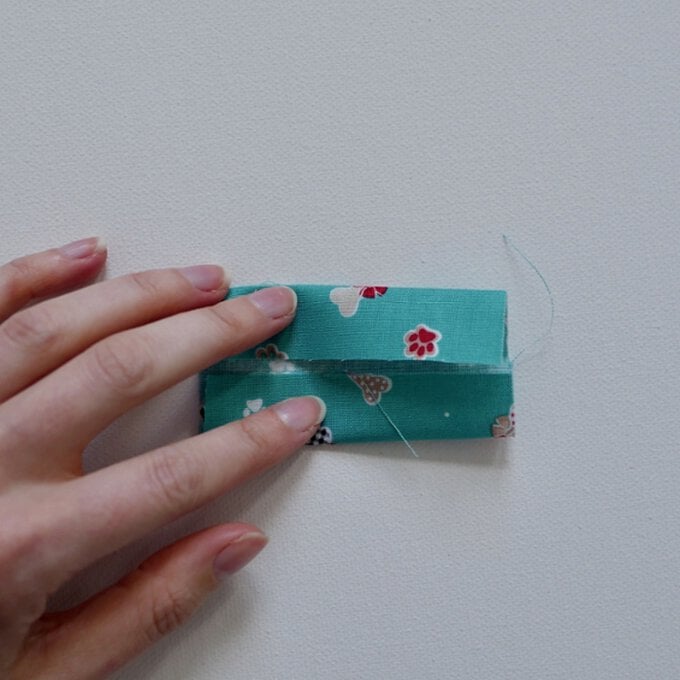
Fold in both short ends by 1cm and press.
Press the whole piece in half lengthways to get a pressed line. Then fold in both long edges to meet the mid line, press again.
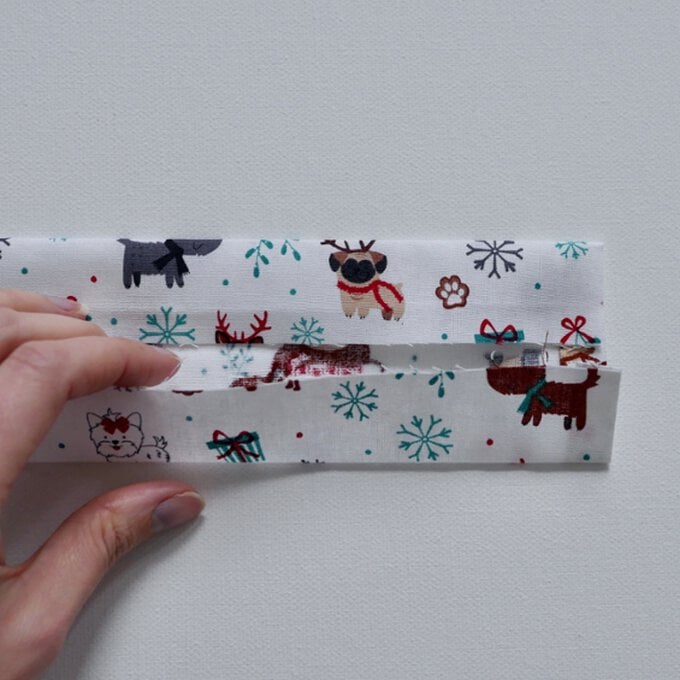
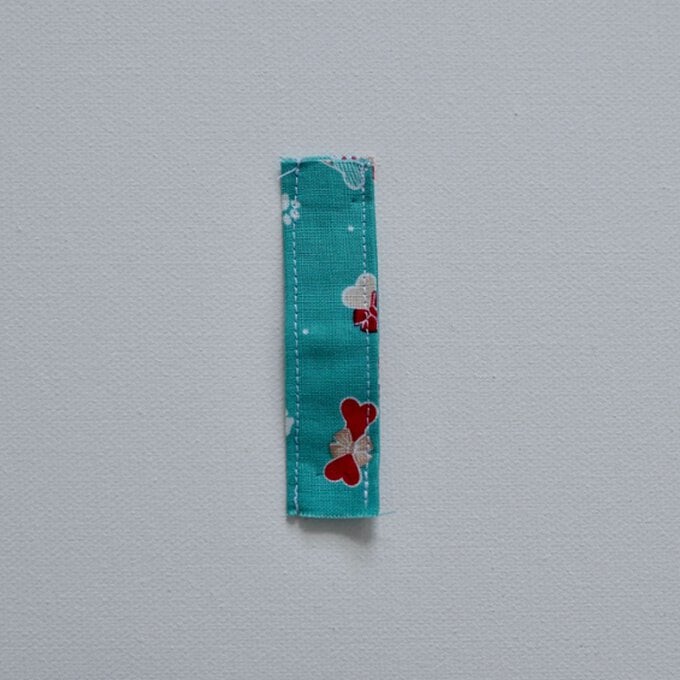
Next, fold the whole length in half and pin flat to make one neat strip of fabric.
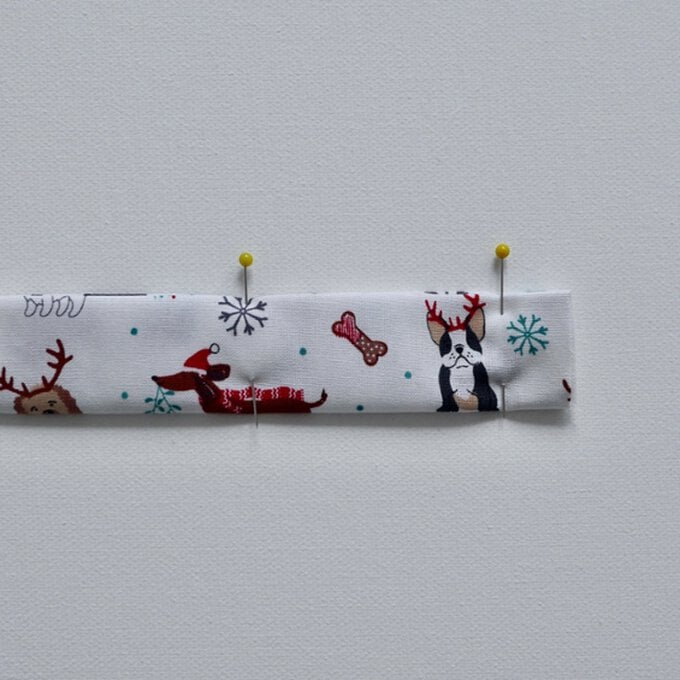
Sew around the whole long rectangle a few millimetres from the edge to keep it flat.
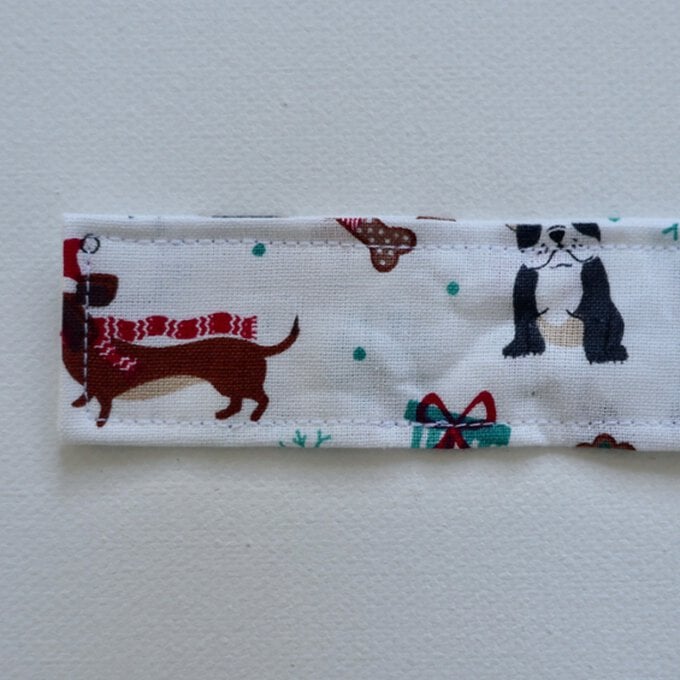
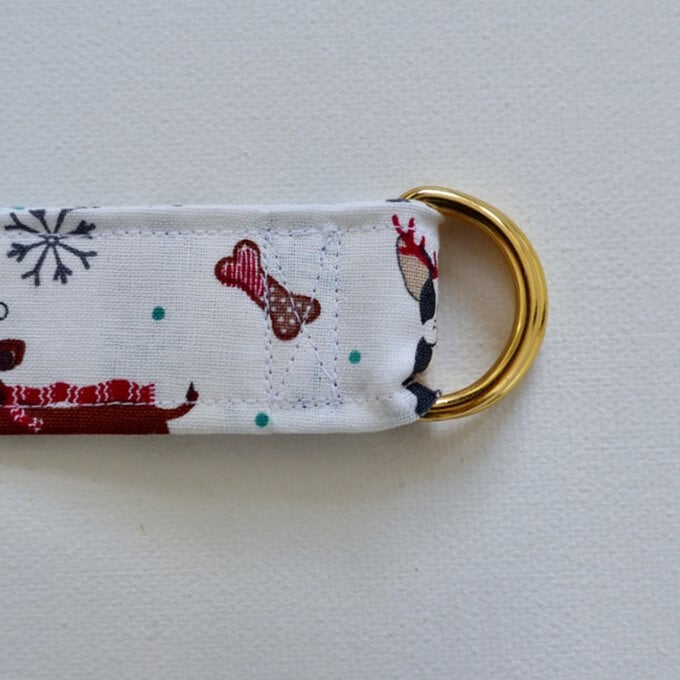
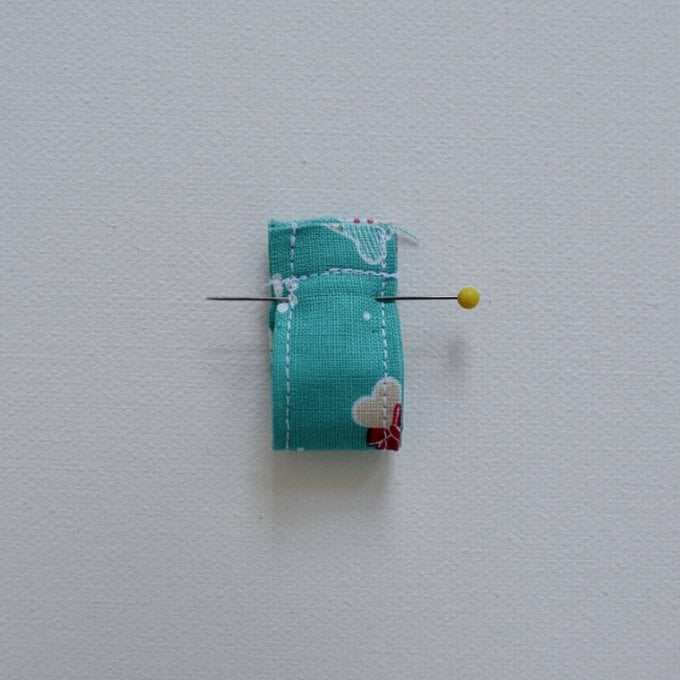
Get your D-rings and place two on one end of your collar piece, fold the collar fabric back on itself about 4cm. Pin to secure.
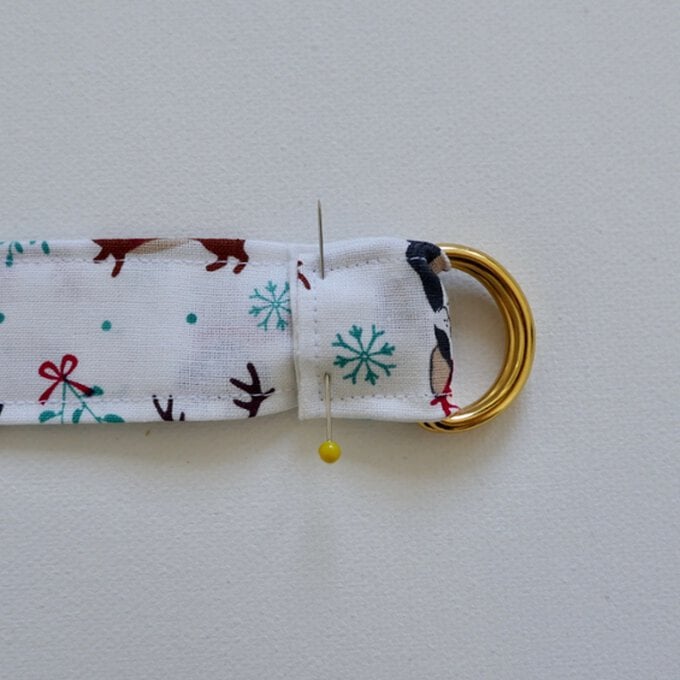
Sew this in place with a rectangle and then sew a cross through the centre to create a strong fixture. This will be a little tricky, so go slow.
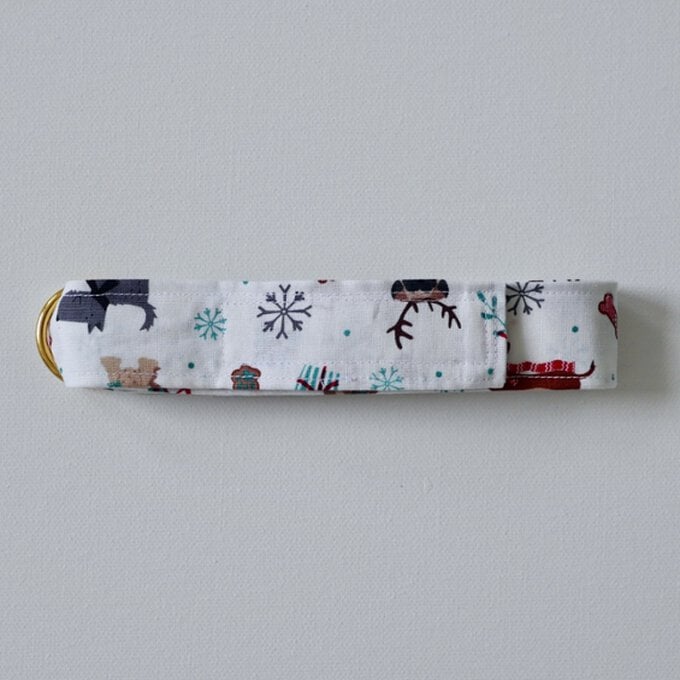
Next cut an 8cm strip of your hook and eye tape. Pin the fluffy side of your tape to the right side of your collar from the non d-ring end. You need to measure from the end of the collar to the following measurements.
Small dog: 31-39cm
Medium dog: 21-29cm
Large dog 6-14cm
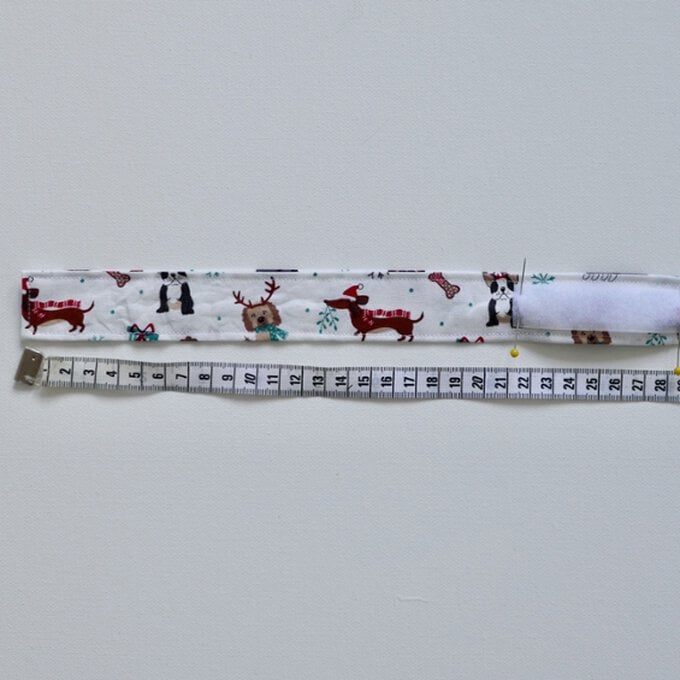
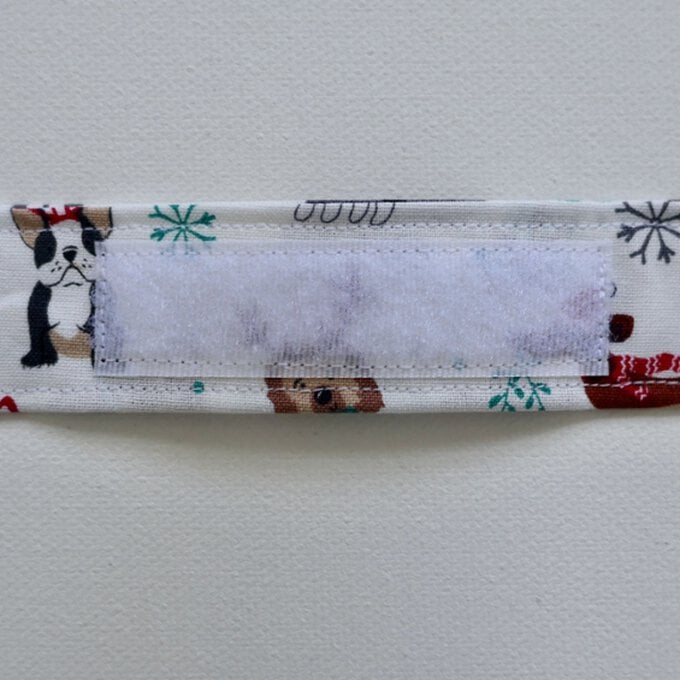
Sew the tape in place around all sides to your chosen measurements.
Next, with the ‘hook’ side of the tape, sew to the end of the collar, again right side up.
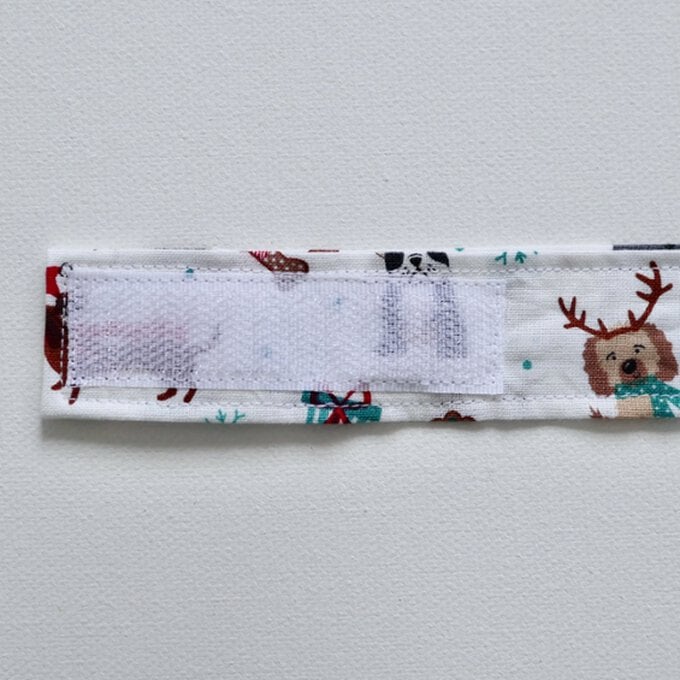
Slide the velcro end through the D-rings and secure to the hook and loop tape to fit your dog.
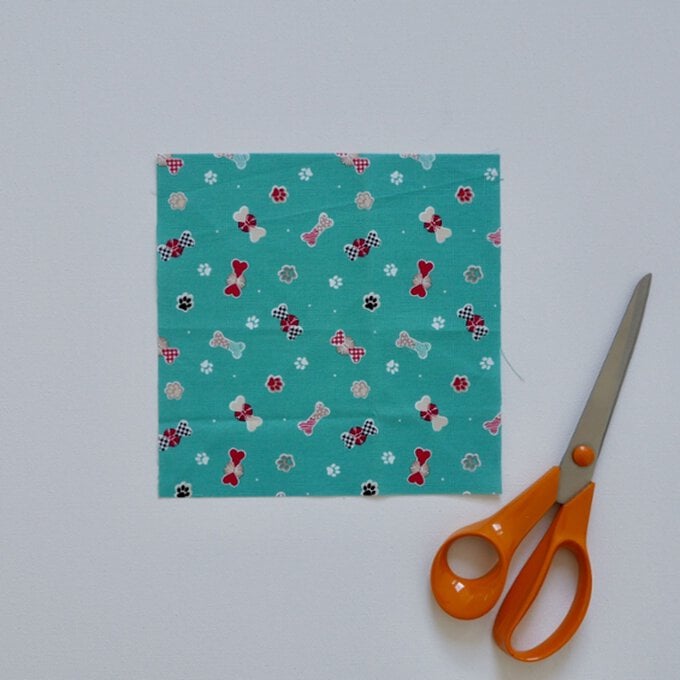
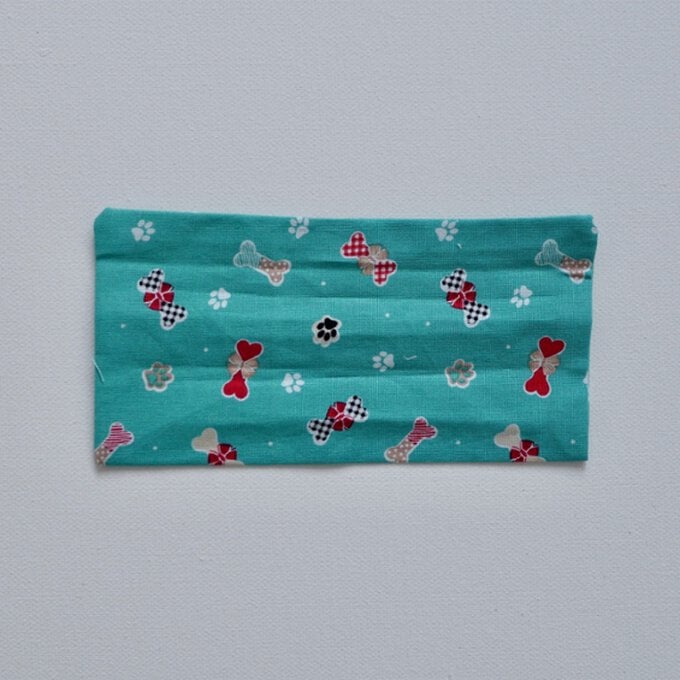
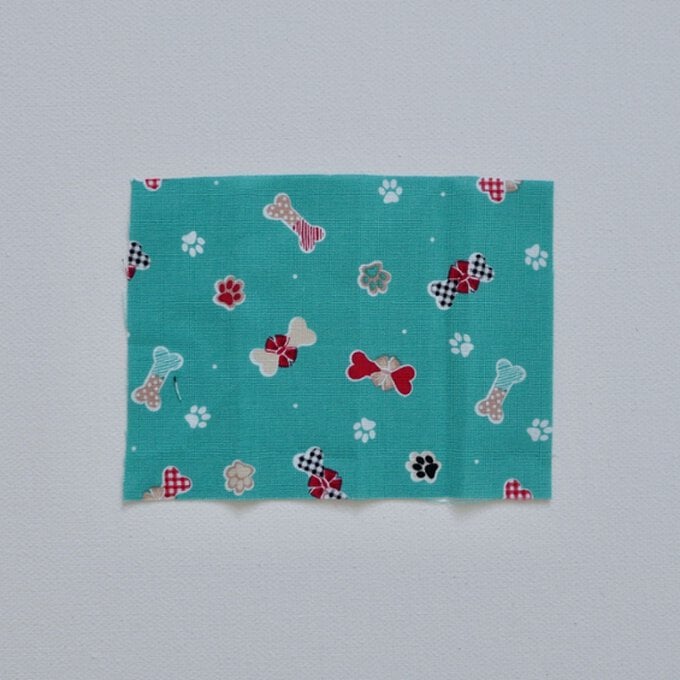
Cut a square measuring 18x18cm (or use the templates provided).
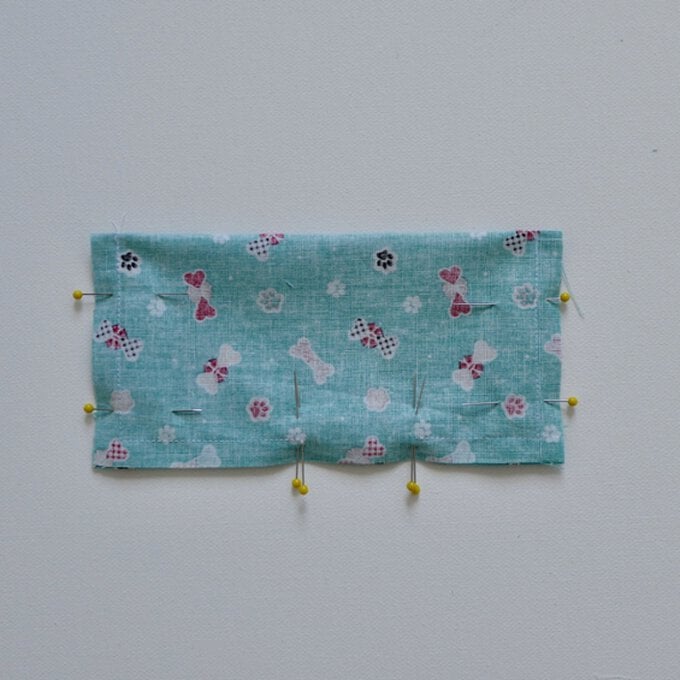
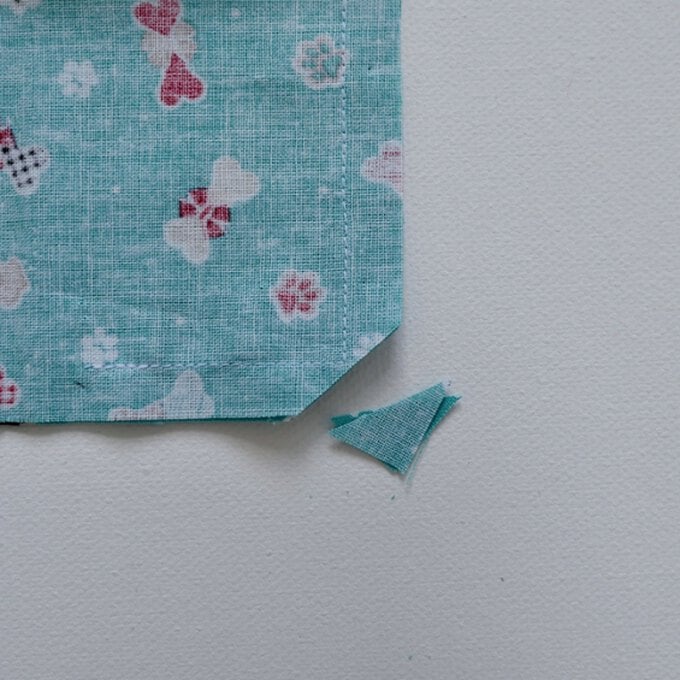
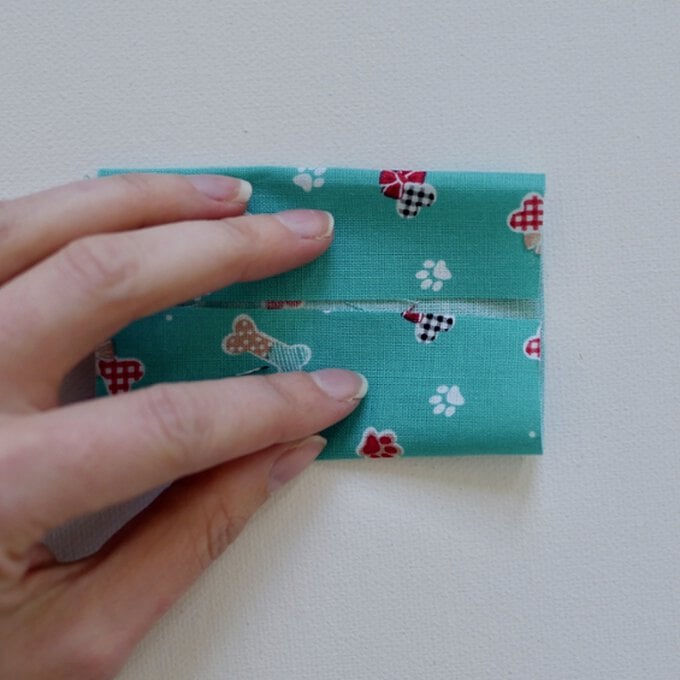
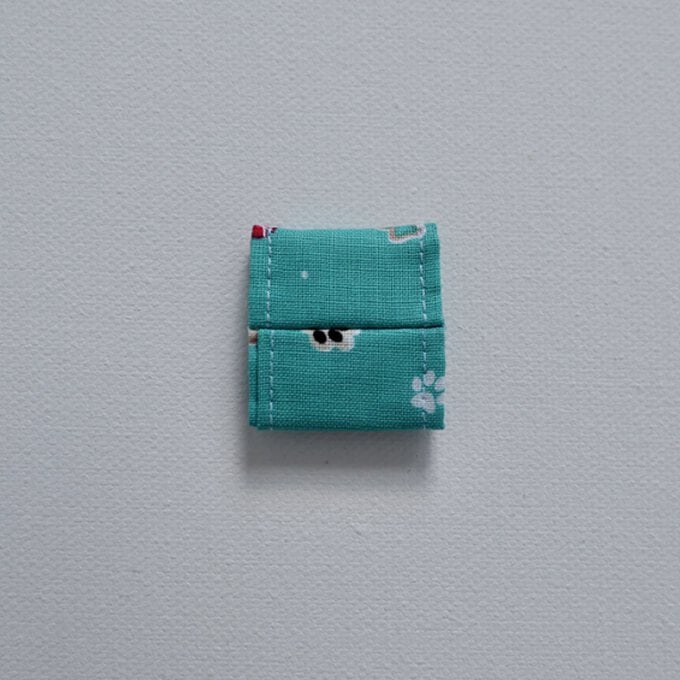
Fold in half and pin all edges. Mark stop points with two pins in the long open edge of about 4cm, this will become the gap. Sew all three sides, leaving the gap.
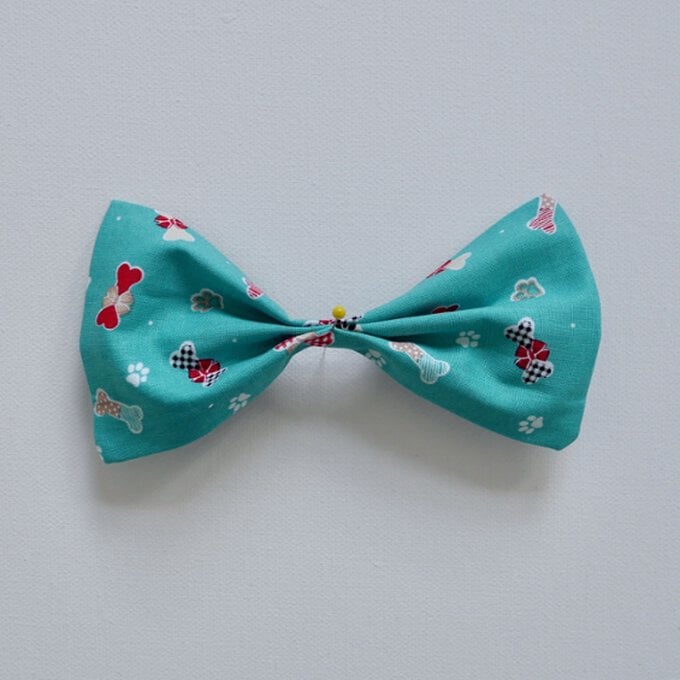
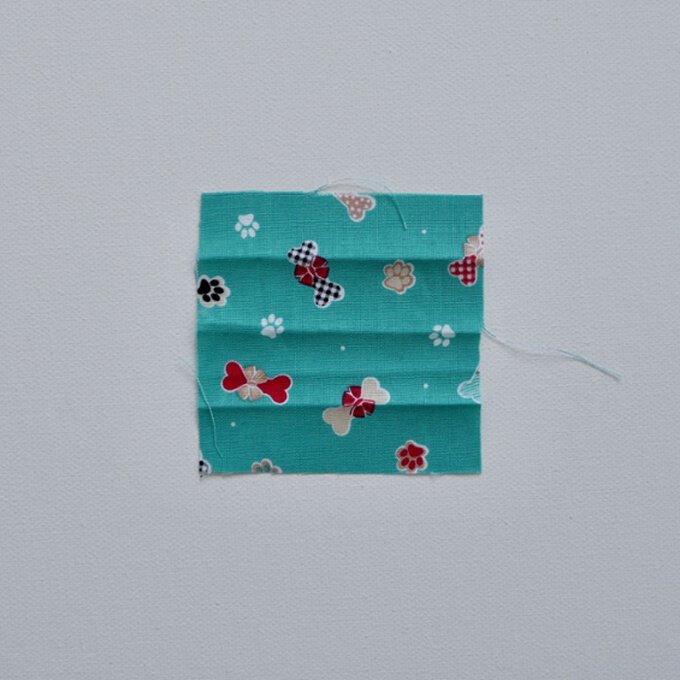
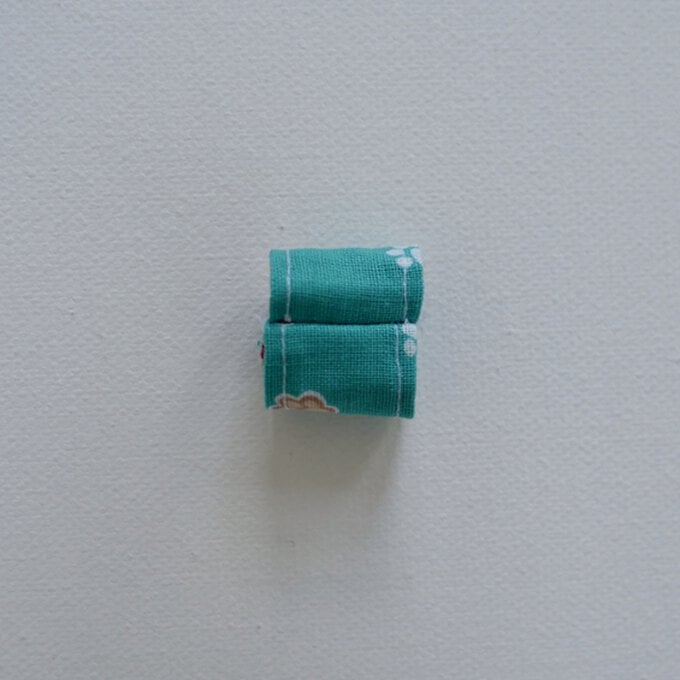
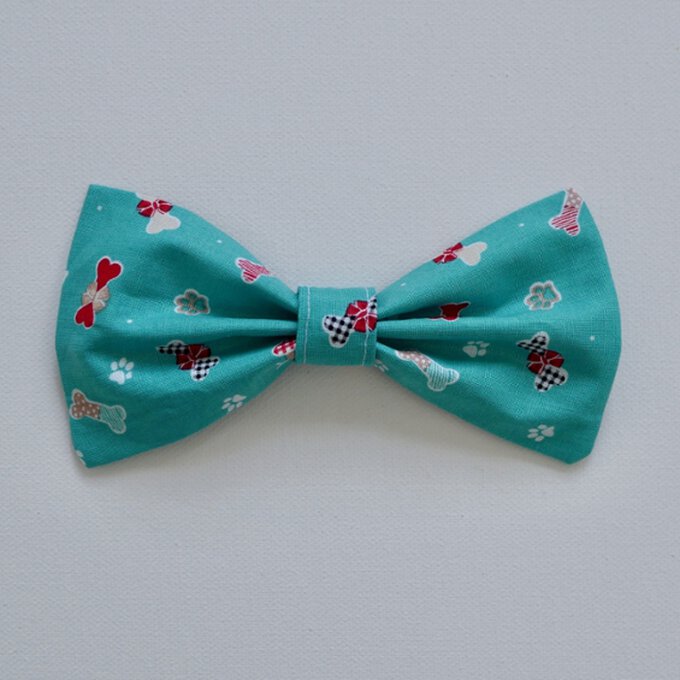
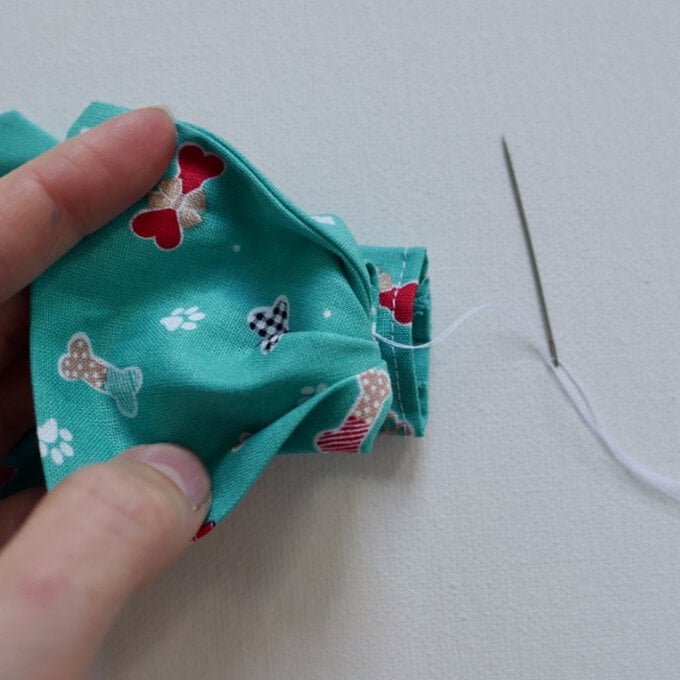
Slide the bow along the collar and it's ready for a festive dog walk!
