How to Upcycle a Stool with Fabric
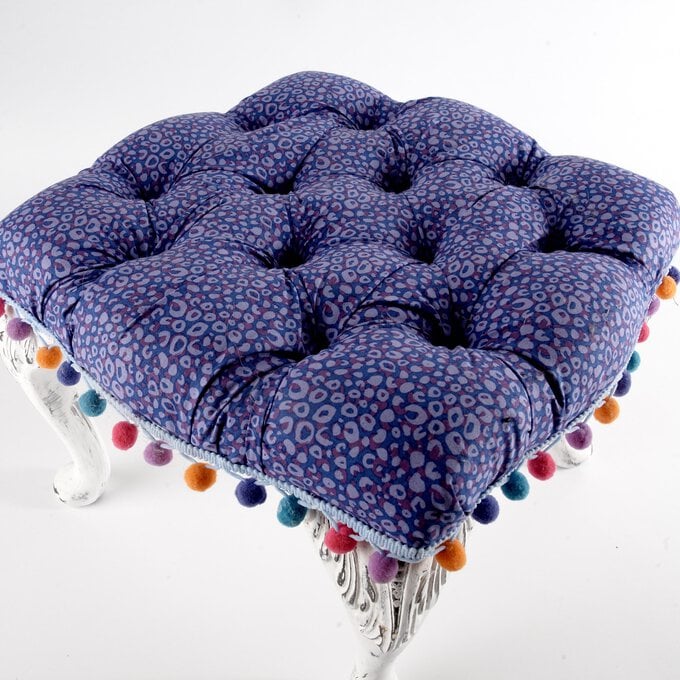
If you want to get started in upcycling furniture, this no-sew upholstery project is a great place to start. Footstools make the perfect project for beginners, simply re-cover an old stool you already have, or give a second hand one a new loving home.
It's so satisfying to see your stool go from looking dreary to brand new in just a few short hours.
You will need
Subtotal
Is $ 15.00
Subtotal
Is $ 14.00
Subtotal
Is $ 7.49
Subtotal
Is $ 7.49
Out of stock
You will also need -
* Footstool
* Upholstery tacks and a hammer
* Sanding Block
* Curved Scissors
* Trimming
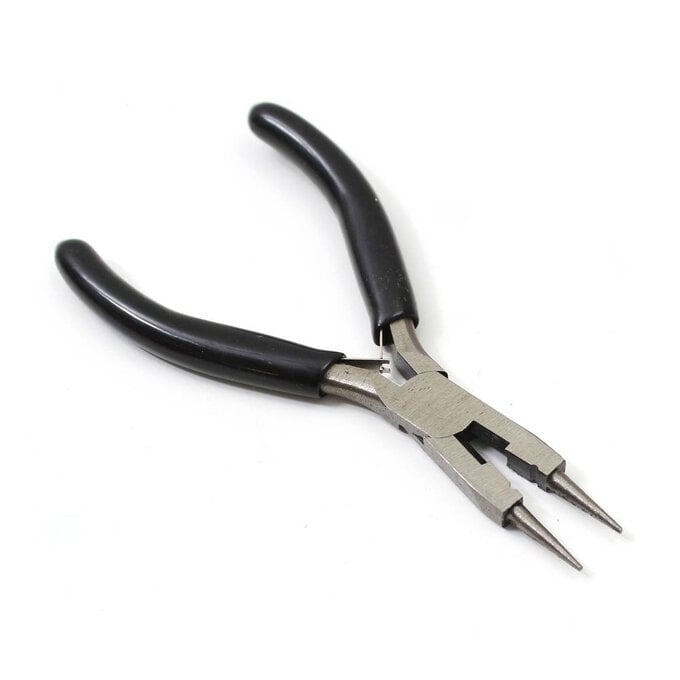
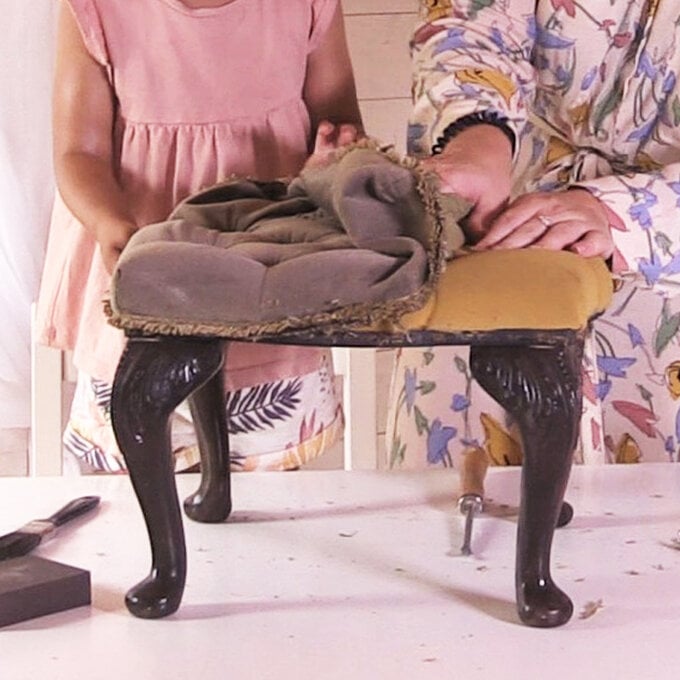
Start by stripping the old fabric off the stool. A lot of upholstered furniture will have a trim around the edge to cover the staples, so pull this off and use the pliers to remove the old staples.
If your stool has tacks in the top, use pliers to pull these out too until you have a bare cushion pad.
If you want to paint the rest of your stool, do this now.
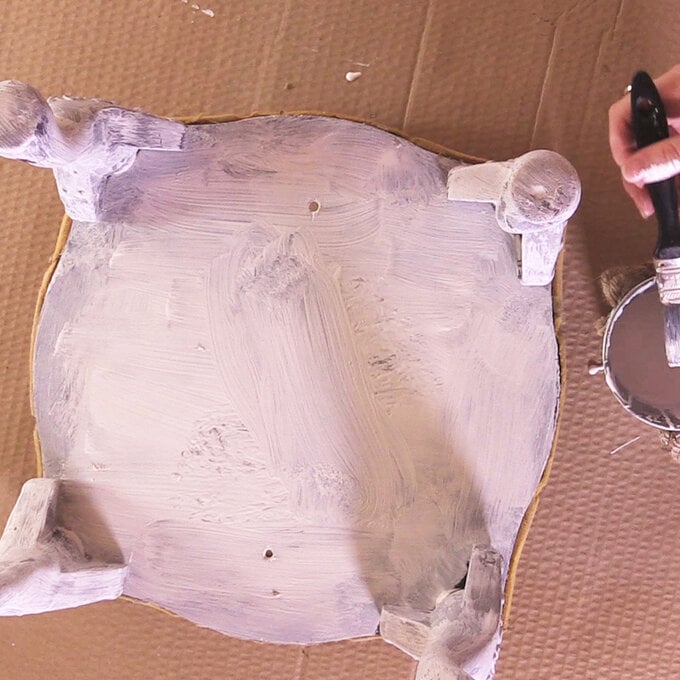
Sand down the legs and base so you have a rough surface to paint on. Give the stool as many coats as it needs. I chose to slightly sand down the paint once it had dried to give the stool a worn look.
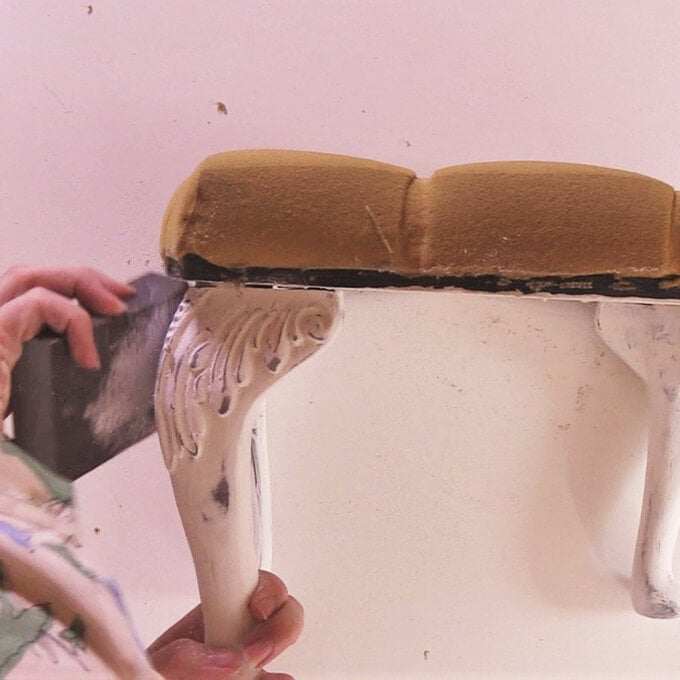
Once the paint is dry, place your fabric over the top of the stool. Make sure this measures 6” larger than the stool's cushion in width and length.
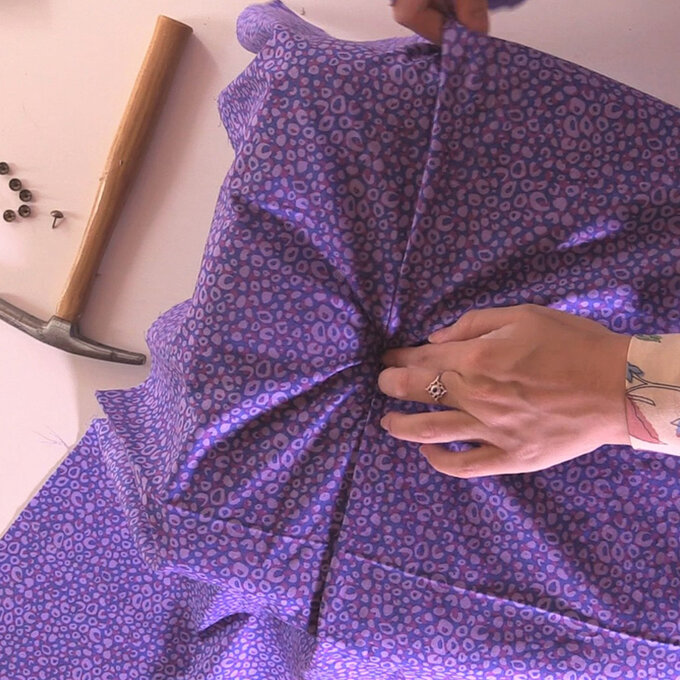
Pinch and pleat the fabric slightly over the hole where the tacks are going to go. Replace the tacks with new ones by hammering them into the same hole through the fabric. Repeat this with all the tack holes.
Top Tip: Start from the middle hole on the footstool and work your way out.
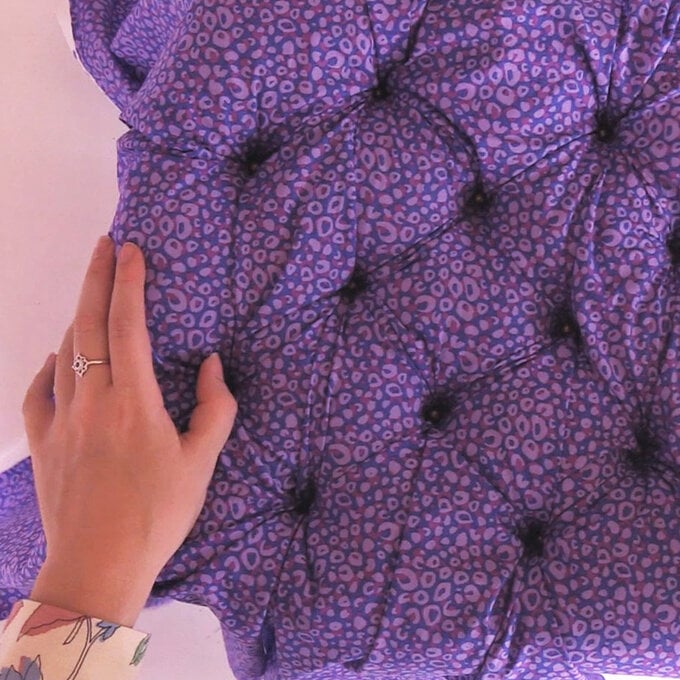
Trim the fabric back slightly if needed.
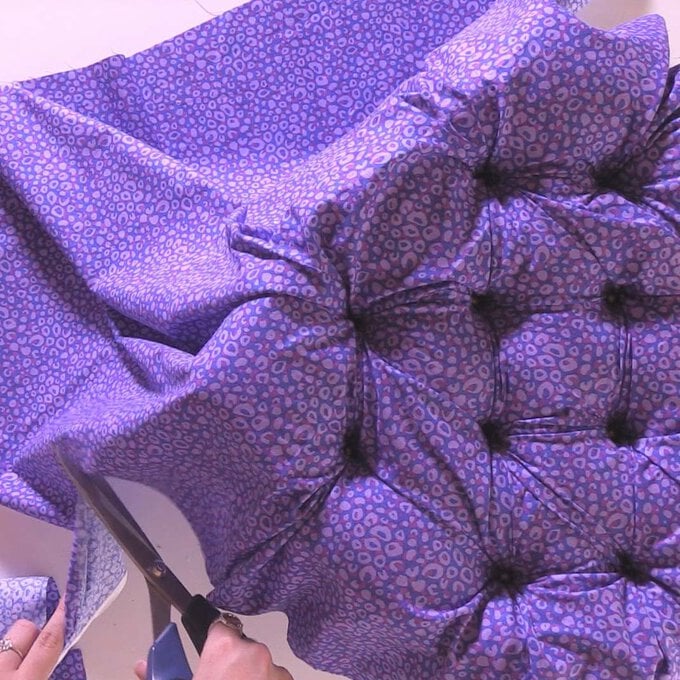
Pull the fabric taut over the edge of the stool.
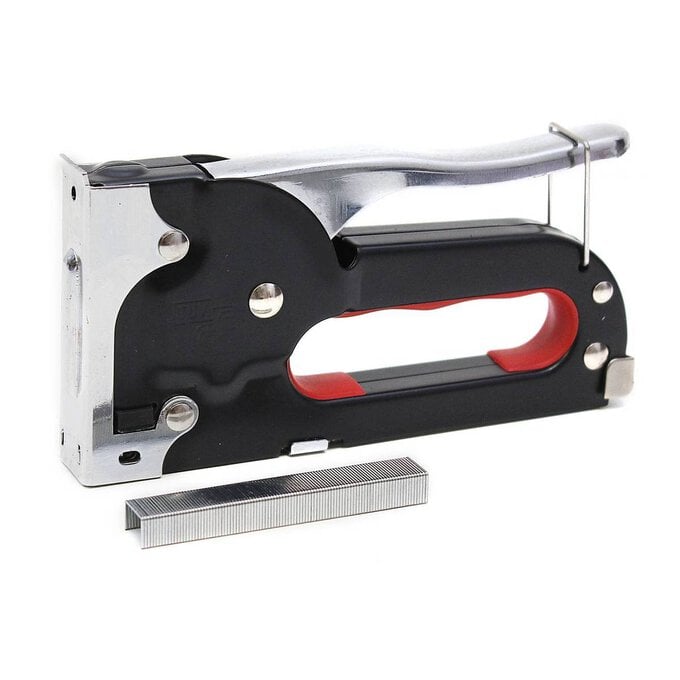
Use a staple gun to start attaching the fabric to the edge of the stool; start from one side then go to opposite side so that the fabric stays taut and even. Once you have a staple on all four sides of the stool, add more staples in between until you are happy that every bit of fabric is attached.
Your staples should all be in a line around the stool.
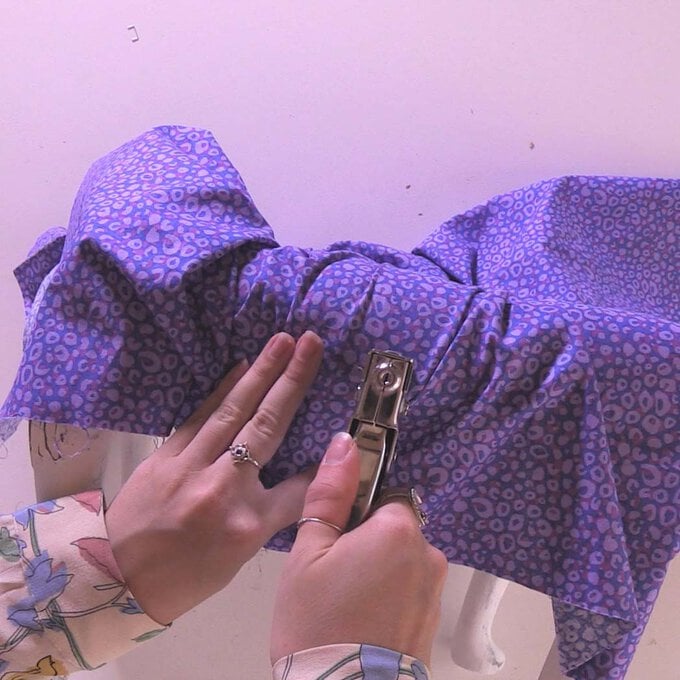
Trim away any excess fabric once more using a curved pair of scissors.
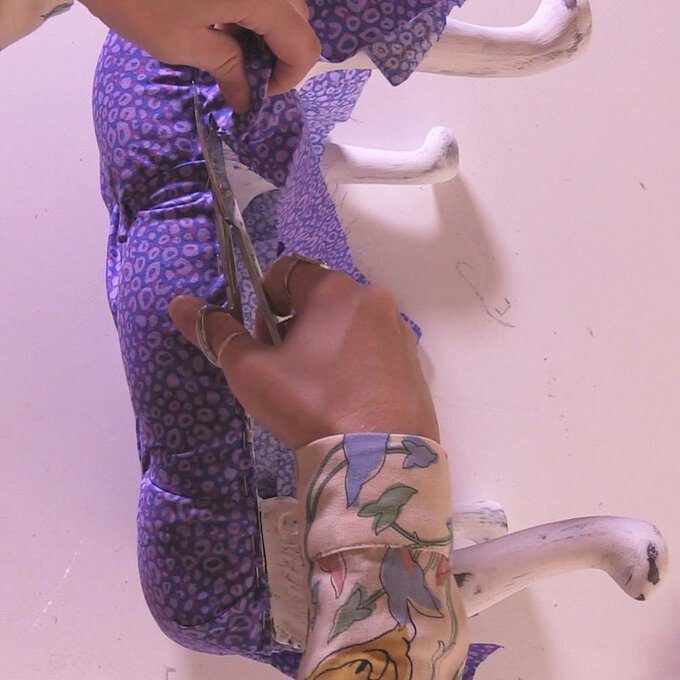
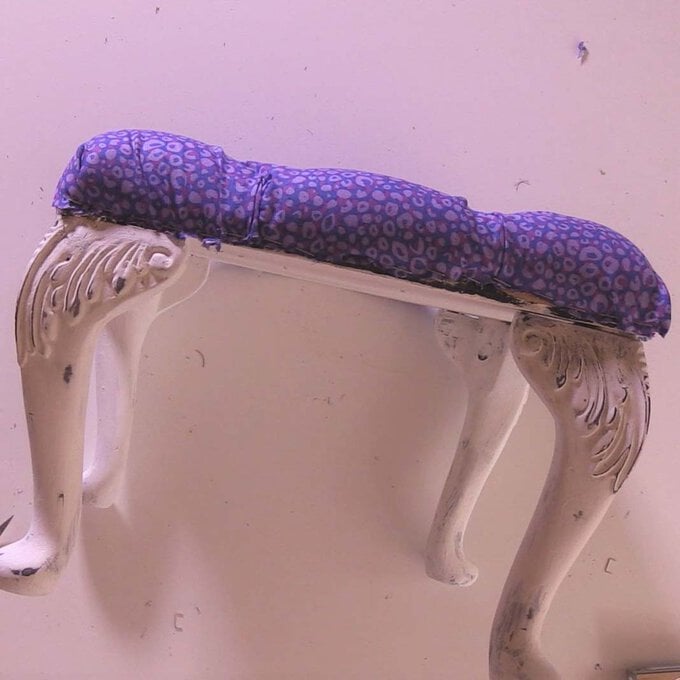
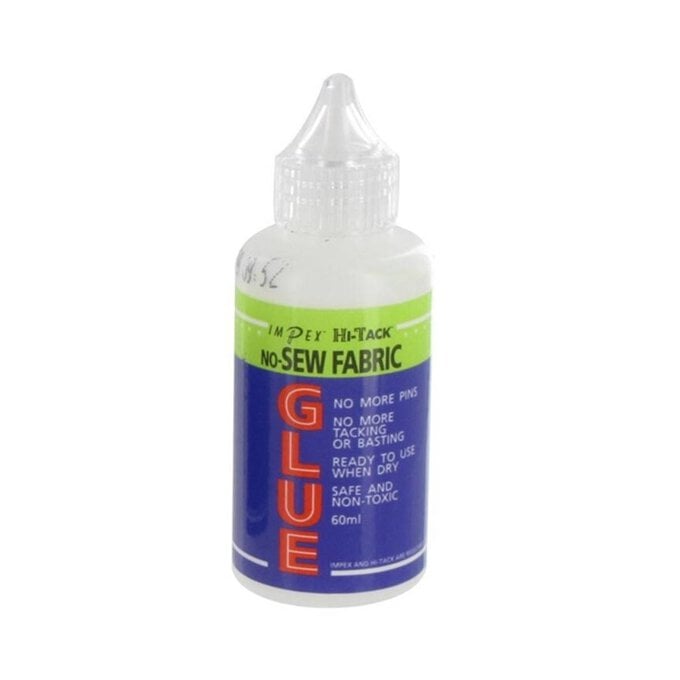
Using a textile glue, attach the trim around the edge of the stool, covering your staples.
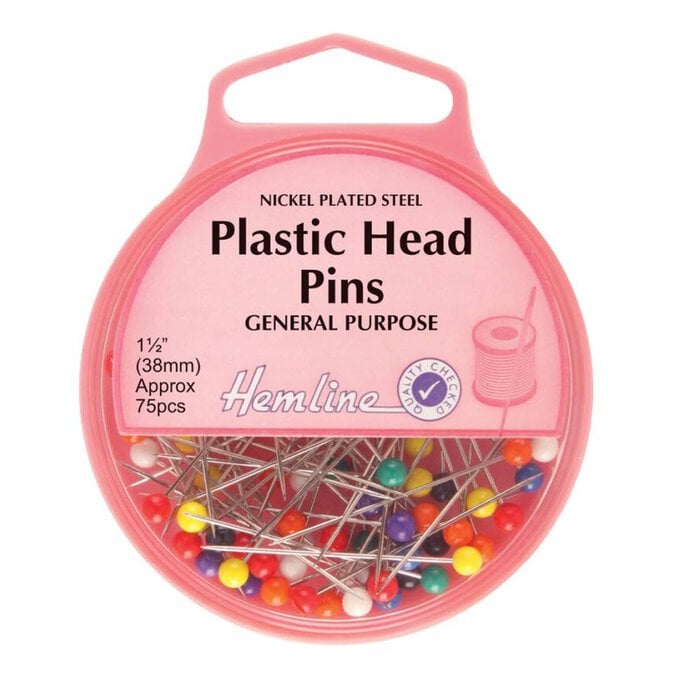
Top Tip: Use pins to keep the trim in place while the glue dries.
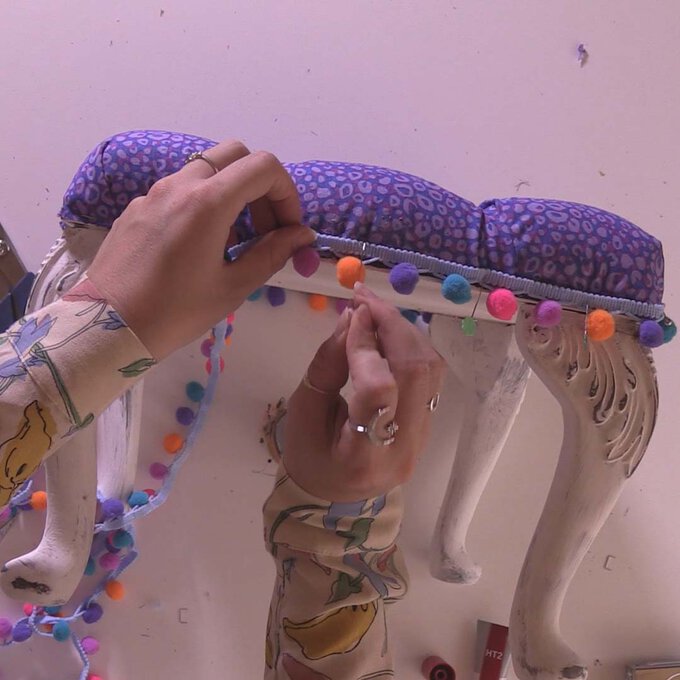
Once the glue is dry, remove the pins - then your stool is ready to be used.
