Five Cheap and Easy Crafts for Kids
Half term is a great time to get the kids' creative juices flowing, but you don't always want to spend a lot of money on activities to keep them out of trouble. These five cheap and easy crafts fir kids are ideal to keep them entertained for an afternoon, and all of them can be used for play once they're made too!
You will need
Subtotal
Is $ 7.49
Subtotal
Is $ 4.49
Subtotal
Is $ 4.49
Subtotal
Is $ 8.49
Subtotal
Is $ 5.49
Subtotal
Is $ 2.49
Subtotal
Is $ 10.00
Subtotal
Is $ 2.49
Subtotal
Is $ 5.49
How to make
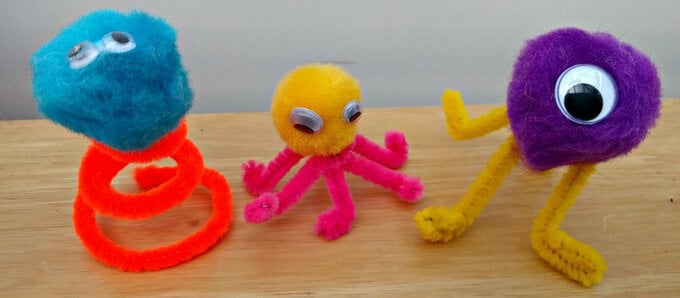
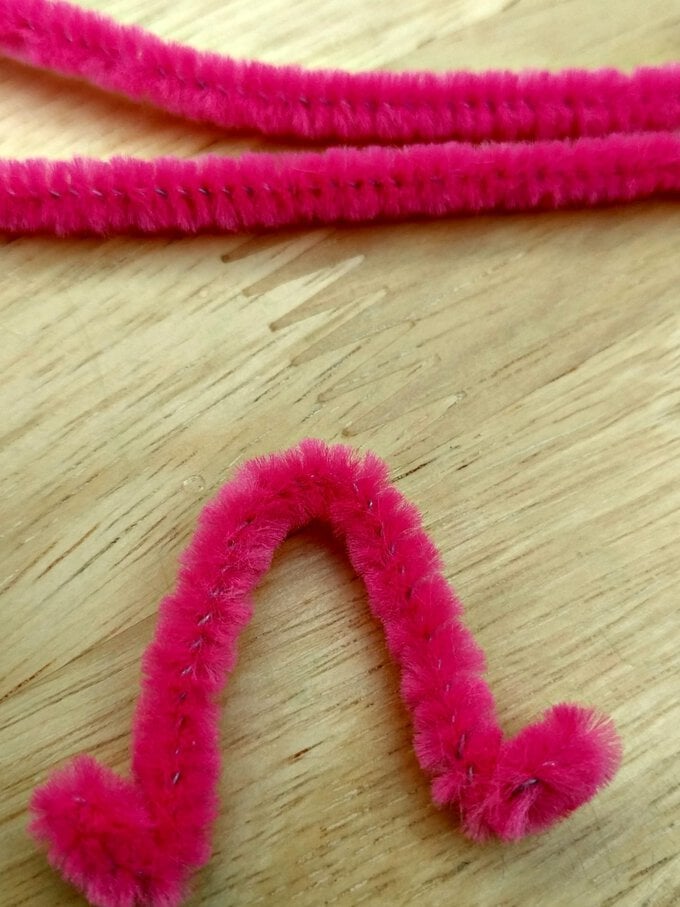
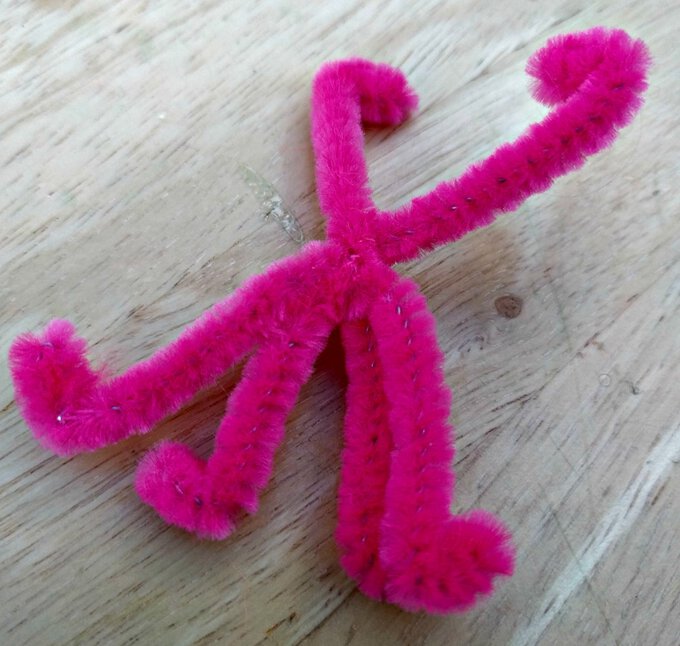
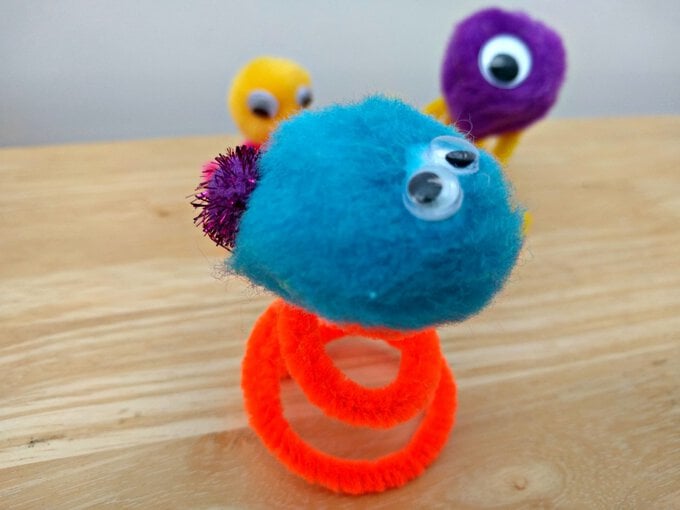
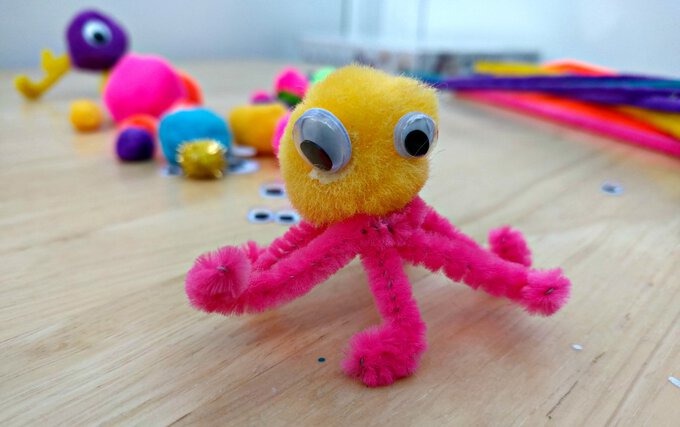
1. Start by making thelegs, cut, bend or twist a pipe cleaner to the desired shape. We went for a spring, by wrapping the pipe cleaner around a pencil and shaping as we wanted it and more traditional legs, created by cutting one pipe cleaner to size and twisting them together.
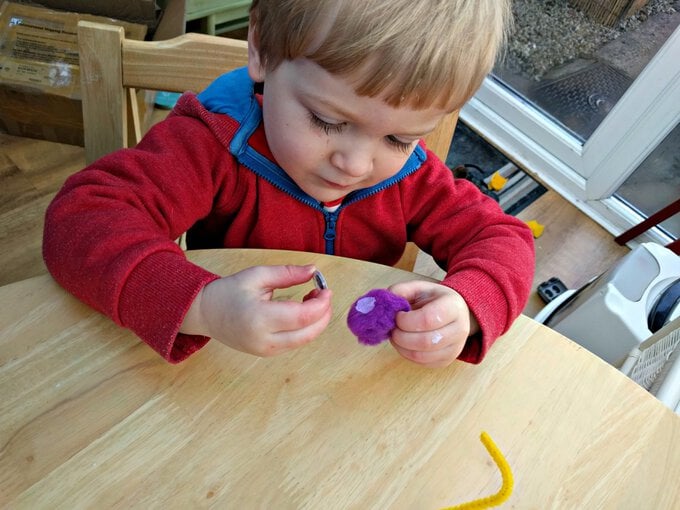
2. Choose your body and add eyes, pick a pom pom, glue on an eye or eyes, as many as you want. You can even add more pom poms to create a bigger bug. Allow to dry.
3. Once the body is dry glue to the legs and again pop to one side to dry.
4. When your bug is dry it's time to play, try hiding them for the rest of the family to find or have an adventure in the garden with them.
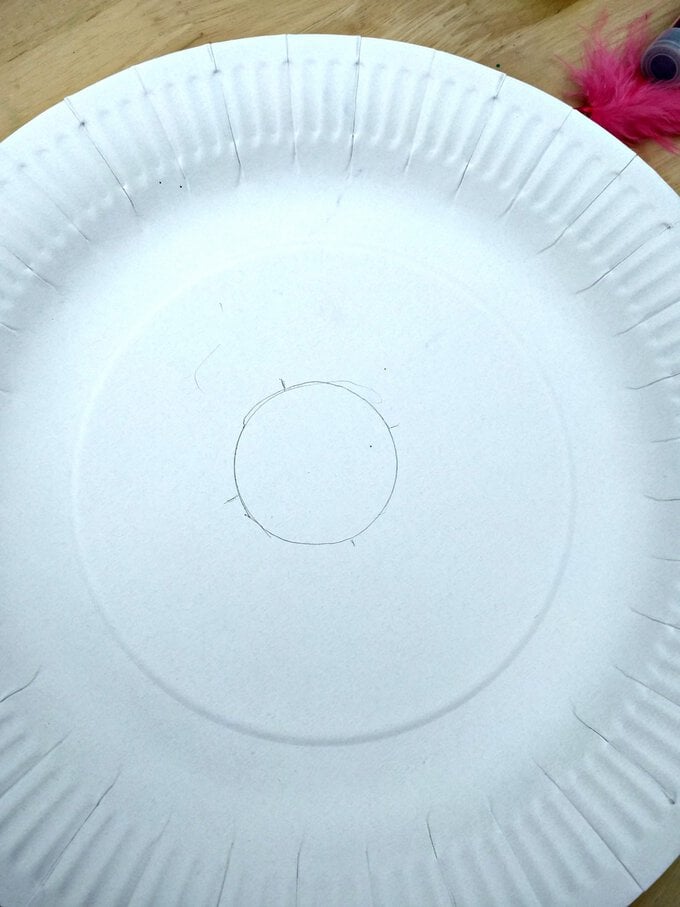
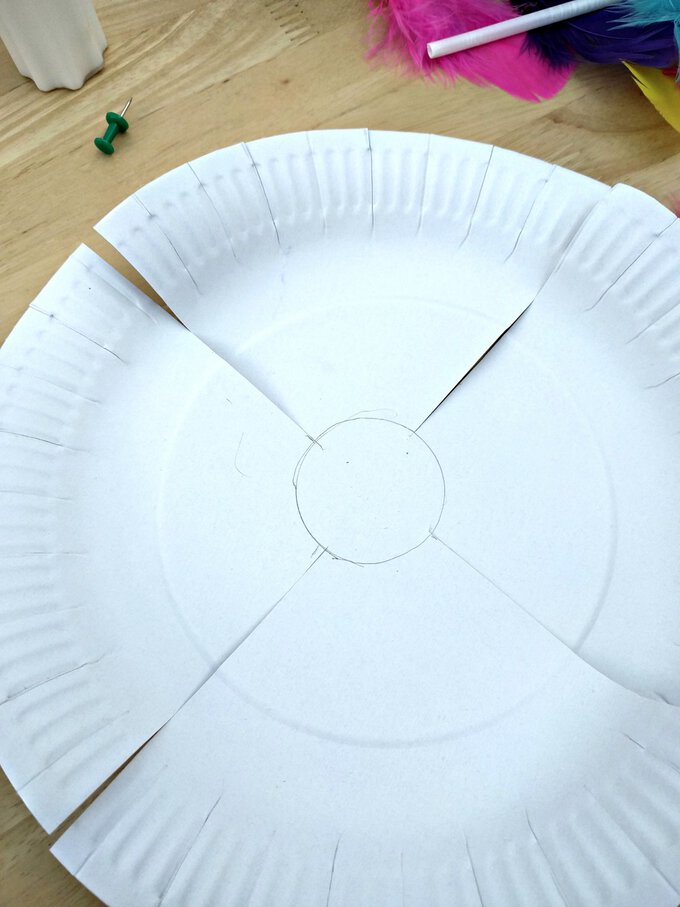
1. Draw a circle in the centre of your plate, approximately 3cm in diameter, this is to mark the point you will cut too.
2. Split into four sections and cut to your marked central line.
3. Paint the top side of your plate and leave to dry.
4. Once dry paint the underside of the plate in a different colour and leave to dry.
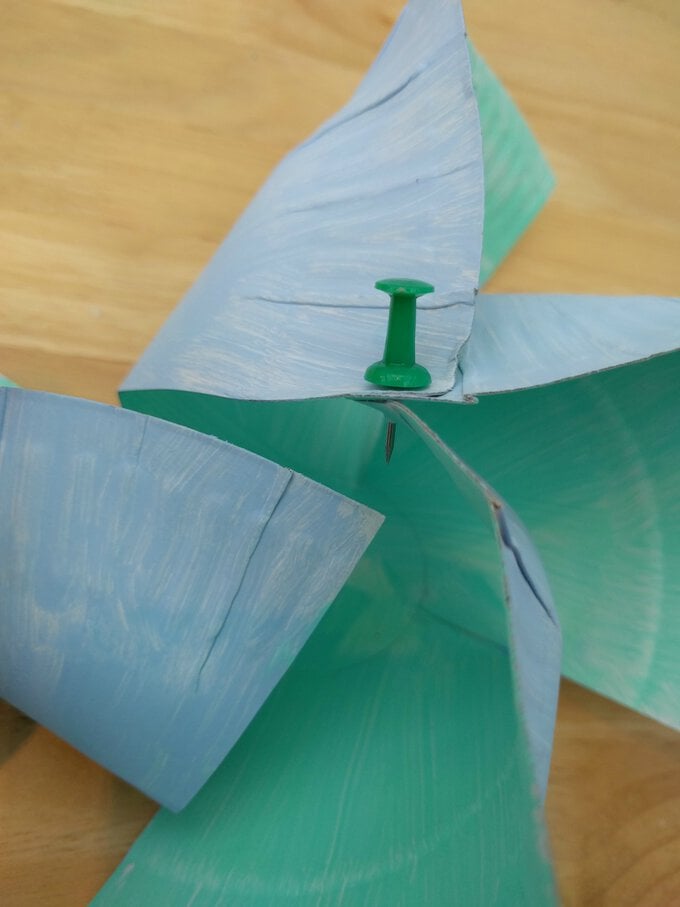
5. When the plate is completely dry, you will need to pin it to the stick, as this part is a bit fiddly and sharp, a grown up may need to help. Take the outer corner of one of the sections of the plate and fold it towards the middle, sticking the pin through the plate.
6. Repeat with each of the four sections so they are all on the pin.
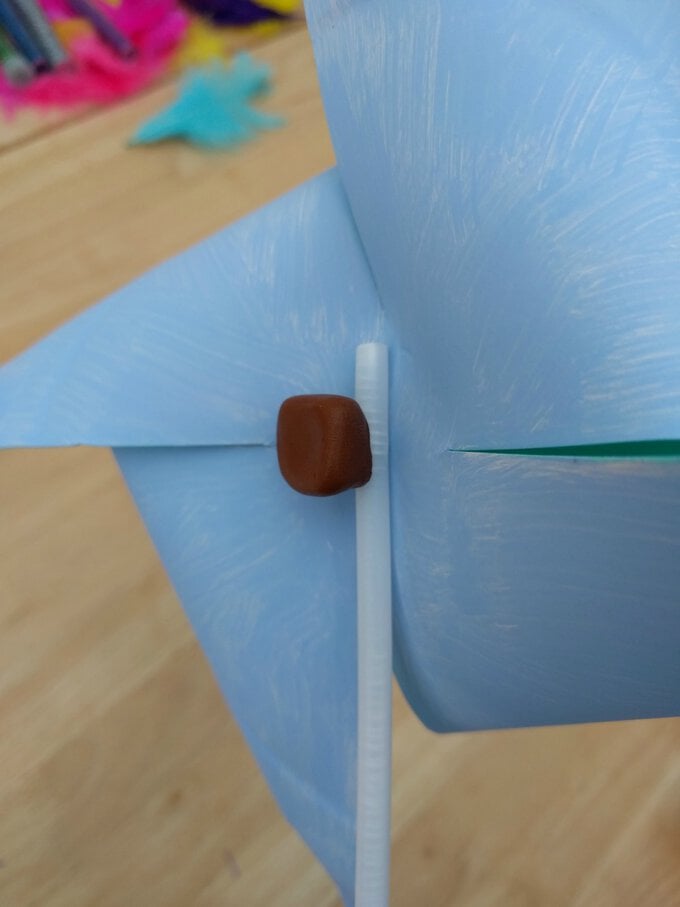
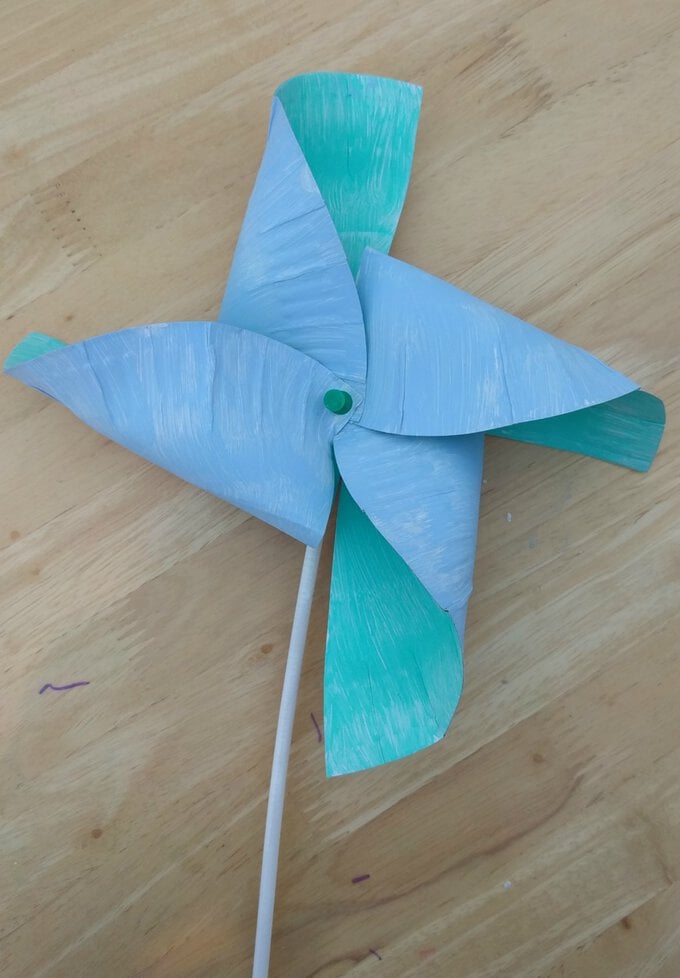
7. Once all four sections of the plate are on the pin and you are happy that they look right, push the pin through the centre of the plate and onto the stick.
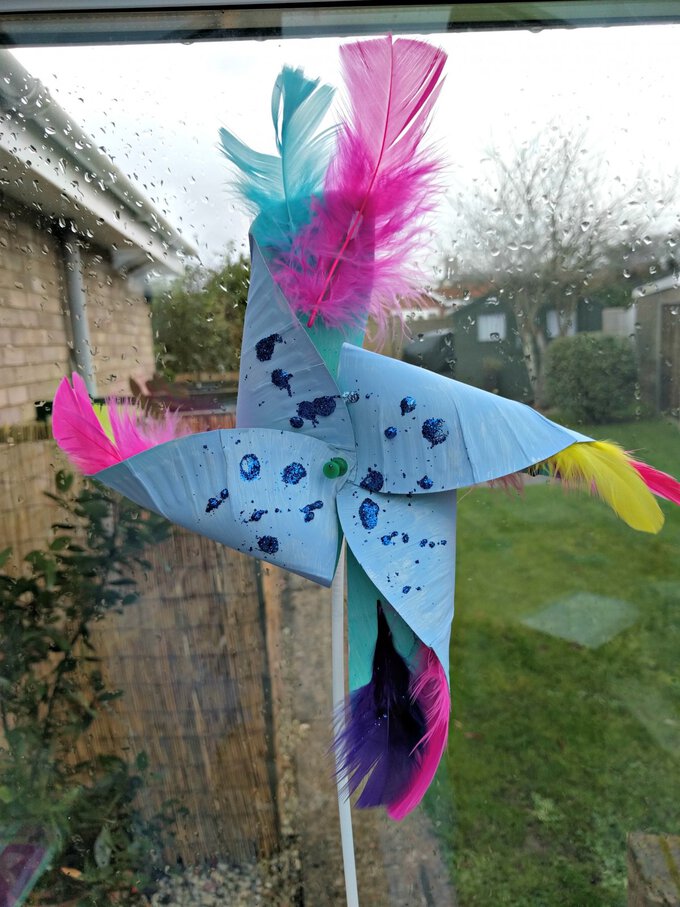
8. Decorate your pinwheel! We used feathers and glitter. Leave to dry.
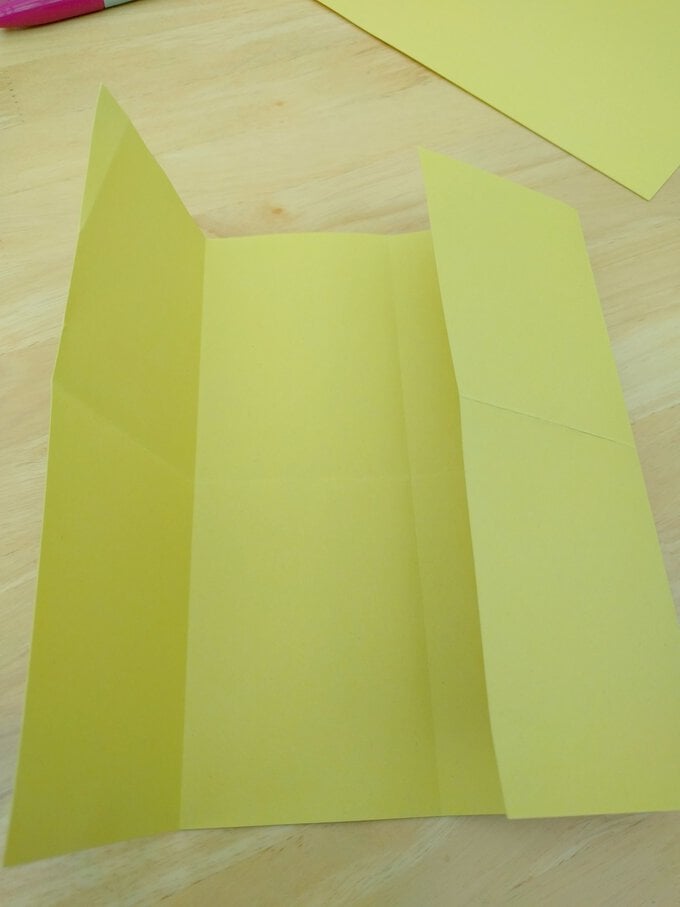
1. Fold a sheet of card in half width ways then unfold, repeat lengthwise. Then width ways, fold the two outer halves into the middle fold and unfold. This will give you the crease lines for 8 cards.
2. Repeat step one with as many pieces of card as you need to get the desired amount of playing cards, we did this twice, so had 16 cards featuring 8 different animals.
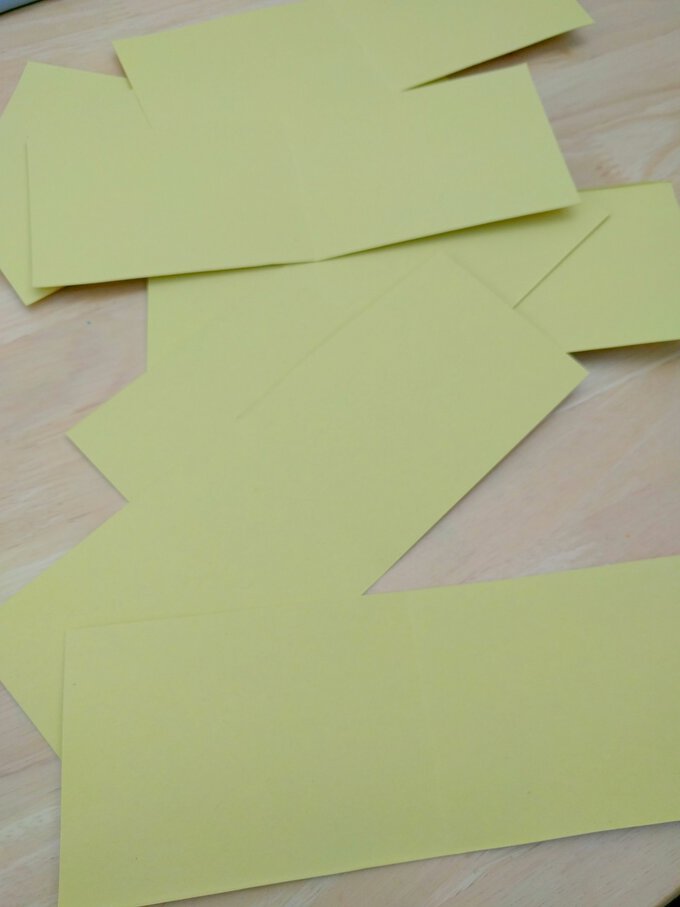
3. Cut along the shorter width folds, this will give you your doubles and help make sure you end up with right amount of matching sets.
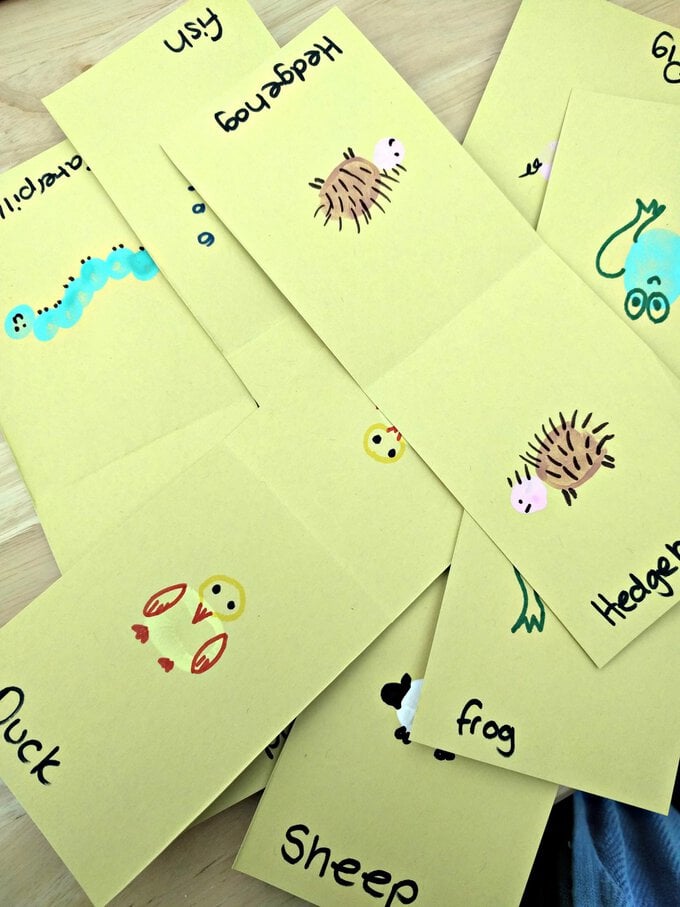
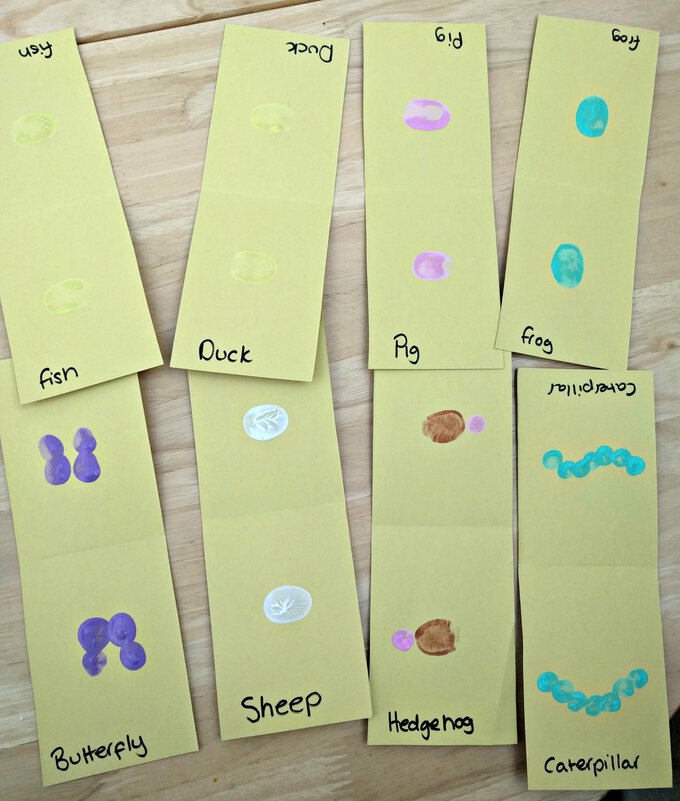
4. Using a marker pen write the name of the animal you will be painting on each end of a double section of card. Frogs, sheep, fish and pigs all lend themselves to finger painting.
5. Get messy and get the kids to put there marks on each double set of card, one big white finger print for a sheep, lots of little green finger prints for a caterpillar or a nice yellow finger prints for a duck. Make sure they repeat this on both ends of the card. Allow to dry.
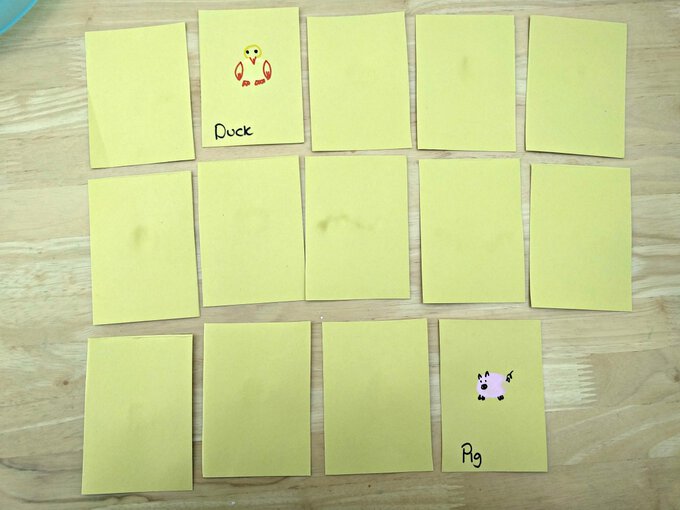
6. Once the paint has dried use marker pens to add the finer details, like faces and legs, to each animal.
7. Cut your doubles along the remaining fold line.
8. Shuffle your cards to play snap or pairs matching games.
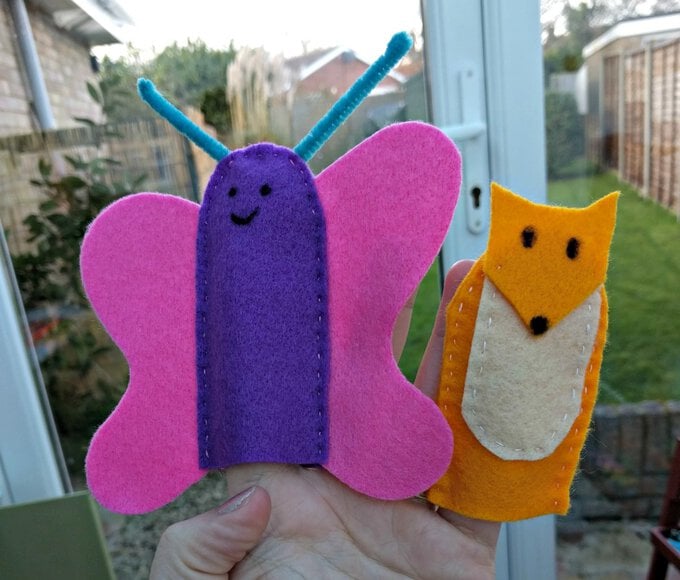
Butterfly
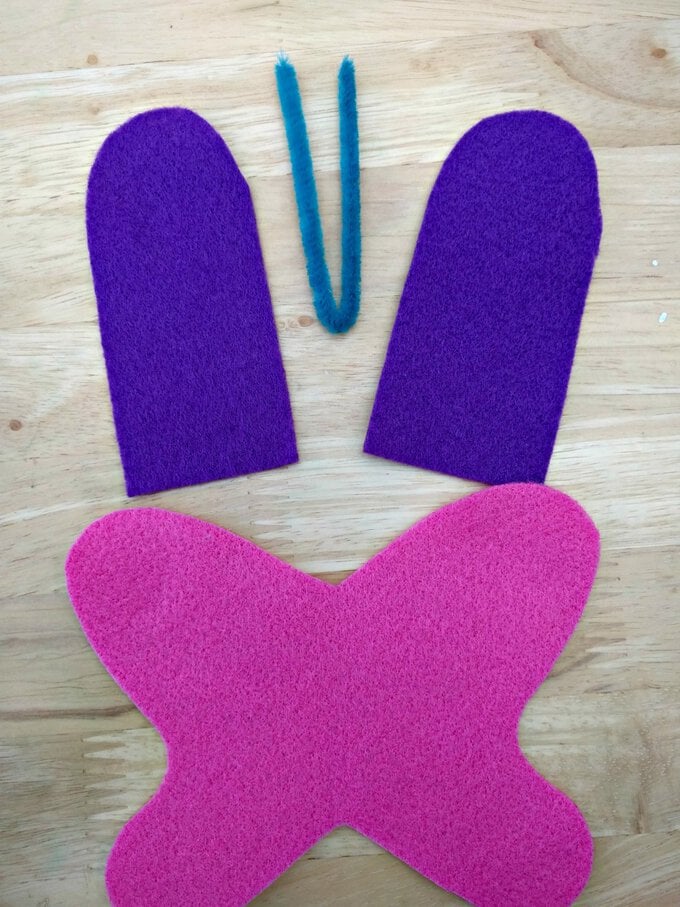
1. Cut two thick finger shaped arches from your body felt and one large wing shape from your other coloured felt. Then cut a pipe cleaner to size and fold in the middle to create the antennae.
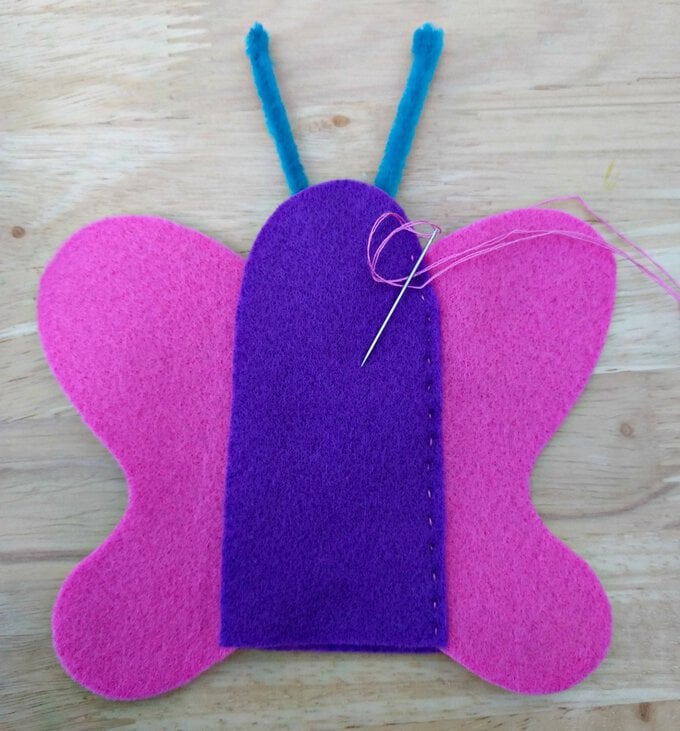
2. Arrange your parts. Sandwich the wing section (there is no need to cut the wings, they can be sewn in one piece) between the two body pieces and place the pipe cleaner in place, again between the two body sections. You may wish to pin them in place.
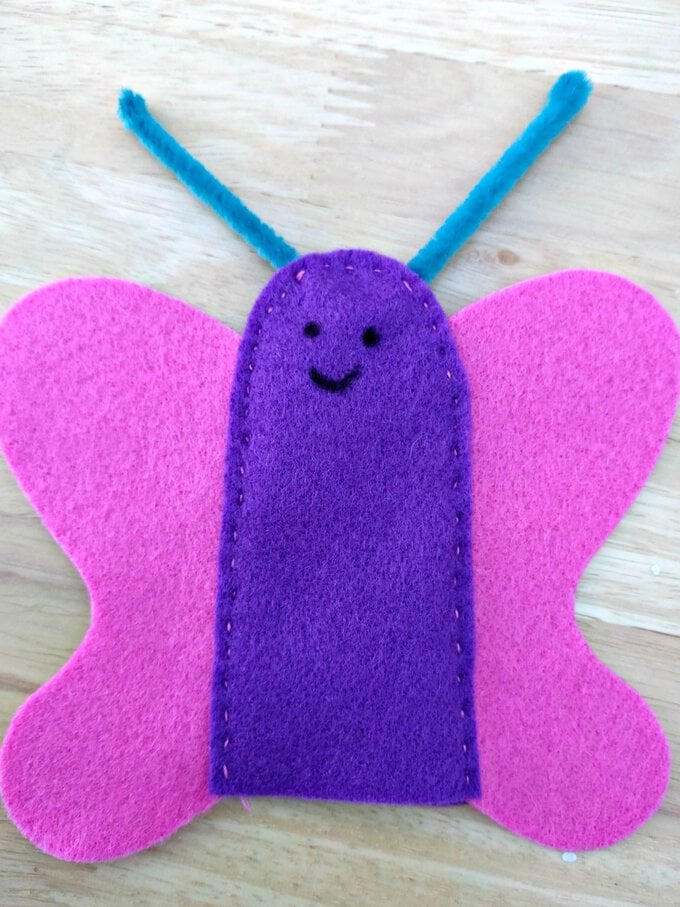
3. Using a simple running stitch, starting at the base of your butterfly, neatly stitch around the body. When you get to the antennae you will need to stitch around the pipe cleaner a couple of times to secure it, and then continue your running stitch to finish.
4. When you have finished stitching around the body of your butterfly using the marker pen add a face.
Fox
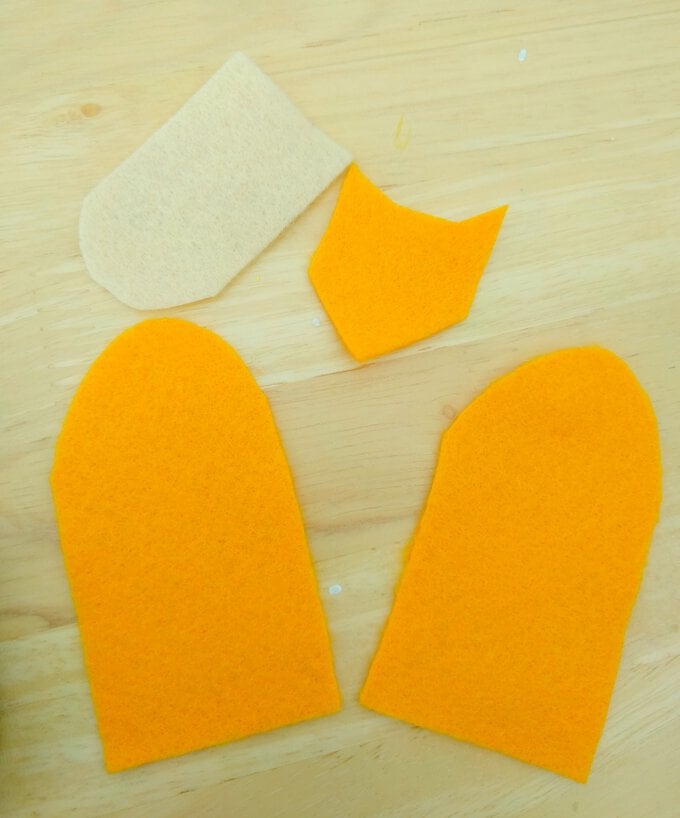
1. Cut two thick finger shaped arches from your body felt and one face shape then from your other coloured cut out a smaller arched shape for his chest.
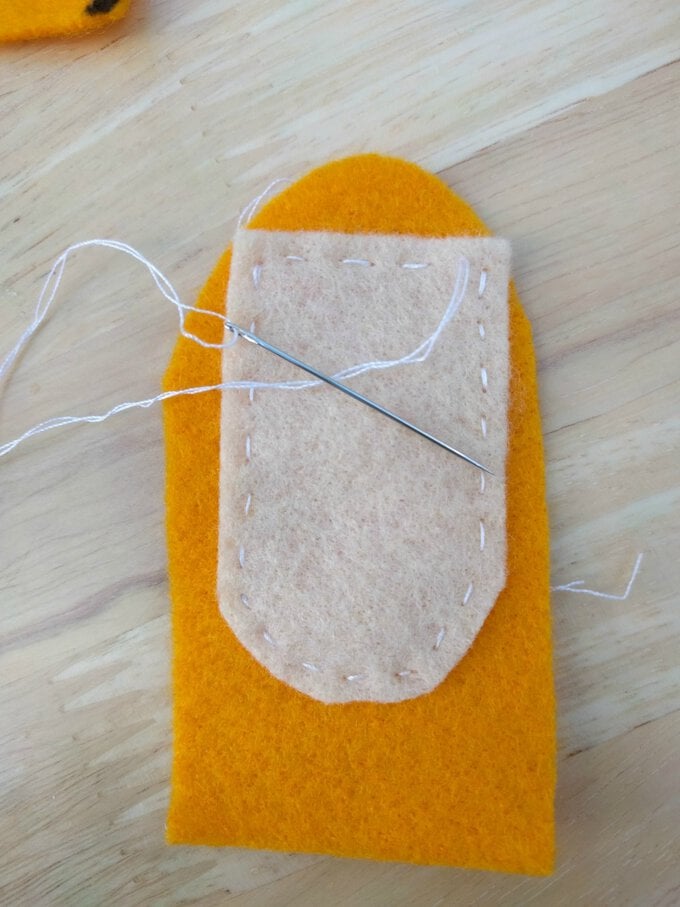
2. Place the chest shape onto one of the main body sections and use a simple running stitch to attach it.
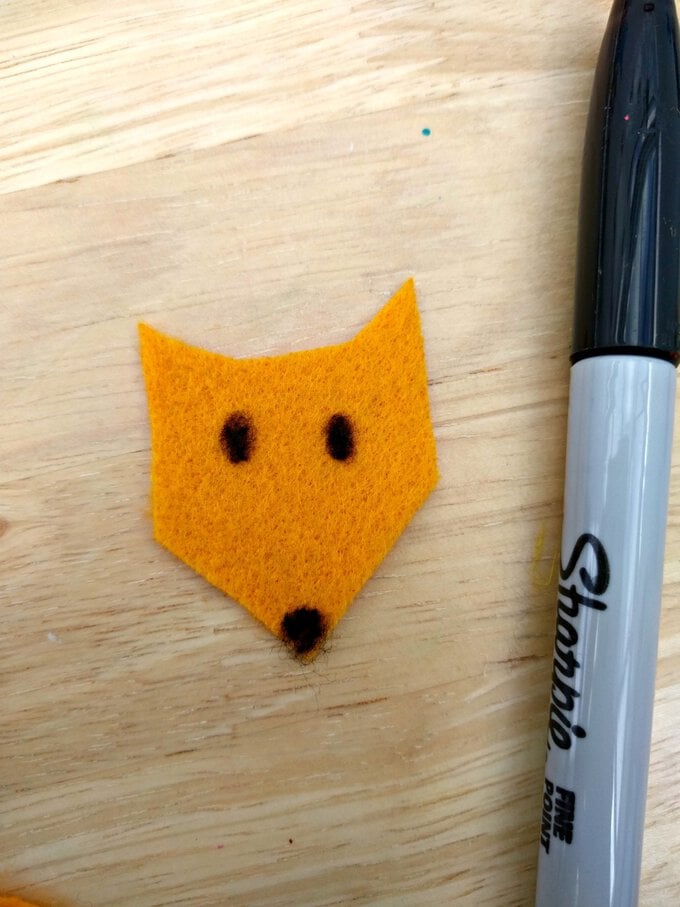
3. Use a marker pen to add the foxes nose and eyes to the face shape.
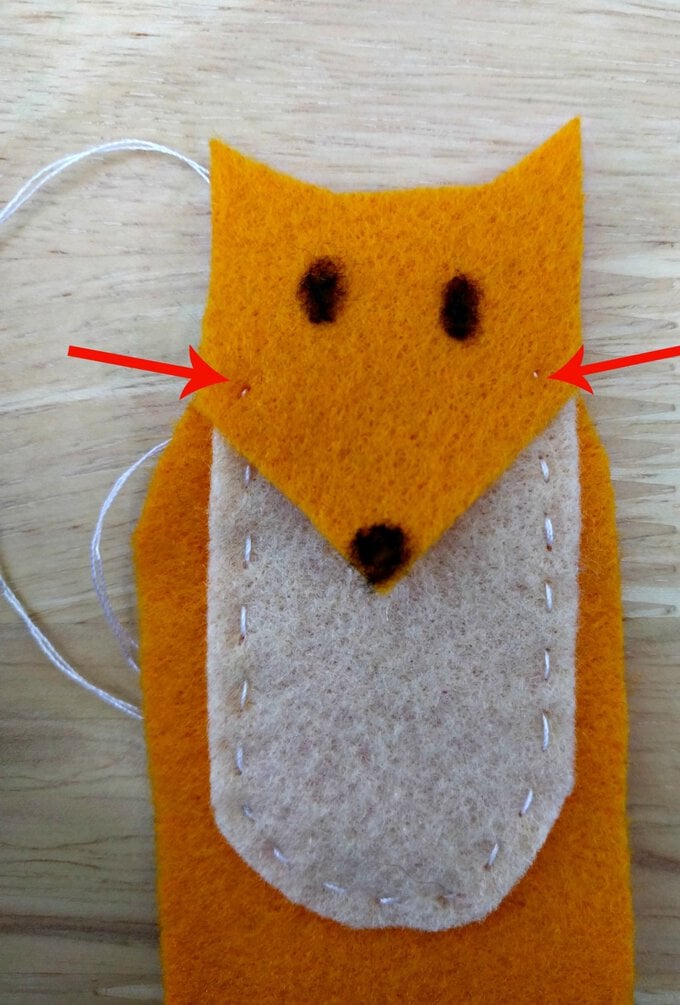
4. Place the foxes face so it covers the top of the chest section but that the top half of the face and ears sit above the main body section, use two small stitches, one on each 'cheek' to attach.
5. Use a basic running stitch to attach the front completed body section to the back piece, taking care to go behind the foxes face, not over it.
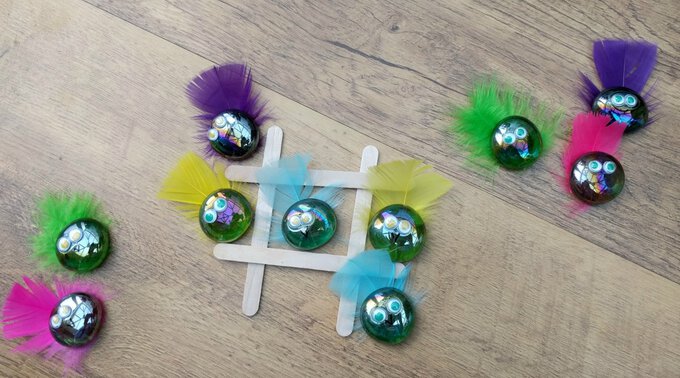
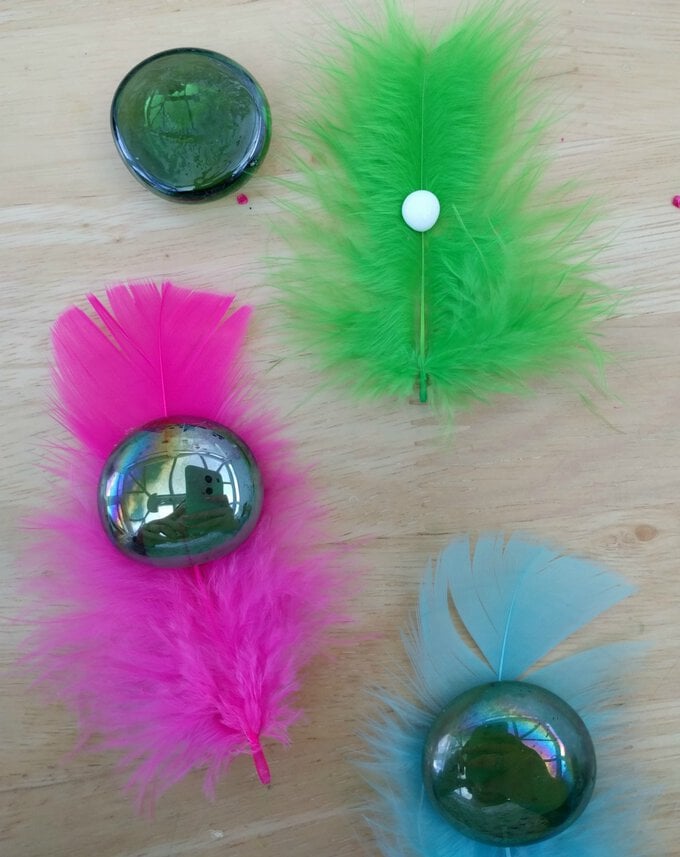
1. Take ten glass pebbles of similar size and glue a coloured feather onto the back of each one, leave for five minutes with the pebble sat on top of the feather.
2. After five minutes, the weight of the pebble will have fixed the feather to the stone, but the glue will not have dried it to your table, carefully lift and turn over each pebble. Leave to dry.
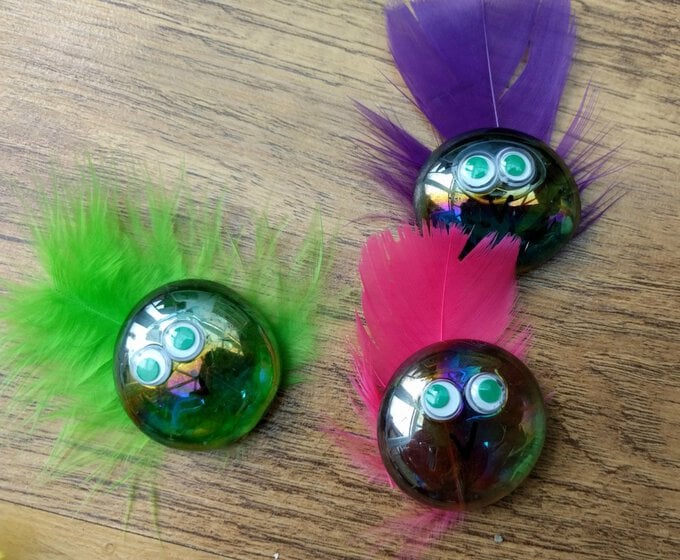
3. Once dry trim the feather to size.
4. Glue on your googly eyes and leave to dry.
5. Once dry use a marker pen to draw on a beak.
6. Set up a board using lolly sticks, twigs or even draw one and play!
