How to Make Candy Melt Easter Eggs
Use egg moulds to create an entirely personalised Easter egg or two this Easter! Candy melts are so easy to use, a delicious to boot. There are so many ways to add your own personal touches and flourishes to the chocolate eggs using piping bags and pastry brushes – take a look at the tutorial below to find out how easy it is to apply these effects to the eggs!
You will need
Subtotal
Is $ 20.00
Subtotal
Is $ 8.49
Subtotal
Is $ 8.49
How to make
You will also need:
Vegetable Oil
Small sharp knife
Baking Tray
Greaseproof paper
Microwave safe mixing bowls
Silicone/pastry brush
Small spoon
Chopping board
Prepare the Candy Melts as per the packet instructions. Don't worry about melting too much chocolate for the eggs, you can always re-heat any excess once it has hardened and use it again next time.
Top tip! Make sure to keep an eye on the Candy Melts when heating in a microwave; check them often and thoroughly stir the melts regularly to prevent them from becoming over-melted and burning.
Once the Candy Melts have softened to a pourable consistency with no lumps, it's time to use them within the moulds. Drop two teaspoons of Candy Melts into each half of the egg mould and, using a pastry brush or silicone baking brush, paint the inside of the moulds with the Candy Melts. Make sure to cover the entire inside of the mould with a thin layer. This will prevent any air bubbles.
Using a sharp knife, scrape away any excess chocolate from around the top edge of the mould, then turn both halves of the egg over and onto the prepared greaseproof paper, so the open sides are touching the paper. Place them in the fridge for 30 minutes to set.
As soon as any excess chocolate (used in steps 2-3) has completely set, re-melt the Candy Melts. Top tip: It's easier and faster to melt if the candy is chopped into small pieces
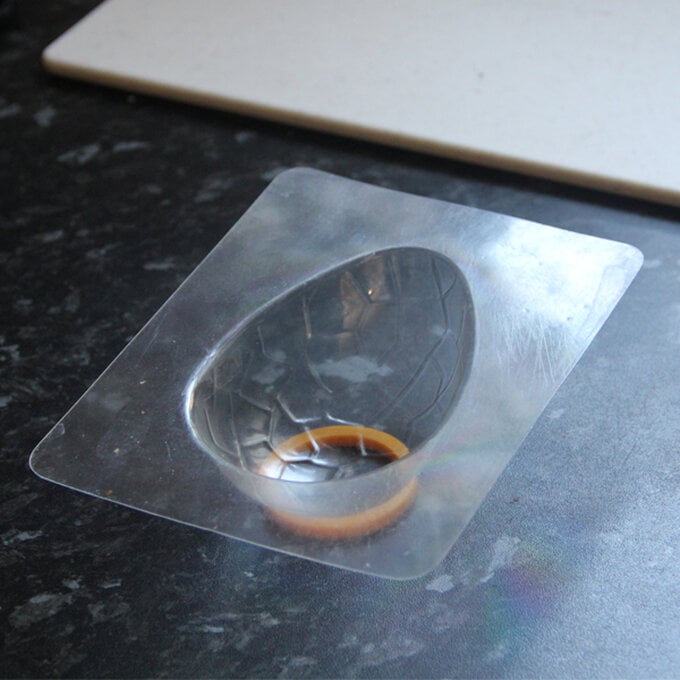
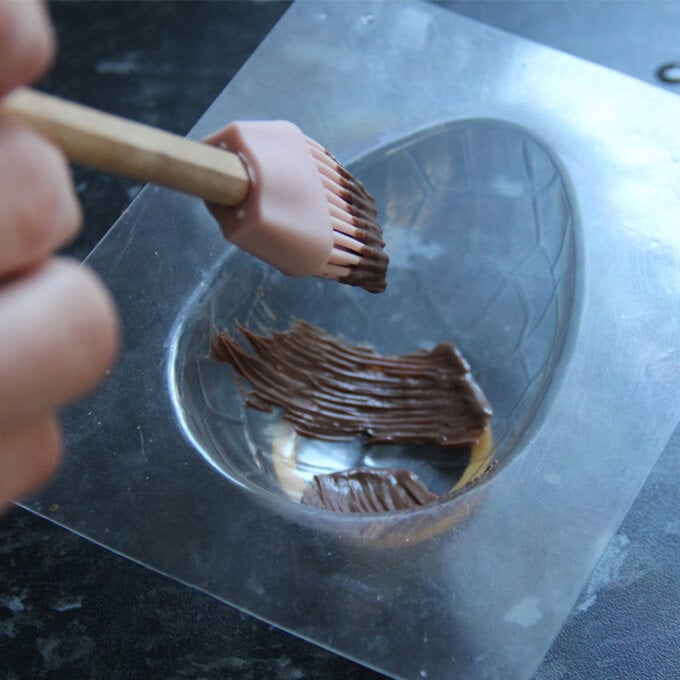
Once melted, remove the moulds from the fridge and place them flat side up on your stands. Spoon in more of the liquid Candy Melts into each mould and evenly distribute using a pastry or silicone brush.
Carefully scrape any excess candy from around the top edge of the mould into a bowl once more, then turn your eggs back onto the greaseproof sheet, face down, and return them to the fridge for another 30 minutes.
As soon as the chocolate has completely cooled, assess whether you think the eggs need an extra layer of chocolate. As a guide the eggs should be no thinner than 5mm. If another layer is required, repeat steps 5-7 until the eggs have achieved your desired thickness. If you are happy with the thickness, carefully tip them out of the moulds and trim off any excess with a small sharp knife.
Pre-heat a baking tray either in an oven or on a hob. It does not have to be very hot, just hot enough to melt the candy. Once heated, place both egg halves face down onto the warm baking tray for a few seconds, until the edges have just started to melt, then quickly remove them and place them together to form one whole egg. Hold them in place until the chocolate has hardened and set.
Brush strokes: For this type of decoration you will need to paint the decoration before pouring the main body of the egg. Melt your preferred colour of Candy Melts as described for the main egg and, when melted, use a pastry brush to paint a few stripes across the front of the egg mould. Allow the stripes to cool in the fridge before filling the remainder of the egg with your chosen chocolate for the main body. If you would like to create a multi-coloured brush stroke effect, work in layers, allowing each individual brush stroke colour to cool completely before applying the next one
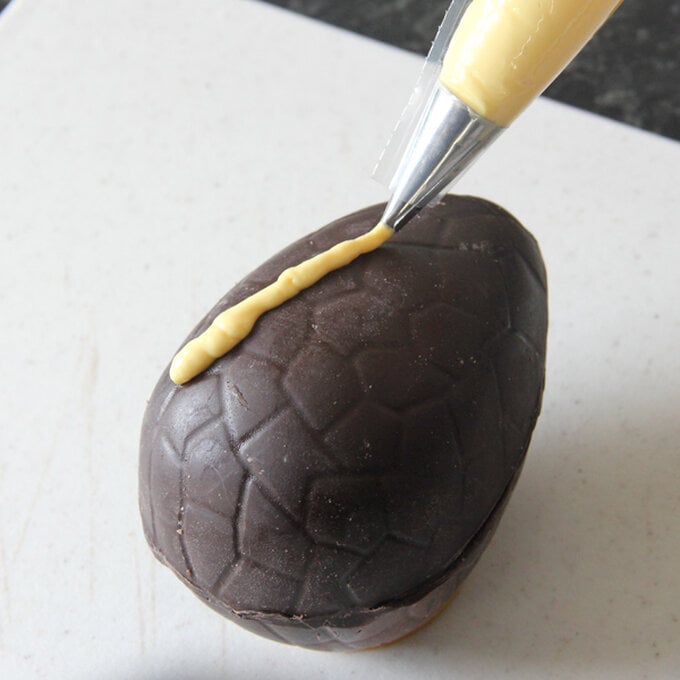
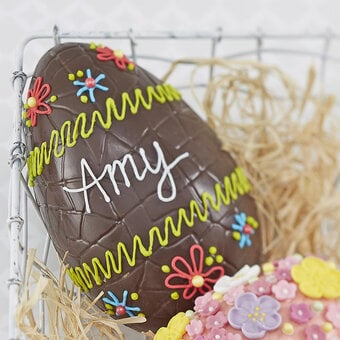
To personalise your egg with an initial or name, you'll need to select a different colour Candy Melt to that used on the main body of the egg. Melt your chosen colour of Candy Melts following the packet instructions, once liquid add a little vegetable oil (add a teaspoon at a time) into the mix to help slacken the mixture and make it easier to pipe. Pour the candy and oil mixture into a piping bag fitted with a small round nozzle and carefully pipe the letter(s) of your choice onto the egg. Top tip: Before starting work on the final egg, it's best to do a few trial-runs on greaseproof paper, to get a feel for how the chocolate behaves when used in a piping bag.
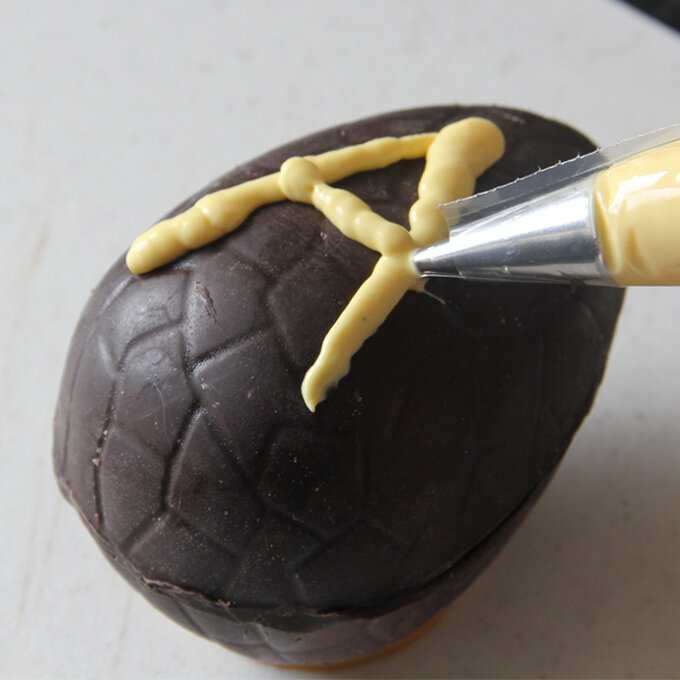
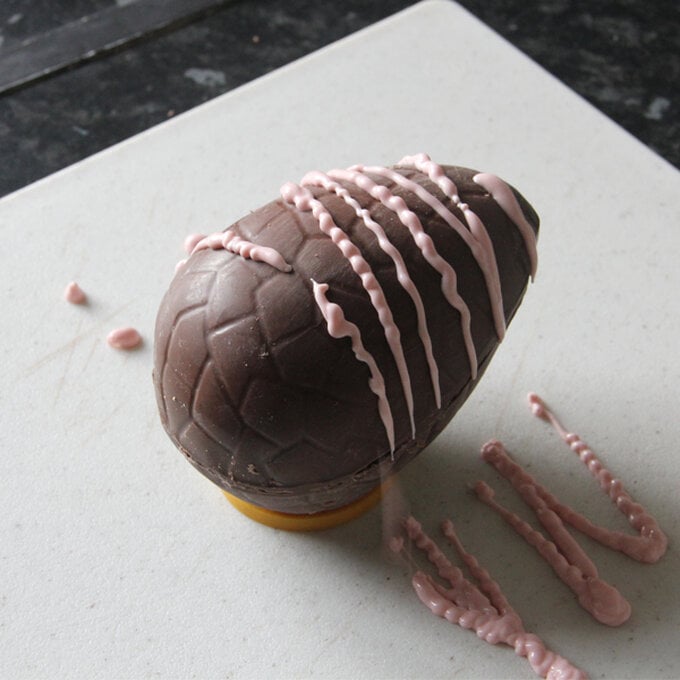
Melt your chosen Candy Melts as per the packet instructions, add the oil as with the personalised egg and pour the candy and oil mixture into a piping bag fitted with a small round nozzle. Hold the bag approximately 30cm above the egg and move from left to right, applying constant pressure to the bag so that there is a steady flow of chocolate. If you would like to add a second colour, wait until the first has completely cooled before repeating the process.
