Sawgrass: How to Make a Personalised Mug
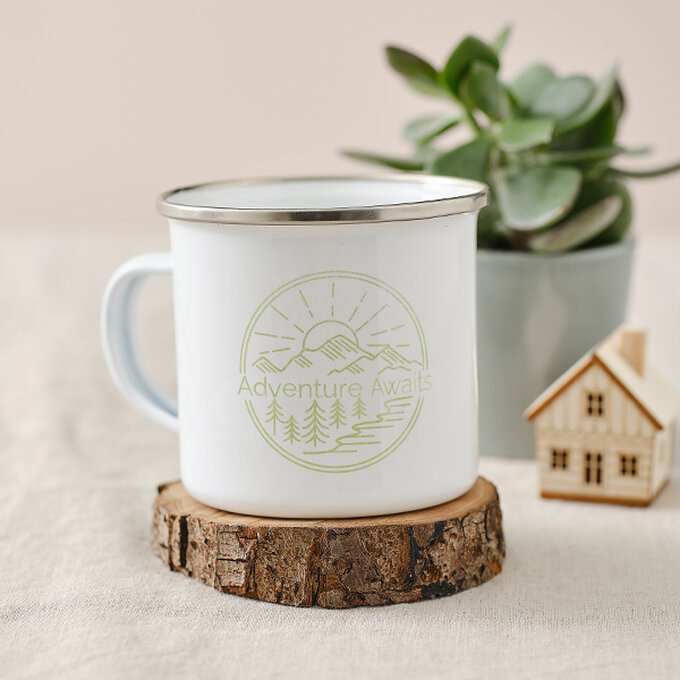
Make something extra-special for a loved one about to embark on a new adventure with this quick-to-make personalised mug project.
The Sawgrass sublimation printer uses special ink and paper to transfer your design onto the sublimation-compatible enamel mug blank, with flawless professional results achieved every time.
This project is perfect for Sawgrass beginners, and it can be created in under an hour.
Project and instructions by Hobbycraft Artisan Vicky Boyns
Discover more Sawgrass project ideas >
Please note: This project contains paid for content from Sawgrass Creative Studio. Screen reference images are taken from Creative Studio on Desktop. Print Manager Installation is required to print.
You will need
Subtotal
Is $ 8.49
Out of stock
You will also need:
* Heat press
* Heat resistant tape
* Sublimation compatible enamel mug - COMING SOON
How to make
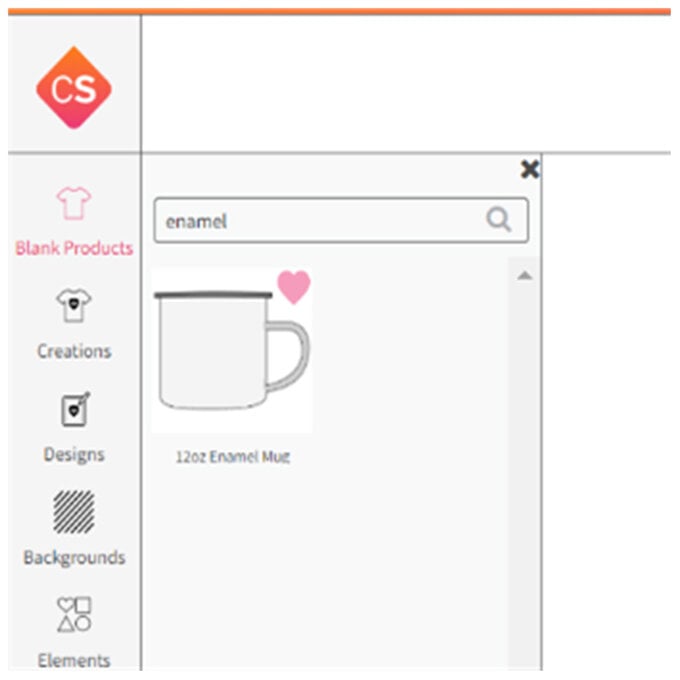
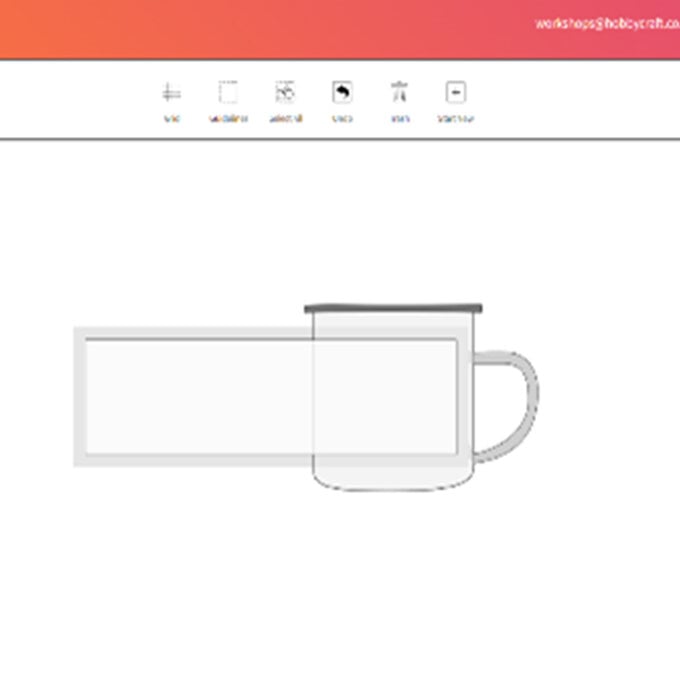
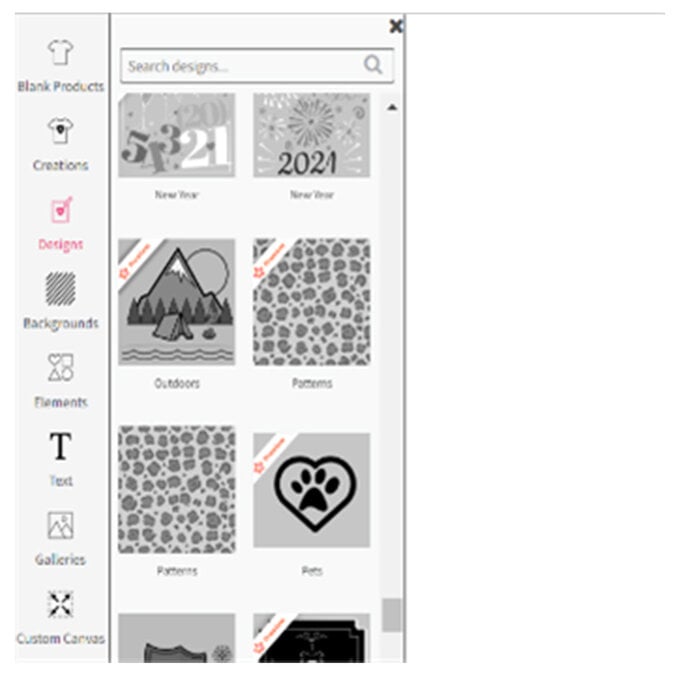
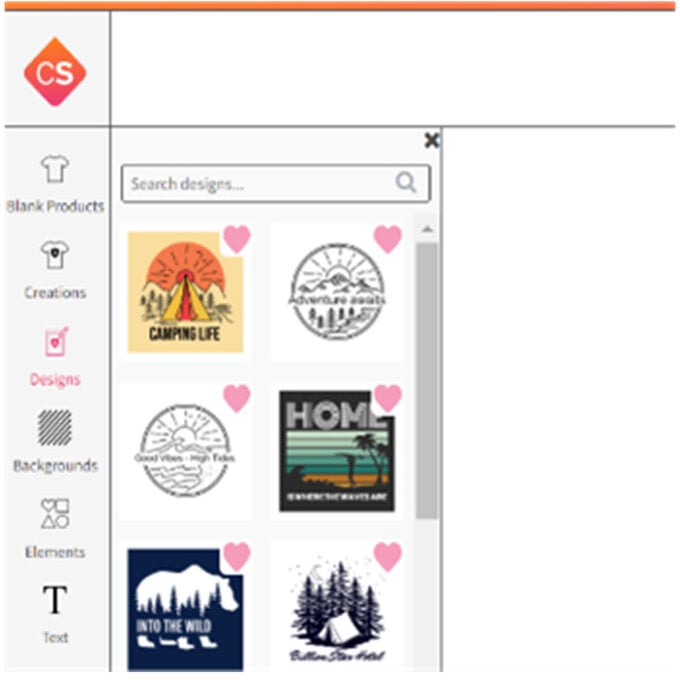
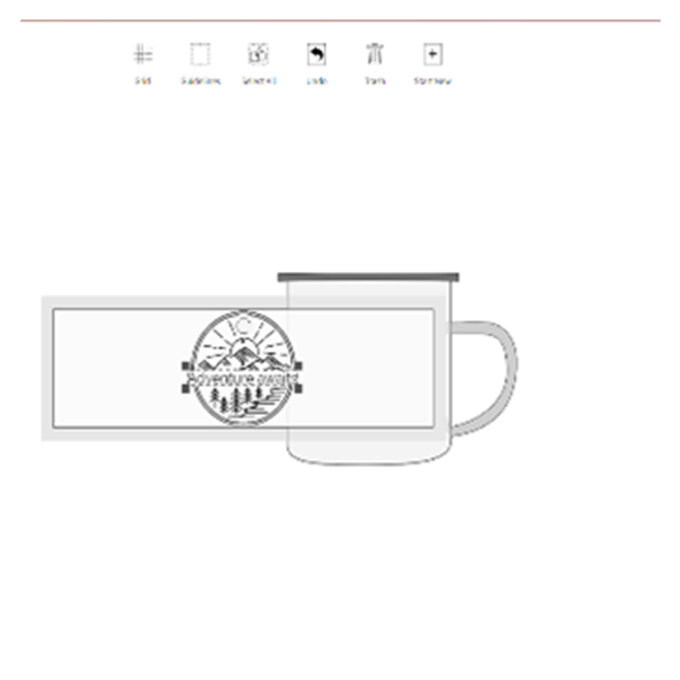
To select the desired image, simply click on it. The image will then appear in the centre of your template.
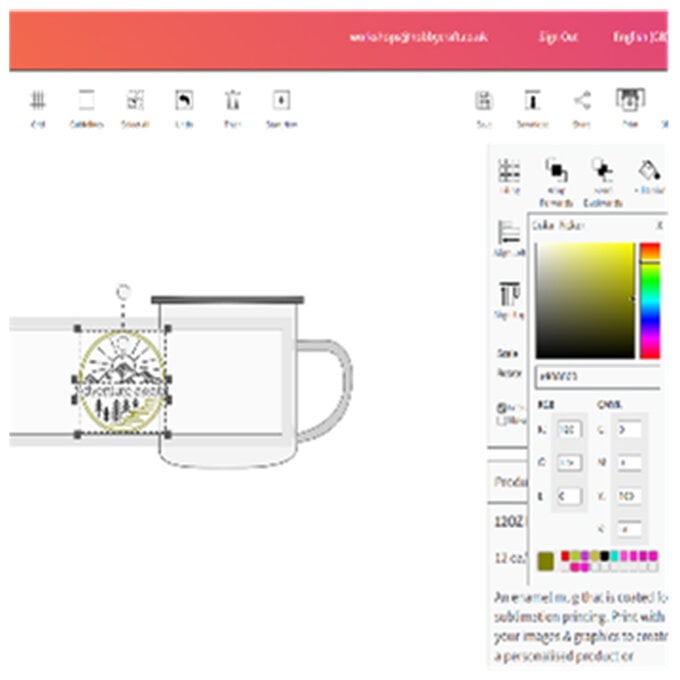
To customise the design colour, each element will need to be selected seperatley; simply click on each element and use the ‘Fill colour’ tab in the ‘Appearance’ menu, amend the RGB or CMYK codes by either typing in the codes or using the slider bar and shading dot.
Top Tip: It’s easiest to select elements by using the ‘objects’ drop down list where you can select each element separately
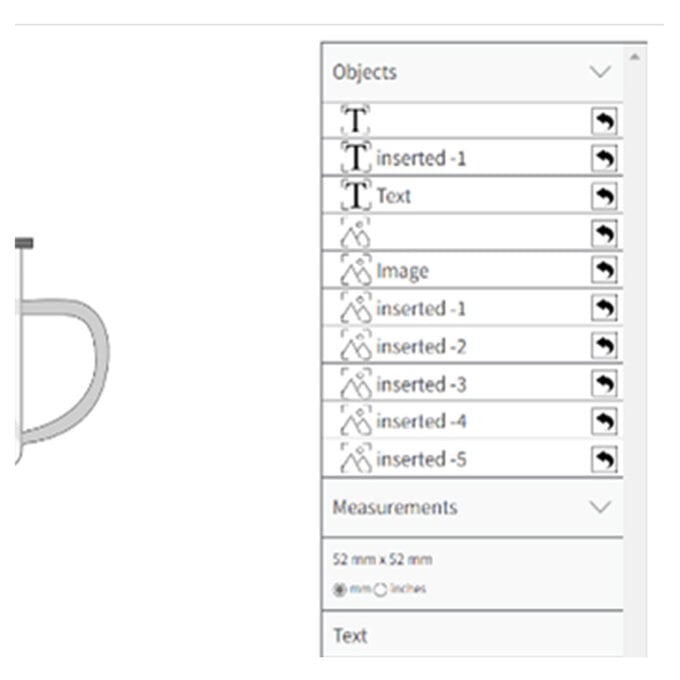
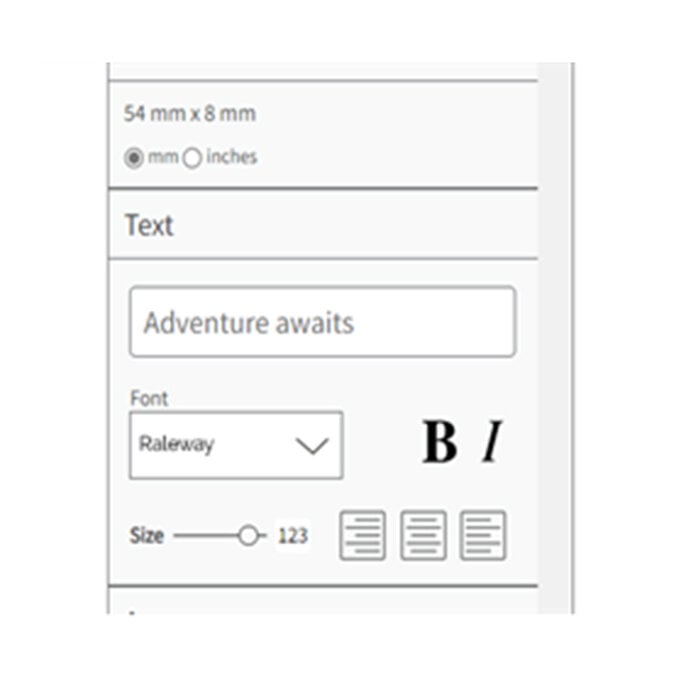
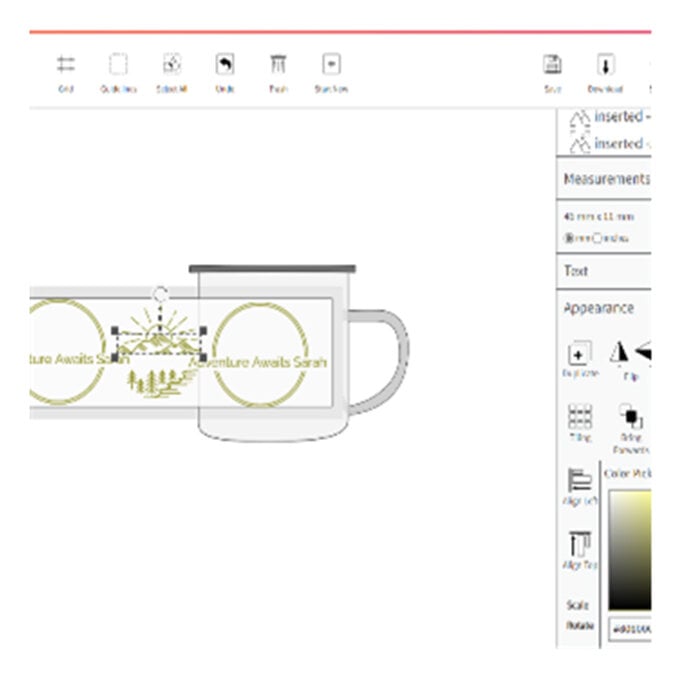
Once happy with your final image you can either leave it in the centre of the mug or duplicate and move each element, so it is on both sides. To do this highlight each layer on the list and select the ‘duplicate’ function.
Move the elements as desired – this may take a little bit of manoeuvring and patience.
