How to Make a Fabric Bottle Bag
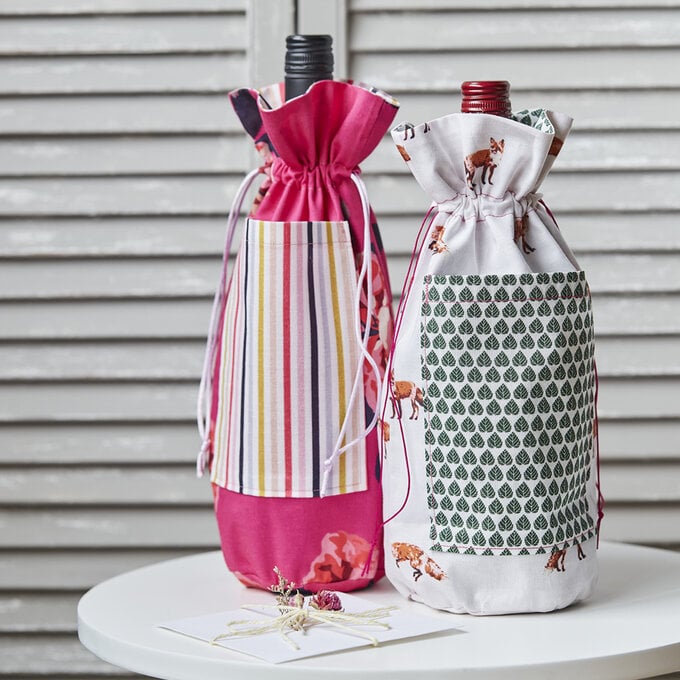
Make your next present extra special with this handmade bottle bag, made using stunning Joules fabric. This is a great way to create a reusable gift bag that's personalised to suit your recipient. Follow our simple tutorial and create a sustainable wine bottle bag they will love!
Hobbycraft is excited to announce the launch of an exclusive fabric collection with premium lifestyle brand Joules. Craft your own projects with the British brand's quintessential heritage style, with fabrics featuring iconic prints and patterns from the Joules archive.
Project and instructions by @sew__jessali
Discover more great sewing projects using Joules fabrics here >
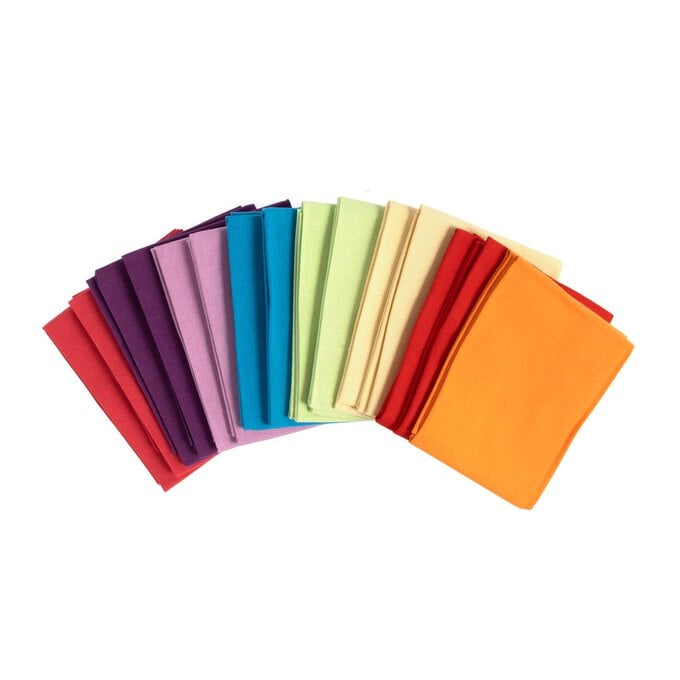
You will need
Subtotal
Is $ 37.00
Out of stock
Subtotal
Is $ 20.00
Subtotal
Is $ 131.00
Subtotal
Is $ 3.49
You will also need:
*Thread
*Dressmaking scissors
*A needle
*Pins
*A ruler
*A pencil
*A safety pin
Optional:
*A sewing machine
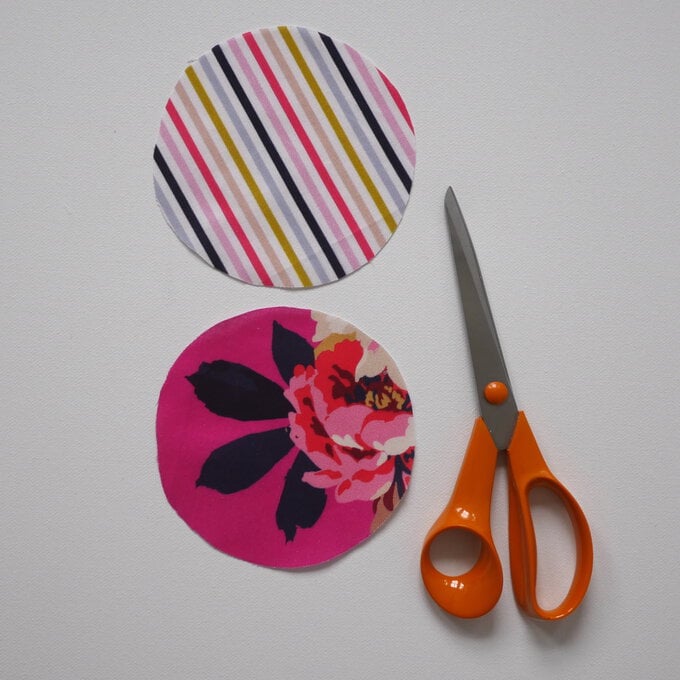
If you're making your own template, find a circular object with roughly a 12cm diameter. Draw around it on a piece of paper. Cut this template out. Use the template to draw around and cut out two circles of fabric. You may want to play with your pattern placement and have them in different patterns.
Cut two rectangles out of your chosen 'outer' fabric that measure 32 x 21cm. Then cut the same from your chosen 'lining' fabric.
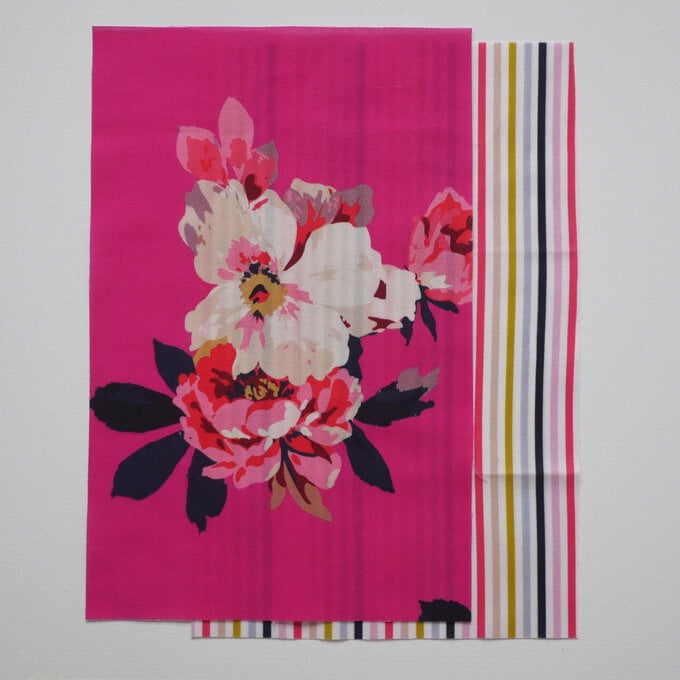
Cut a rectangle that measures 20 x 15cm from your 'lining' fabric, this will become the front pocket.
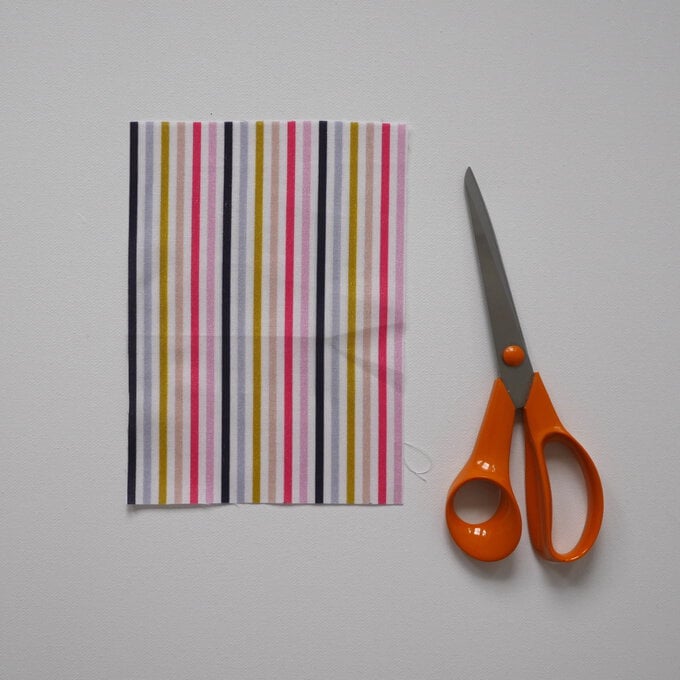
On your pocket fold the top edge down to the wrong side by 1.5cm and again by 1.5cm to form a rolled hem, press and pin in place.
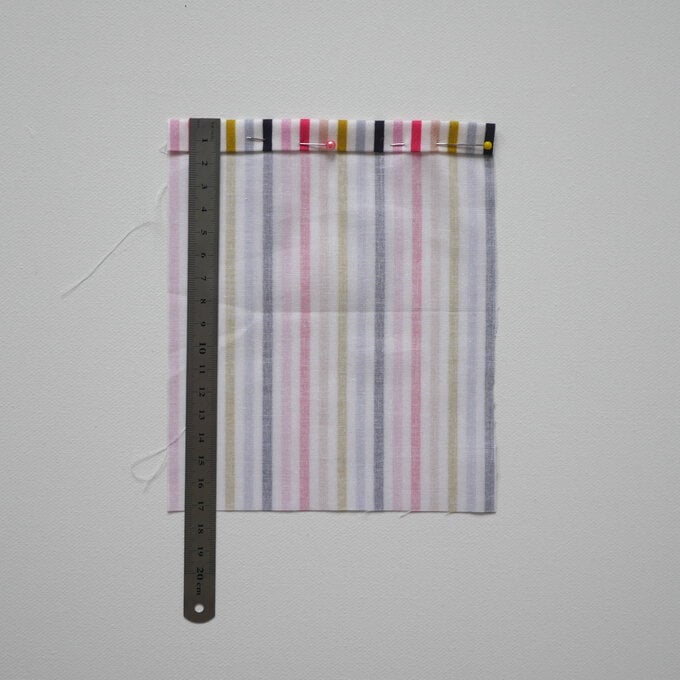
Sew this rolled hem down. The finish the remaining 3 edges of your pocket with a large zip zag stitch.
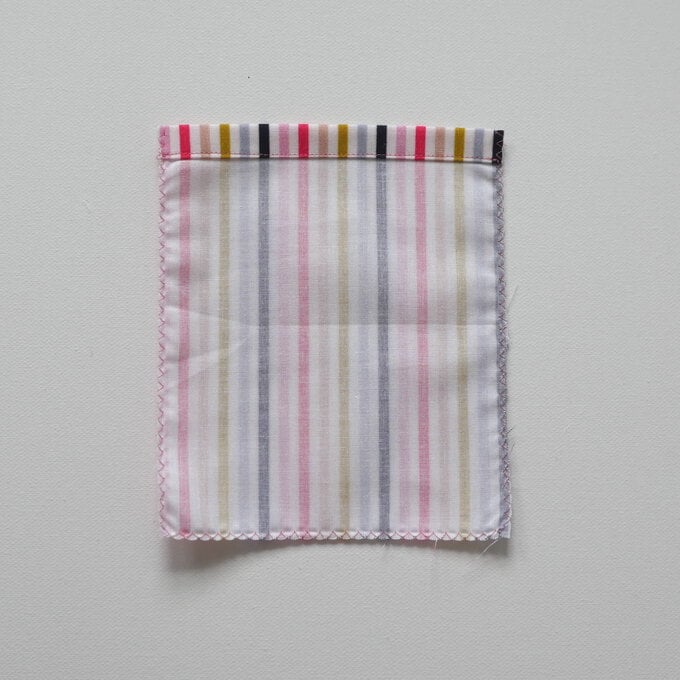
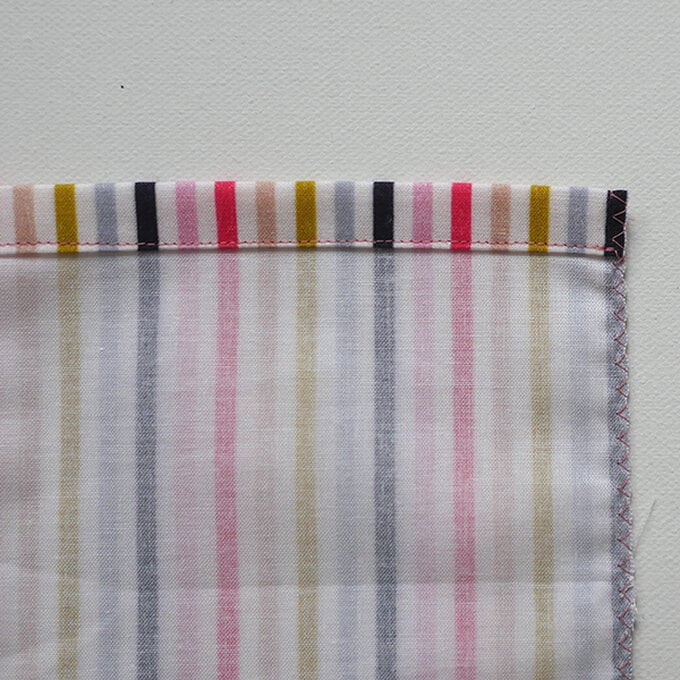
Using your iron, press the 3 zig-zagged sides to the wrong side by 1cm.
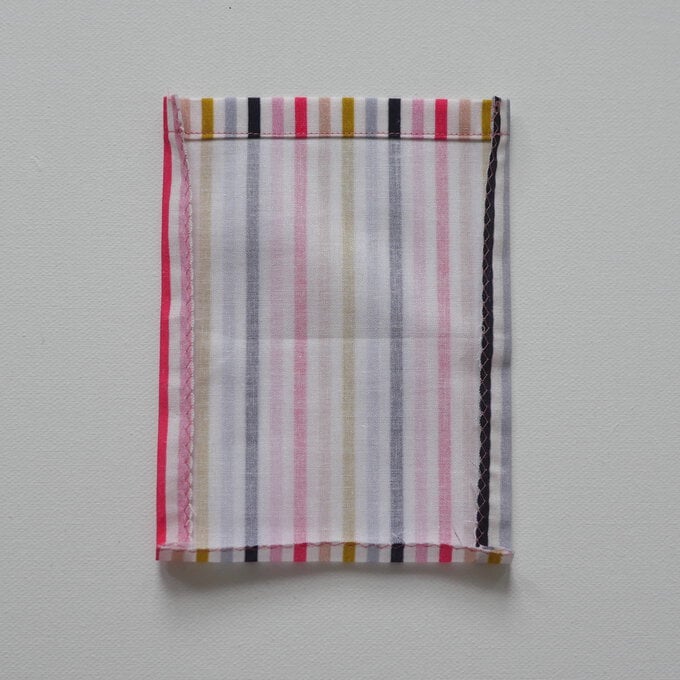
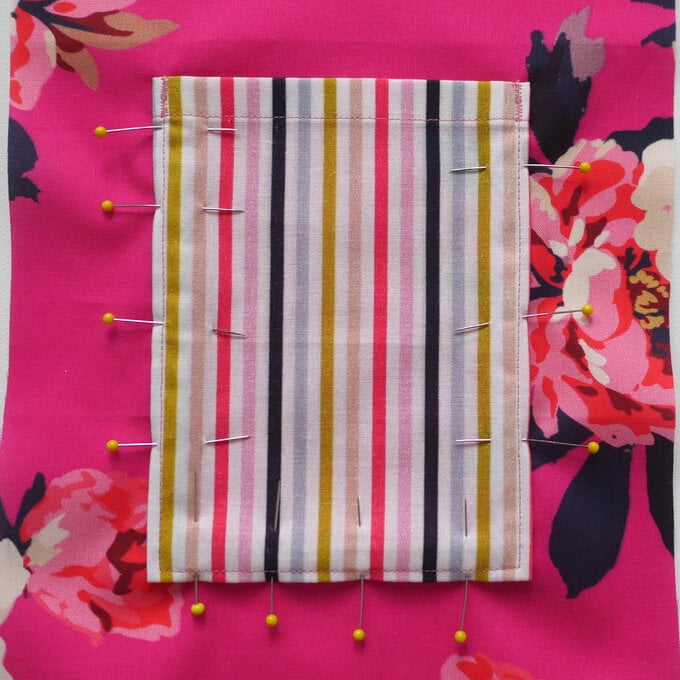
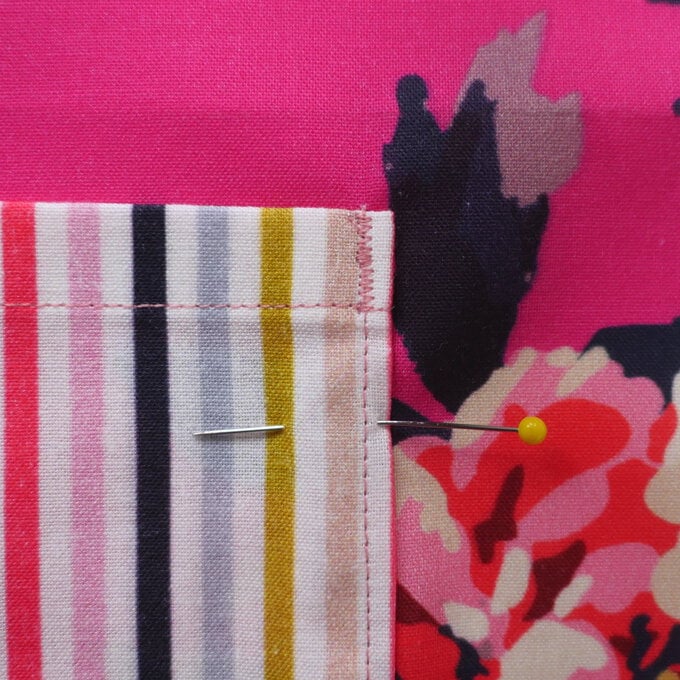
Pin your pocket to the front of one of your 'outer' rectangle pieces. Make sure it's at least 10cm down from the top edge. And at least 2cm up from the bottom. Sew around the three sides, leaving the top open. Add a small zig zag to support the top edge seam.
Lay the 1 'outer' rectangle and 1 'lining' rectangle right sides together and pin the top edge.
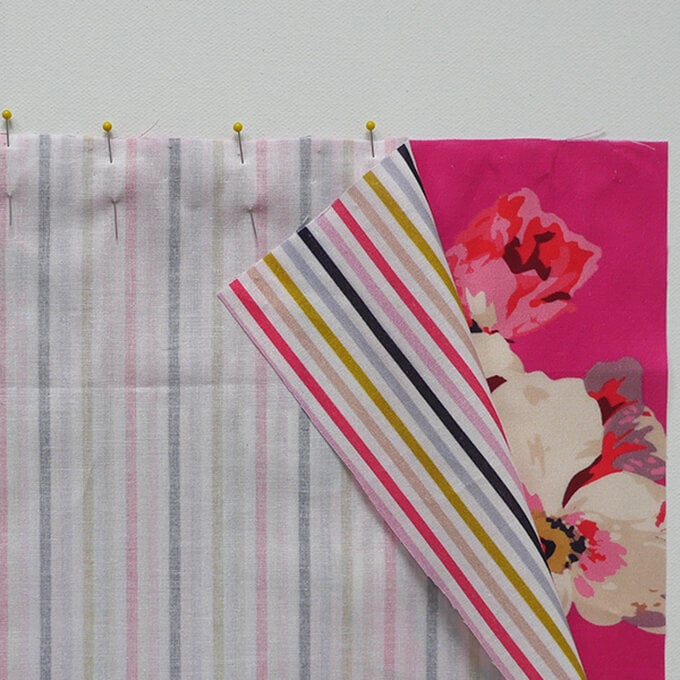
Sew and press seams open. Repeat with other two rectangles.
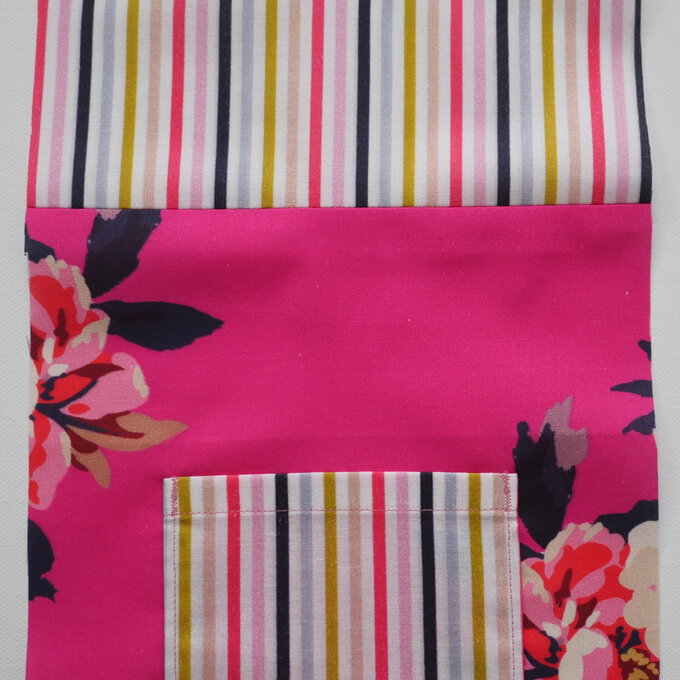
Next place both long pieces right sides together. 'outer' fabric should be touching 'outer' fabric and 'lining' fabric should be touching 'lining' fabric with the seam in the middle. Pin together.
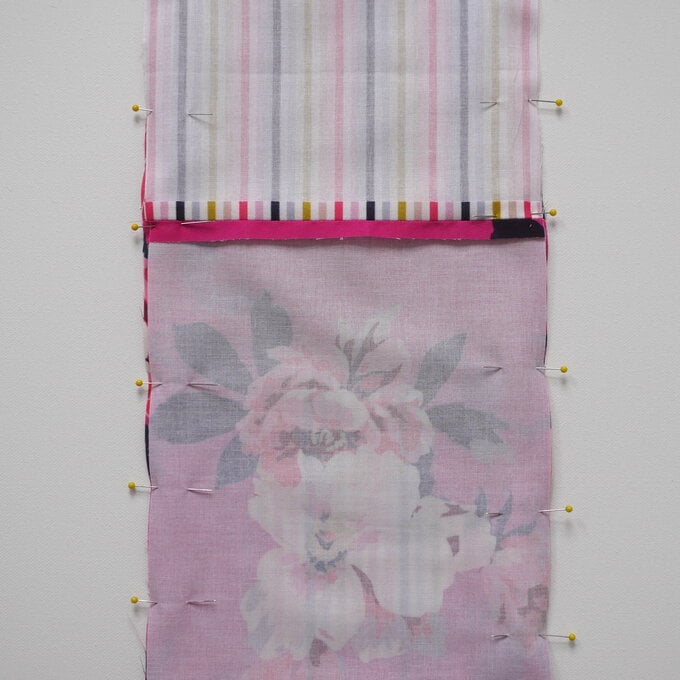
Mark a 1.5cm gap 5cm down from the middle seam in the 'outer' fabric. Repeat on opposite side of 'outer' fabric.
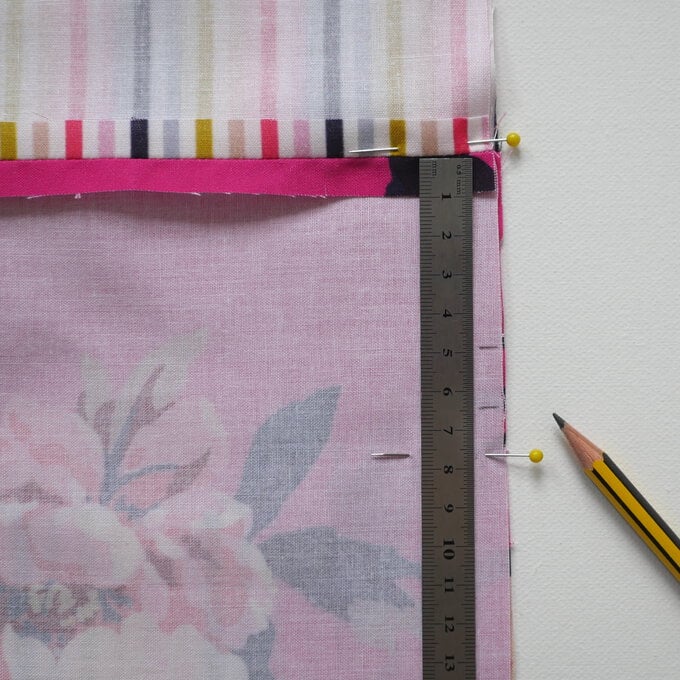
Mark a 7cm gap in the long side of the 'lining' fabric.
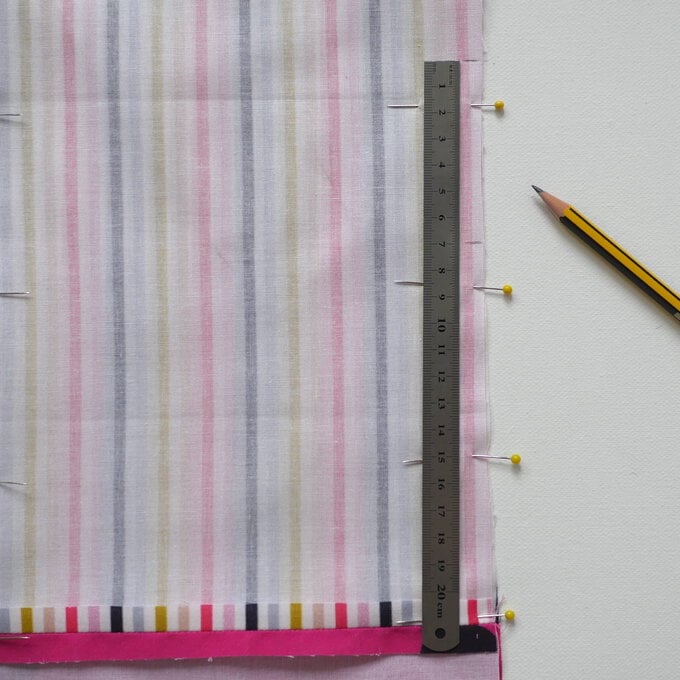
Sew down the 2 long open edges, leaving your marked gaps. Press seams open.
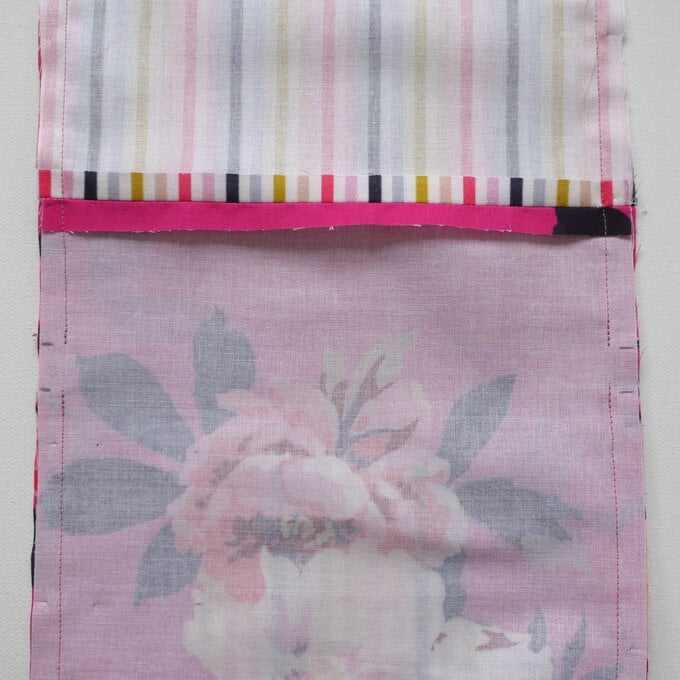
Get your circular fabric piece and pin to it's matching fabric, with the right sides on the inside. The more pins the better.
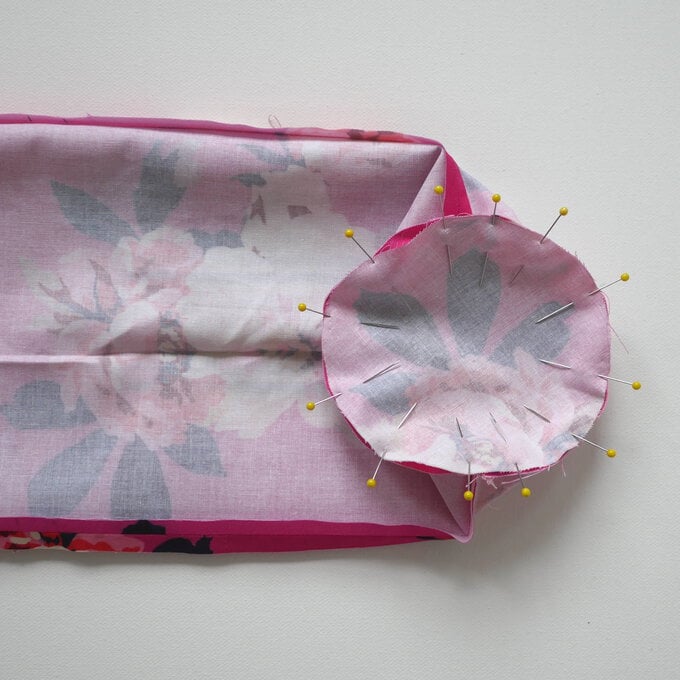
Sew really carefully around in a circle sewing with the circular piece on the bottom. Make sure you gently push the excess fabric away to reduce the puckers. Take your time. Then repeat with the other end.
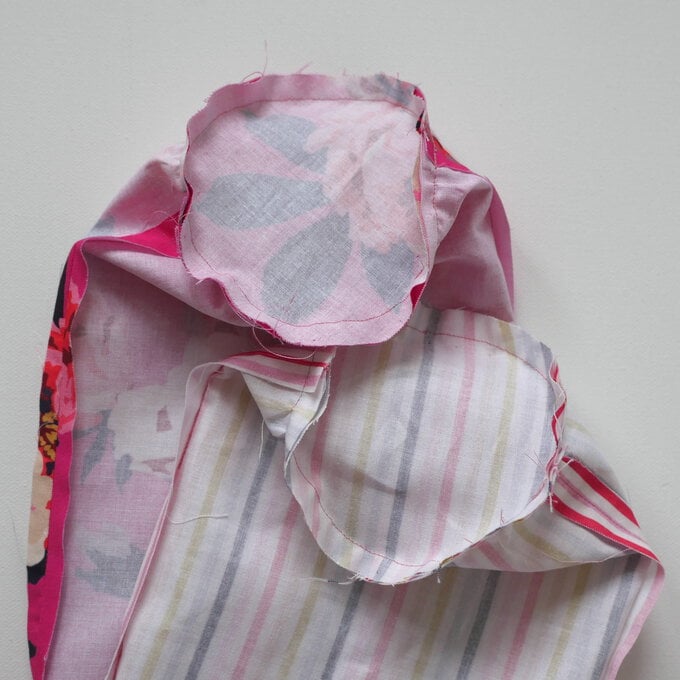
Cut tiny slits in the seam towards your sewn line in both circles to help shape the curves.
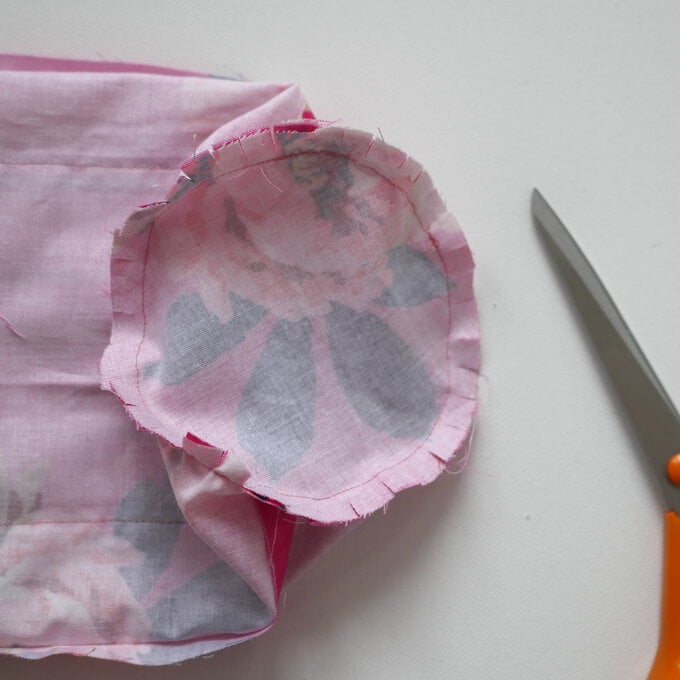
Turn the whole bag the right way around through the larger gap in the lining side seam.
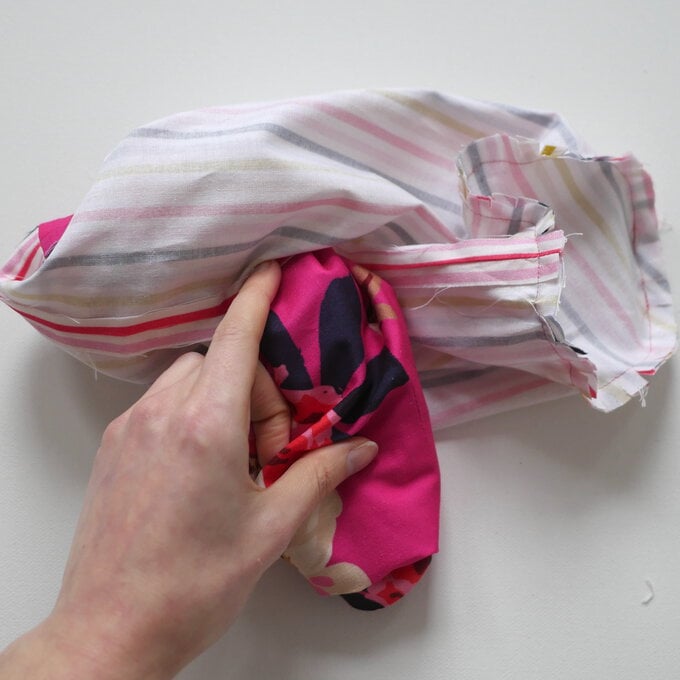
Press and pin the gap shut.
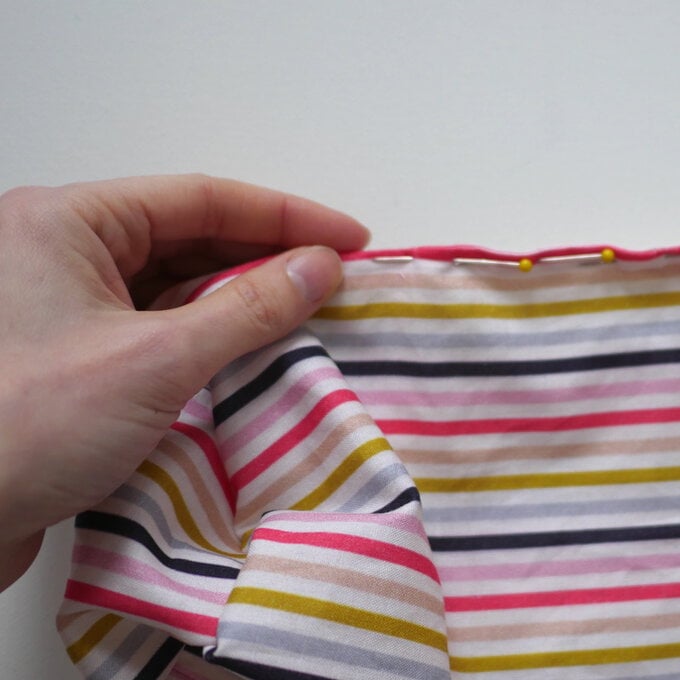
Sew the gap close to the edge and then pop the 'lining' side inside the 'outer' bag. Give it all another press.
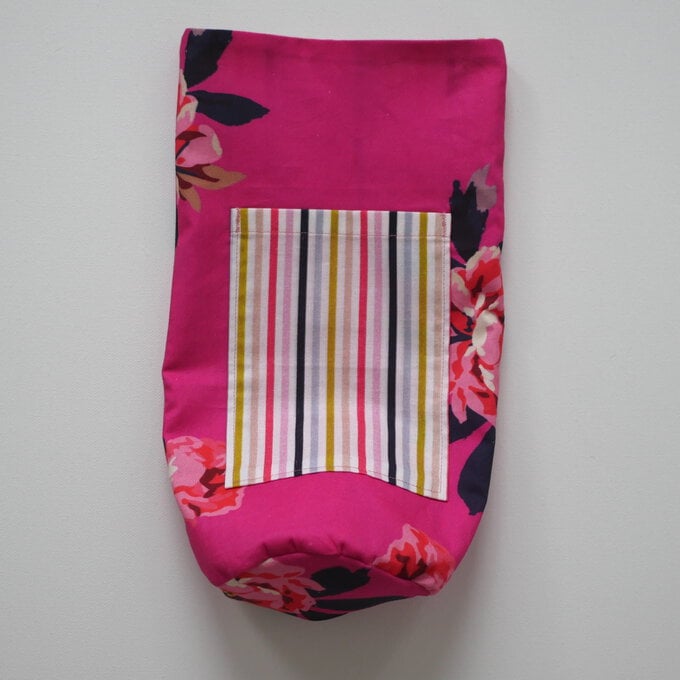
Find the 1.5cm gap in the 'outer' side seams and place pins on either side. Sew around the top in a circle on each of these lines. The first one should be 5cm from the top edge, the second 1.5cm below that.
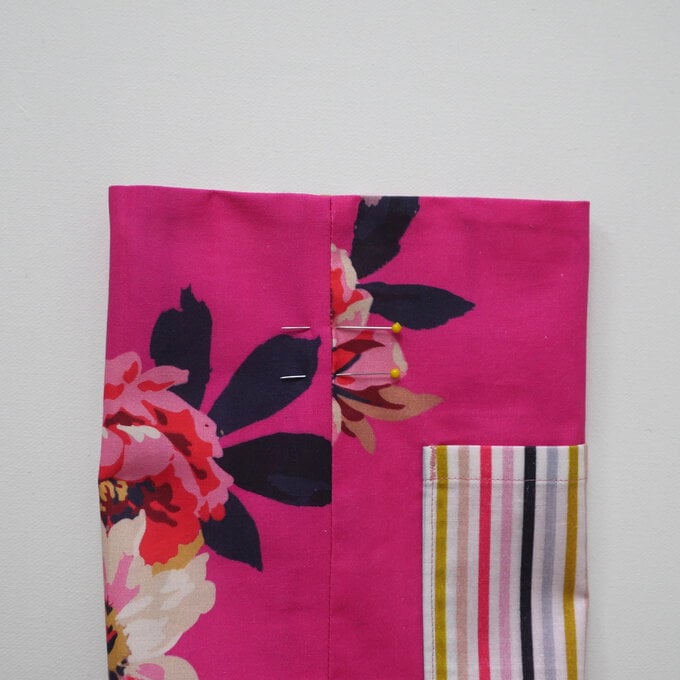
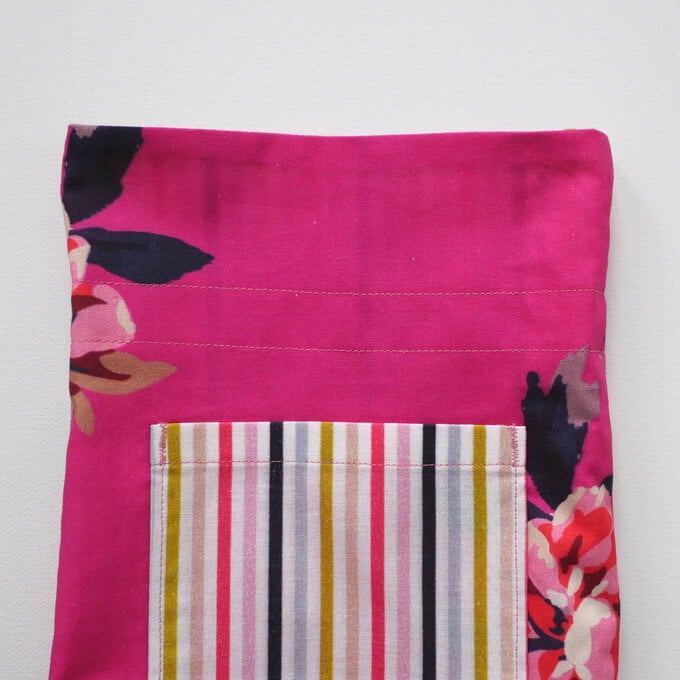
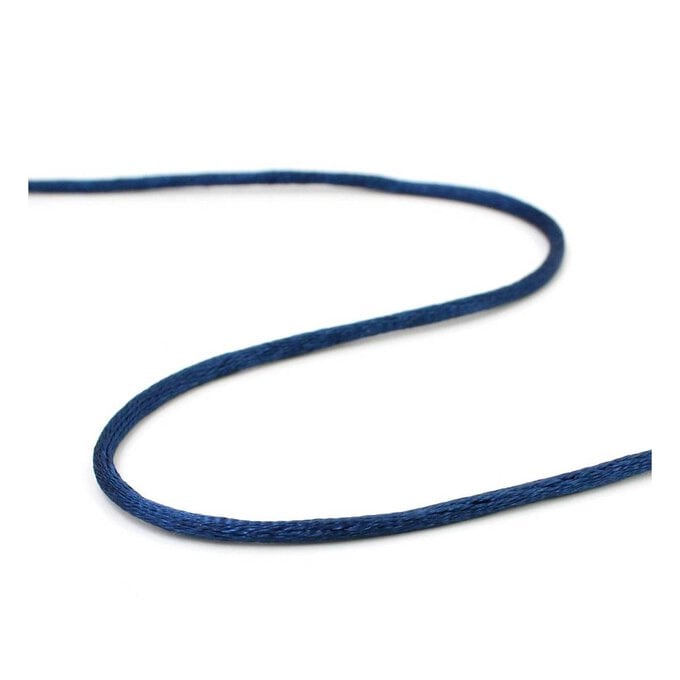
Cut two pieces of cord ribbon that are double the width of your bag, plus 20cm.
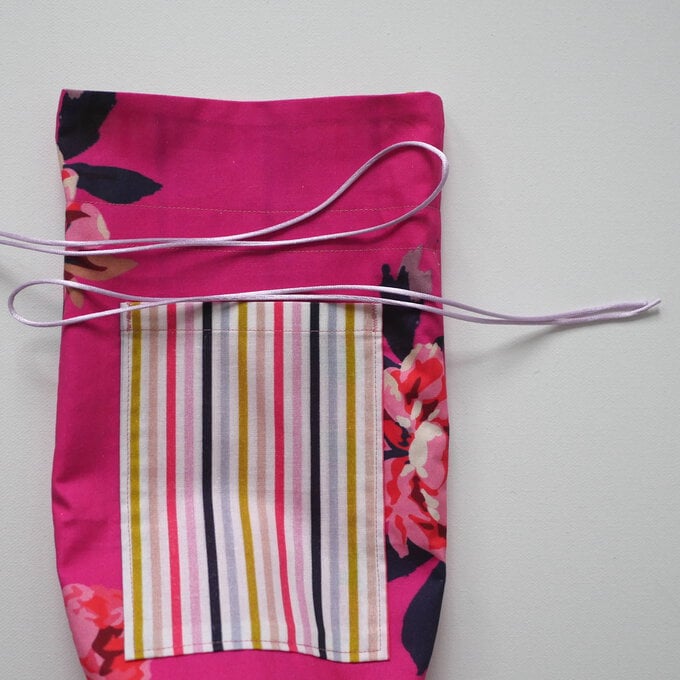
Attach a safety pin to a piece of cord and thread it through the gap. Feed it through the channel and out the other side. Knot them together to secure and repeat on other side.
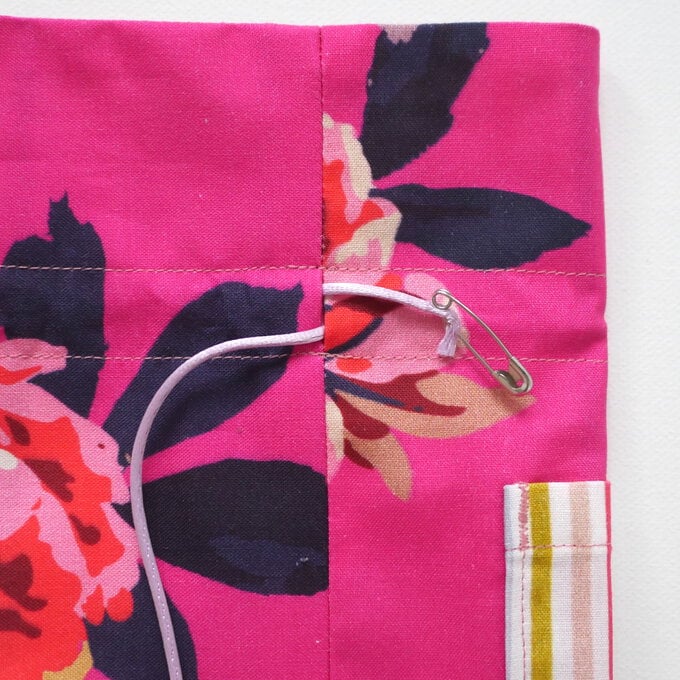
Trim the cord ends and press whole bag to finish.
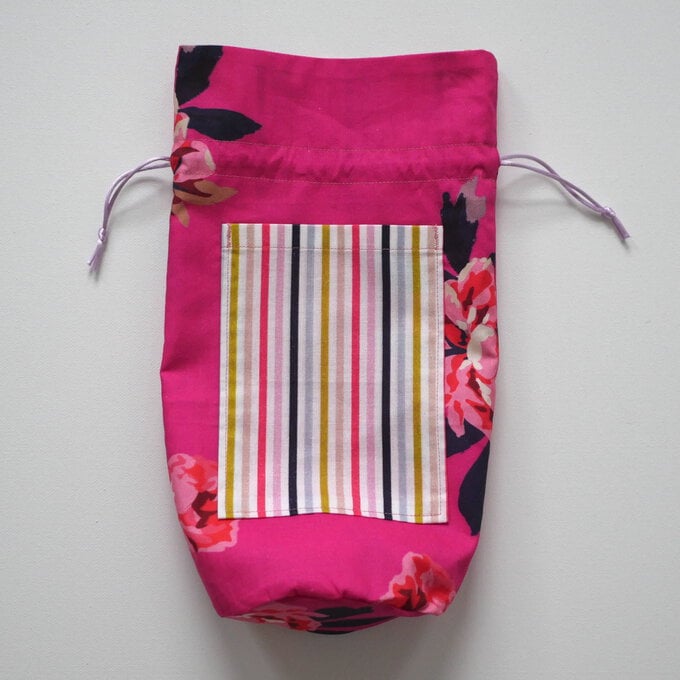
Your fabric bottle bag is now ready to use.
