How to Sew a Personalised Kit Bag
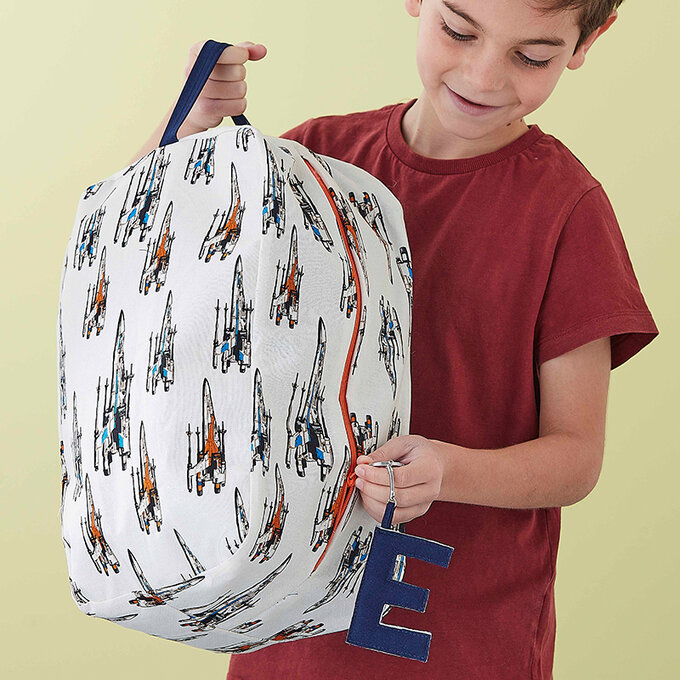
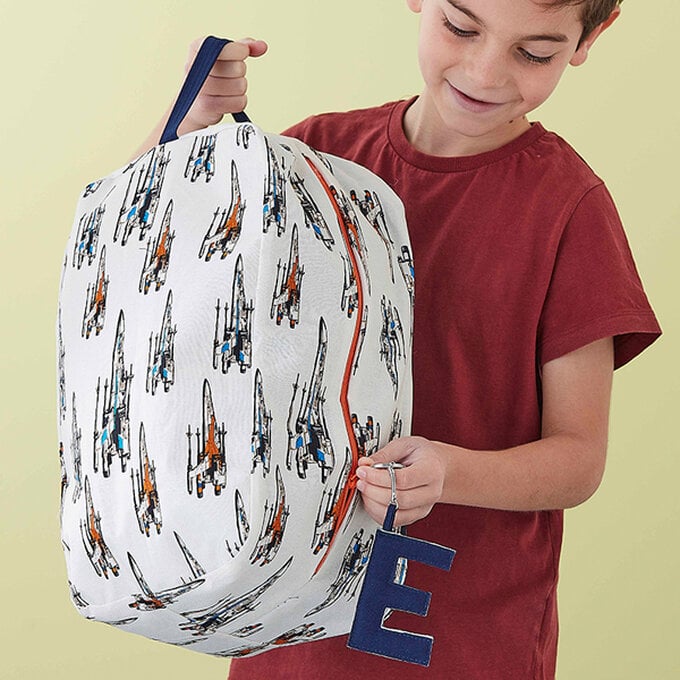
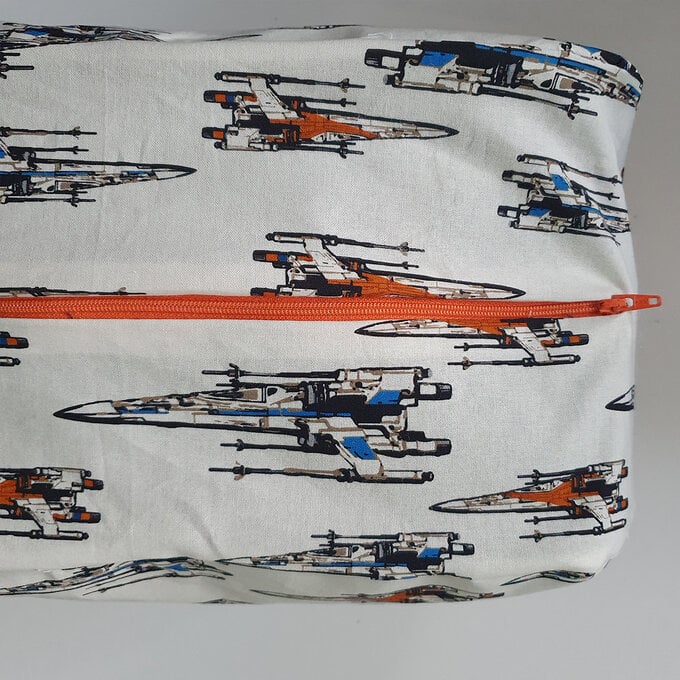
Sew a personalised kit bag, perfect for kids with kit they'll need to carry around with them! It'll make a great gift for all ages, with a custom letter detail and printed fabrics of your choice to make each one totally unique.
The project is perfect for sewers looking to improve their skills as it involves inserting a zip, working with adding a lining and sewing curved corners.
Project and instructions by Katherine Lucy Creates.
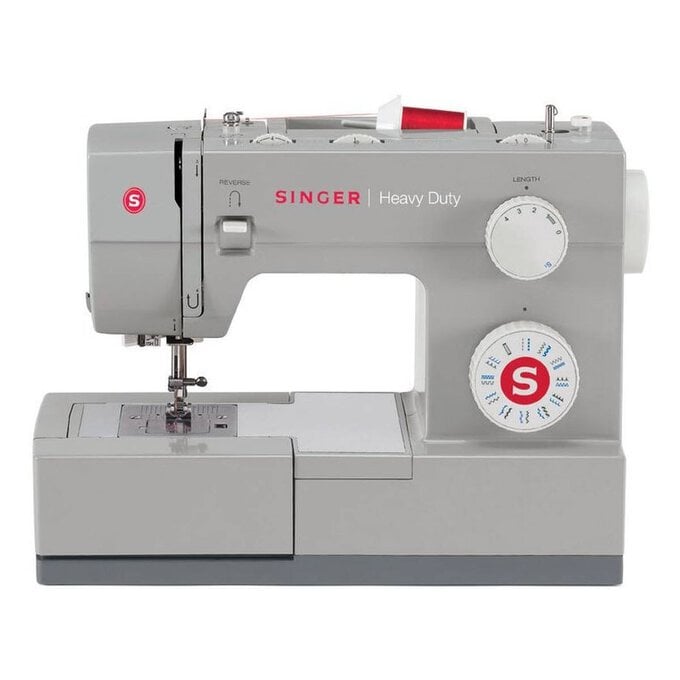
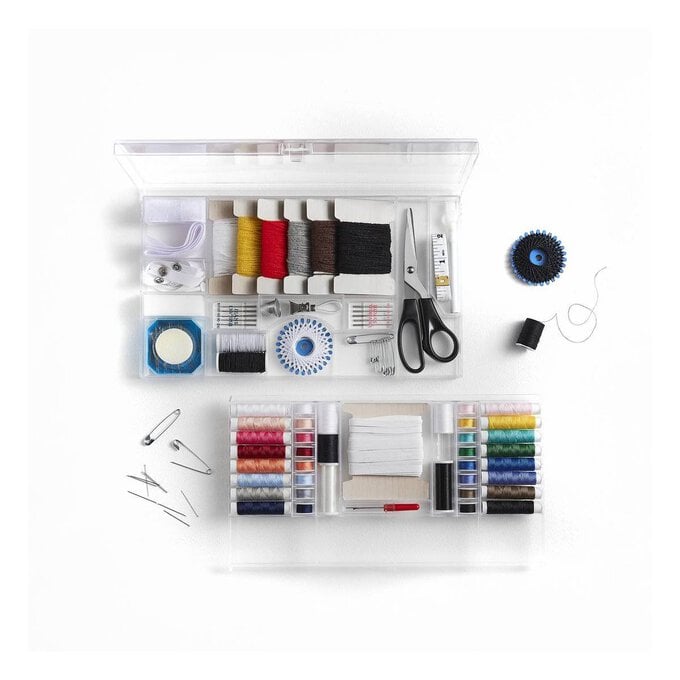
You will need
Subtotal
Is $ 411.00
Subtotal
Is $ 33.00
Subtotal
Is $ 4.49
Subtotal
Is $ 7.49
Subtotal
Is $ 18.00
Subtotal
Is $ 4.49
Subtotal
Is $ 17.00
Subtotal
Is $ 3.49
To prepare:
Download and print our free template, cut out the pieces and pin to your fabrics. Cut out all the fabric pieces and four interfacing pieces.
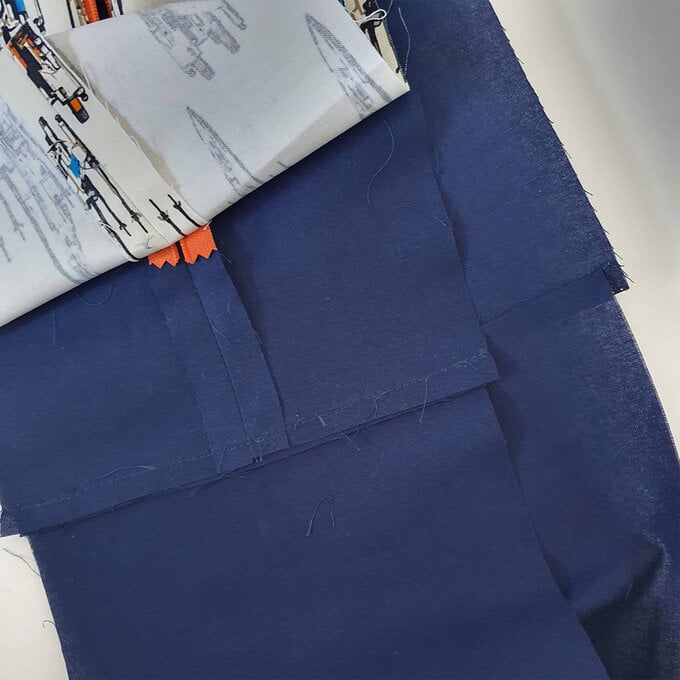
Take the two outer and two lining top pieces, pin and stitch the two ends together, using the notches as a guide. Make sure you back stitch over the inner ends a few times as these will sit next to the zip.
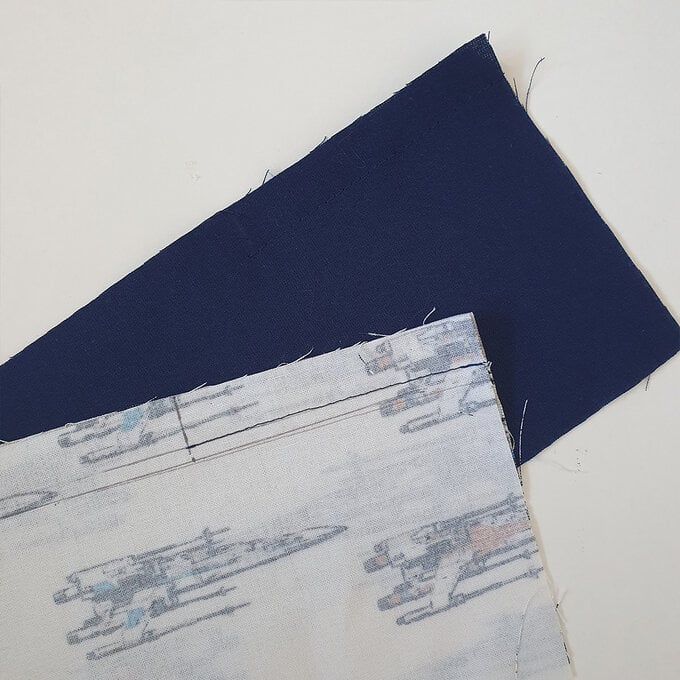
Open and press the seams the seams apart
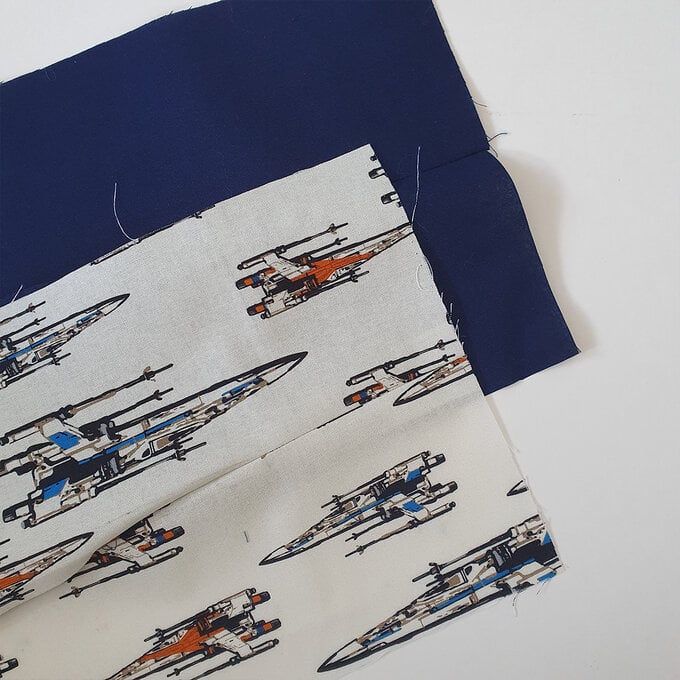
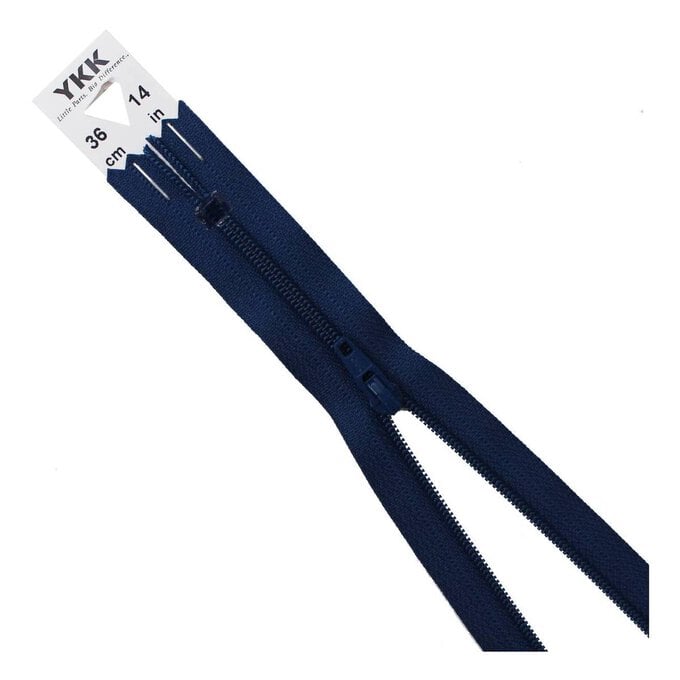
Take your zip, pin in between the outer and lining pieces on the centre of one side.
1. Before sewing, double check you have pinned the right pieces together and that the zip tape sits between the wrong sides of the fabric.
2. Using a zipper foot, stitch along the pinned side, using 0.5cm seam allowance.
3. Pin and repeat for the other side. Your Zip should now be secured in place.
4. Press well on the outer and lining sides, there should be a small amount of fabric allowance around the zip.
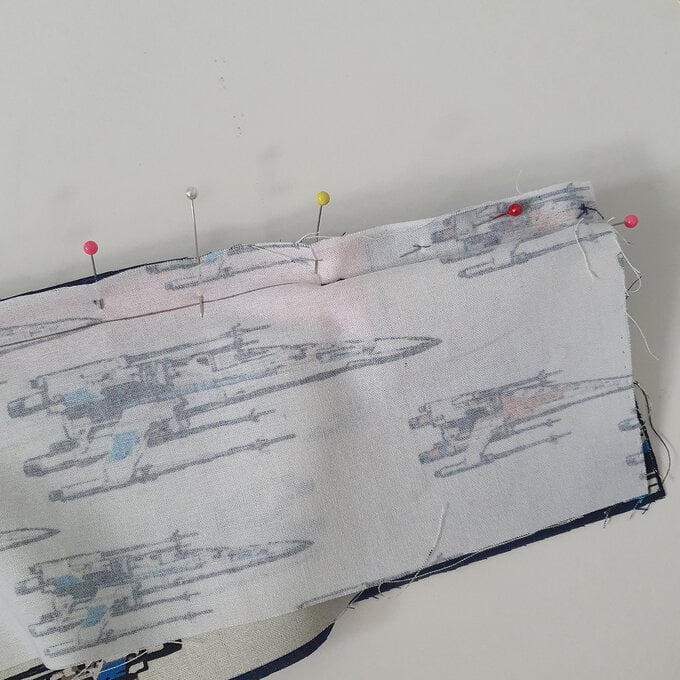
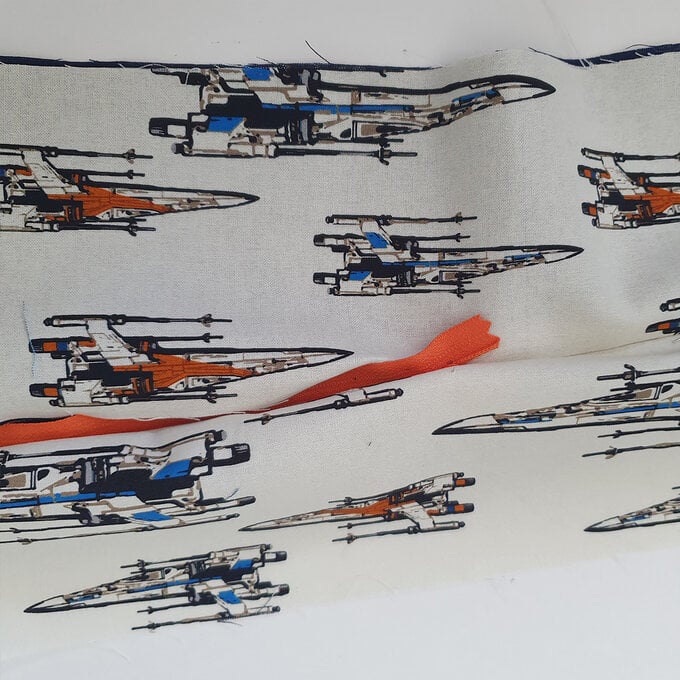
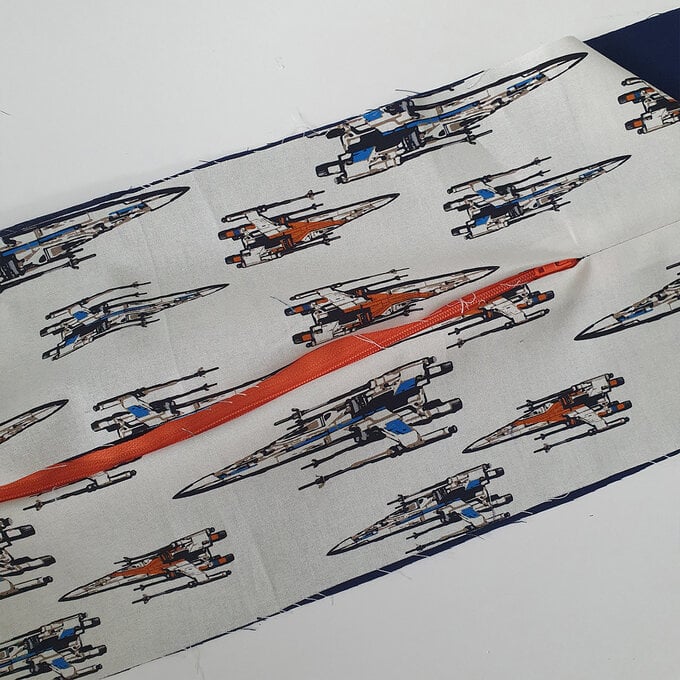
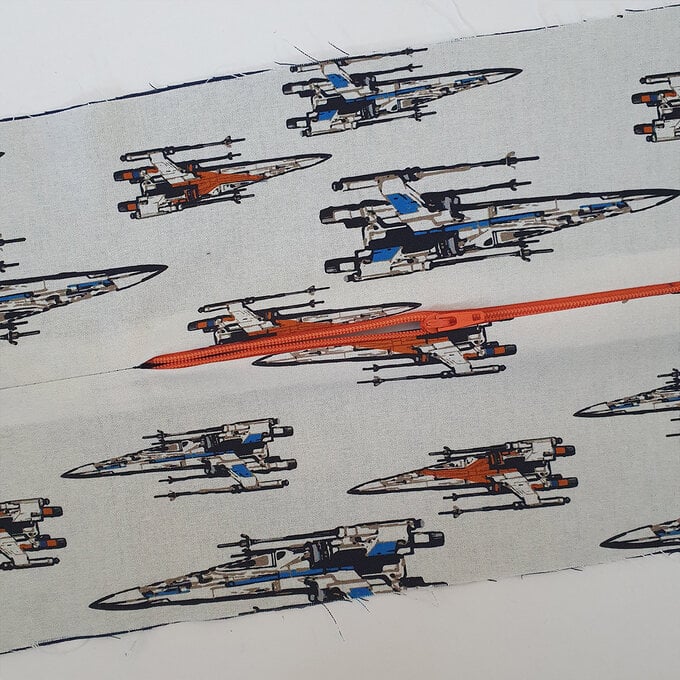
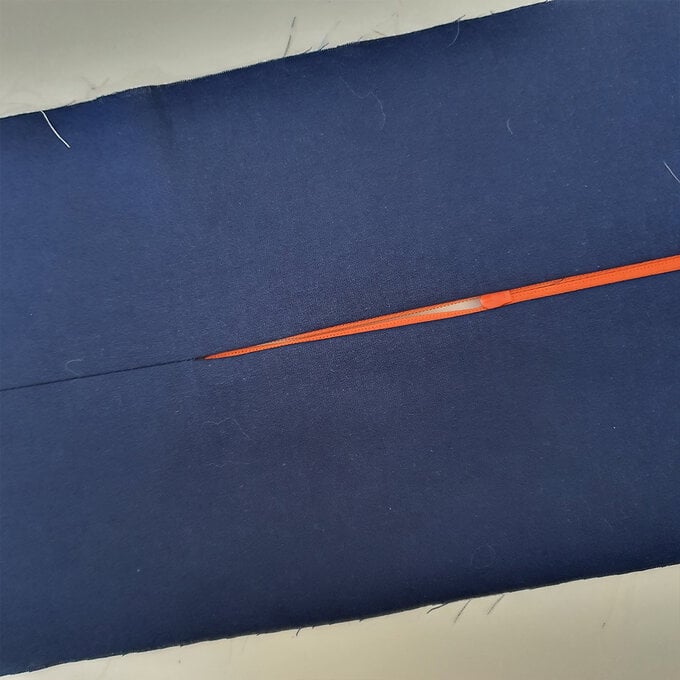
Next take the long bottom lining piece, pin the sides right sides together.
Use a 1cm seam allowance to stitch. And press the seams to the bottom. Repeat for the bottom outer piece and set to one side.
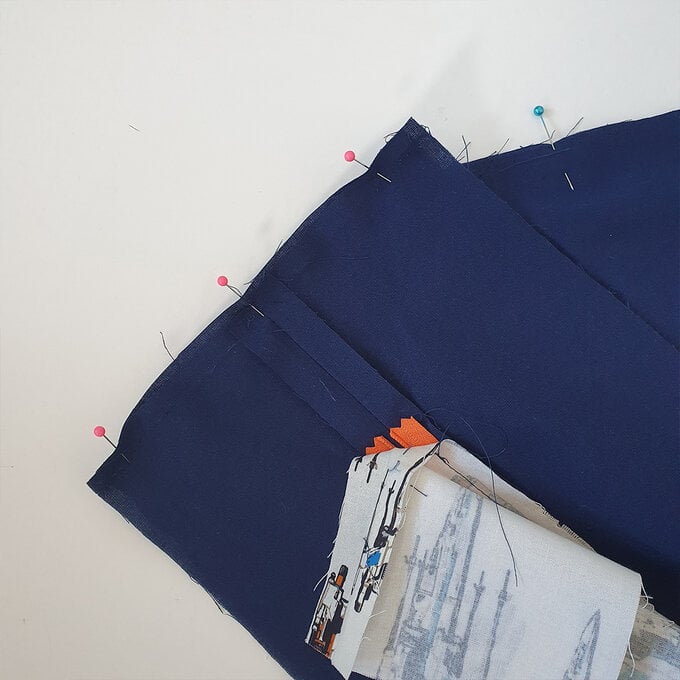
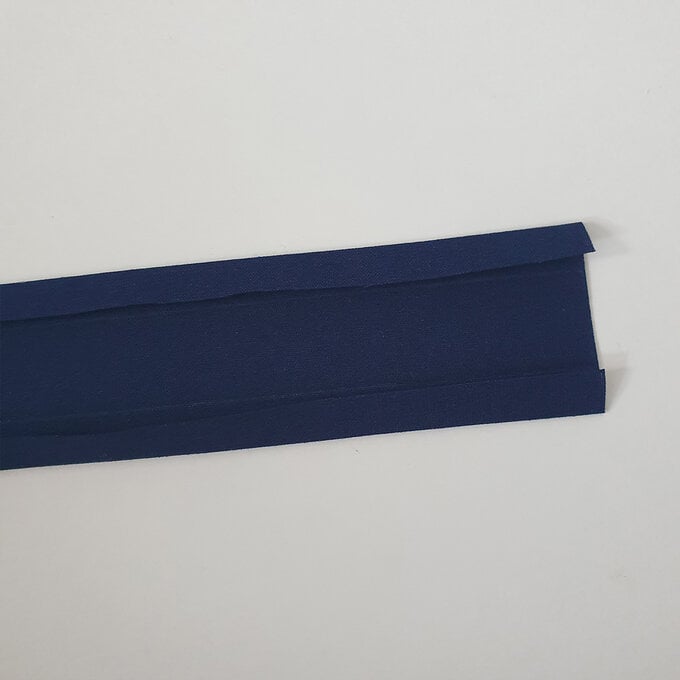
Take the strap piece and fold in 1cm on each long edge.
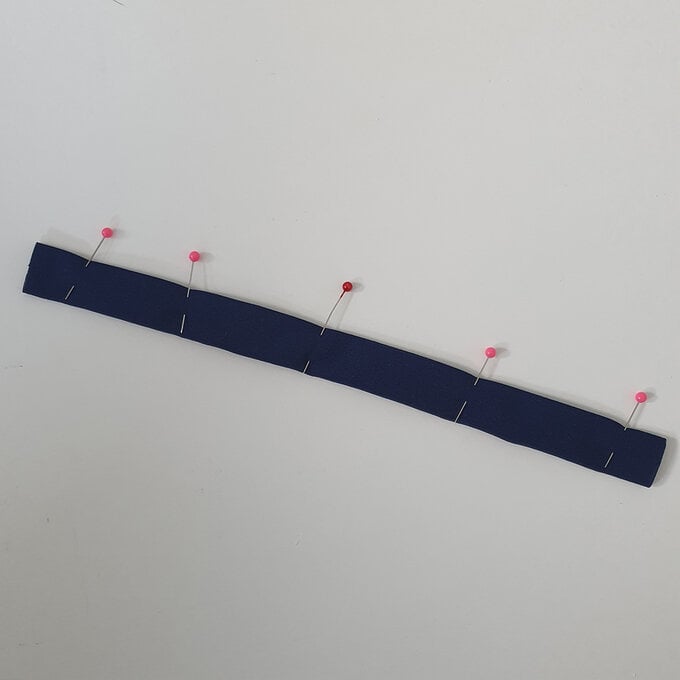
Fold in half and pin in place.
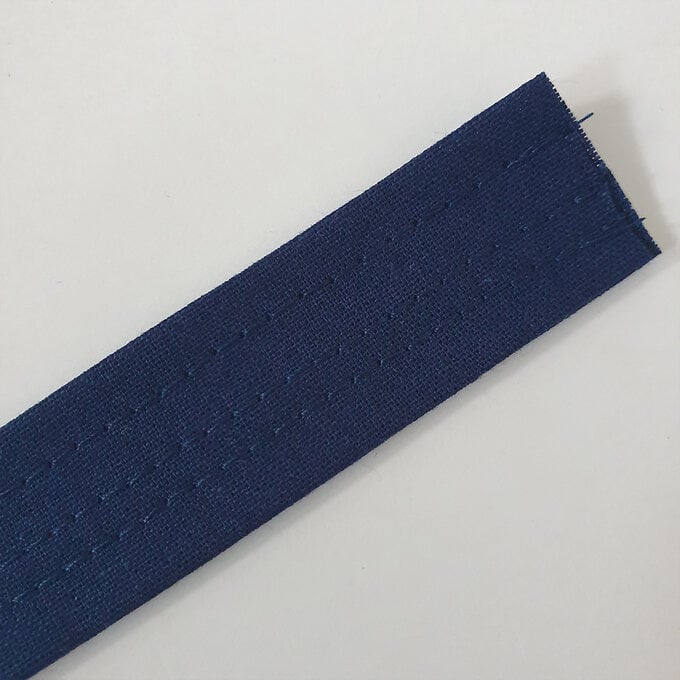
Add three lines of neat top stitching to the strap and press well.
Take your front and back pieces and interfacing, press the interfacing to each outer and lining piece
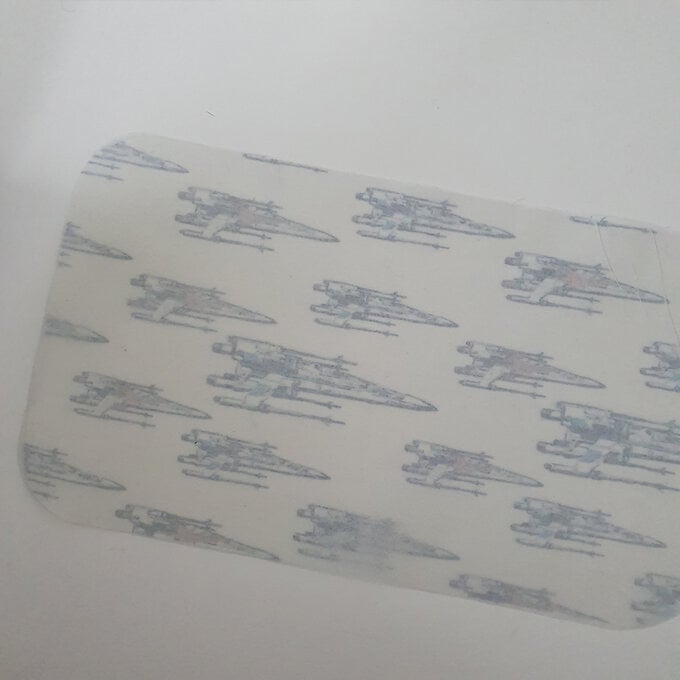
Take the outer font piece and the part of the bag you sewed earlier pin right sides together with the strap sandwich in the fabric on one side where the top and bottom pieces meet. Follow the curve shape as you sew, making sure there is a 1cm seam allowance. Stitch over the strap piece a few times to make it secure.
Turn the right way round to check and press as well as you can.
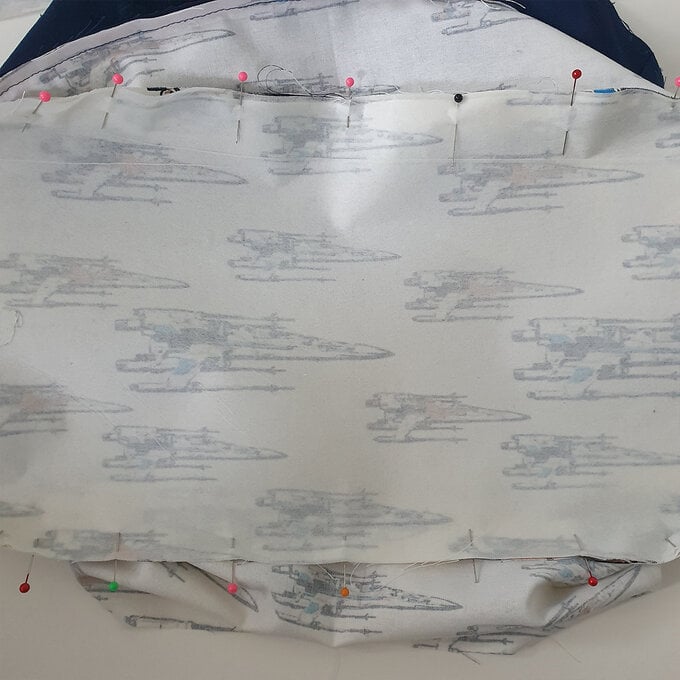
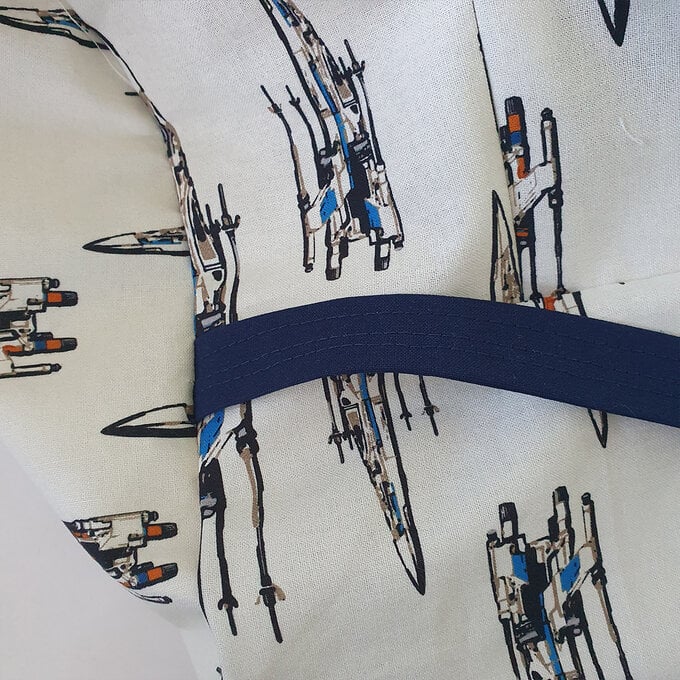
Take the outer back piece and repeat.
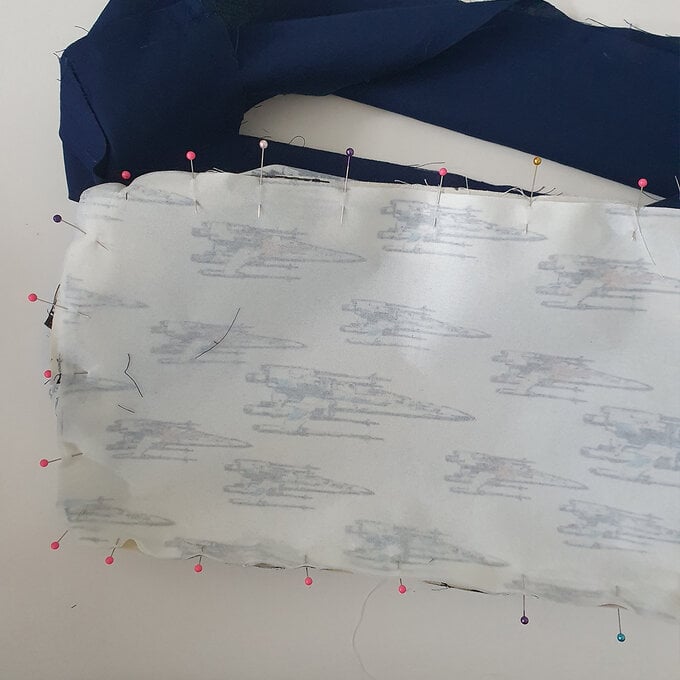
Take the lining front piece and pin in place. Stitch, using a 1cm seam allowance again.
1. Repeat for the lining back piece, this time leaving a gap big enough to turn the bag through.
2. Once fully turned through and pressed well, stitch up the gap with a neat top stitch.
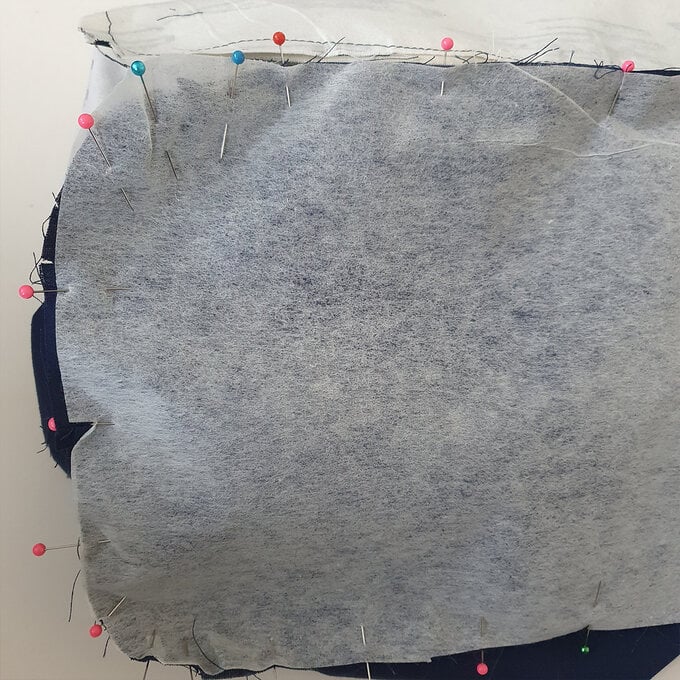
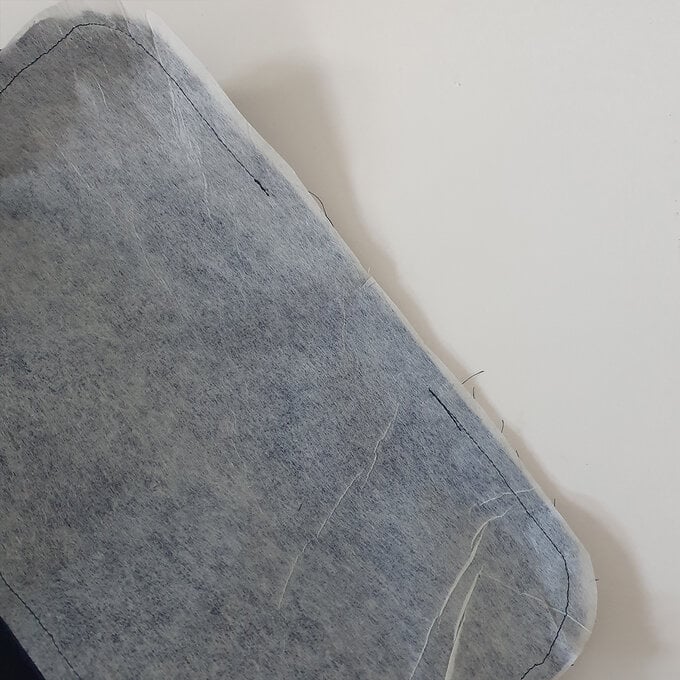
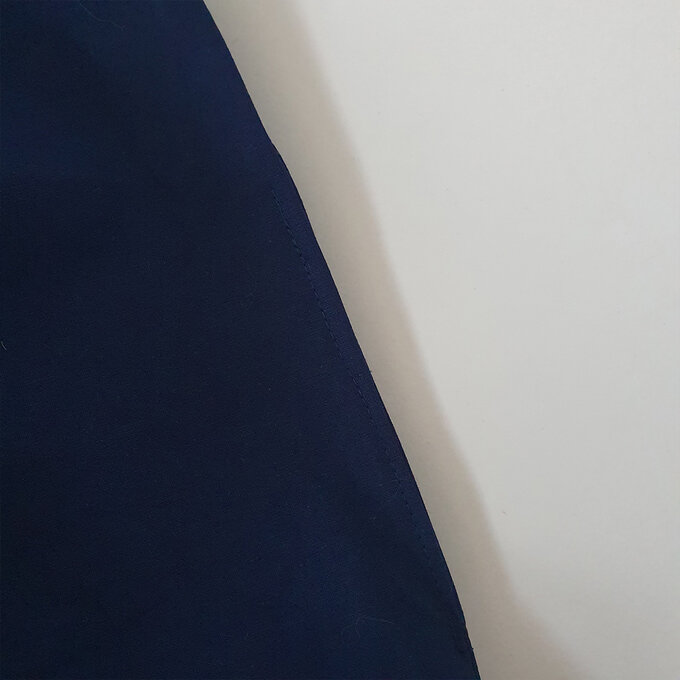
Push the lining inside the back and press as well as you can.
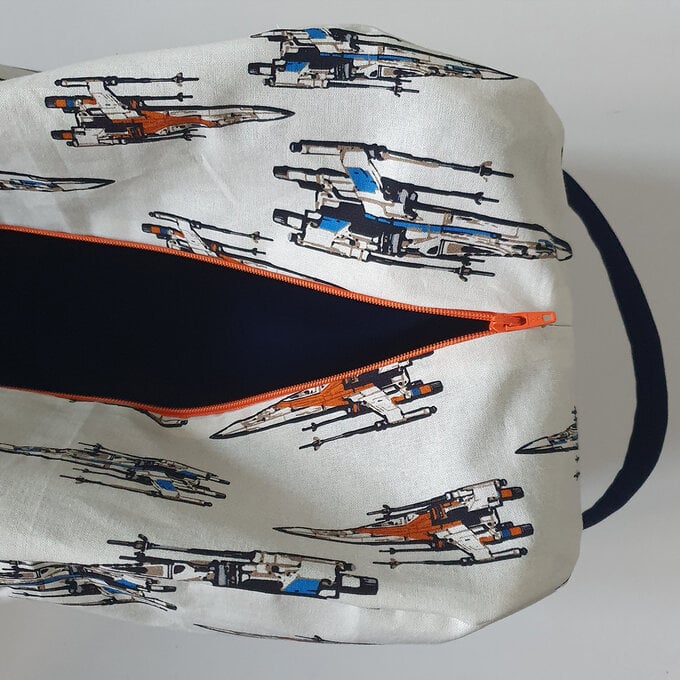
Zip up the bag and remove any excess threads with a small sharp pair of scissors.
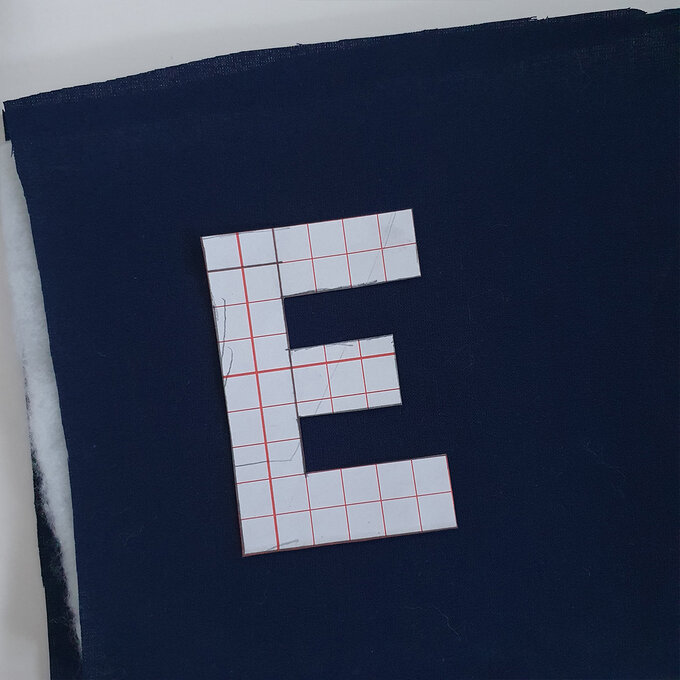
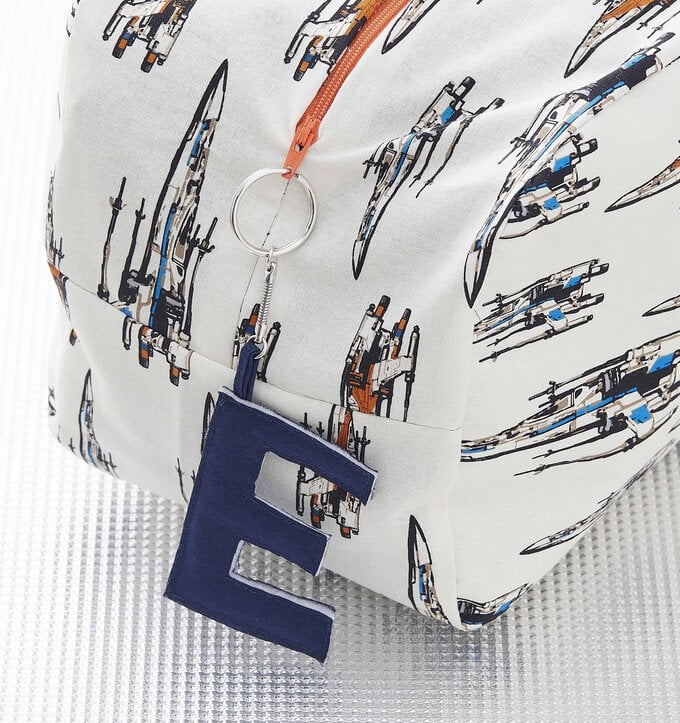
To make the keyring, draw and cut out a letter on a piece of paper. Sandwich two pieces of wadding between two pieces of lining fabric and pin the paper to it.
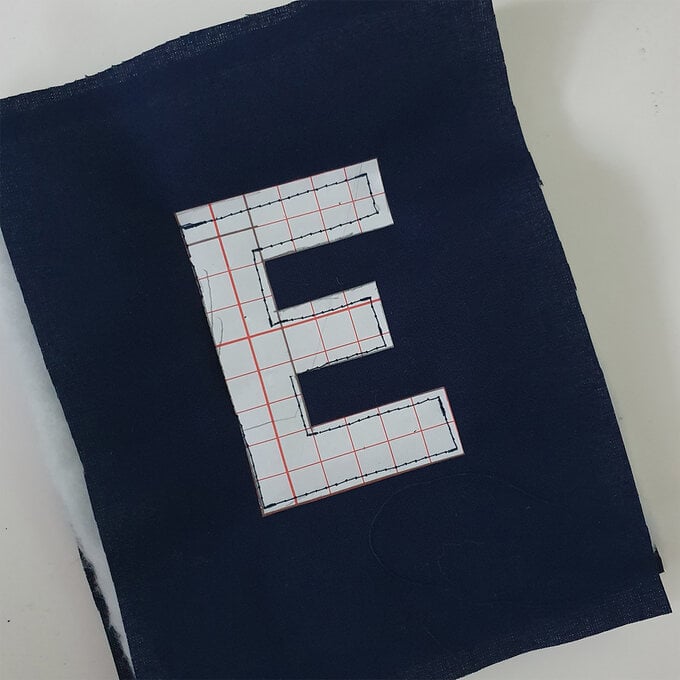
1. Stitch on top of the paper, following the letter shape.
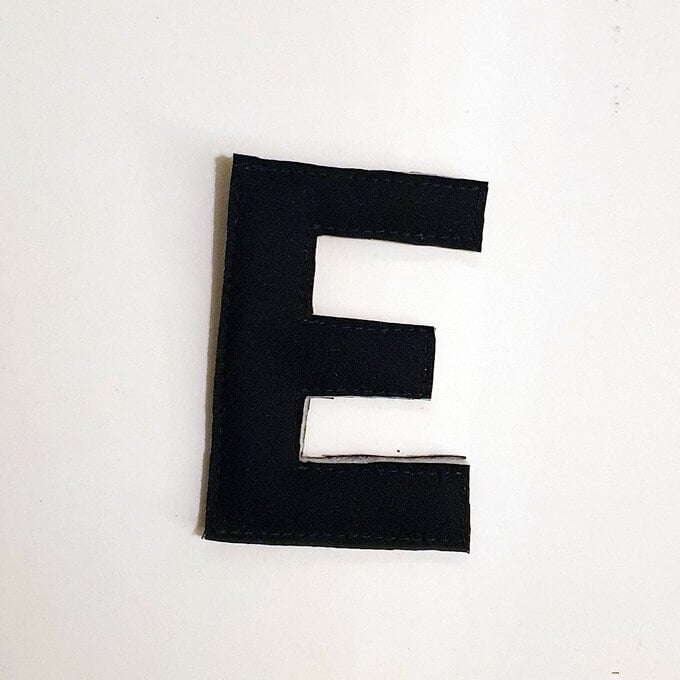
2. Cut out around the letter.
3. Cut a small strip of fabric out of the lining, fold the two long sides in, then fold in half and top stitch. Thread through the keyring.
4. Stitch the fabric strip to the back of the padded letter.
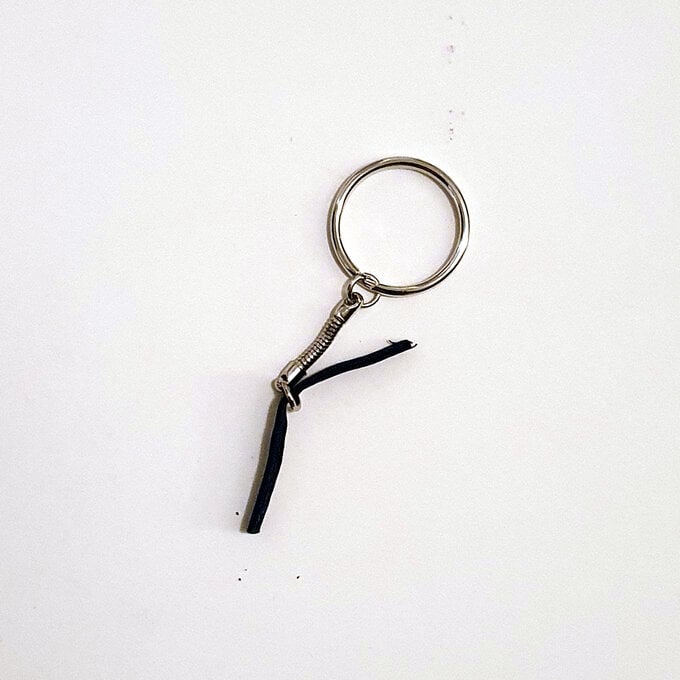
Attach your keyring to the zip pull.
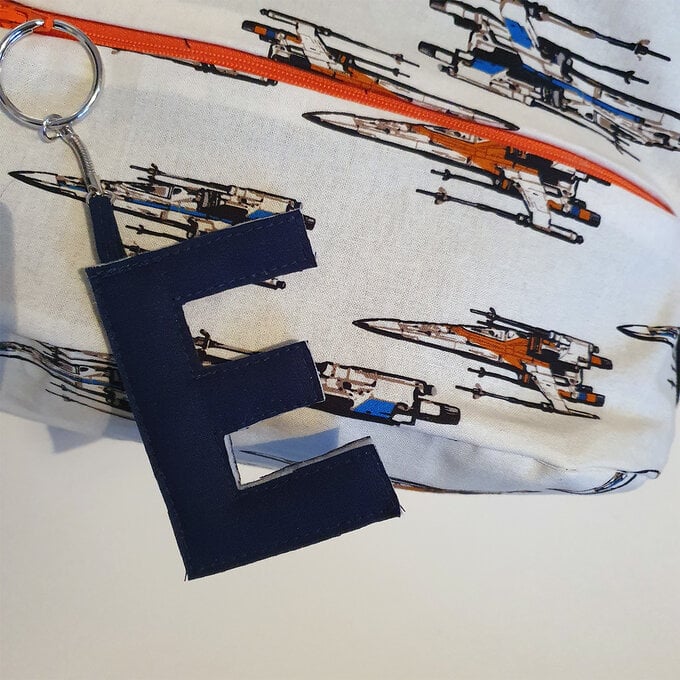
Your Kit/PE bag is then ready to fill!
