How to Make a Fabric Envelope Advent Calendar
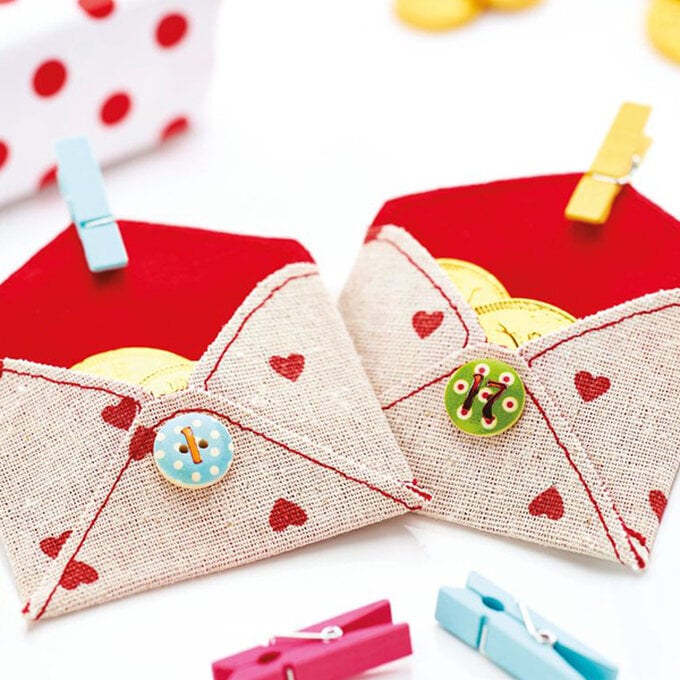
The build up to Christmas is all part of the fun, which is why advent calendars are so very popular. Each year, we like to come up with a new way of presenting our festive treats, this project is dinky fabric envelopes that you can hang up with pegs and twine. Isn't it a lovely idea?
This project was featured in the November 2015 issue of Crafts Beautiful magazine, but here it is for you to enjoy every year!
Project and instructions by Amanda Walker
You will need
Subtotal
Is $ 8.49
Subtotal
Is $ 6.49
Subtotal
Is $ 3.49
Subtotal
Is $ 7.49
How to make
* Red Fabric - 1 x 1m (available in store)
* Printed Fabric - 1 x 1m (available in store)
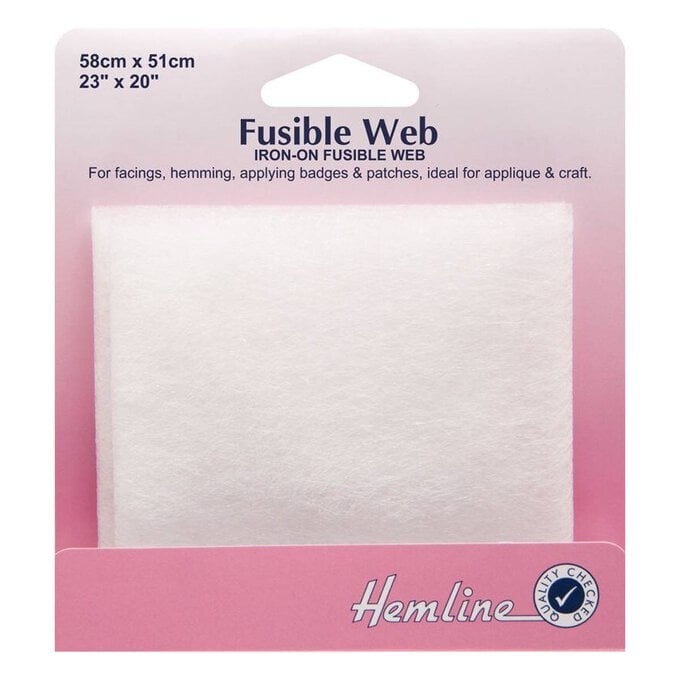
* Iron On Fusible Web (58 x 50cm) x2
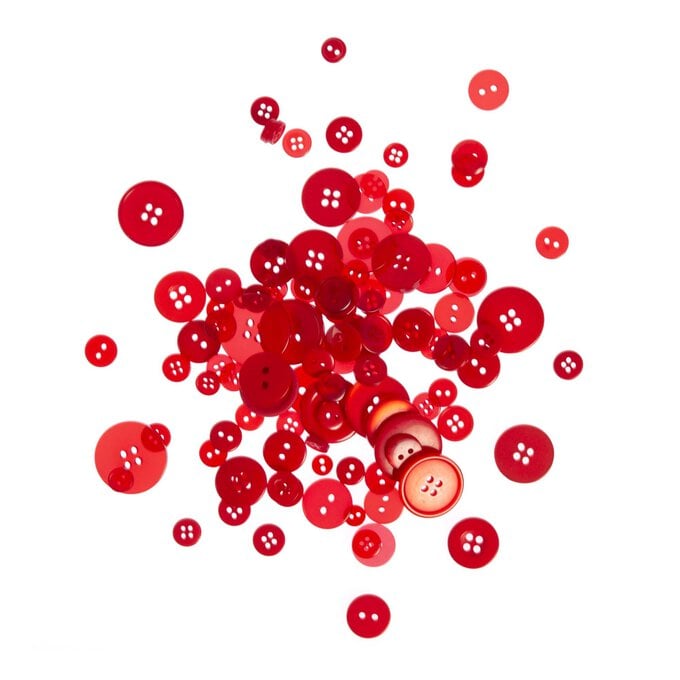
* Buttons
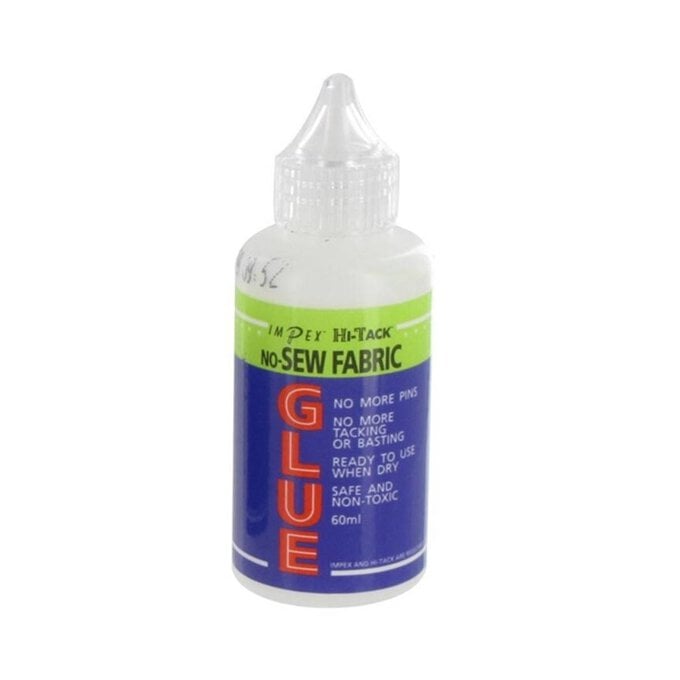
* Fabric Glue
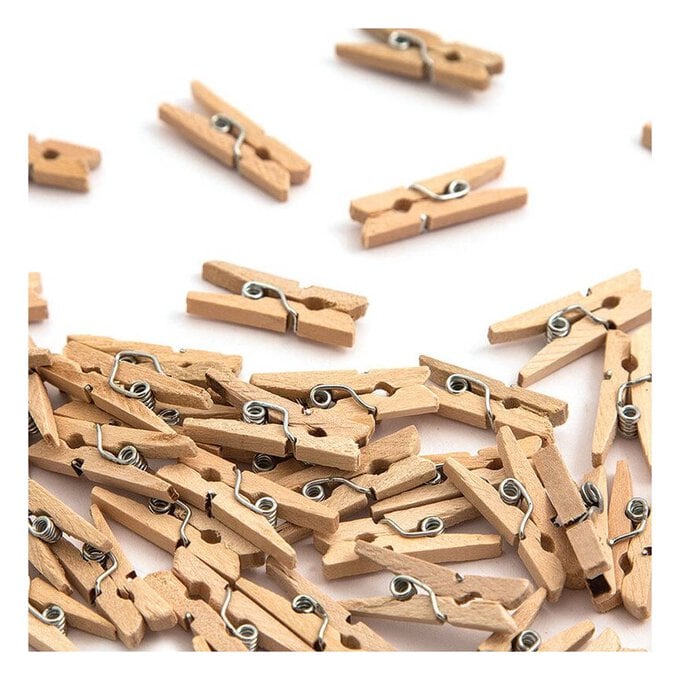
* Mini Pegs
* Twine
* Thread
* A Needle
* Scissors
* A Pen/Pencil
* Cocktail Stick (optional)
* Sewing Machine (optional)

Lay red fabric onto your ironing board. Iron the webbing to the fabric with the paper backing uppermost. Leave to cool, then peel off the paper backing.
Position printed fabric onto the webbing (right side facing up). Press and adhere the pieces together; place a cloth over the fabrics and use a hot iron with the steam setting on.
Download, print and cut the free envelope template above. Draw around the template onto the printed side of the fabric. Repeat until you have 25 envelopes. Cut as squares rather than diamond shapes to avoid wasting fabric.
Thread-up the sewing machine and work a line of red stitching all the way around the edge, starting and finishing on a base corner. Fold and press the side flaps inwards and then the base flap up.
Stick the edges of the base flap onto the edges of the side flaps. To make this process easier, use a cocktail stick to apply the glue.
Attach buttons to the envelopes as shown and stick the numbers to the buttons.
Place a chocolate or sweet inside, then hang the envelopes from a length of twine with pegs.
