Skip to Content (Press Enter) Skip to Footer (Press Enter)

How to Make a Fabric Storage Box

Level
Beginner
Time
1 hour
Budget
10 - 30

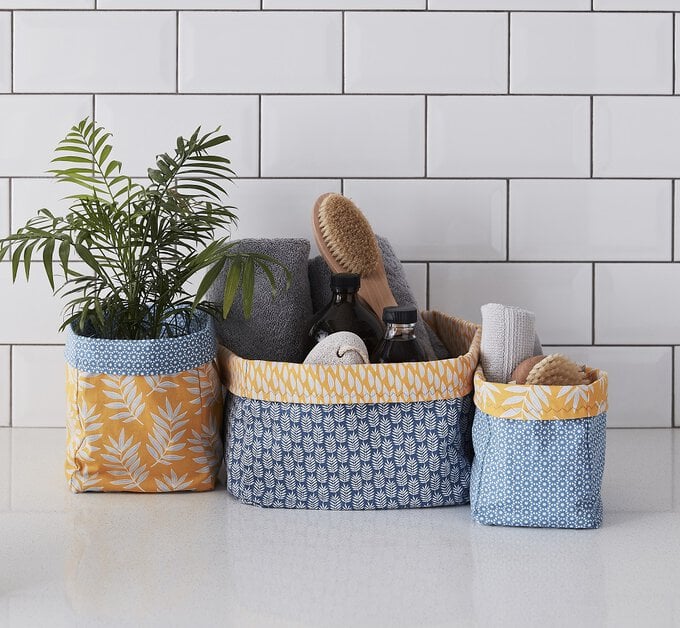
Fabric storage boxes are ideal for storing all those little household items. Using a selection of fat quarters, you can make a fun set of coordinating or contrasting storage boxes for your home.

Our easy-to-follow tutorial will show you everything you need to know to make these vibrant fabric boxes.

Project and instructions by Paula Milner

Discover more Sewing projects here >

You will need

Is $ 125.00

Quantity: 1

Subtotal

Is $ 125.00

Is $ 4.49

Quantity: 1

Subtotal

Is $ 4.49

Is $ 6.49

Quantity: 1

Subtotal

Is $ 6.49

Is $ 7.49 , was $ 13.00

Quantity: 1

Subtotal

Is $ 7.49 , was $ 13.00

Is $ 7.49 , was $ 13.00

Quantity: 1

Subtotal

Is $ 7.49 , was $ 13.00

You’ve viewed 2 of 5 products

You’ve viewed 4 of 5 products

Total:

How to make

You Will Need

* Hobbycraft 19S Sewing Machine

* Hemline Metric and Imperial Tape Measure 150cm

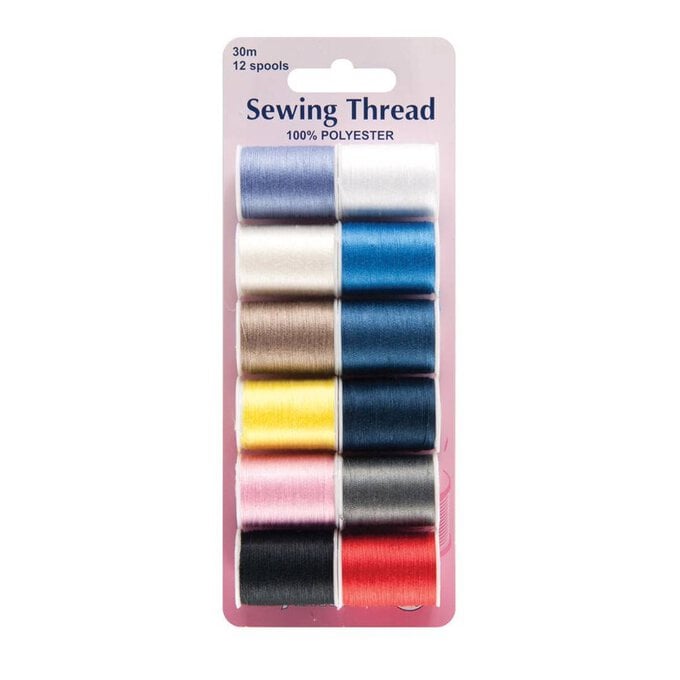
* Hemline Sewing Thread 12 Pack

* Blue Mosaic Cotton Fat Quarters 5 Pack

* Dressmaking Pins 60 Pack

* Hemline Iron-On Interfacing 1m x 1m

*Scissors

idea_fabric-storage-box_youwillneed.png?sw=680&q=85
Step 1

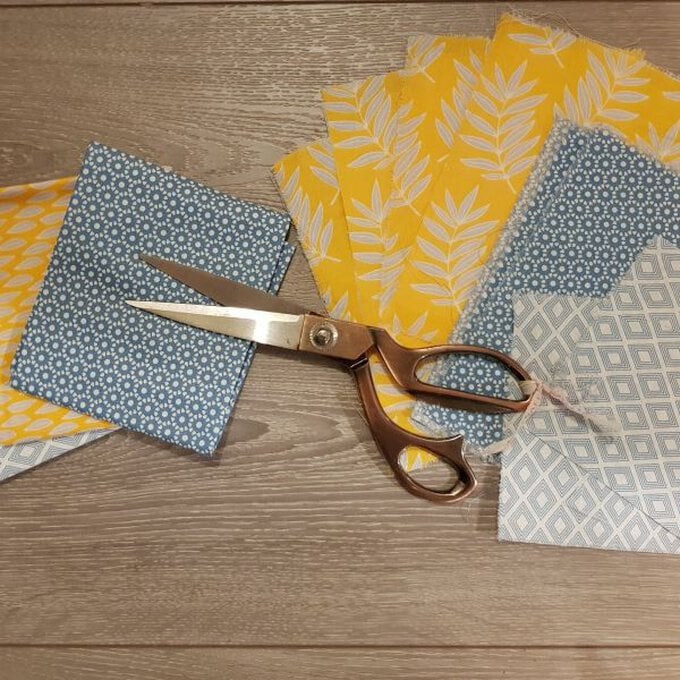
Select, measure and cut out your fabrics. You will need the below measurements:

Large

4 x Outer 27cm (width) x 21cm (height) rectangles

1 x Outer 21cm x 21cm square

4 x Inner 27cm (width) x 21cm (height) rectangles

1 x Inner 21cm x 21cm square

Medium:

4 x Outer 16cm (width) x 22cm (height) rectangles

1 x Outer 16cm x 16cm square

4 x Inner 16cm (width) x 22cm (height) rectangles

1 x Inner 16cm x 16cm square

Small

4 x Outer 13.5cm (width) x 19cm (height) rectangles

1 x Outer 13.5cm x 13.5cm square

4 x Inner 13.5cm (width) x 19cm (height) rectangles

1 x Inner 13.5cm x 13.5cm square
fabric_storage_boxes_fabric_1.jpg?sw=680&q=85
Step 2

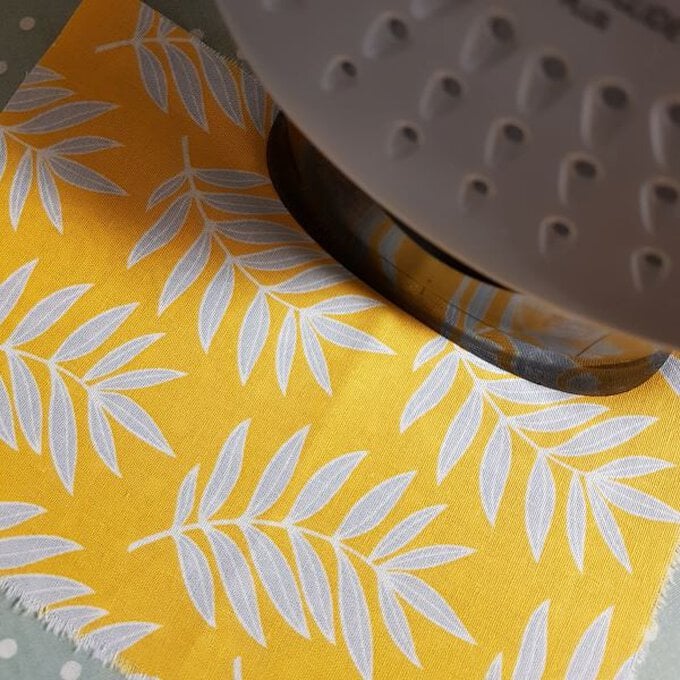
Press your fabrics.

fabric_storage_boxes_iron_2.jpg?sw=680&q=85
Step 3

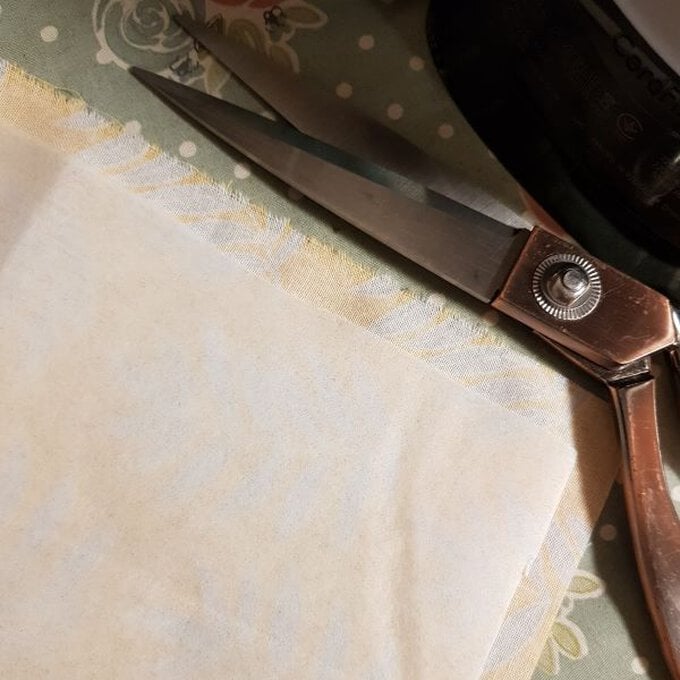
Cut and iron on your interfacing as per the packet instructions to your inner layer fabric shapes. Each piece will need to be cut 1cm smaller than each shape for seam allowances.


For the larger box, you will also need to do this for your outer layer to provide extra strength. The smaller boxes do not require this.
fabric_storage_boxes_scissors_3.jpg?sw=680&q=85
Step 4

We will start by sewing your inner sides together.


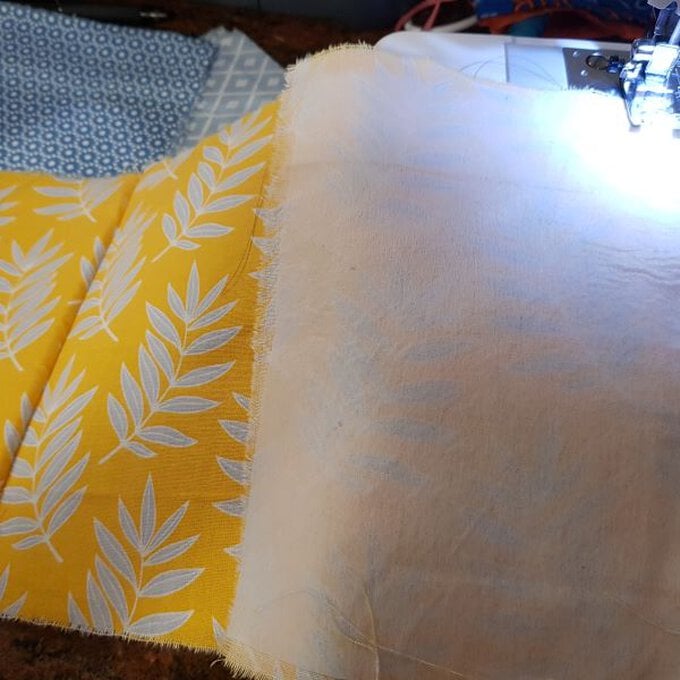
Length ways and right sides together sew up one height side. Then add your next rectangle and sew up the height side again until you have all 4 rectangles together in a row.
fabric_storage_boxes_sewing_4.jpg?sw=680&q=85
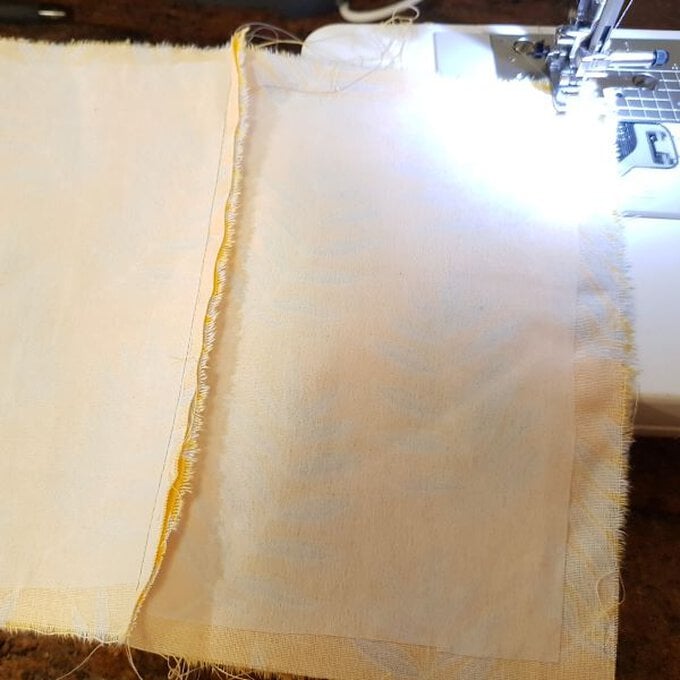
Step 5

Fold the sides together so that you join it into a cube and sew up this height side.
fabric_storage_boxes_sewing_5.jpg?sw=680&q=85
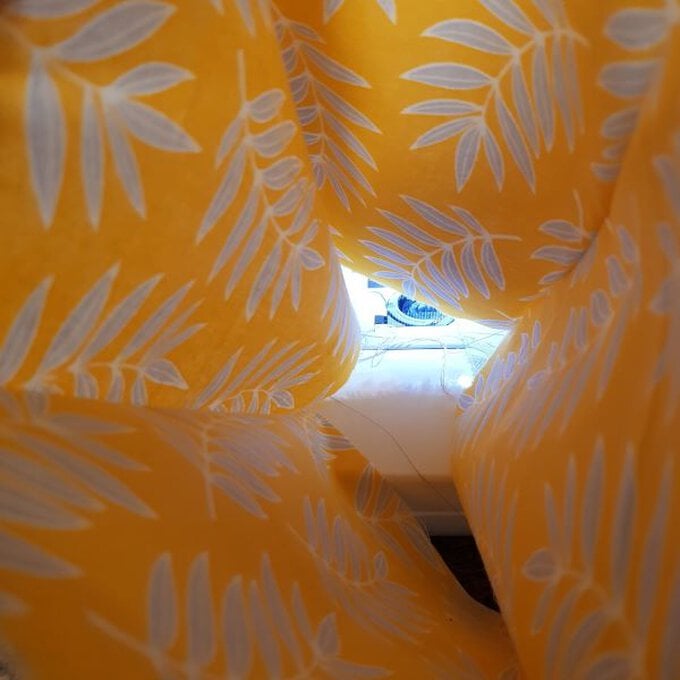
Step 6

You are now ready to attach the bottom part of your box!
fabric_storage_boxes_fabric_6.jpg?sw=680&q=85
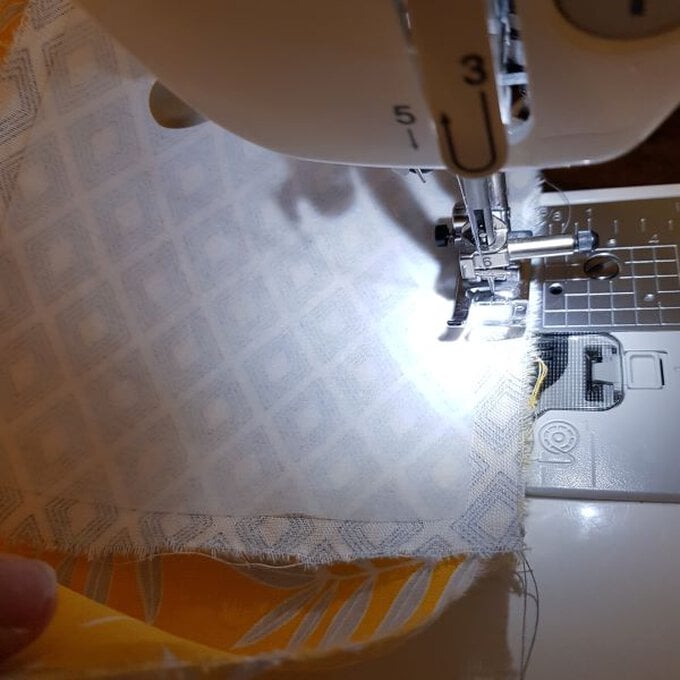
Step 7

Sew your bottom square piece on to your now formed cube with a 1cm seam allowance.
fabric_storage_boxes_sewing_7.jpg?sw=680&q=85
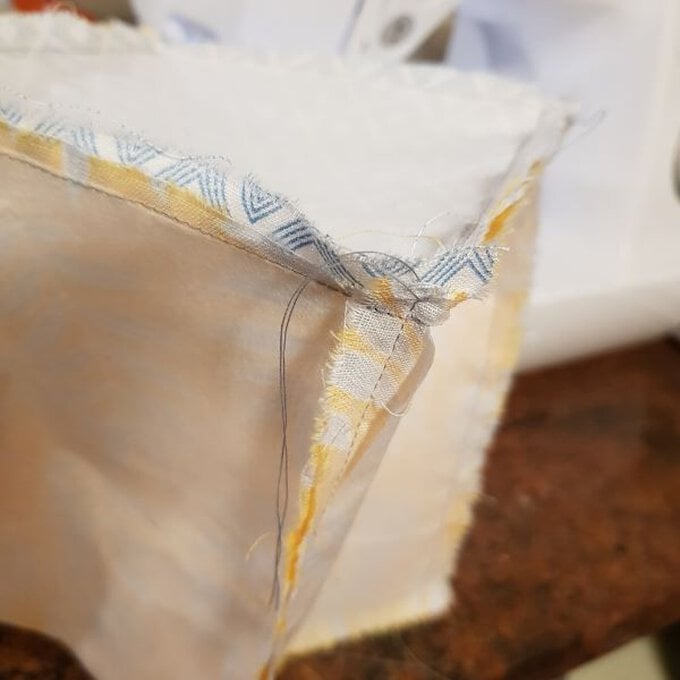
Step 8

Secure your threads and now get ready to sew your outer piece.
Step 9

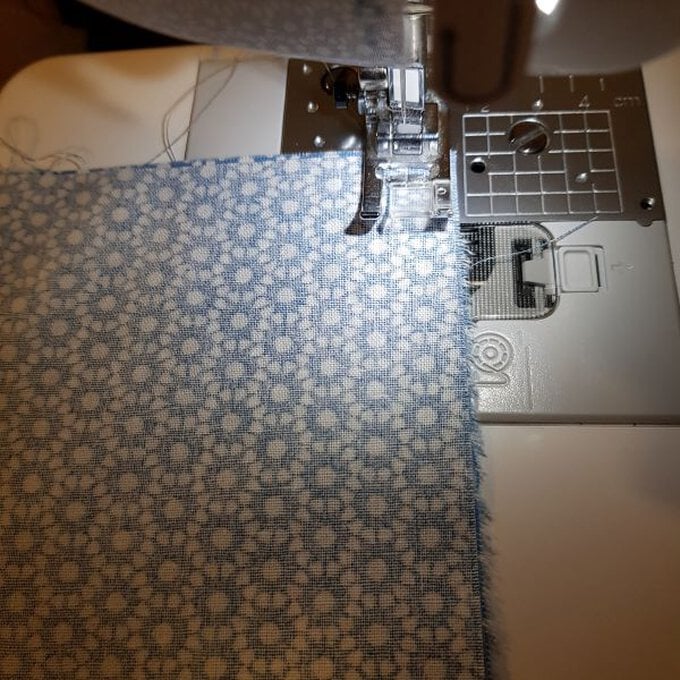
Repeat the same with your outer fabric pieces and then turn out the right way.
fabric_storage_boxes_fabric_sewing_9.jpg?sw=680&q=85
Step 10

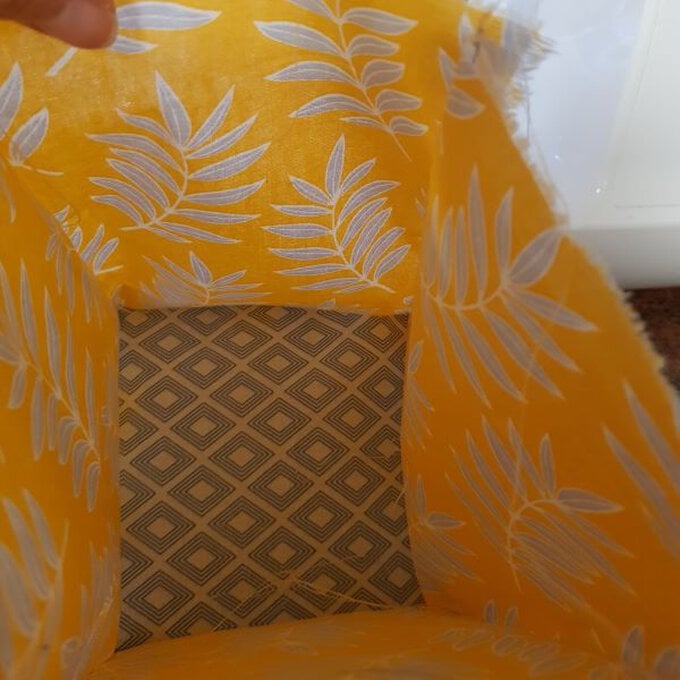
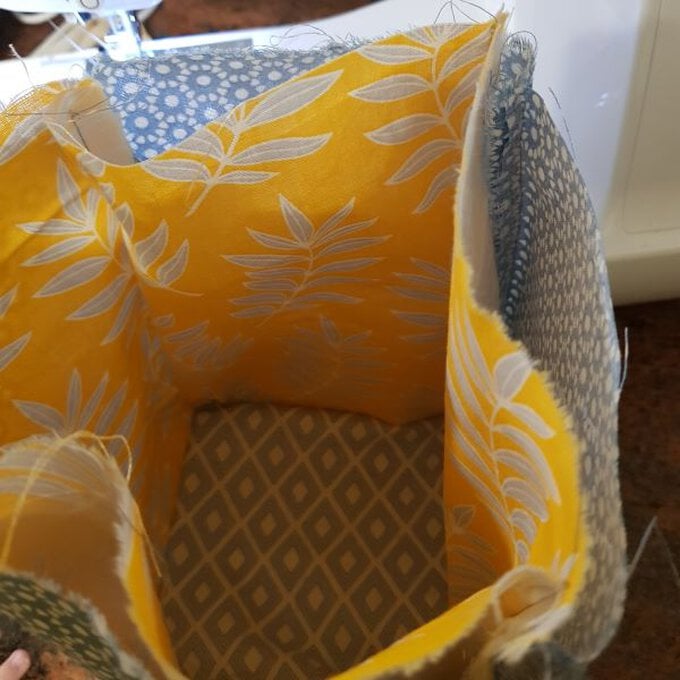
Insert your inner layer inside your outer layer.
fabric_storage_boxes_fabric_10.jpg?sw=680&q=85
Step 11

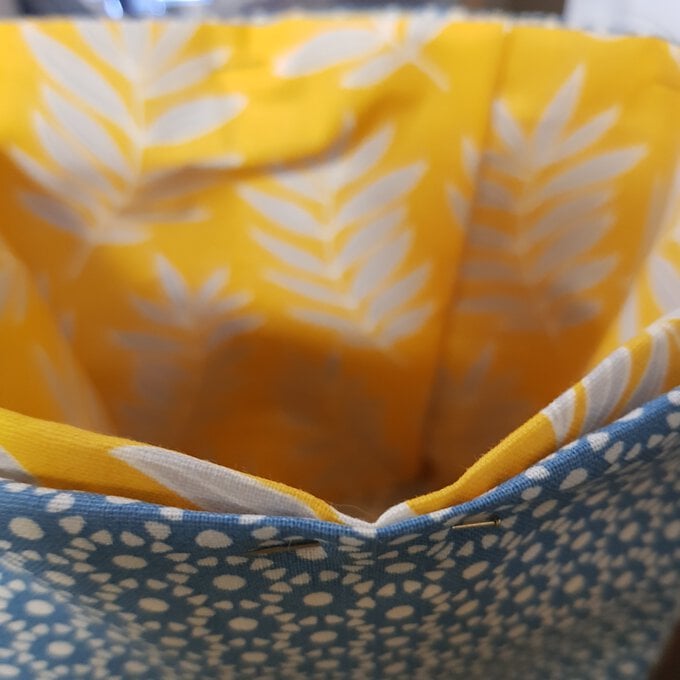
Fold both your inner and outer layers inwards with enough room to stitch around at the top. Pin in to position to secure.
fabric_storage_boxes_lining_13.jpg?sw=680&q=85
Step 12

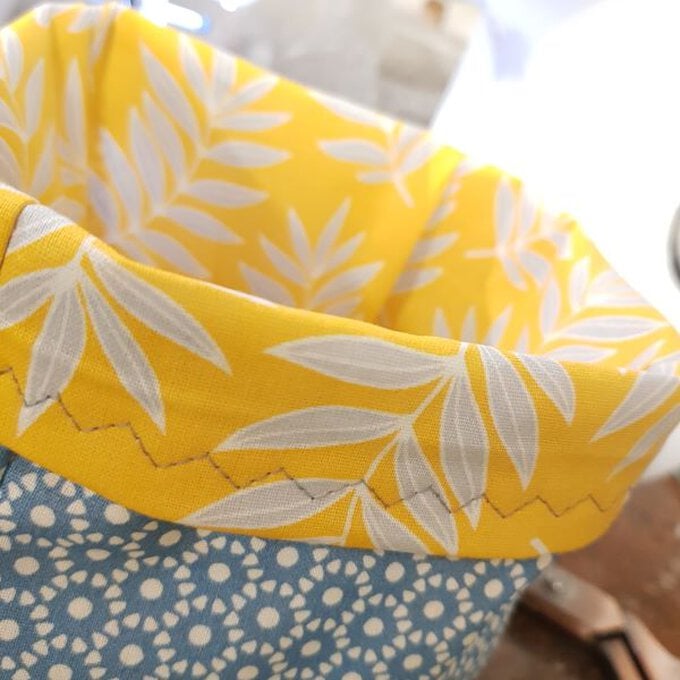
Sew around the top in a stitch of your choice and secure your threads.


Fold your tops outwards to reveal the contrast inner!
fabric_storage_boxes_stiching_12.jpg?sw=680&q=85
Step 13

Et voila! Fabric storage box: done!
how_to_make_a_fabric_storage_box.jpg?sw=680&q=85
Rated 4 out of 5 by from Great patter, very useful! I found this pattern a little tricky, as I'm quite a new beginner, but I think it turned out quite well! I made the largest size, and as someone else pointed out, the pattern has a mistake - your base needs to be 27x27cm to fit the width of the side panels. I think if i made this again, I would use a firmer interfacing - I used hemline medium-weight iron-on, and while it definitely holds some shape, a firmer shape would be nice. I found it a little tricky to fold down the tops of both layers of fabric to match at the end before the topstitching, but after pricking myself with pins many times, I think it came out pretty even. I now have a very pretty box to store various knitting magazines, aida, sewing supplies etc. I recommend giving it a go!
Date published: 2023-06-25
Rated 5 out of 5 by from I finally made a basket Every evening I scroll through Instagram looking at the 1001 pieces people make and thinking ‘I should try that’. I saw this simple design on Hobbycraft and finally got my sewing machine out and did it !
Date published: 2022-06-01
Rated 4 out of 5 by from Fabric Baskets I'm very much a beginner, but this pattern was clear and I managed to make a set of baskets! There is however one small mistake in the measurements of the large basket, that luckily I caught in time before cutting my fabric: if the width of the basket is 27 cm (which seems correct from the picture), then the square for the bottom should be 27 cm x 27 cm, and not 21 cm x 21 cm as currently given.
Date published: 2023-05-21
Rated 5 out of 5 by from Nice project This was quite easy but it took a bit of time to work out how to attach the base . Overall a good project.
Date published: 2023-02-20
Rated 5 out of 5 by from Fabric baskets I have made several of these. They are easy to make and the instructions are easy to follow. Will definitely be making more
Date published: 2023-03-14
  • y_2024, m_11, d_20, h_14
  • bvseo_bulk, prod_bvrr, vn_bulk_3.0.42
  • cp_1, bvpage1
  • co_hasreviews, tv_0, tr_5
  • loc_en_GB, sid_how-to-make-a-fabric-storage-box, prod, sort_[SortEntry(order=RELEVANCE, direction=DESCENDING)]
  • clientName_hobbycraft
  • bvseo_sdk, dw_cartridge, 18.2.0, p_sdk_3.2.0
  • CLOUD, getReviews, 4ms
  • reviews, product

Related Products

Top