How to Make a Flower Floor Cushion
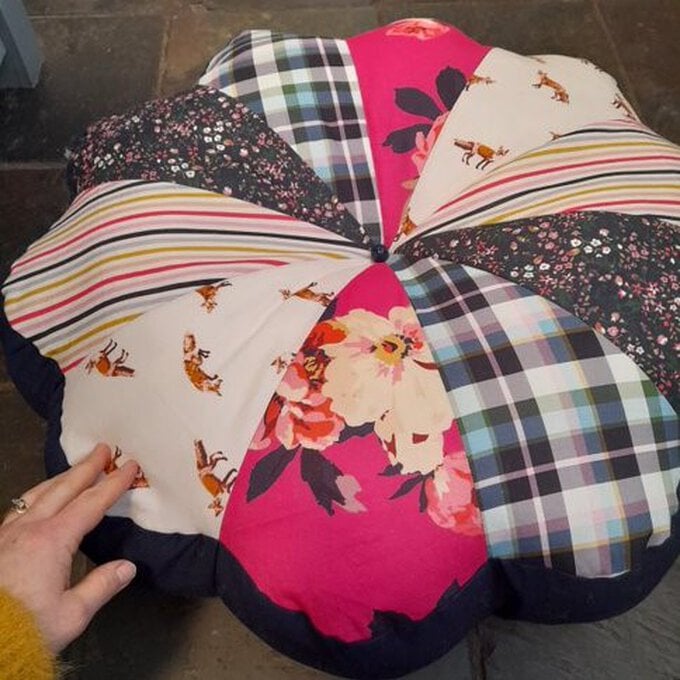
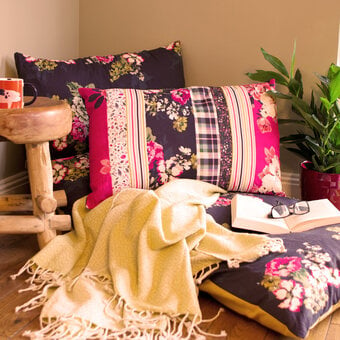
Follow this great tutorial to learn how to make a large floral 3D design that allows you to mix and match coordinating prints for a fun floor cushion! Create this amazing project using Joules fat quarters.
Hobbycraft is excited to announce the launch of an exclusive fabric collection with premium lifestyle brand Joules. Craft your own projects with the British brand's quintessential heritage style, with fabrics featuring iconic prints and patterns from the Joules archive.
Project and instructions by @thecraftylass.
Full range of Joules fabrics available in our stores from April 12th 2021.
Discover more great sewing projects using Joules fabrics here andgt;
You will need
Subtotal
Is $ 110.00
Out of stock
Subtotal
Is $ 4.49 , was $ 9.49
Out of stock
Subtotal
Is $ 1.49
Out of stock
Subtotal
Is $ 4.49
Subtotal
Is $ 4.49 , was $ 10.00
Out of stock
Subtotal
Is $ 4.49
Subtotal
Is $ 6.49
Subtotal
Is $ 4.49
Subtotal
Is N/A
Out of stock
Subtotal
Is N/A
Out of stock
How to make
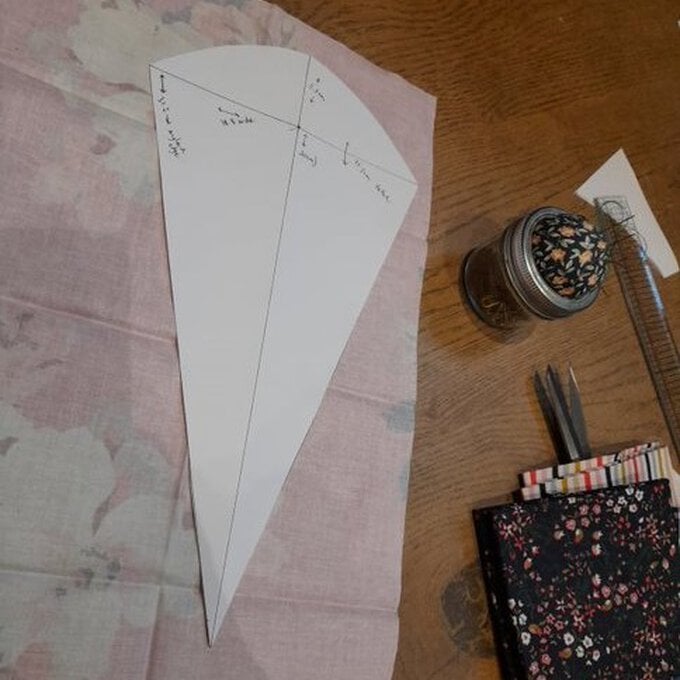
Start by creating a paper petal template. Depending on how large you want the cushion to be, and how many petals you want the flower to have, effects the size of the template you require. This example has 10 petals and is just under 70cm wide in total.
To calculate the dimensions, I calculated the circumference using the below equation:
c= 2πr. c is circumference and r is radius.
There are various online easy calculators that can do this for you! The main circle part of the cushion is 60cm. The radius of a 60cm circle is 30cm. The circumference of a 60cm circle is 188.49556cm. So then I divided this by 10 for each petal = 18.5cm.
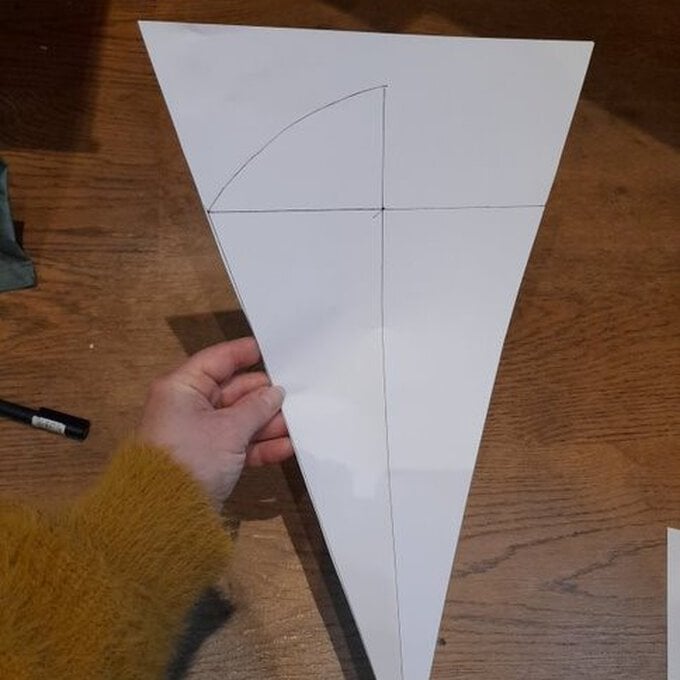
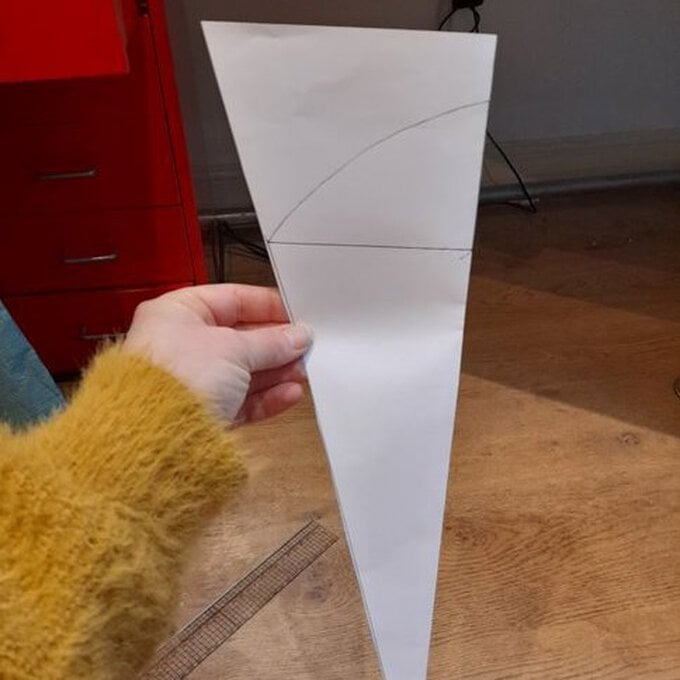
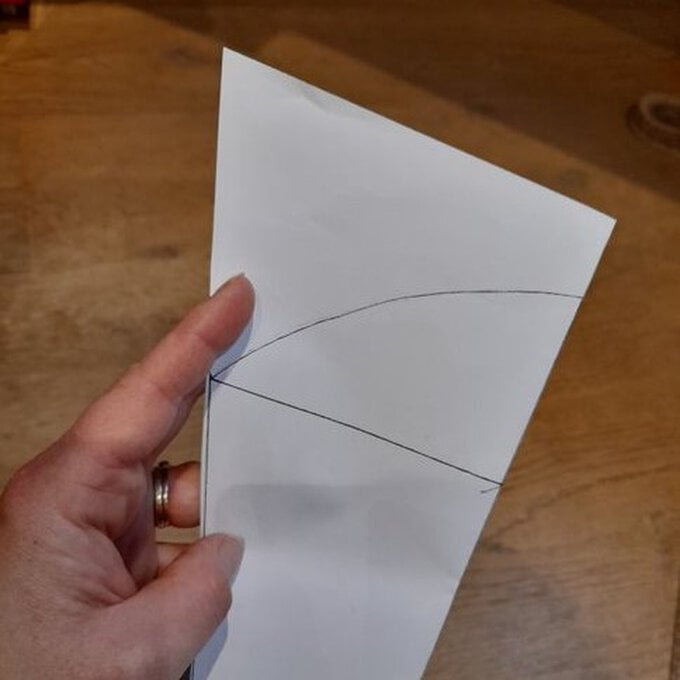
Using these measurements, I drew a line 30cm long (the radius). At the top of this I drew another line 18.5cm at 90 degrees. The 30cm length line needs to be exactly in the middle of the 18.5cm width line. So it will be 18.5cm divided by 2 = 9.25cm either side of the length line. This should make sense looking at the step by step photos with the measurements hand drawn on! Even if it is a few 'mm' out – don't worry, the flower should work!
Next, draw a diagonal line either side to meet the end points and create a full triangle.
The final part is to create the curved part at the top of the triangle for the petal edge. I decided to make this part 5.5cm high. Draw the 5.5cm line as a continuation of the central height line. Then, fold your triangle or piece of paper in half along that central line.
Draw an arc between the width edge and the top of the new 5.5cm line to create an arc and then whilst your template is still folded in half, cut the arc part out. This ensures that both sides of the petal will be even in shape to create a realistic look. Cut out the rest of the triangle. You now have your paper petal template.
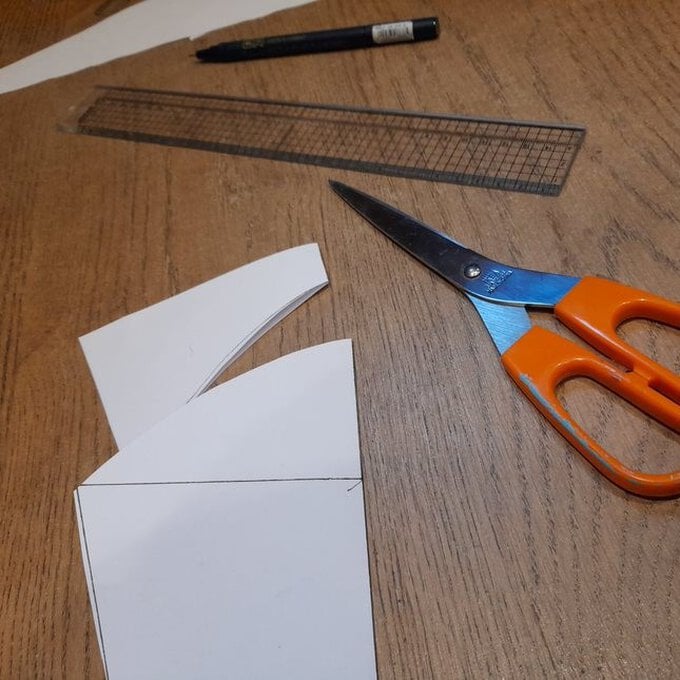
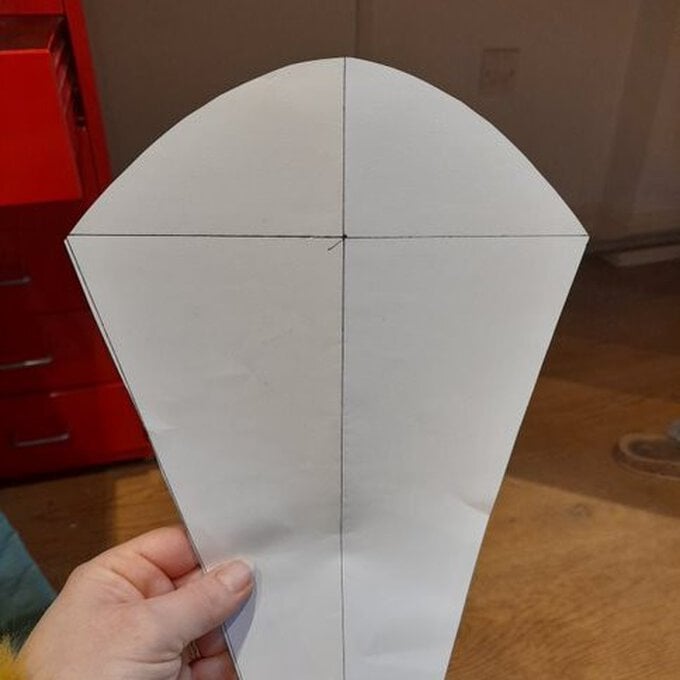
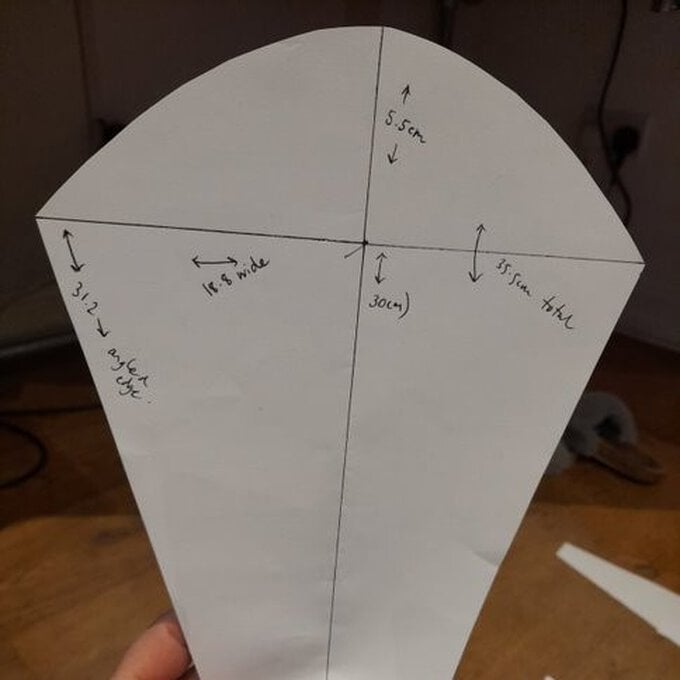
Select and press your fabrics ready for cutting out.
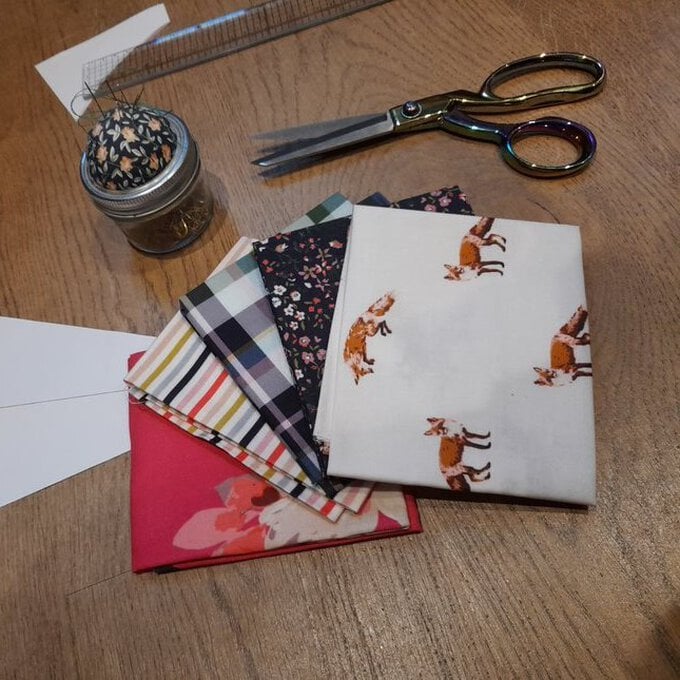
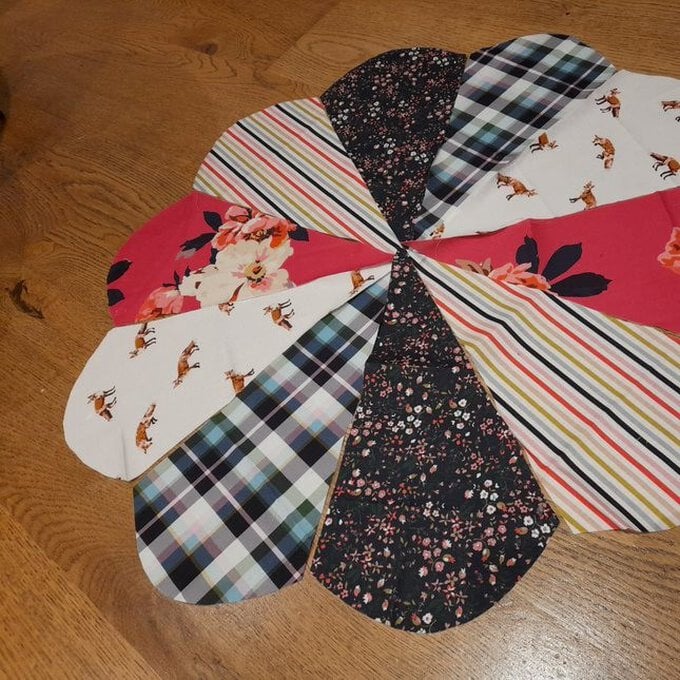
Pin your paper template into position and then cut out 10 x petal shapes for the top half of your cushion, and 10 x petal shapes for the bottom half of your cushion. 20 pieces in total. I have used a selection of matching, bright fat quarters for the top and a darker navy for the bottom, and sides.
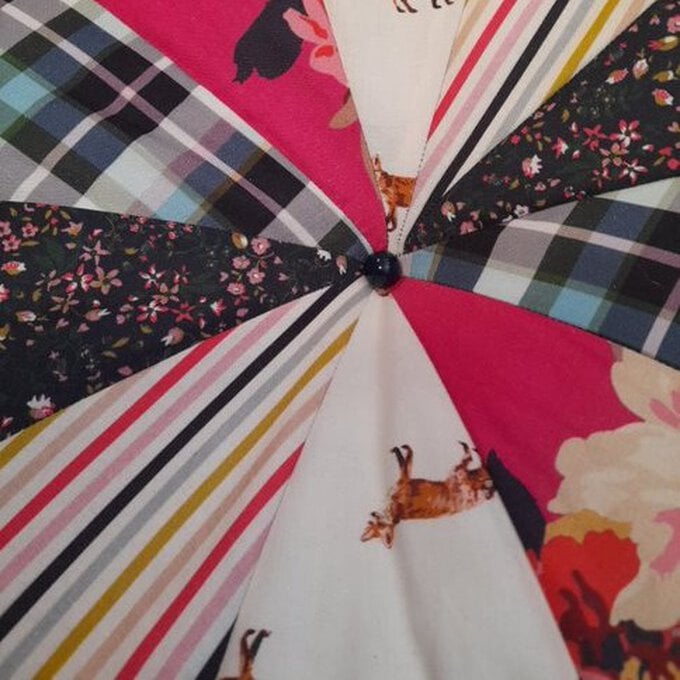
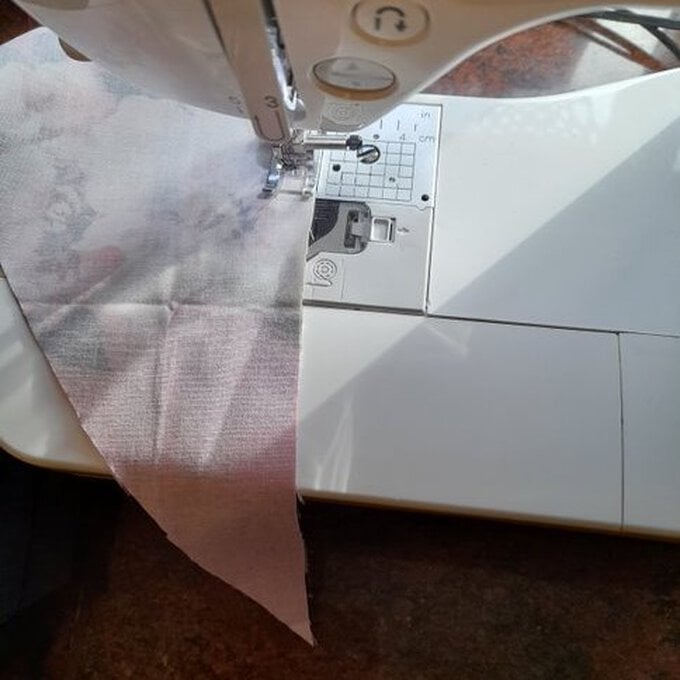
Pin together and sew your 10 top petals together joining them along each diagonal edge until you have constructed a large flower.
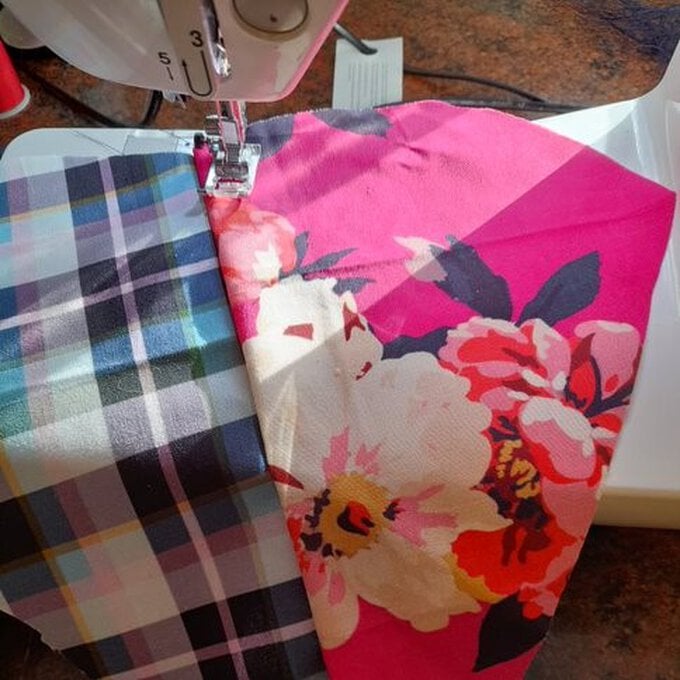
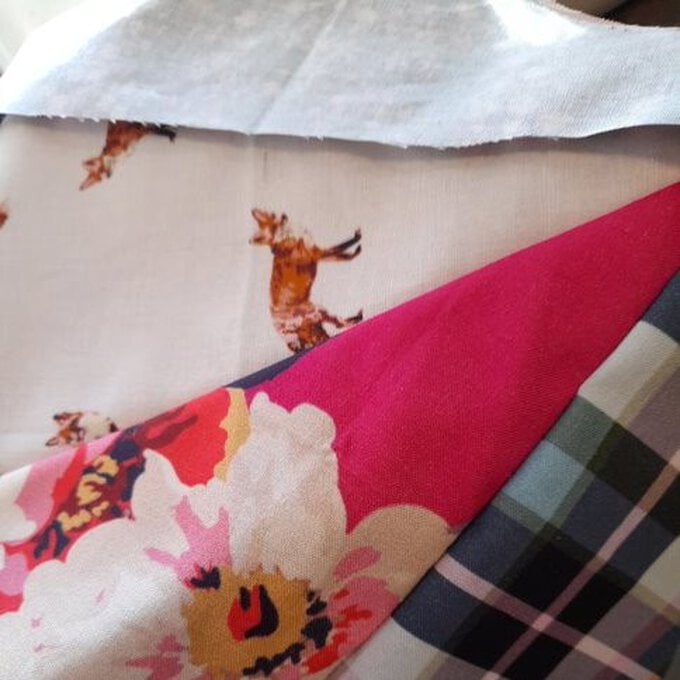
Cut 10 rectangles each 23cm long x 12cm wide. We will be sewing these together connecting each one along their widths to create the sides of the cushion. I would recommend sewing together two of the rectangles, then pinning into position along your top flower right sides together so you can check the seam matches, before sewing on the next rectangle, pinning again on to your flower and so on so that you can check/line up the seams. This gives some flexibility to ensure everything matches. Once all the side rectangles are pinned into position, sew the sides and top flower together.
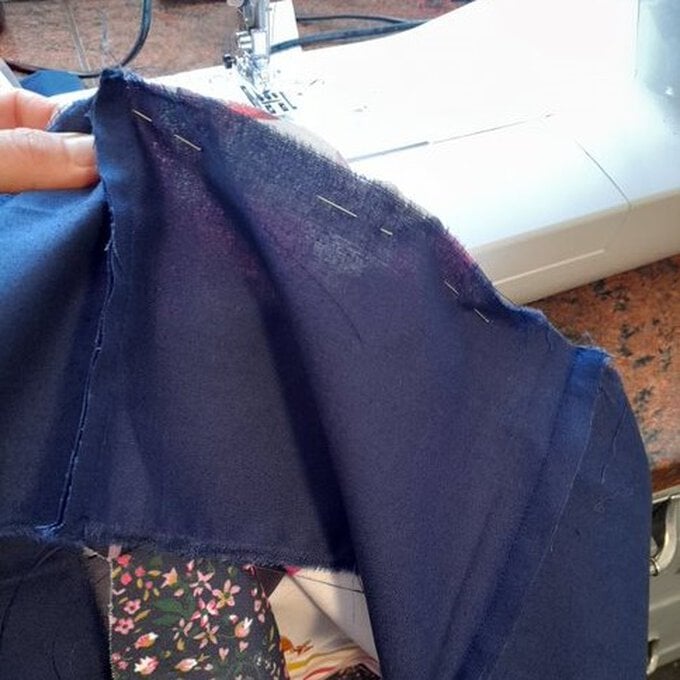
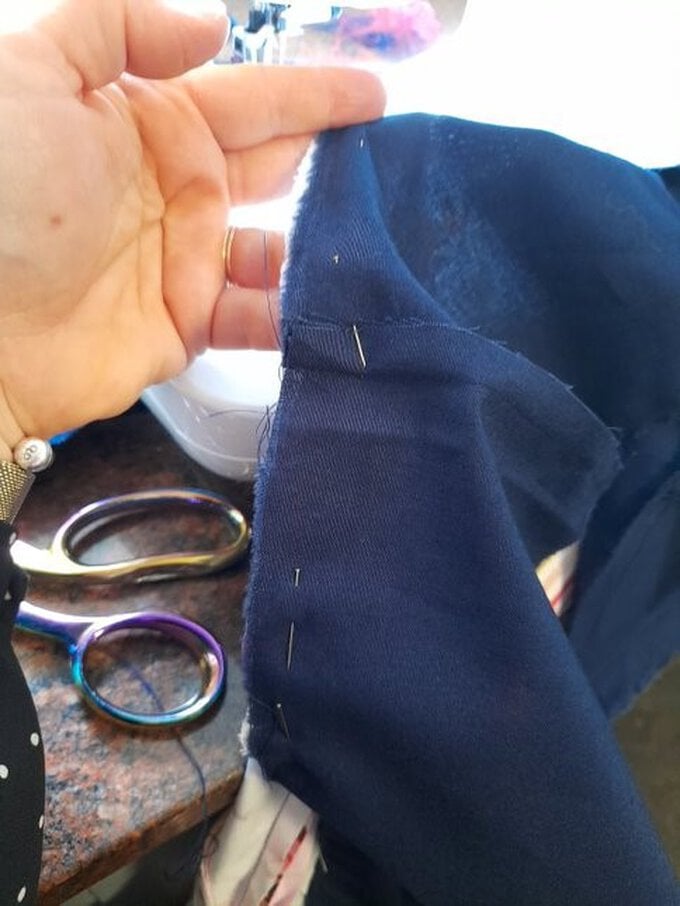
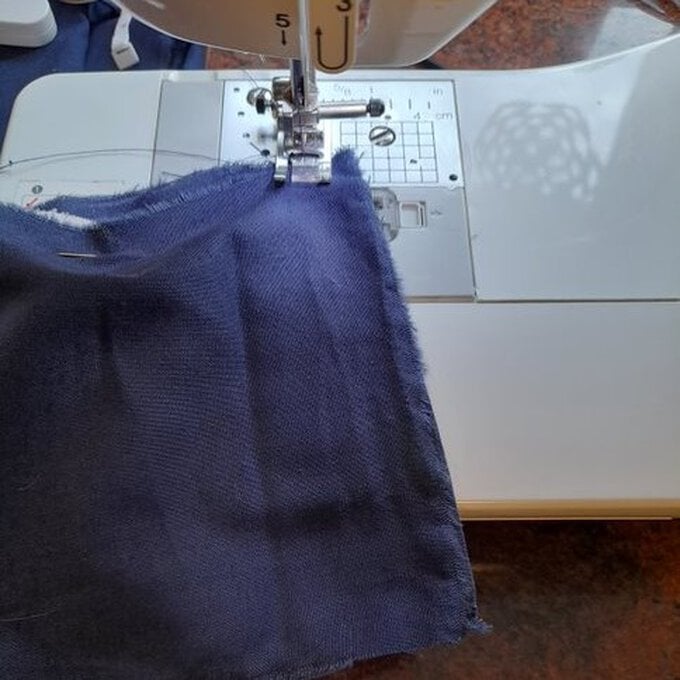
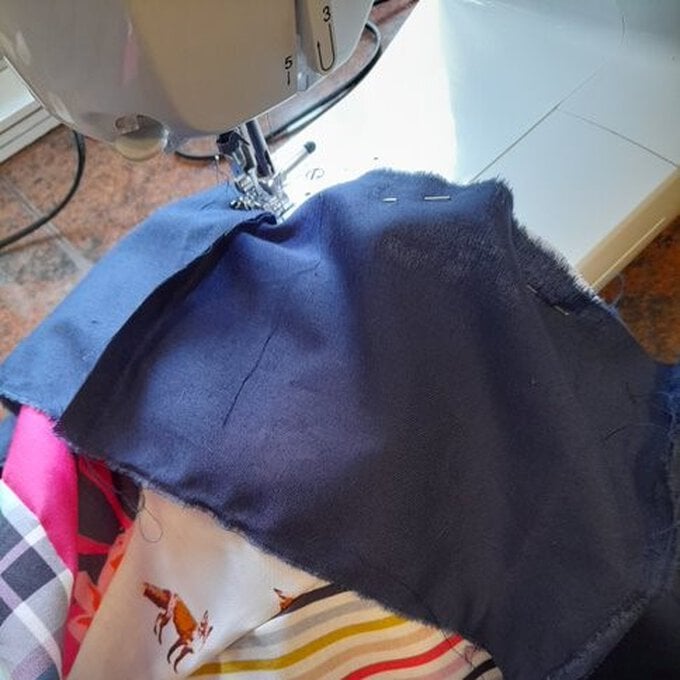
Repeat step 4 with your bottom 10 petals so that you now have second large constructed flower.
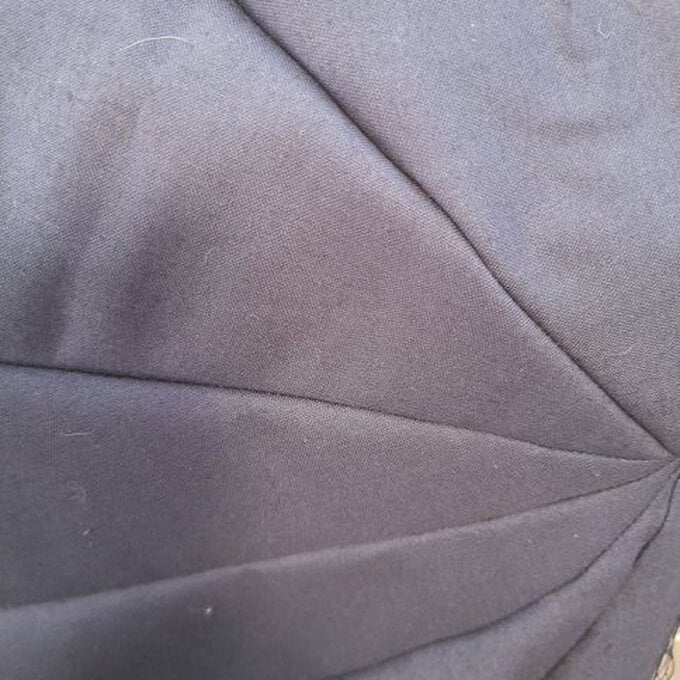
Now pin your bottom flower into position also lining up the seams on your sides. Sew into position but leave a gap for your stuffing. Secure your threads.
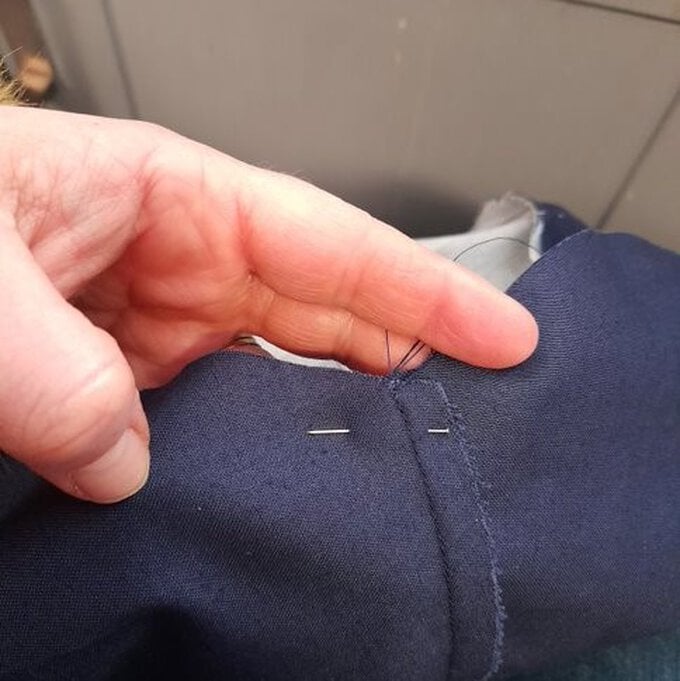
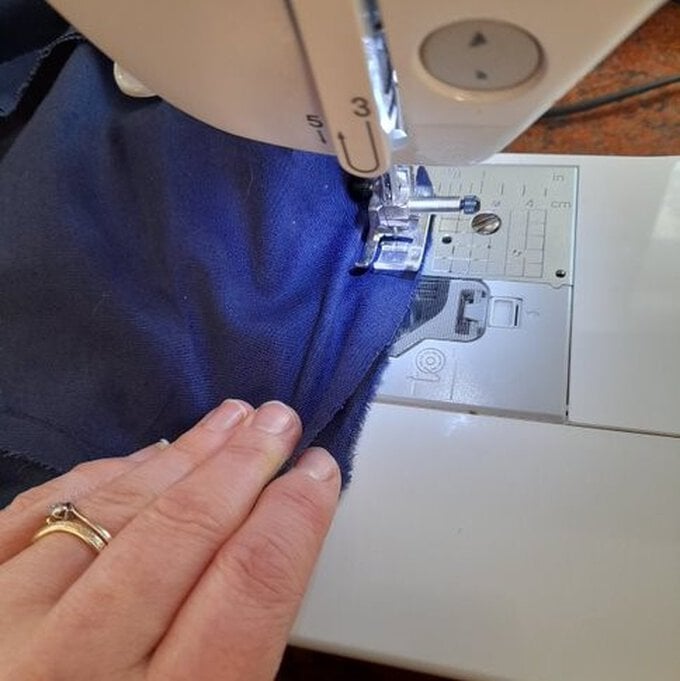
Turn your flower out the right way before stuffing.
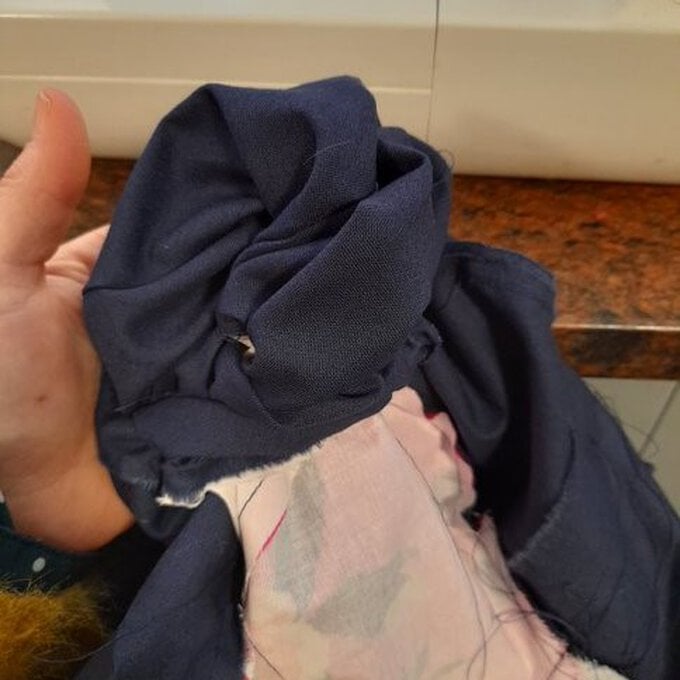
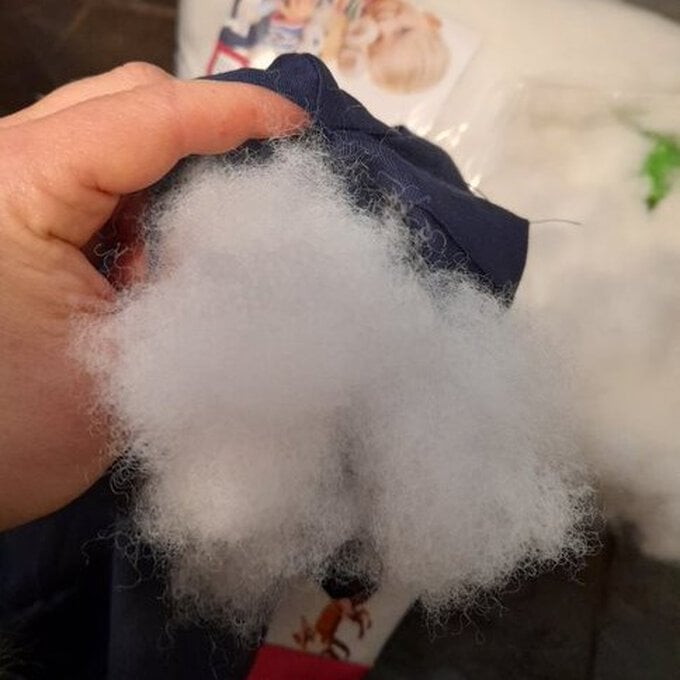
Hand sew the gap closed.
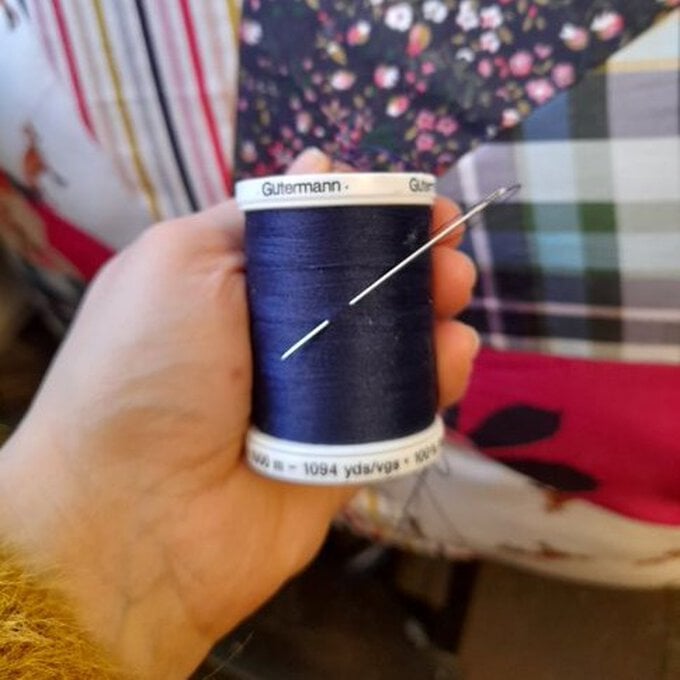
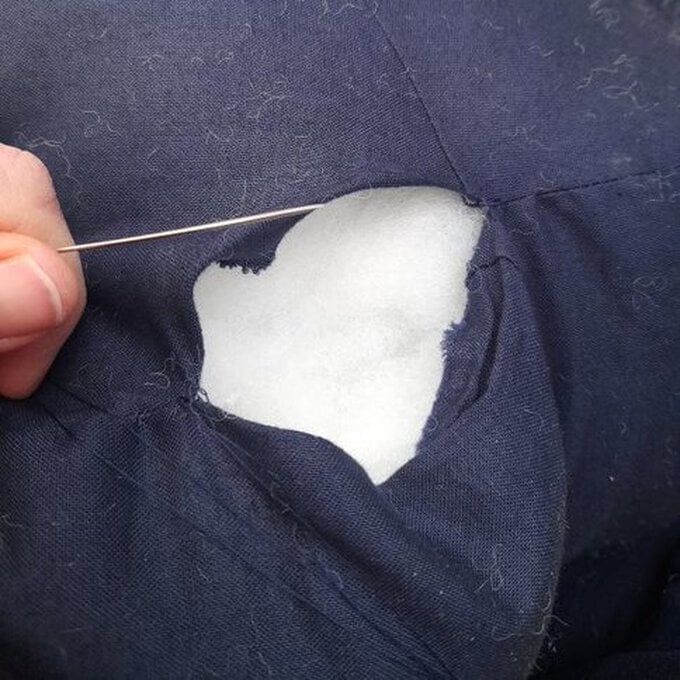
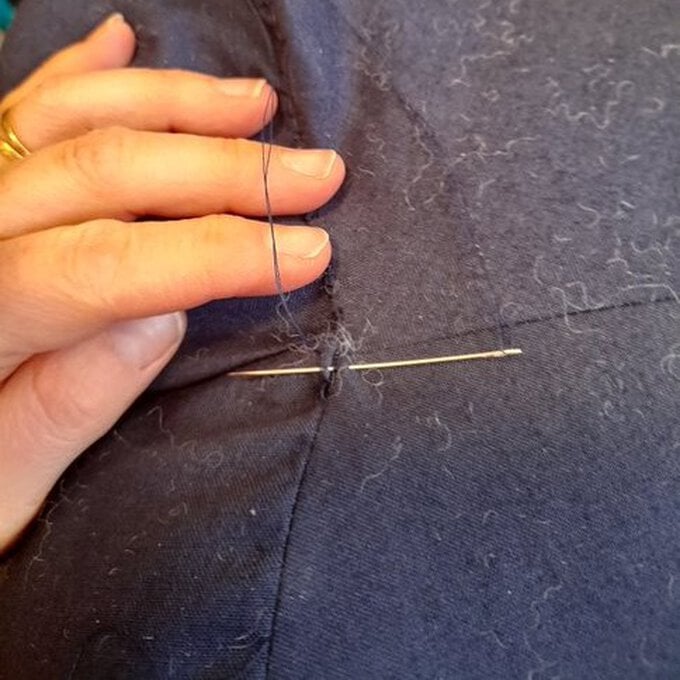
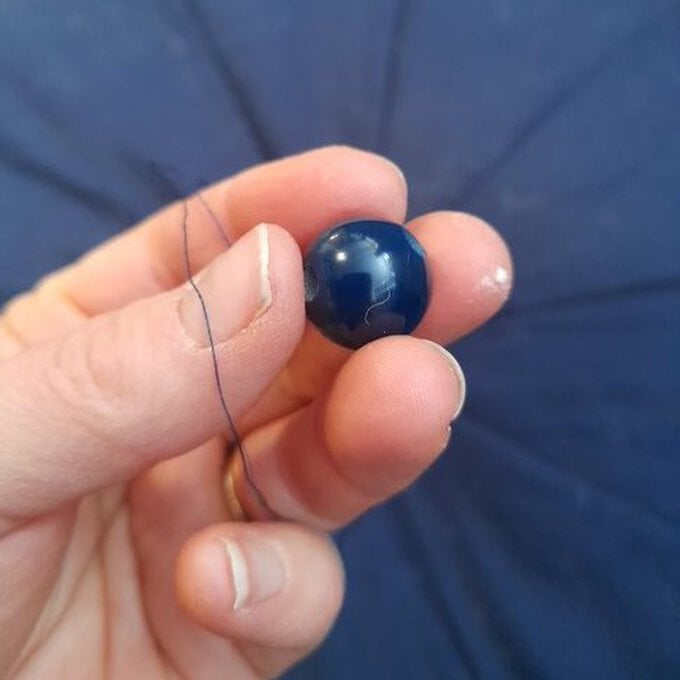
If desired, sew a button in the middle of each central point of the flowers. I have sewn up through the middle connecting the two middle points which pulls the flower inwards to create a 'realistic' effect.
Et voila! Flower cushion: done!
