Skip to Content (Press Enter) Skip to Footer (Press Enter)

How to Organise Your Home Office with Fabric

Level
Intermediate
Time
1/2 day
Budget
10 - 30

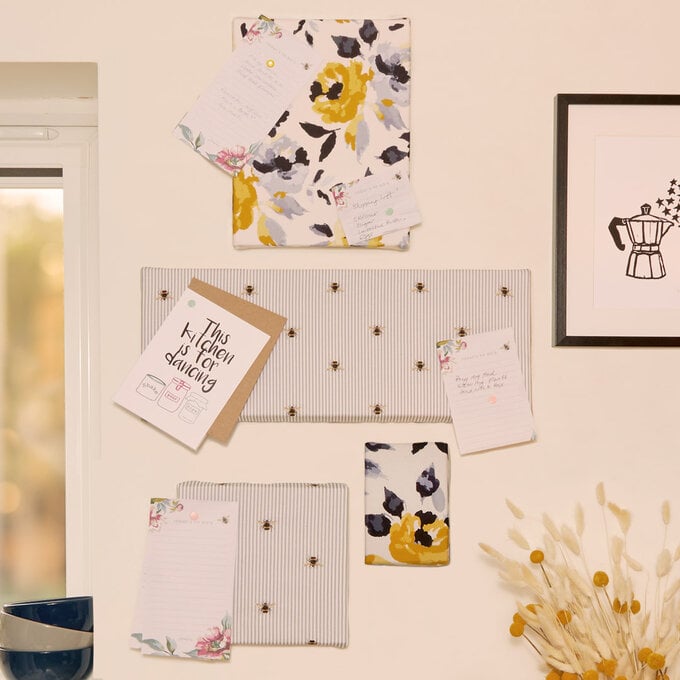
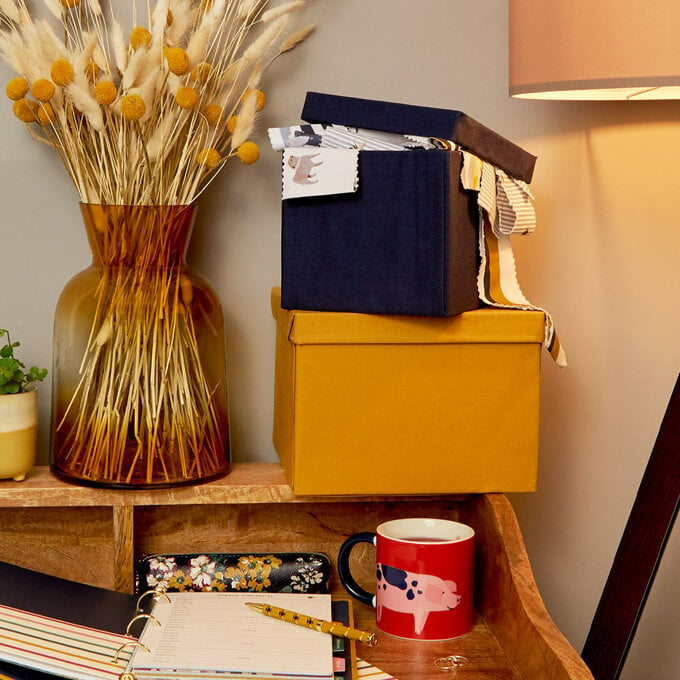
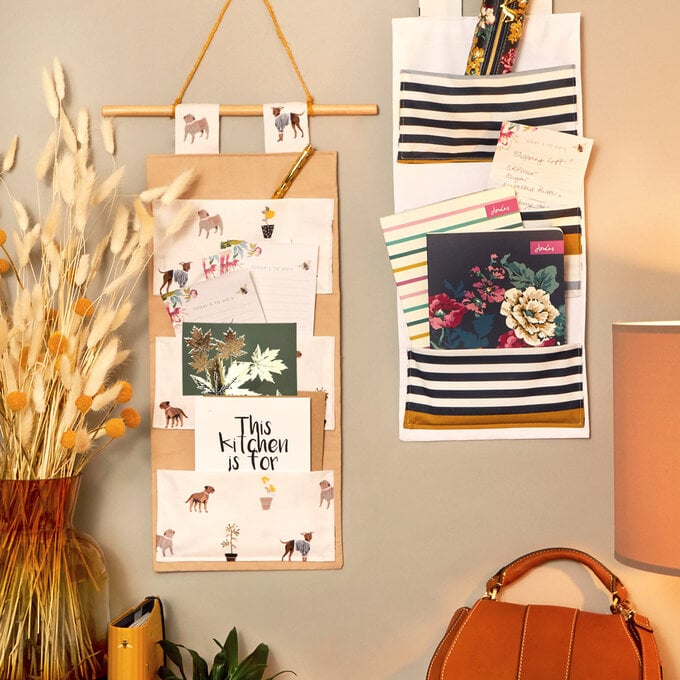
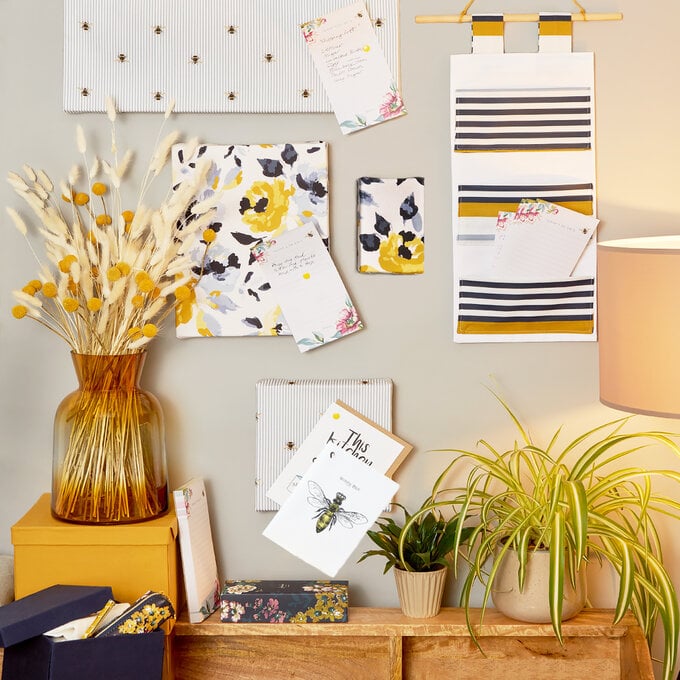
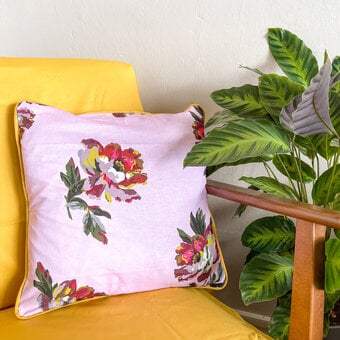
If you're working from home, these projects are a great way to customise your office! The fabric-covered storage boxes are perfect for keeping your supplies safe and organised while you work. The noticeboards and hanging storage are a practical way to keep important documents and notes close to hand.

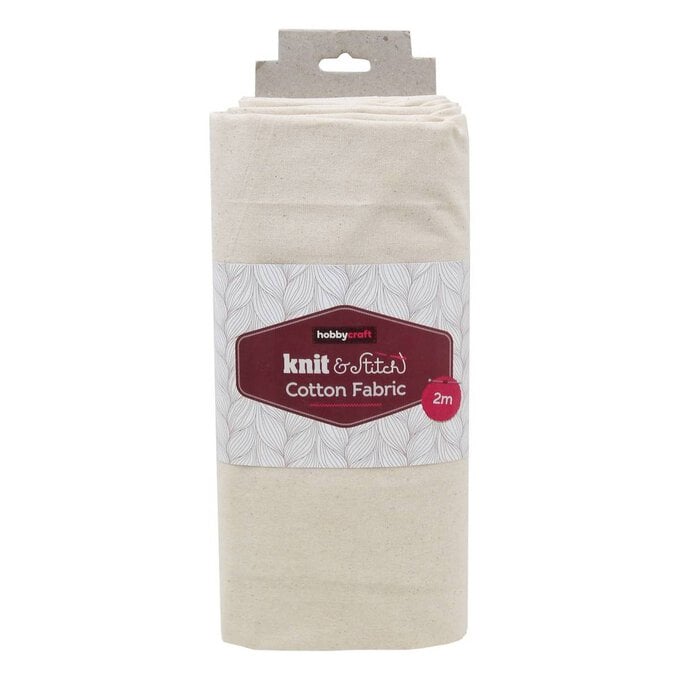
All of the designs included have been made using the new Hobbycraft x Joules fabrics.

Hobbycraft is excited to announce the launch of an exclusive fabric collection with premium lifestyle brand Joules. Craft your own projects with the British brand's quintessential heritage style, with fabrics featuring iconic prints and patterns from the Joules archive.

Project and instructions by Mike Aspinall from The Crafty Gentleman.

Full range of Joules fabrics available in our stores from April 12th 2021.

Discover more great sewing projects using Joules fabrics here

You will need

Is $ 1.49 , was $ 3.49

Quantity: 1

Subtotal

Is $ 1.49 , was $ 3.49

Out of stock

Is $ 15.00

Quantity: 1

Subtotal

Is $ 15.00

Is $ 6.49

3 for 2 mix & match on selected art products
Quantity: 1

Subtotal

Is $ 6.49

Out of stock

Is $ 6.49

Quantity: 1

Subtotal

Is $ 6.49

Is $ 13.00

Quantity: 1

Subtotal

Is $ 13.00

Is $ 10.00

Quantity: 1

Subtotal

Is $ 10.00

Out of stock

Is $ 107.00

Quantity: 1

Subtotal

Is $ 107.00

Out of stock

Is $ 14.00

Quantity: 1

Subtotal

Is $ 14.00

Is $ 7.49

Quantity: 1

Subtotal

Is $ 7.49

Is $ 3.49

Quantity: 1

Subtotal

Is $ 3.49

Out of stock

Is N/A

Quantity: 1

Subtotal

Is N/A

Out of stock

You’ve viewed 2 of 11 products

You’ve viewed 4 of 11 products

Total:

How to make

Fabric Notice Boards Step 1

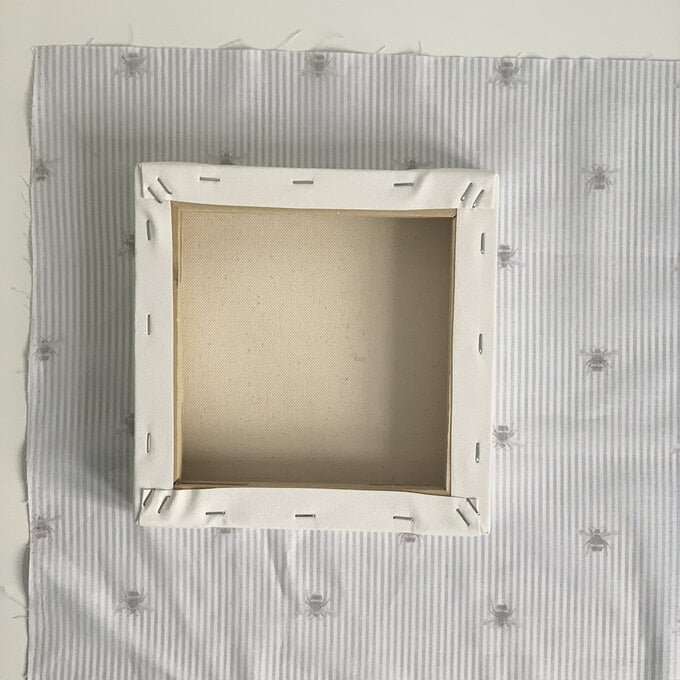
Lay your fabric on a flat, stable surface, with the right side facing down. Place your canvas upside down on top of the fabric, leaving at least 10cm excess around all edges.
how_to_organise_your_home_office_with_-fabric_notice_board_1-.jpg?sw=680&q=85
Step 2

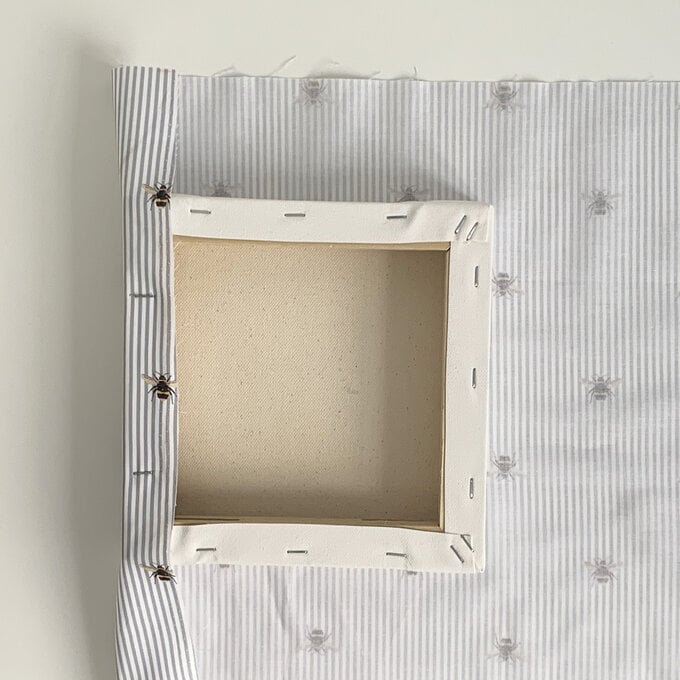
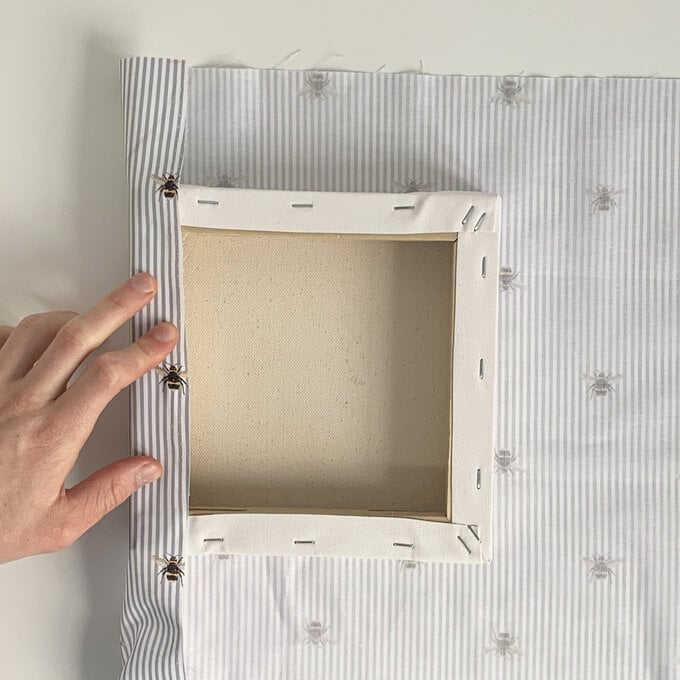
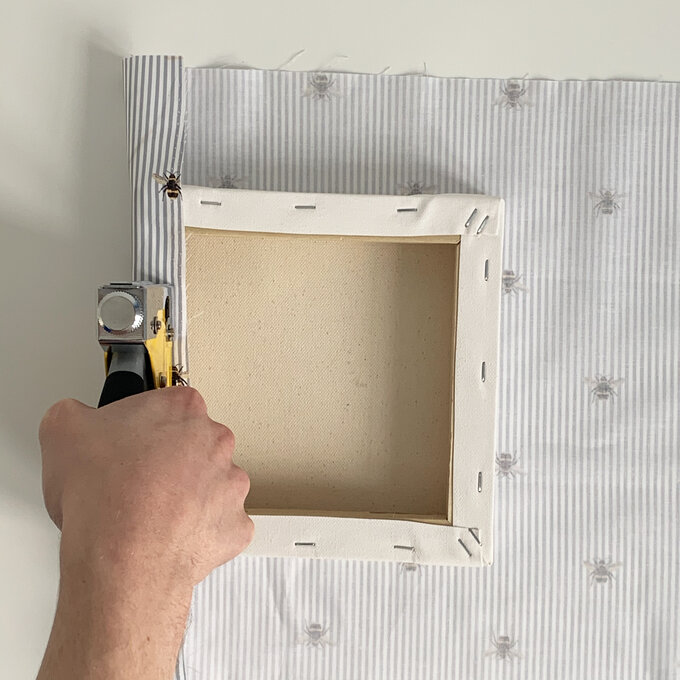
Fold the fabric up and over one side of the canvas. Try to keep the fabric as smooth and taut as possible..
how_to_organise_your_home_office_with_-fabric_notice_board_2-.jpg?sw=680&q=85
Step 3
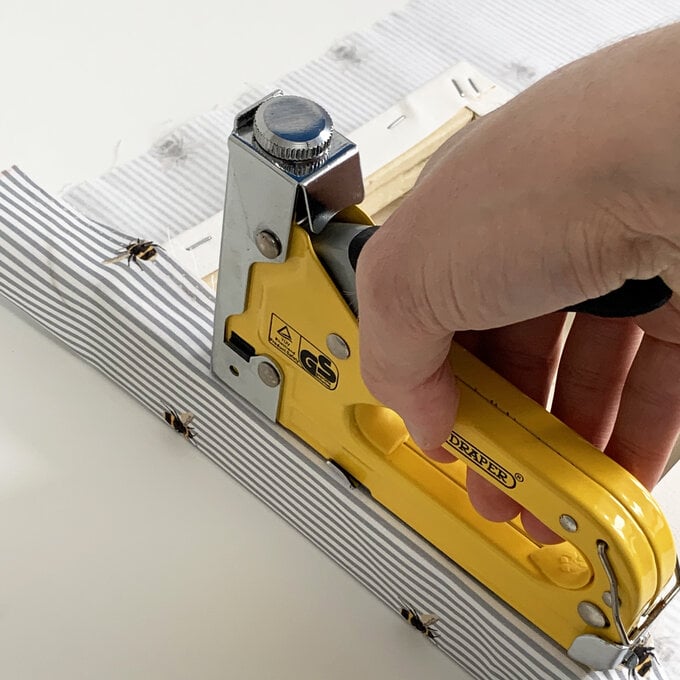
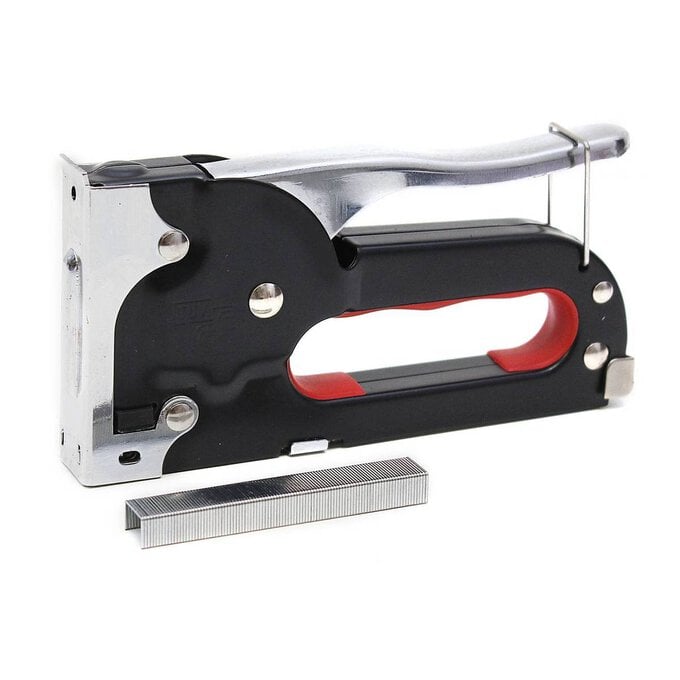
Carefully staple gun to secure the fabric in place. Be careful not to staple over any existing staples in the canvas (use your fingers to feel for the gaps).
Step 4
Add additional staples to this first side. Aim for 1 staple every 5-10cm.
how_to_organise_your_home_office_with_-fabric_notice_board_4-.jpg?sw=680&q=85
Step 5
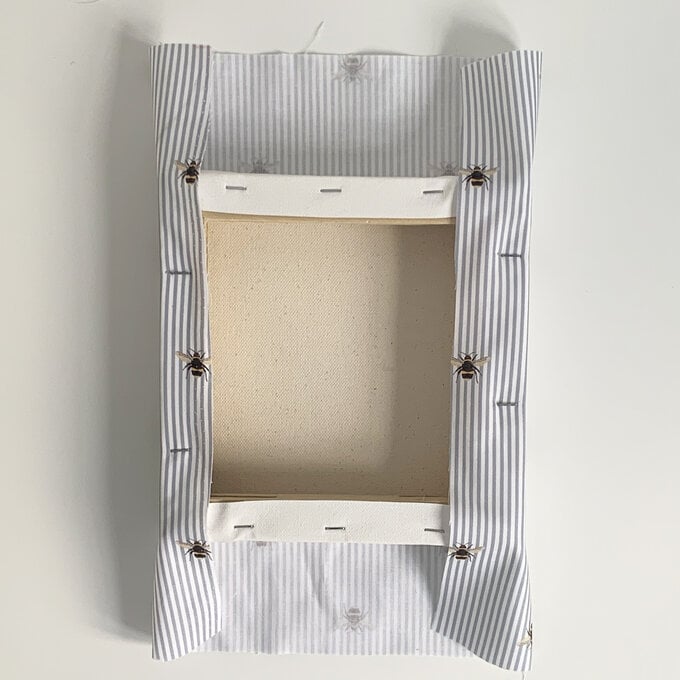
Repeat this process for the opposite side of the canvas. Be sure to pull the fabric taut, so there are no wrinkles (though do not overstretch it).
how_to_organise_your_home_office_with_-fabric_notice_board_5-.jpg?sw=680&q=85
Step 6
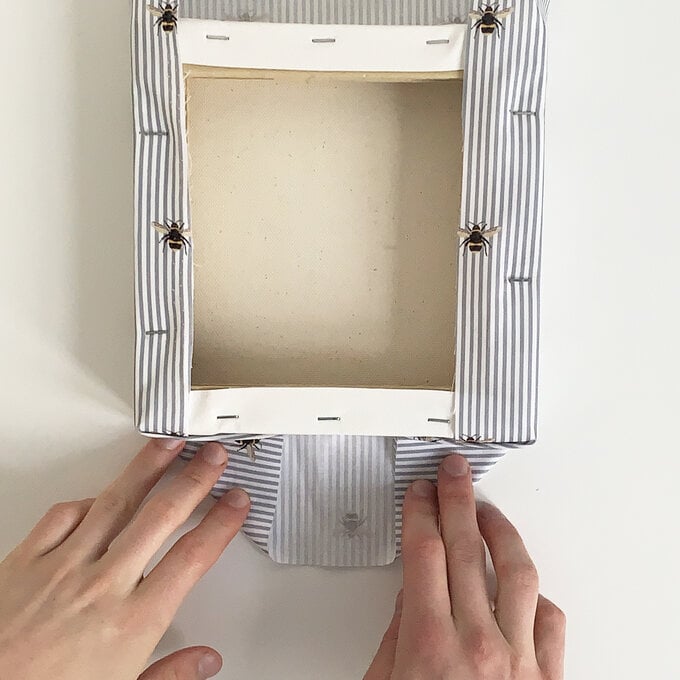
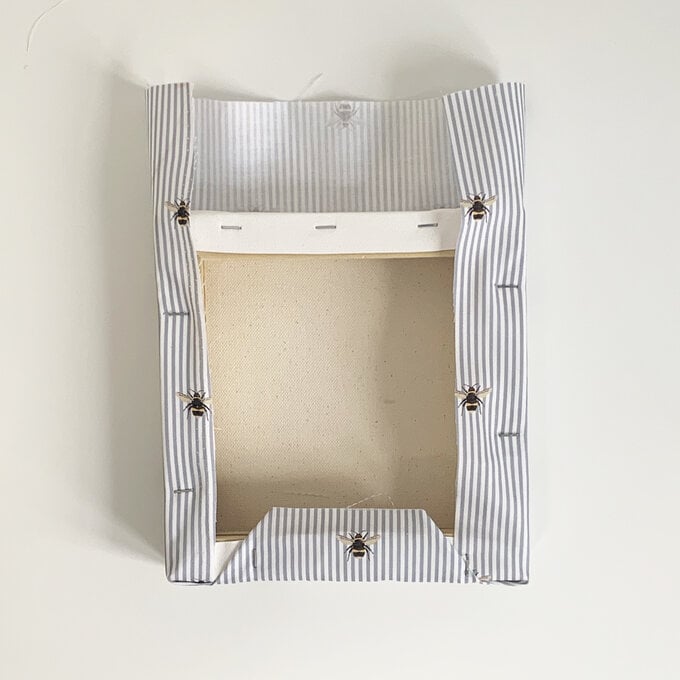
For the final two sides, fold the edges of the fabric in as though you are wrapping a gift.
how_to_organise_your_home_office_with_-fabric_notice_board_6-.jpg?sw=680&q=85
Step 7
Fold the fabric up and over the canvas, as you did for the other sides.
how_to_organise_your_home_office_with_-fabric_notice_board_7-.jpg?sw=680&q=85
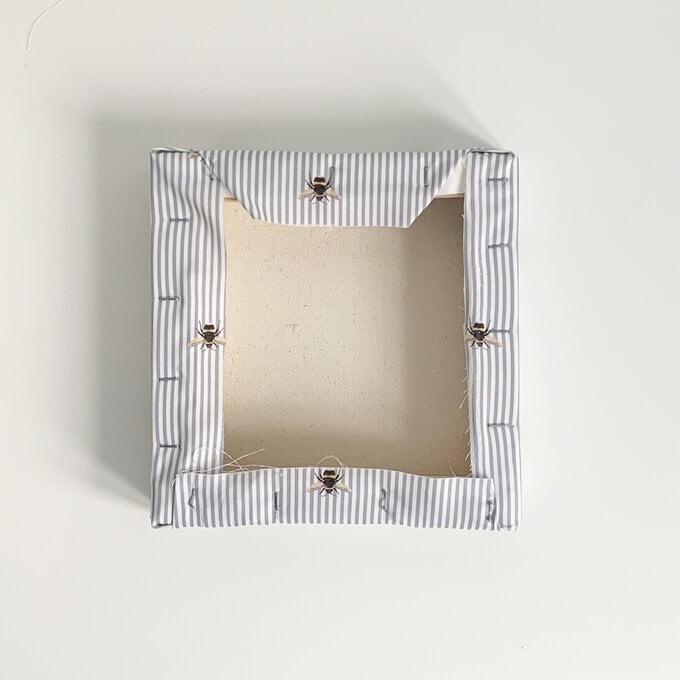
Step 8
Staple this in place, then repeat for the final remaining side of the canvas.
Fabric boxes Step 1

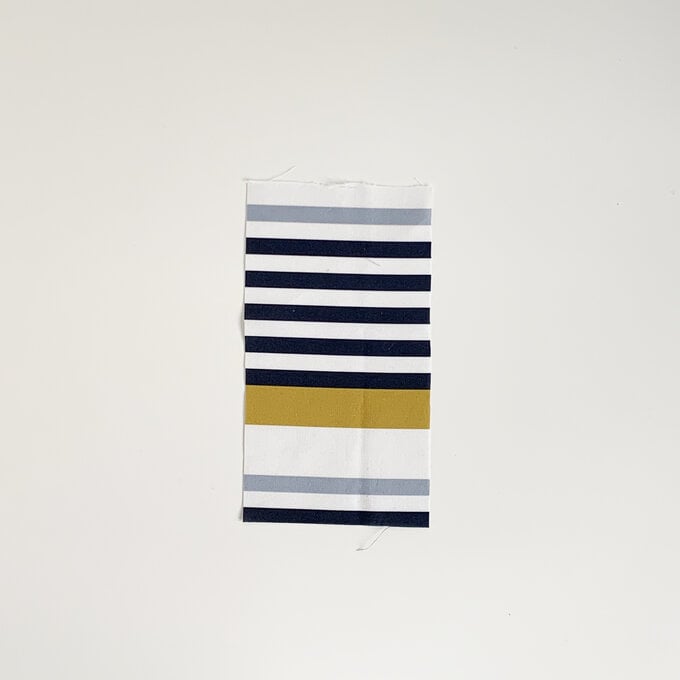
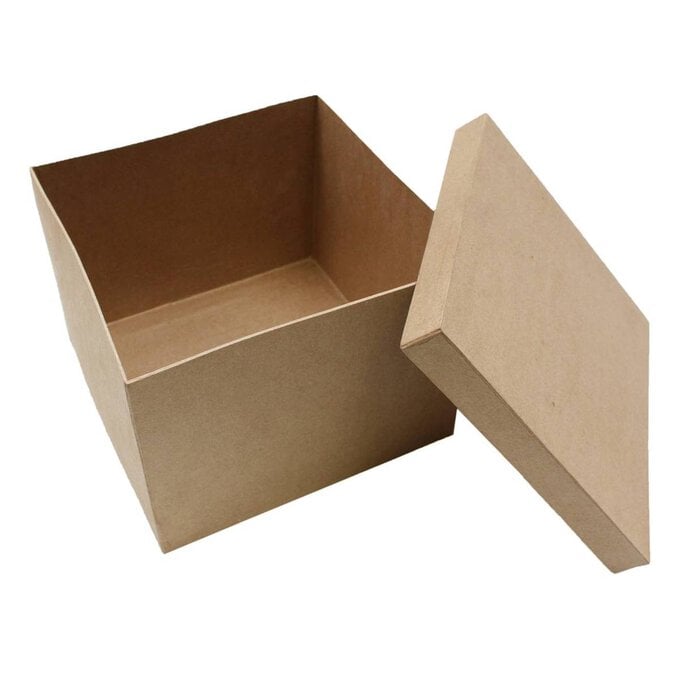
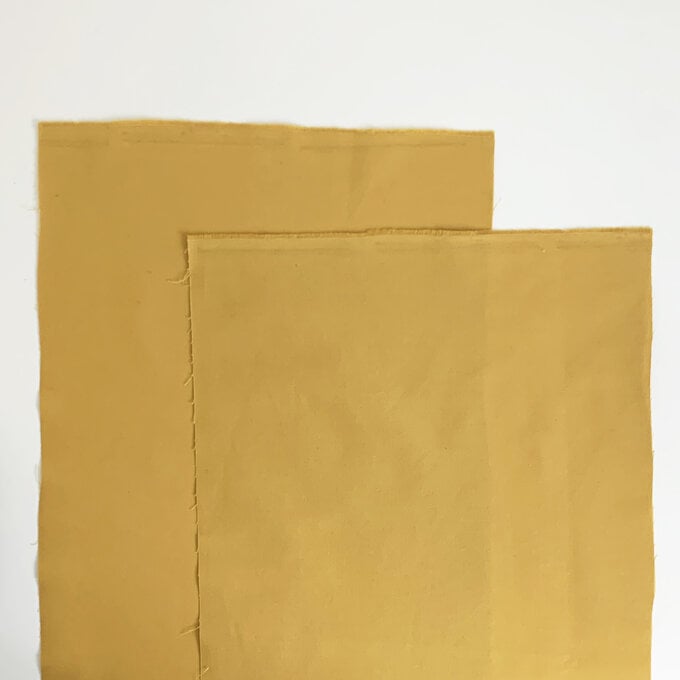
Cut out two long strips of fabric, each with a width 2cm wider than the base of your square box. They should each be long enough to cover two sides and the base of your box, plus an extra 10cm. For example, if you are using the 22cm square box, the strips should measure 64cm long (22cm base + two 16cm sides + extra 10cm).
how_to_organise_your_home_office_with_-fabric_box_1.jpg?sw=680&q=85
Step 2
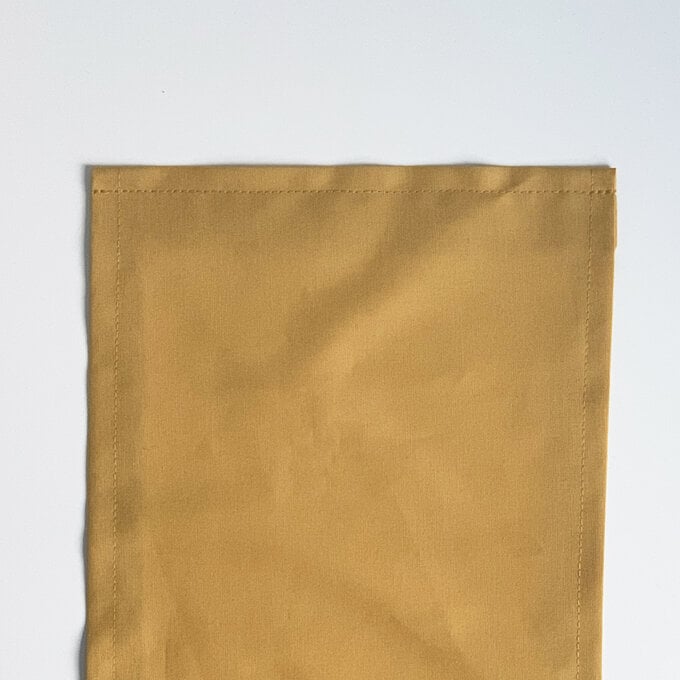
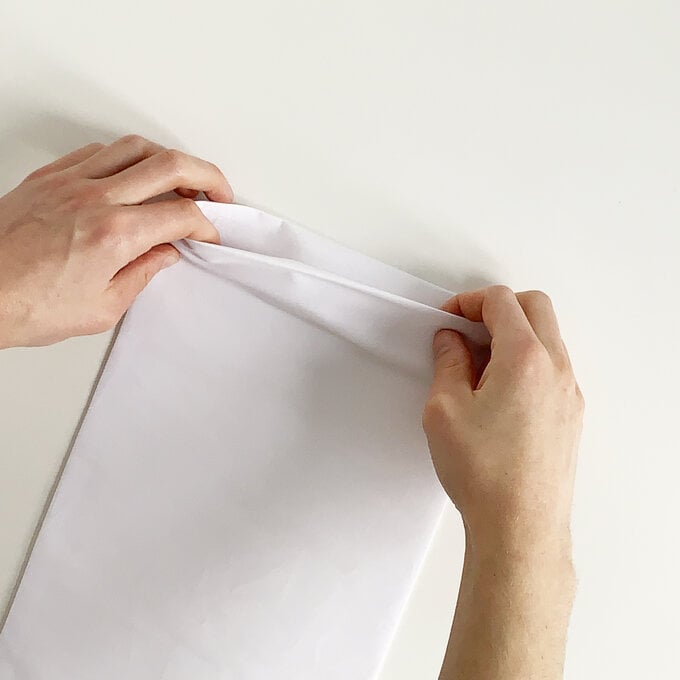
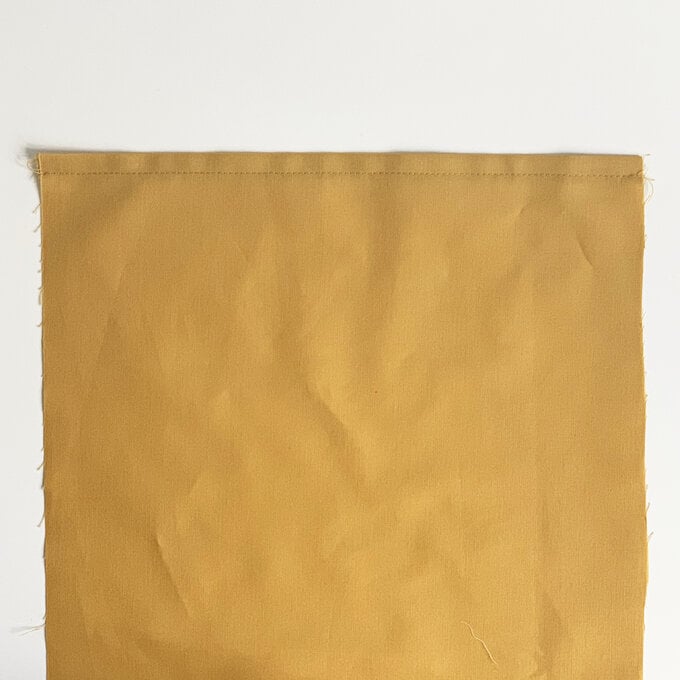
Take one of the fabric pieces and hem the short edges. Do this by folding over each short edge once, enforcing the crease with a hot iron, then sewing it in place with a 3.5mm straight stitch. Note: There’s no need to double turn the edges to hide the raw edge from the reverse side, as this will be hidden – and doing so will add unnecessary extra bulk.
how_to_organise_your_home_office_with_-fabric_box_2.jpg?sw=680&q=85
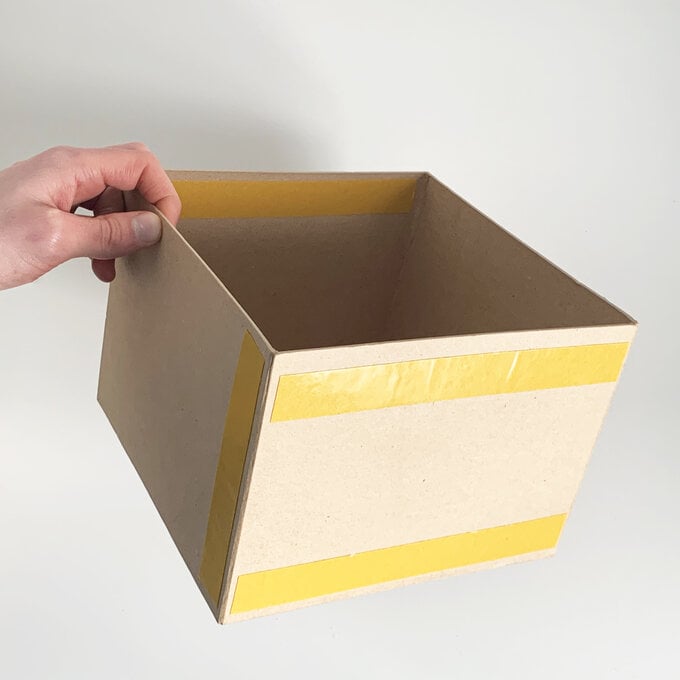
Step 3
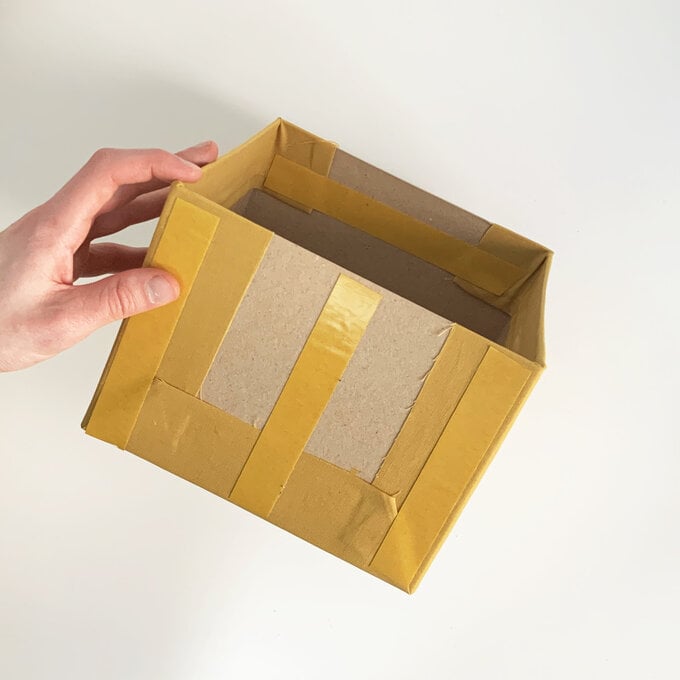
Stick some strong double sided tape to the box, as shown in the picture. (also add some to the base of the box).
how_to_organise_your_home_office_with_-fabric_box_3.jpg?sw=680&q=85
Step 4
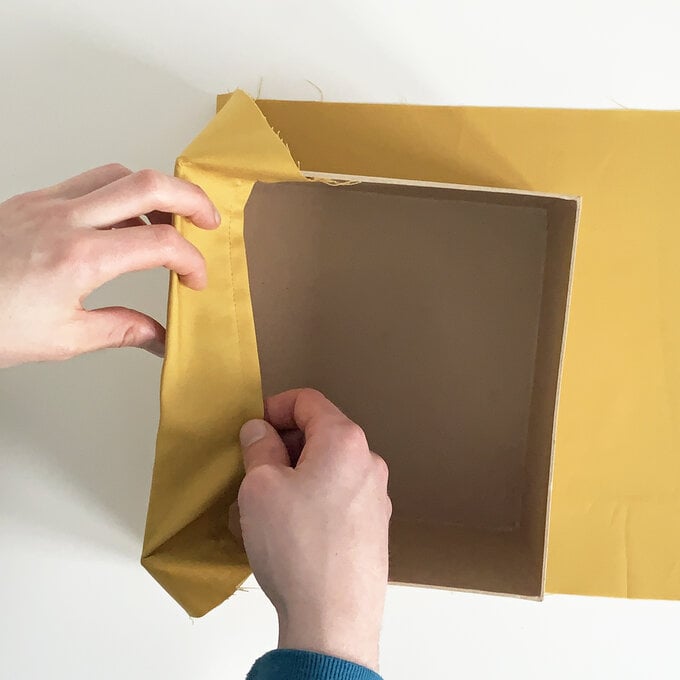
Lay the hemmed fabric from step 2 flat, right side facing down. Place the box in the centre of the fabric. Peel off the protective layer from the double sided tape, then carefully fold one side of the fabric up against the side of the box, so the hemmed edge tucks into the open box.
how_to_organise_your_home_office_with_-fabric_box_4.jpg?sw=680&q=85
Step 5
Press the fabric firmly in place against the double sided tape, so it sticks securely. It should be stuck to the outer side of the box, as well as the top of the inner box.
how_to_organise_your_home_office_with_-fabric_box_5.jpg?sw=680&q=85
Step 6
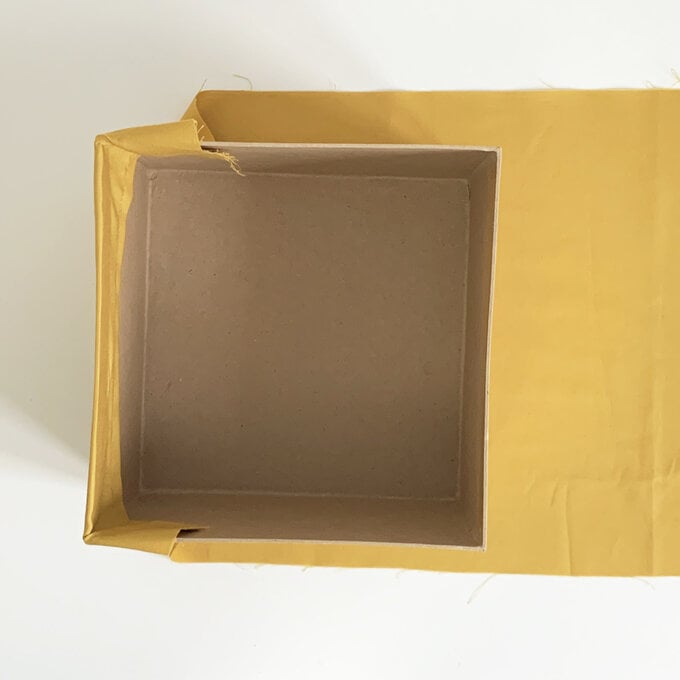
Repeat steps 4 and 5 for the opposite side of the fabric and box (as well as the base).
how_to_organise_your_home_office_with_-fabric_box_6b.jpg?sw=680&q=85
Step 7
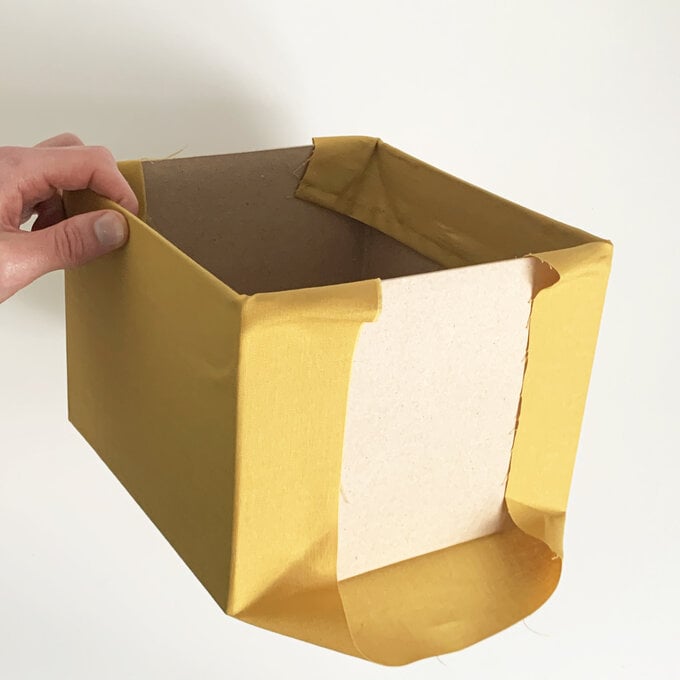
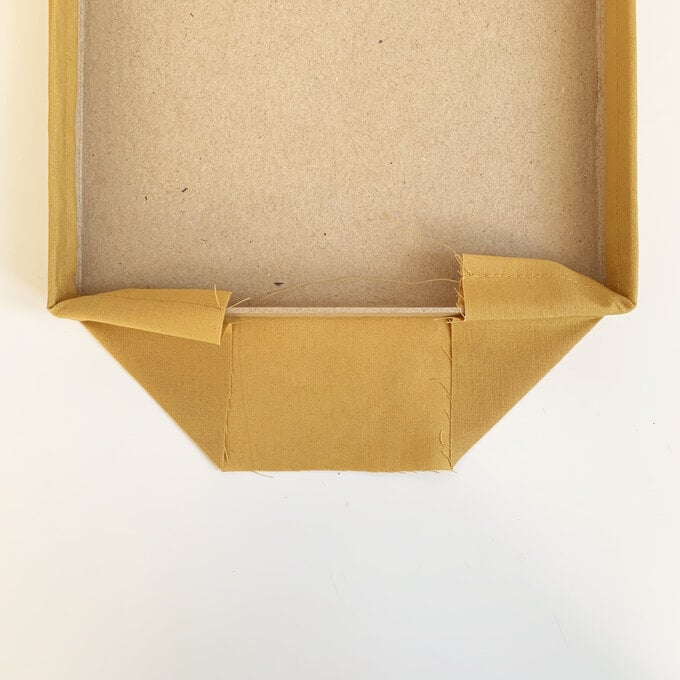
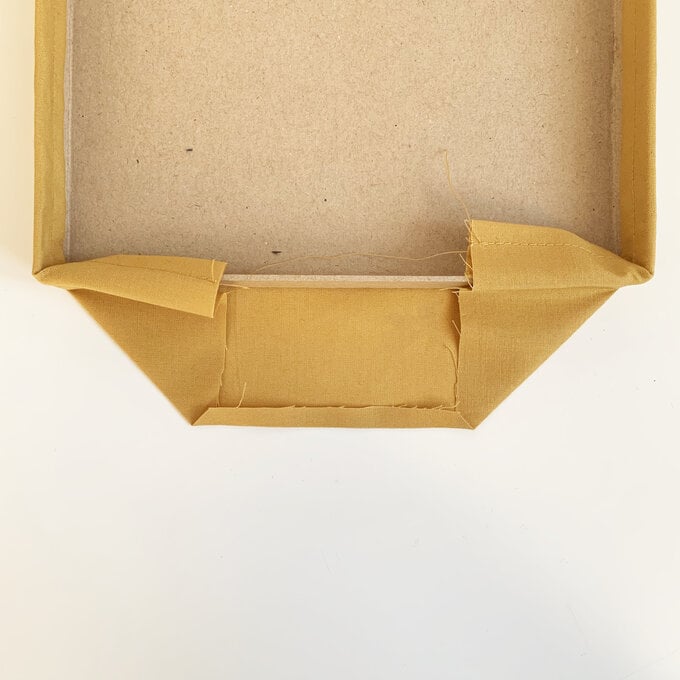
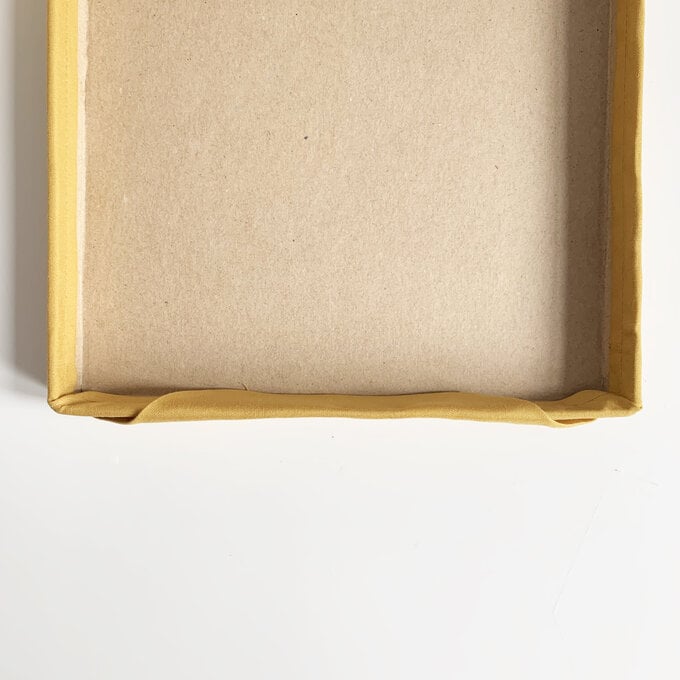
You’ll be left with a flap of fabric on each side of the box. Fold these raw edges up, like you are wrapping a gift. Use a piece of double sided tape to secure in place (don’t worry - this will get covered in the following steps).
how_to_organise_your_home_office_with_-fabric_box_7.jpg?sw=680&q=85
Step 8
Go back to the other fabric piece you cut in step 1. Hem all 4 edges of this fabric piece, in the same way as step 2 (but this time, you should hem all edges). When you are hemming the long edges, be sure to fold over enough fabric so that the final, hemmed piece is the same width as the base of your box.
how_to_organise_your_home_office_with_-fabric_box_8.jpg?sw=680&q=85
Step 9
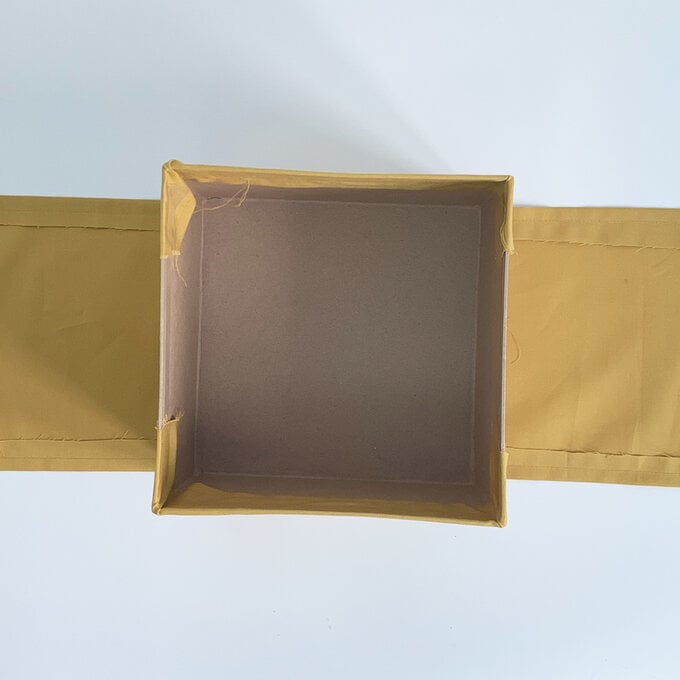
Stick tape to the two sides of the box you have not already covered in fabric.
how_to_organise_your_home_office_with_-fabric_box_9.jpg?sw=680&q=85
Step 10
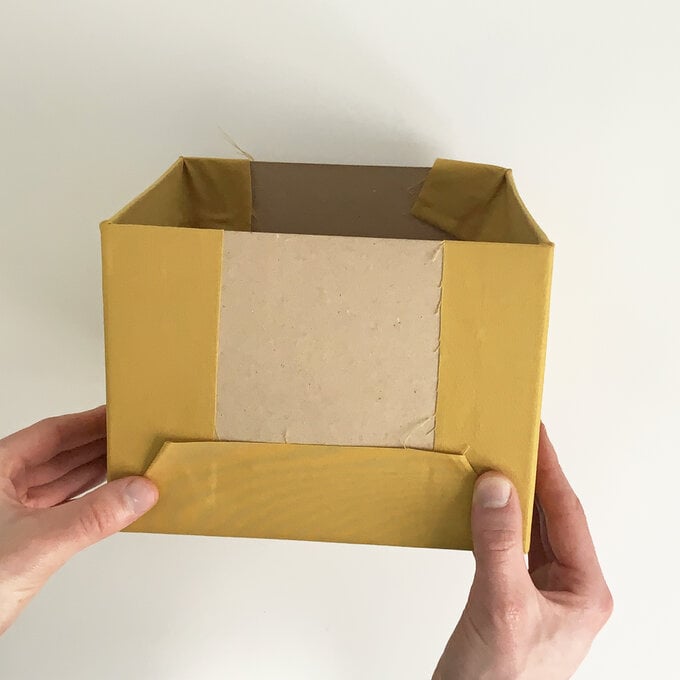
Place the box on the hemmed fabric piece, right side facing down. Fold this fabric up onto the sides of the box, and stick in place with the double sided tape. This time, the fabric will not wrap around the sides of the box – instead, the hemmed long edges should line up neatly with the box edges.
how_to_organise_your_home_office_with_-fabric_box_10.jpg?sw=680&q=85
Step 11
Repeat steps 1-7 to cover the lid of the box (note that you will need to use a smaller piece of fabric for the lid). Once the fabric is stuck to the lid, fold the remaining raw edges in by 1-2cm, and then fold the fabric up and over the edge of the lid. Stick this in place with more double sided tape.
Hanging Storage Step 1

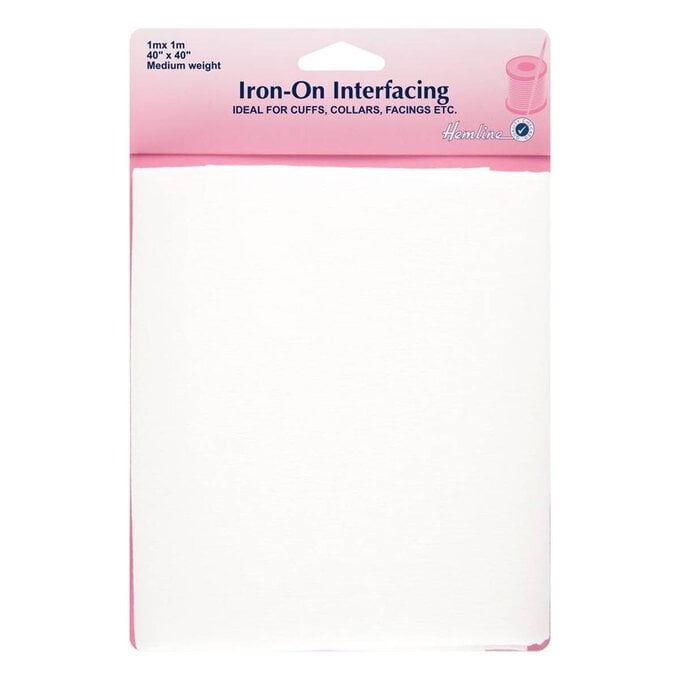
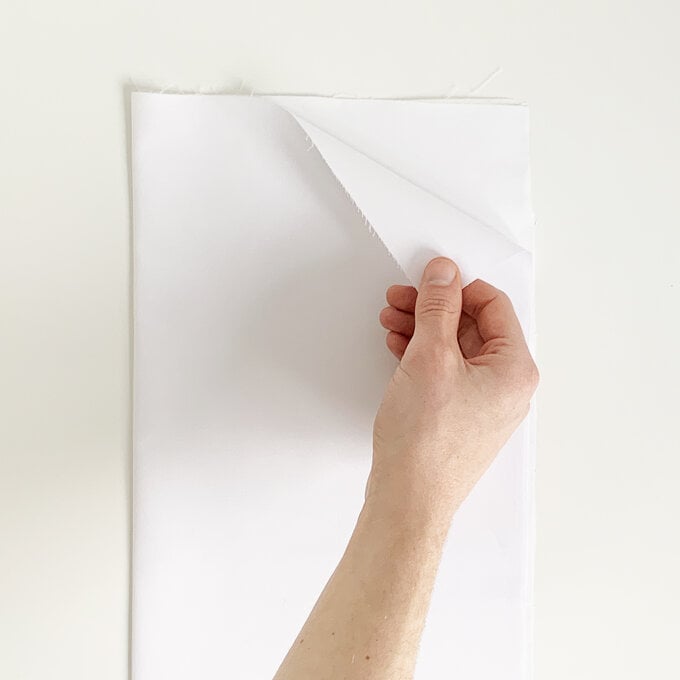
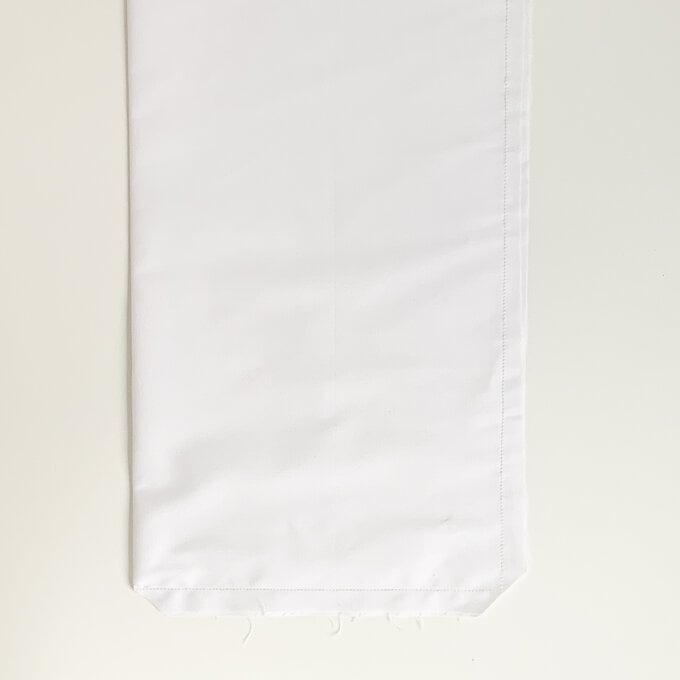
Cut out a piece of 44cm x 52cm fabric. Apply lightweight interfacing to the wrong side, then fold in half along the long edge (with the interfaced/wrong side facing outwards).
how_to_organise_your_home_office_with_-fabric_storage_1.jpg?sw=680&q=85
Step 2
Stitch together along the long edge (opposite to the folded side) and either one of the shorter edges, with a 1cm seam allowance. This will leave just one open side. Trim the corners close to the stitching (be careful not to cut through the thread!).
how_to_organise_your_home_office_with_-fabric_storage_2.jpg?sw=680&q=85
Step 3
Turn the whole thing the right way out, through the open short edge. This will hide the interfacing inside. Press flat with a hot iron.
Step 4
Tuck the remaining raw edges inside, folding them in by 5-10cm. Press flat. (Do not sew this shut yet, you will do this a little later).
Step 5
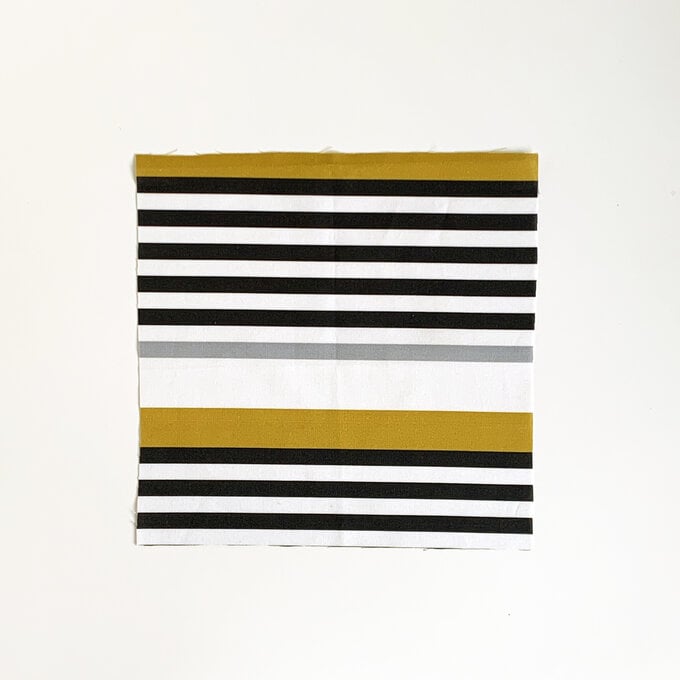
To make the hanging straps, first cut a piece of fabric to 12cm x 20cm.
how_to_organise_your_home_office_with_-fabric_storage_5-.jpg?sw=680&q=85
Step 6
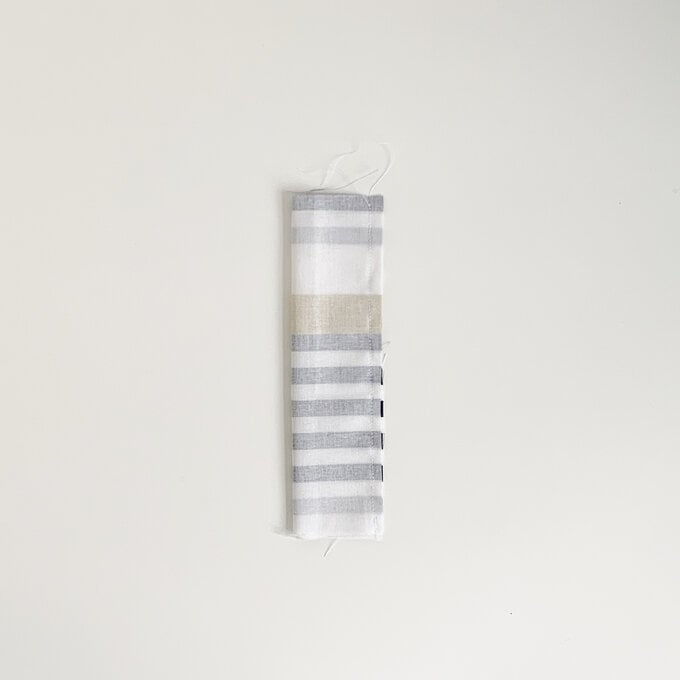
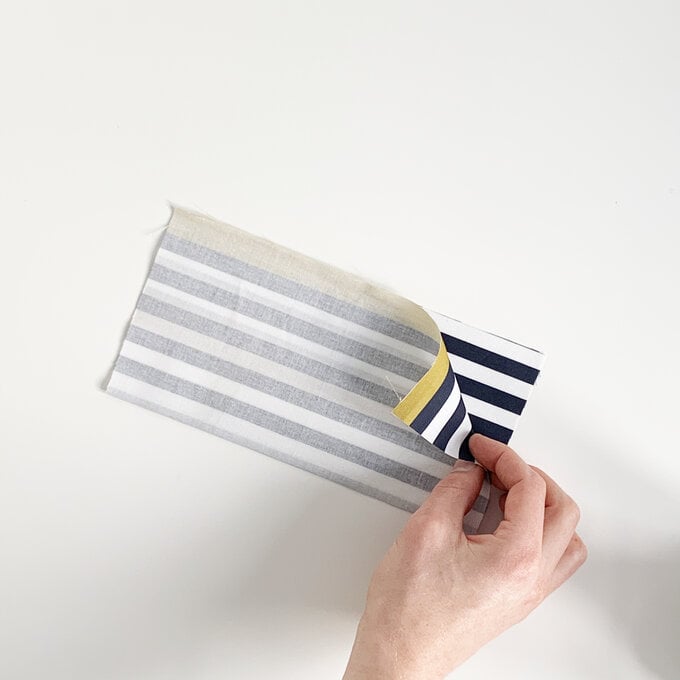
Fold it in half along the long side (right sides together), and stitch in place with a 1cm seam allowance. This will make a tube of fabric, open at both ends.
how_to_organise_your_home_office_with_-fabric_storage_6-.jpg?sw=680&q=85
Step 7
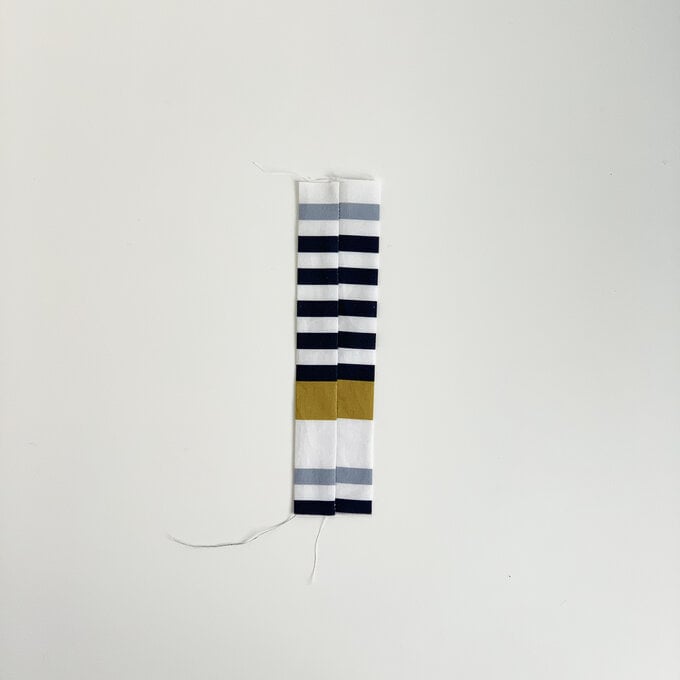
Turn this tube of fabric through one of the open ends, to reveal the right side of the fabric. Lay it flat, with the seam in the middle. Press flat.
how_to_organise_your_home_office_with_-fabric_storage_7-.jpg?sw=680&q=85
Step 8
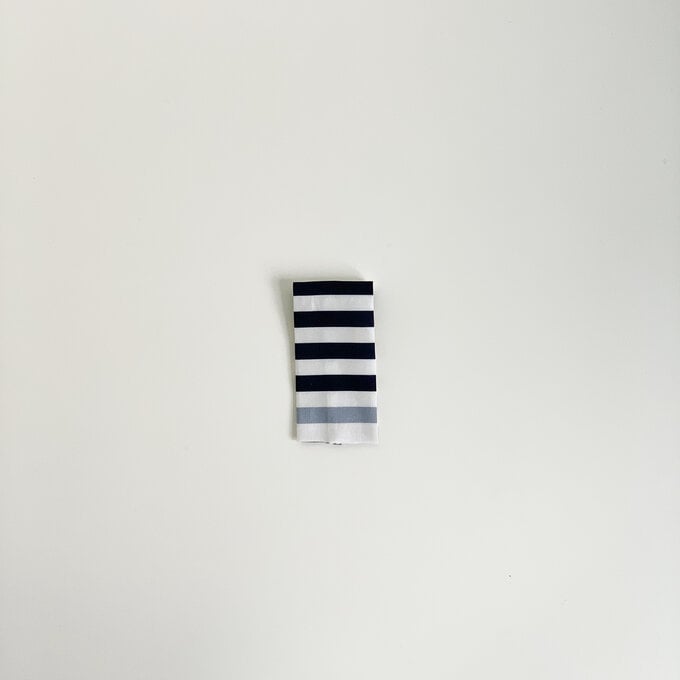
Fold this fabric piece in half along the short edge, so the seam from step 6 is now hidden.
how_to_organise_your_home_office_with_-fabric_storage_8-.jpg?sw=680&q=85
Step 9
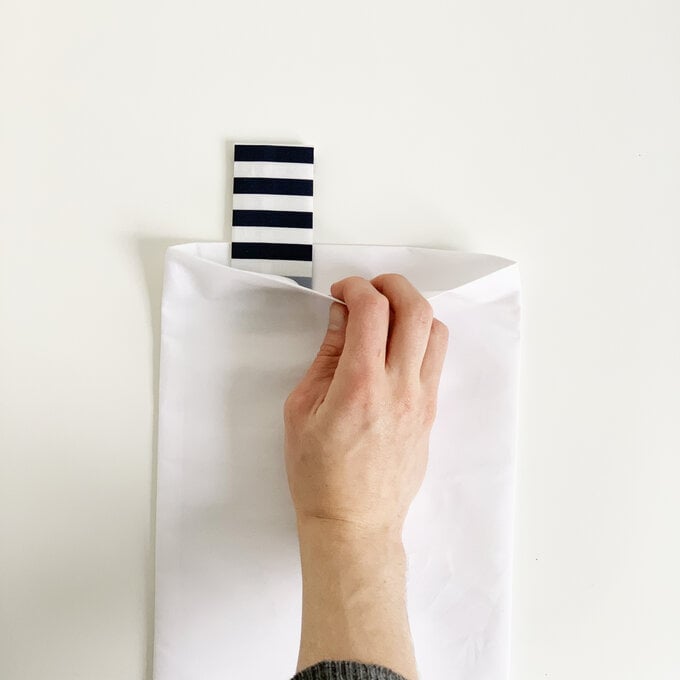
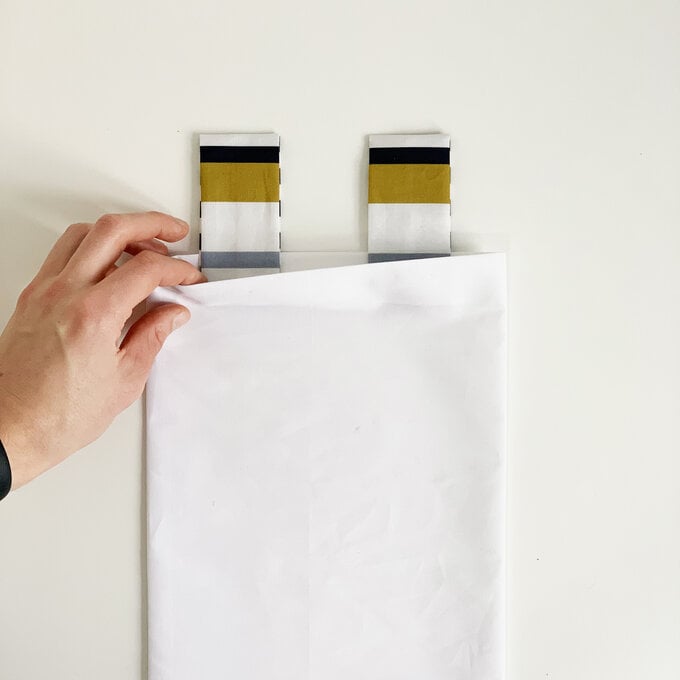
Tuck this folded fabric into the open end of the larger piece made in steps 1-4.
how_to_organise_your_home_office_with_-fabric_storage_9-.jpg?sw=680&q=85
Step 10
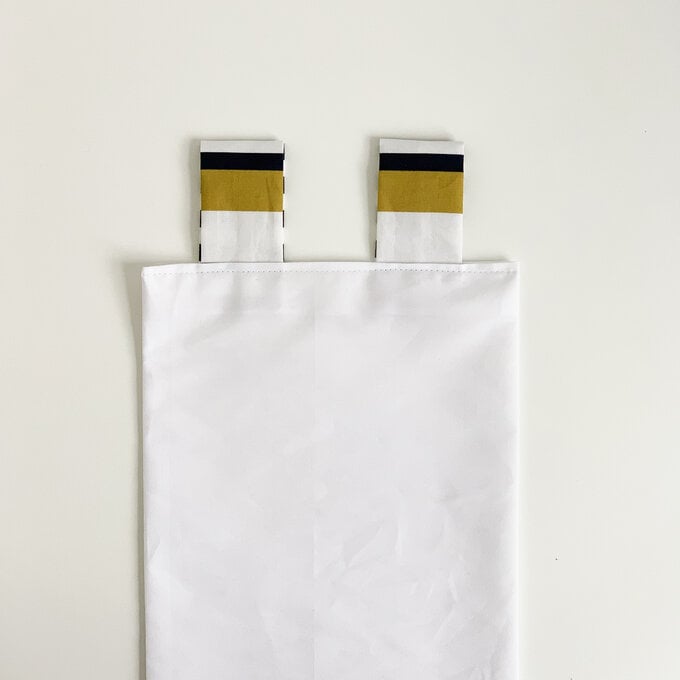
Repeat steps 5-9, so you have two hanging straps in position.
how_to_organise_your_home_office_with_-fabric_storage_10-.jpg?sw=680&q=85
Step 11
Top stitch along the open edge from step 4, and over the two straps that you have tucked in. This will secure them in place and close the open edge at the same time.
how_to_organise_your_home_office_with_-fabric_storage_11-.jpg?sw=680&q=85
Step 12
To make a pocket, cut out a piece of fabric to 22cm x 22cm.
how_to_organise_your_home_office_with_-fabric_storage_12-.jpg?sw=680&q=85
Step 13
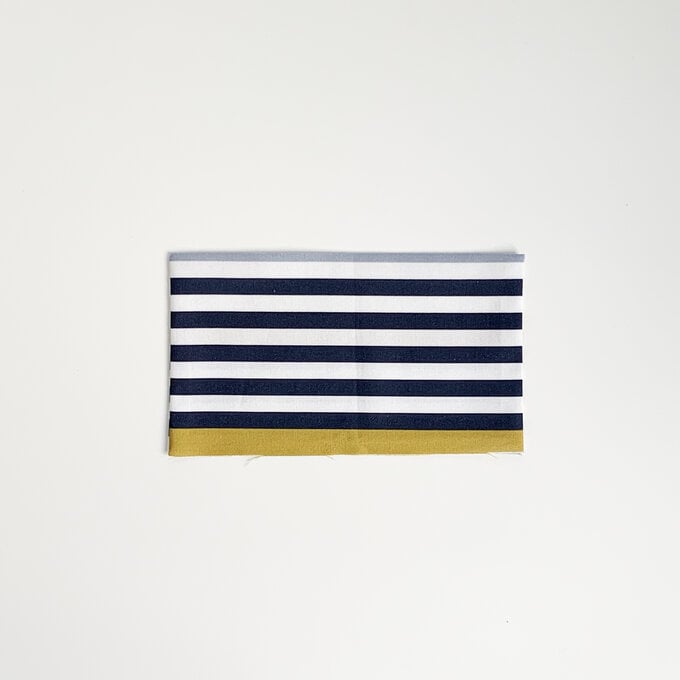
Fold it in half, with right sides together.
how_to_organise_your_home_office_with_-fabric_storage_13-.jpg?sw=680&q=85
Step 14
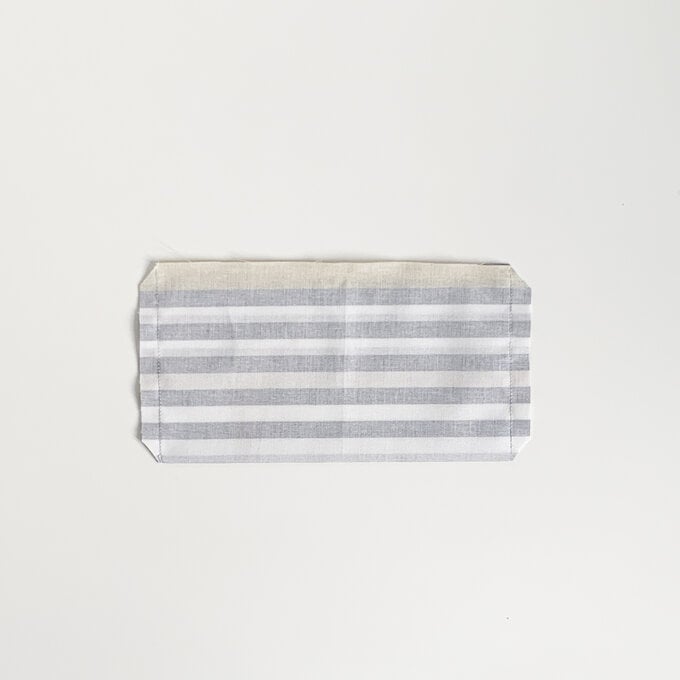
Sew along the two short edges with a 1cm seam allowance and trim the corners.
how_to_organise_your_home_office_with_-fabric_storage_14-.jpg?sw=680&q=85
Step 15
Turn the fabric inside out through the remaining open edge. There will now be two raw edges remaining.
how_to_organise_your_home_office_with_-fabric_storage_15-.jpg?sw=680&q=85
Step 16
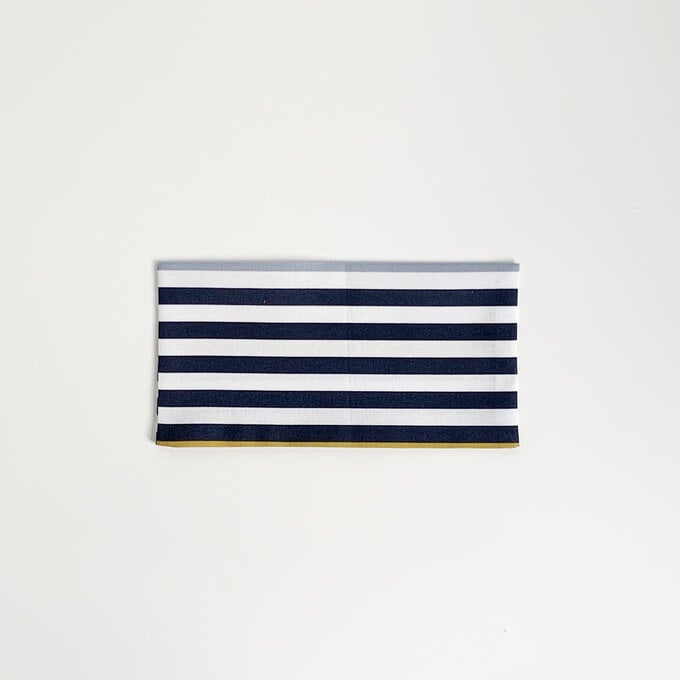
Fold and tuck the raw edges to the inside of the fabric, so they are hidden. Aim to fold them approximately 1-2cm. Press flat. (Don’t sew this folded edge yet).
how_to_organise_your_home_office_with_-fabric_storage_16-.jpg?sw=680&q=85
Step 17
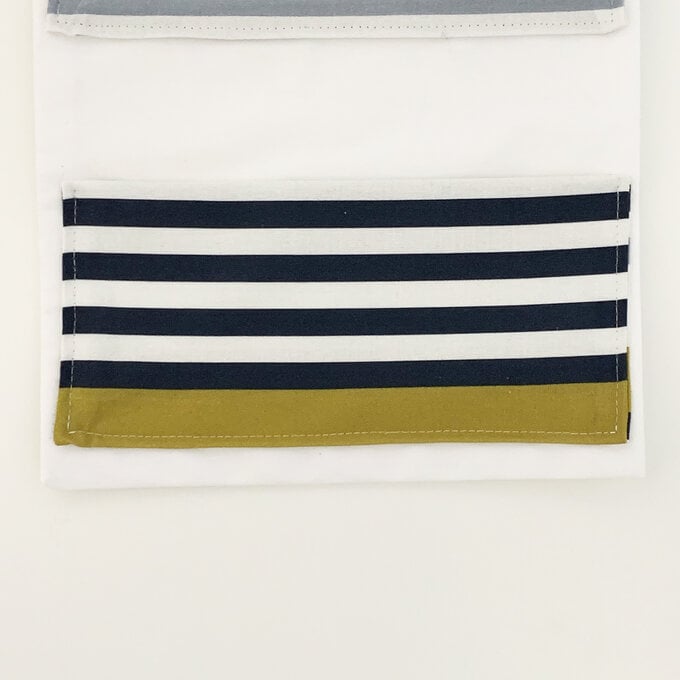
Pin this pocket piece to the larger backing piece you made in steps 1-4. Make sure you position it with the open edge (that you folded inside in step 16) on the bottom. Top stitch the pocket to the backing piece with a 3.5mm straight stitch, along both sides and the bottom.
how_to_organise_your_home_office_with_-fabric_storage_17-.jpg?sw=680&q=85
Step 18
Repeat steps 12-18 to make and attach two more pockets.
hanging-storage---square.jpg?sw=680&q=85
Your home office is now ready to enjoy!
group-desk-shot---square---23.03.21.jpg?sw=680&q=85
  • bvseo_sdk, dw_cartridge, 18.2.0, p_sdk_3.2.0
  • CLOUD, getReviews, 5ms
  • reviews, product
  • bvseo-msg: Unsuccessful GET. status = 'ERROR', msg = 'Not Found.'; Unsuccessful GET. status = 'ERROR', msg = 'Not Found.';

Related Products

Top