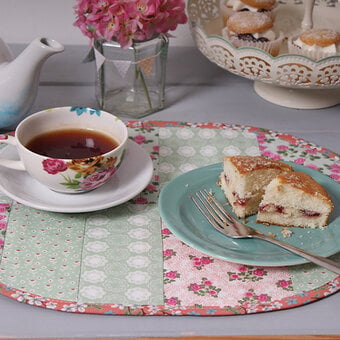
How to Sew a Cute Bunny Pennant
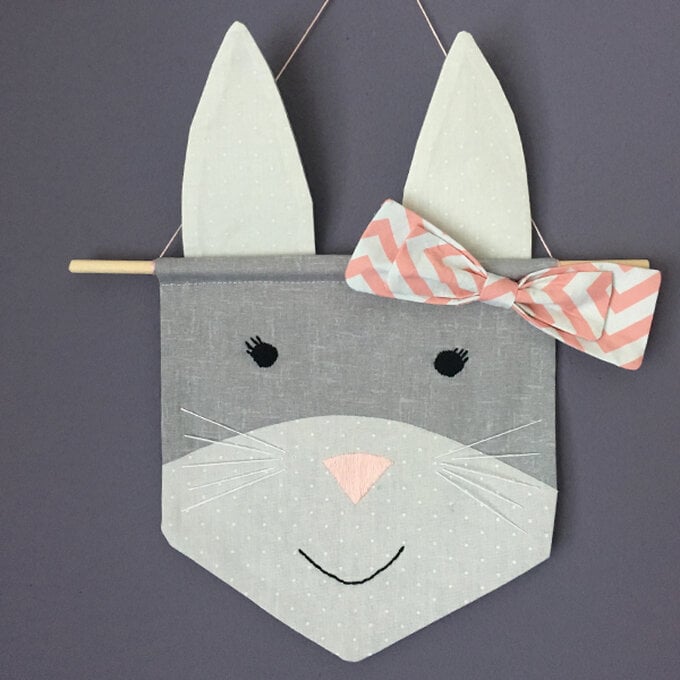
Add something sweet to your spring decorating with this adorable bunny pennant! Perfect for your Easter egg hunts or to give as a gift for a baby shower or christening.
You will need
Subtotal
Is $ 127.00
Subtotal
Is $ 32.00
Subtotal
Is $ 5.49
Subtotal
Is $ 2.49
Subtotal
Is $ 7.49
Subtotal
Is $ 2.49
Subtotal
Is $ 8.49
Subtotal
Is $ 2.49
Subtotal
Is $ 12.00
Subtotal
Is $ 6.49
Out of stock
Subtotal
Is $ 12.00
How to make
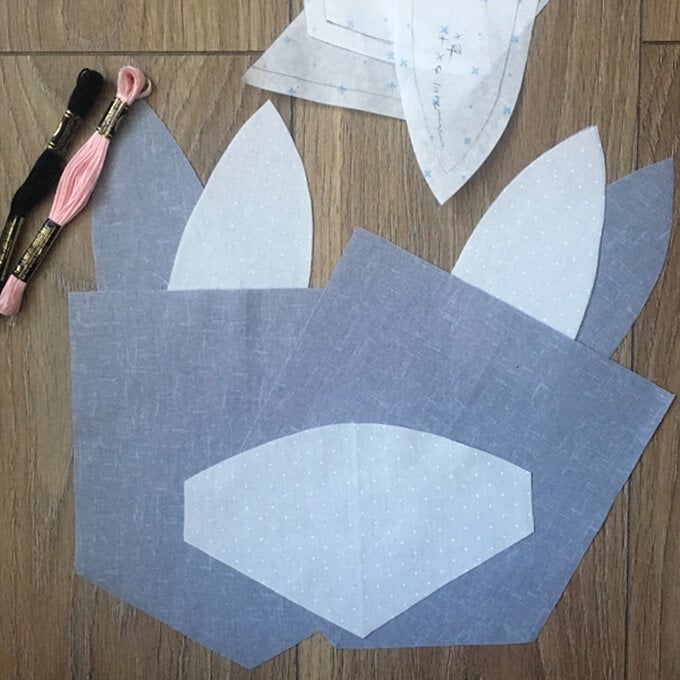
Download, print and cut out the pattern template. Iron the fabric, pin and cut out your grey pieces and ear pieces. Iron on the interfacing and set aside for later.
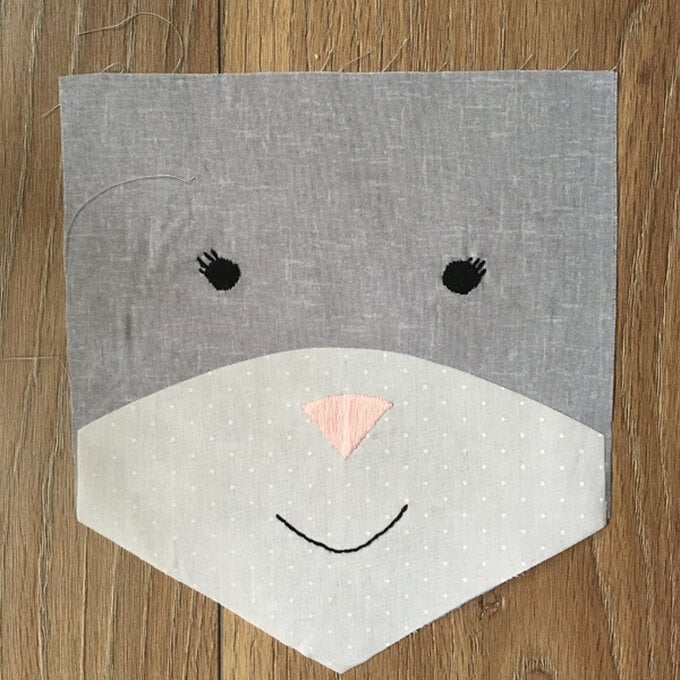
Take your white fabric and using a fabric pen or pencil mark on where the nose and smile will be embroidered. Using a satin stitch and 3 strands of the light pink embroidery thread, fill in the nose. Using a backstitch and 3 strands of the black thread, sew the smile.
Mark on where the eyes need to go, using a satin stitch and 3 strands of black thread, sew on the eyes and eyelashes. Add some whiskers either side of the nose, using a single stitch.
Before cutting out the white nose and mouth piece, iron on the adhesive and cut out using the template. Iron on to the bottom of the non-interfaced grey piece.
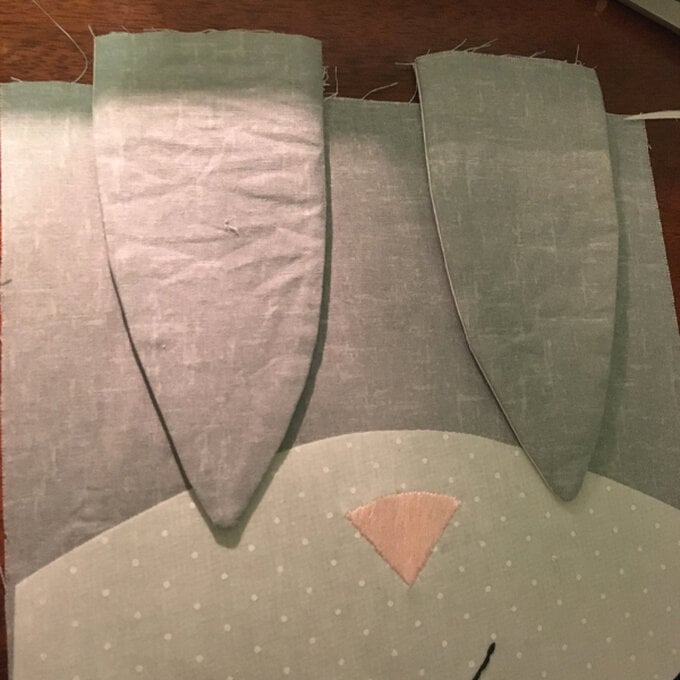
Next take your ear pieces and sew right sides together, leaving the bottom open. Snip the point and carefully turn through and press.
Do the same for your main bunny head piece, leaving the gap at the top this time.
Attach the ears to the main piece using a 1cm seam allowance.
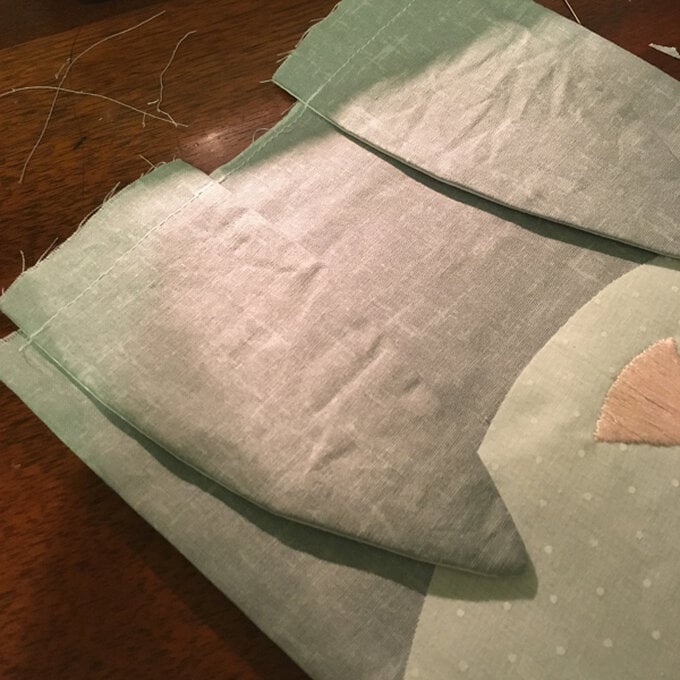
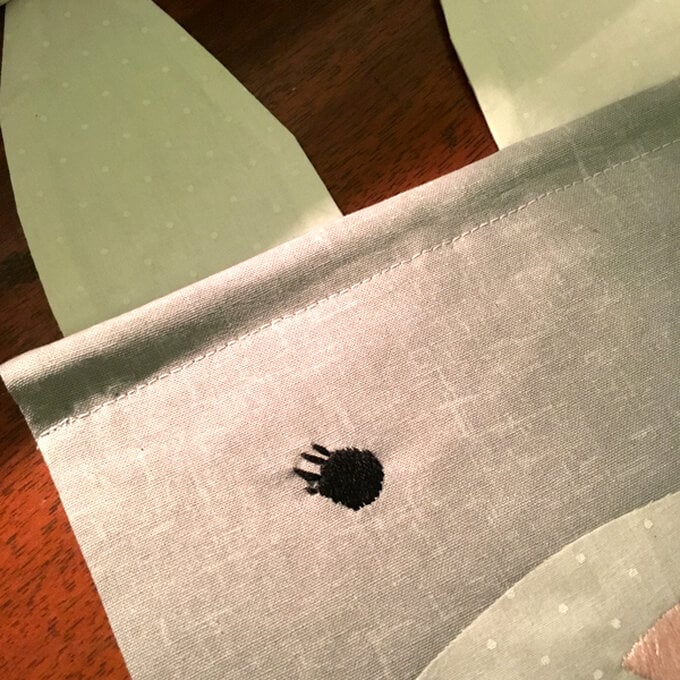
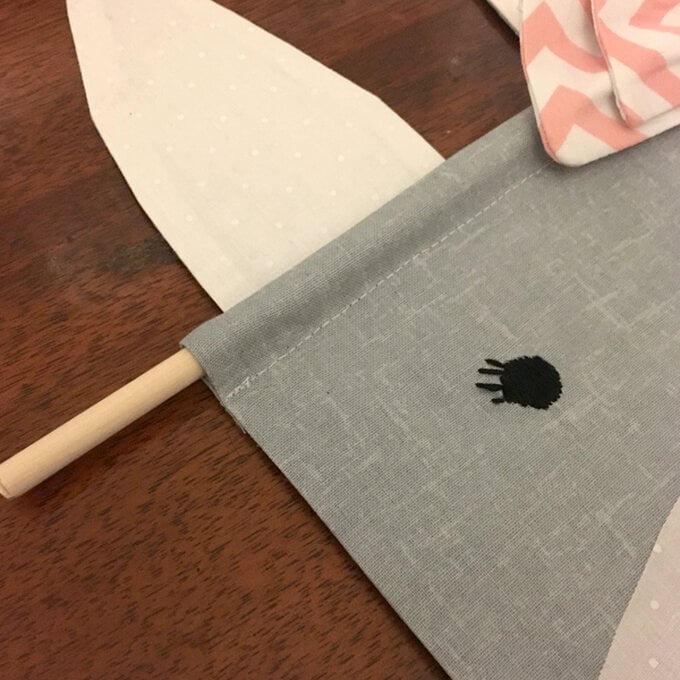
Fold the top over the dowel rod and pin where the fabric is folded. Remove the dowel and top stitch across.
Next it's time to add the bow! Take your choice of patterned fat quarter and cut out three rectangles. One 6.5” x 4.5”, one 5” x 3.5” and one 3” x 1.5”.
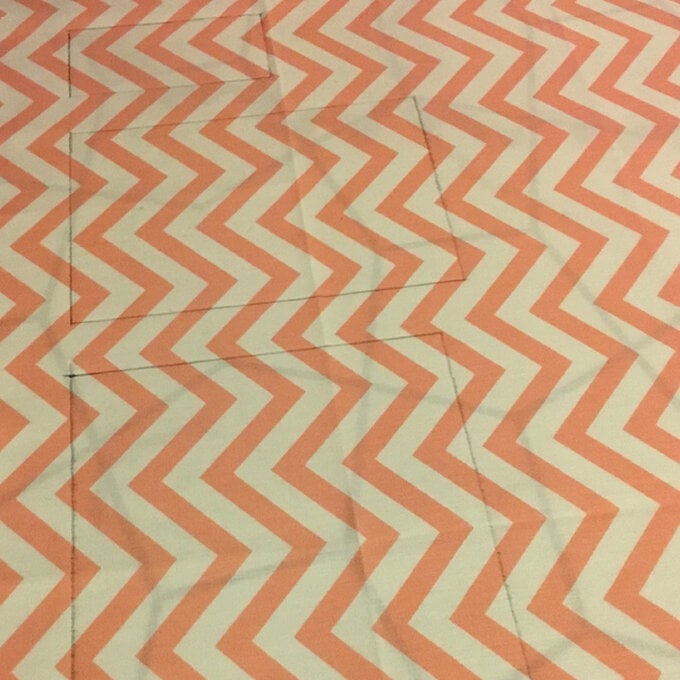
Cut a piece of interfacing for each of the two larger rectangles and press this on the wrong side.
Fold the larger rectangles in half right sides together and sew along both of the corners, leaving a gap in the middle so you can turn them though. Press and set aside.
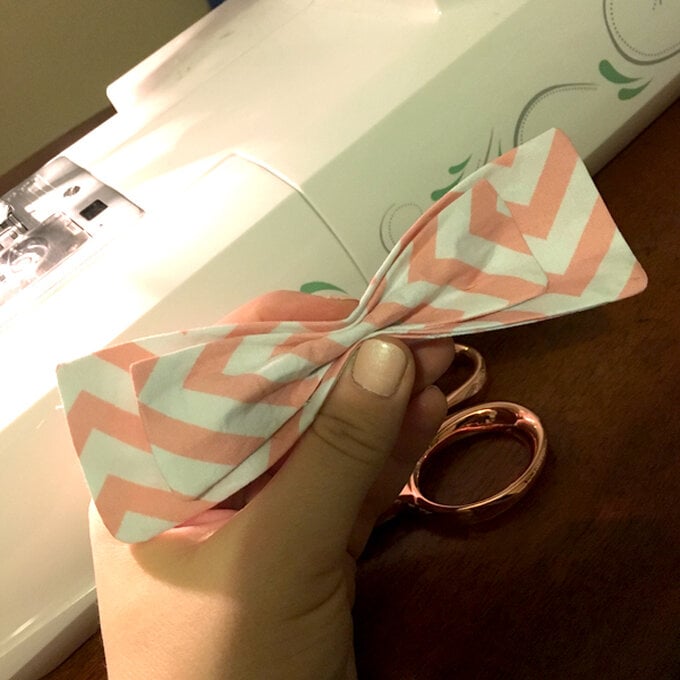
Fold and press the small rectangle so that the two edges meet in the middle. Place the two larger rectangles on top of each and gather in the middle. Wrap the smallest rectangle around this part and pin. By hand sew the small rectangle down to secure the bow, cut away any excess you may have.
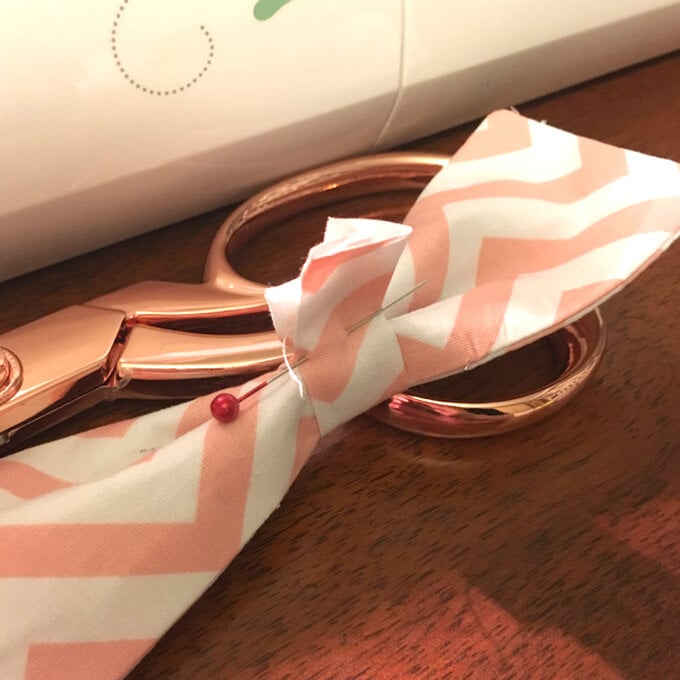
Finally sew your bow to the top of your bunny and thread through your dowel. Use a piece of the pink embroidery thread and tie at either end of the dowel.
