How to Sew an Apron
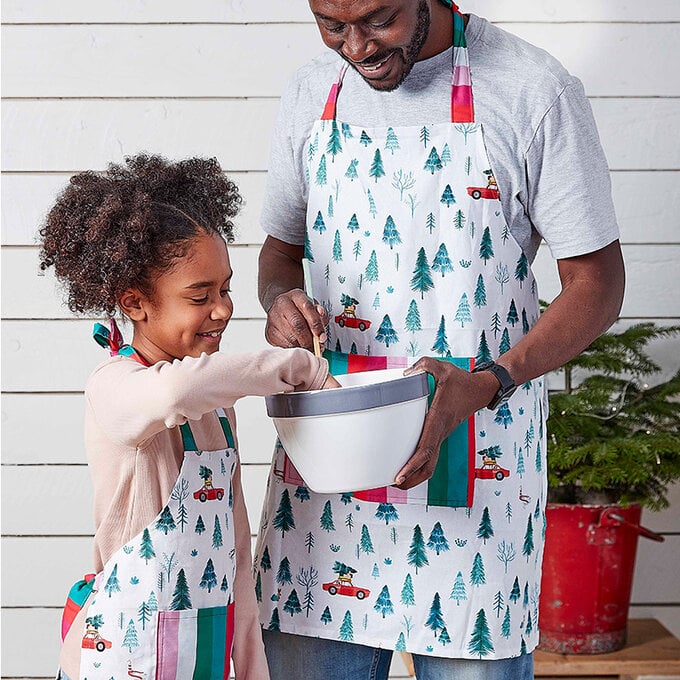
If you're looking to make your first foray into garment making, learn how to sew an apron with this beginner-friendly pattern project.
Created using the NEW and exclusive festive fabrics from Joules, the quintessential heritage designs with a seasonal twist will be sure to add beautiful details to any sewing project. Pre-cut two metre lengths have been used to create this apron project, which means an apron can be made for yourself as well as your mini baking assistant!
Project and instructions by Sophia at Sew Jessalli
Please note: All sewn edges use a 10mm seam allowance. Find the template guide download link at the bottom of this post.
Find more Joules fabric project inspiration here
Shop the new and exclusive fabrics in store and online
You will need
Subtotal
Is $ 20.00
Subtotal
Is $ 3.49
Out of stock
Subtotal
Is $ 4.49
You will also need:
*Thread
*Needles
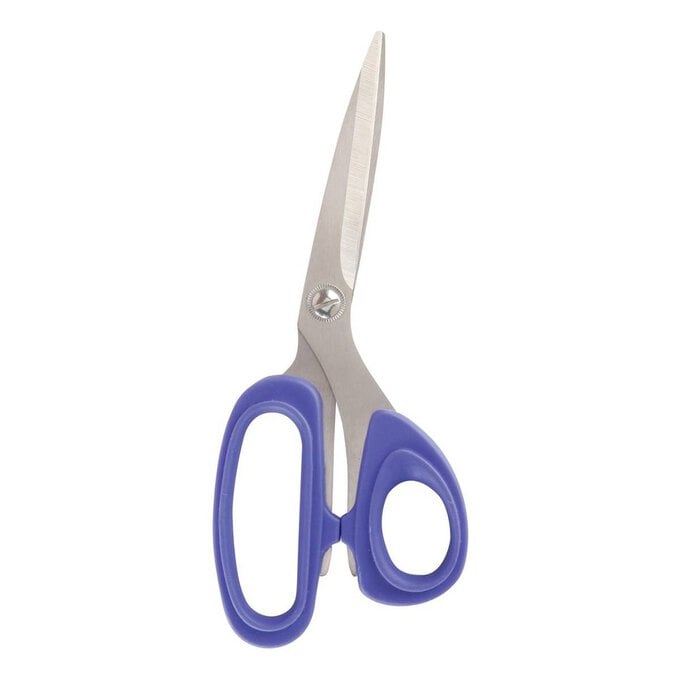
*Dressmaking scissors
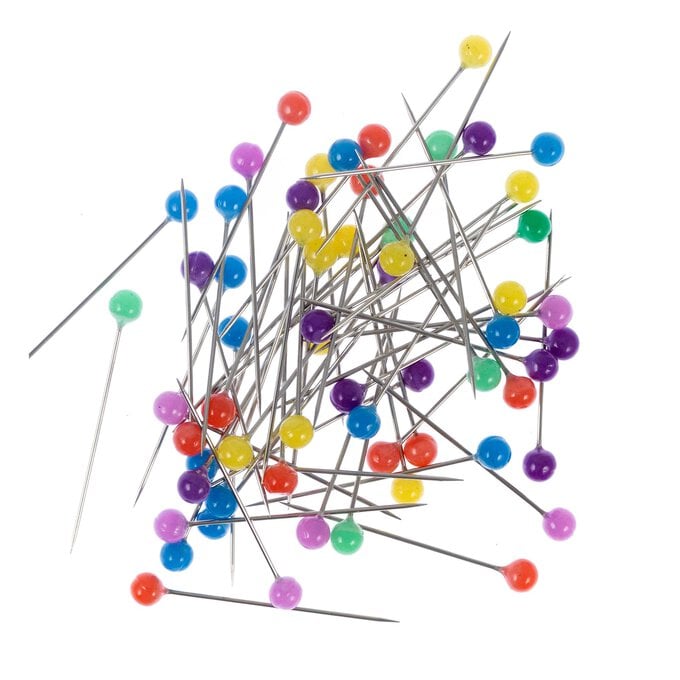
*Pins
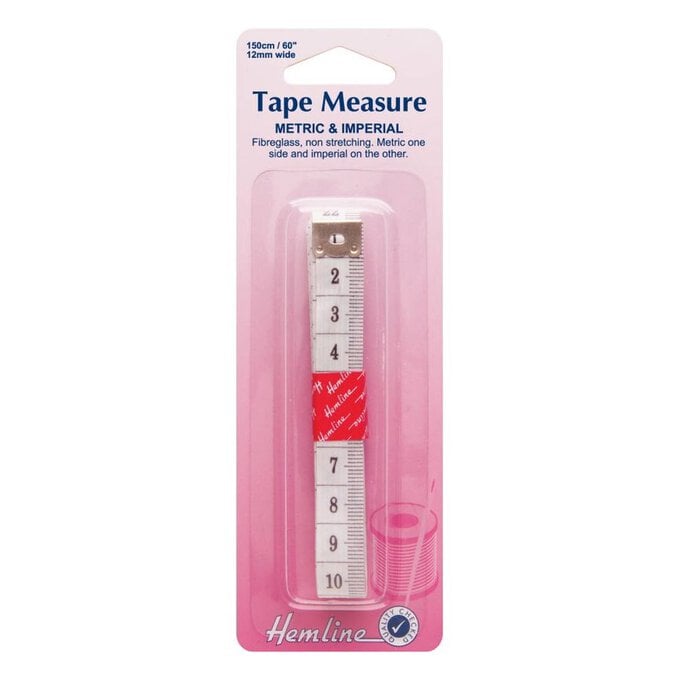
*Measuring tape
*Iron
Optional:
*Sewing machine
Using the layout guide provided (find the layout guide download at the botton of this project post), fold your fabric lengthways to the width of your apron base.
Whilst cutting on the fold, cut your piece of main apron fabric to the rectangular size of the adult apron.
Using the guide, mark along the top and side of the apron where the curve section starts. Draw a smooth curve between these two point.
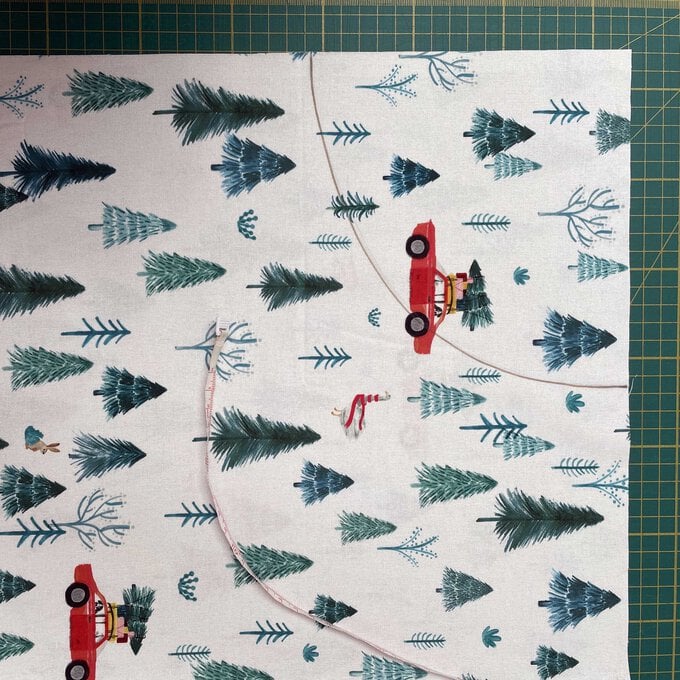
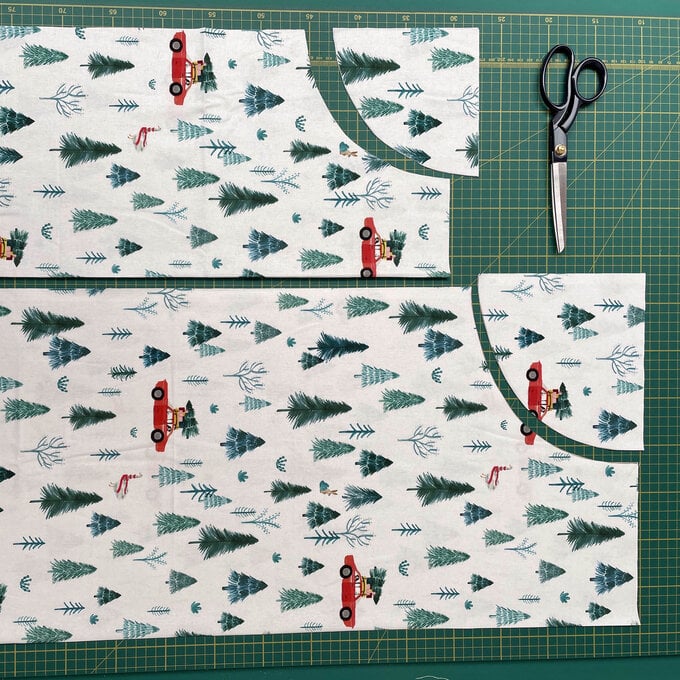
Cut the curved section out, then repeat steps one to four with the child size apron.
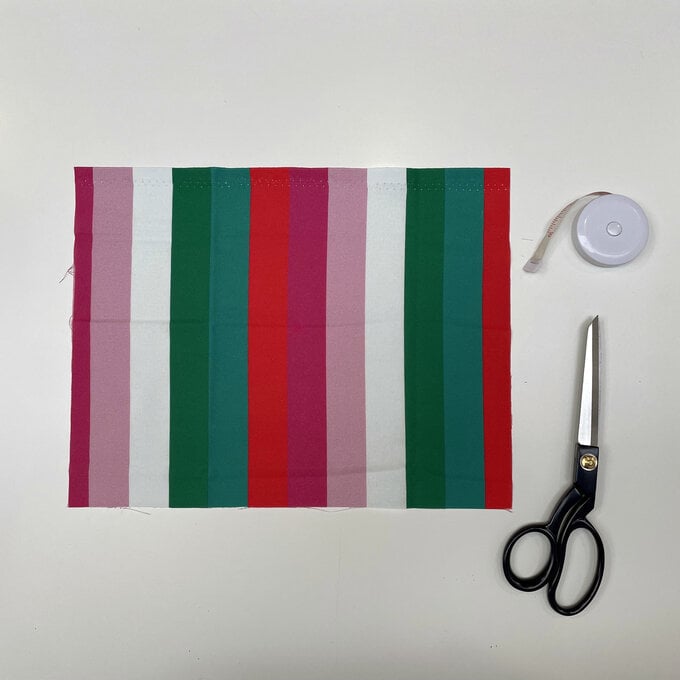
Cut your apron pocket from contrasting fabric measuring 32 x 23cm (ADULT) and 26 x 20cm (CHILD).
Fold the top long edge of the pocket to the wrong side by 1cm and press, then repeat this to make a rolled hem.
Pin in place.
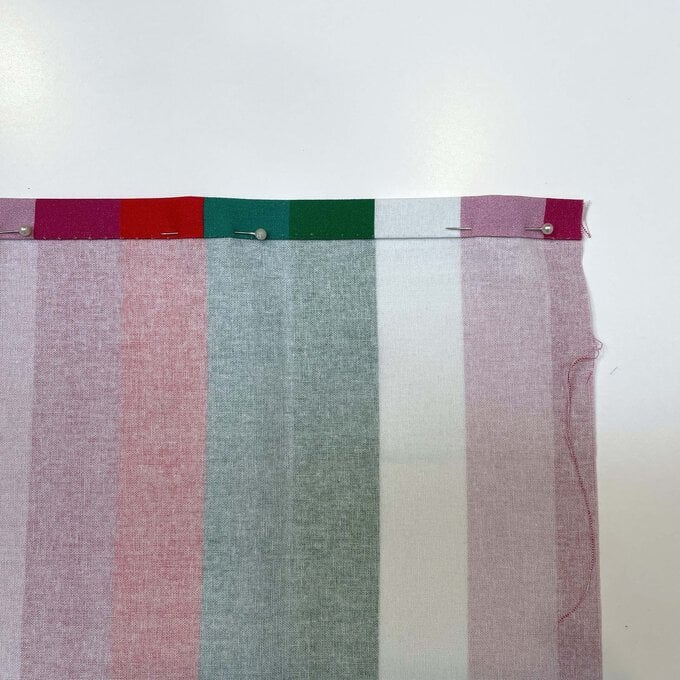
Sew along the open edge of the rolled hem to secure.
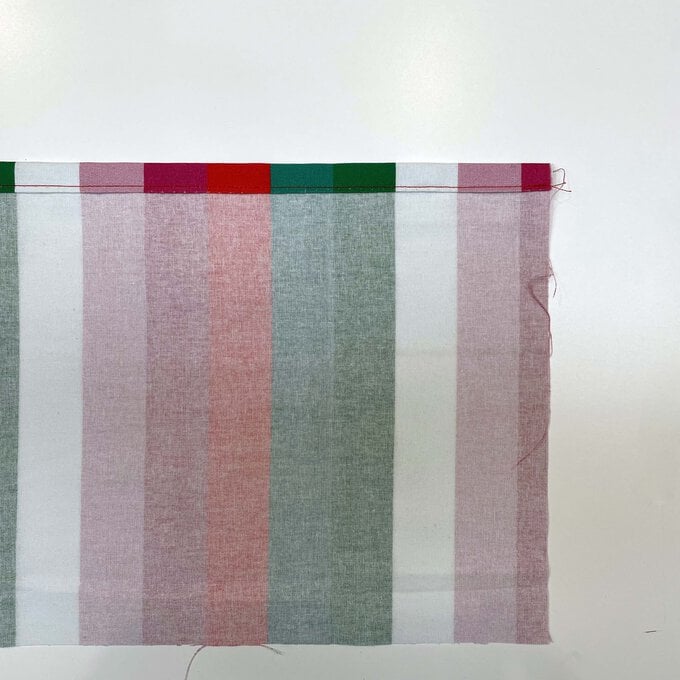
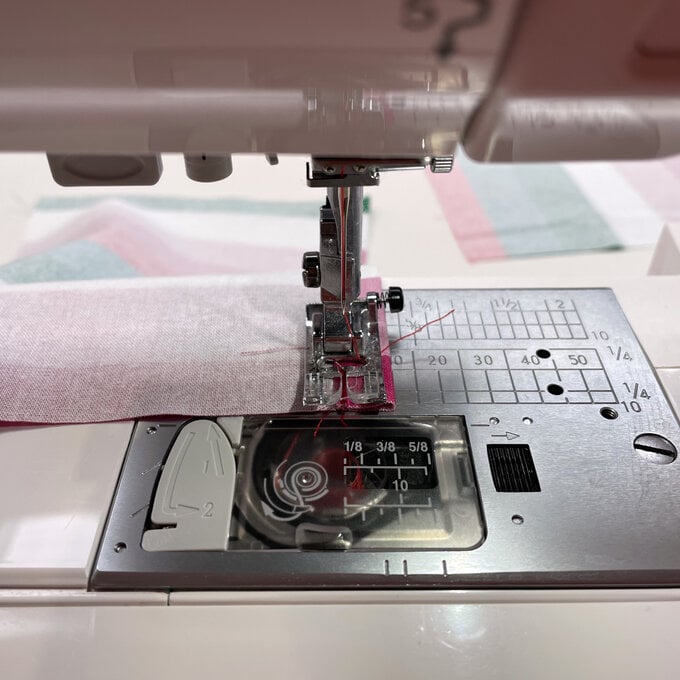
Using a large zig-zag stitch, sew along the three remaining raw edges.
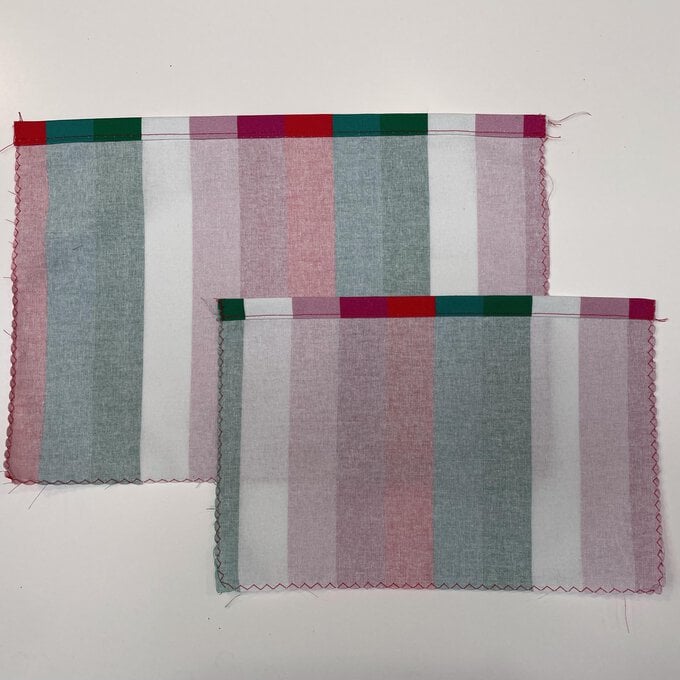
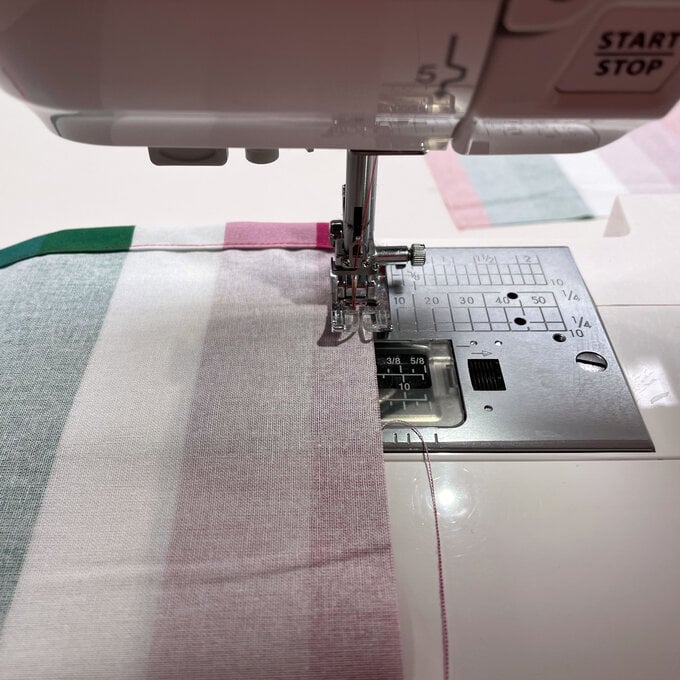
Fold the zig-zagged edges to the wrong side by 1cm and press flat.
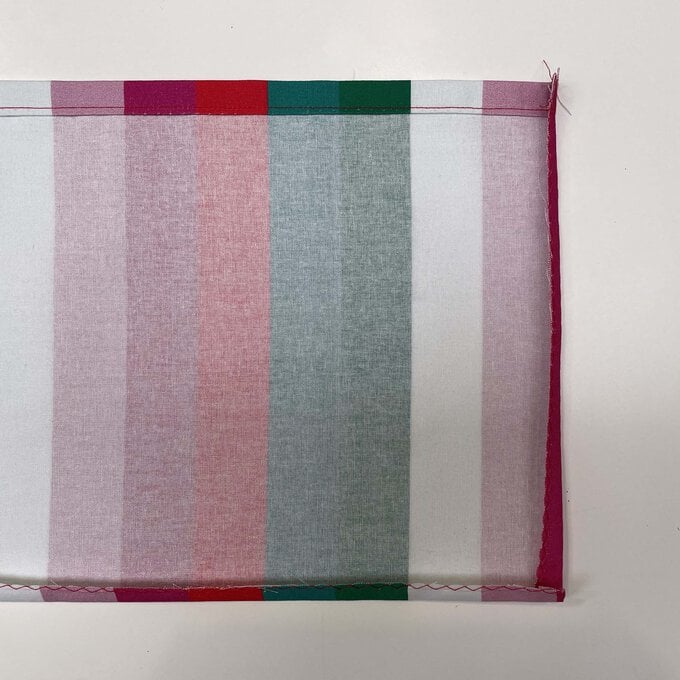
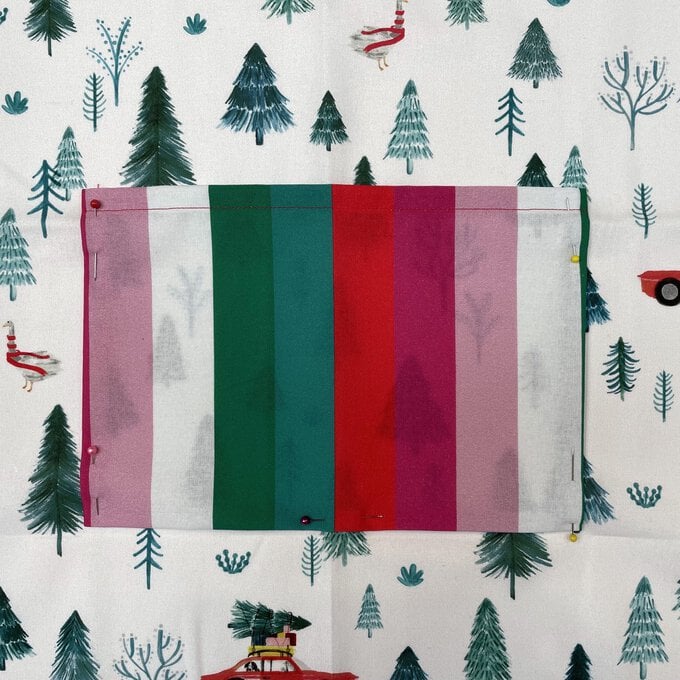
Pin the pocket to the front of the apron with the rolled hem at the top, making sure it's 24cm (ADULT) or 10cm (CHILD) from the bottom edge. Make sure it's also central by measuring from the sides.
Pin in place.
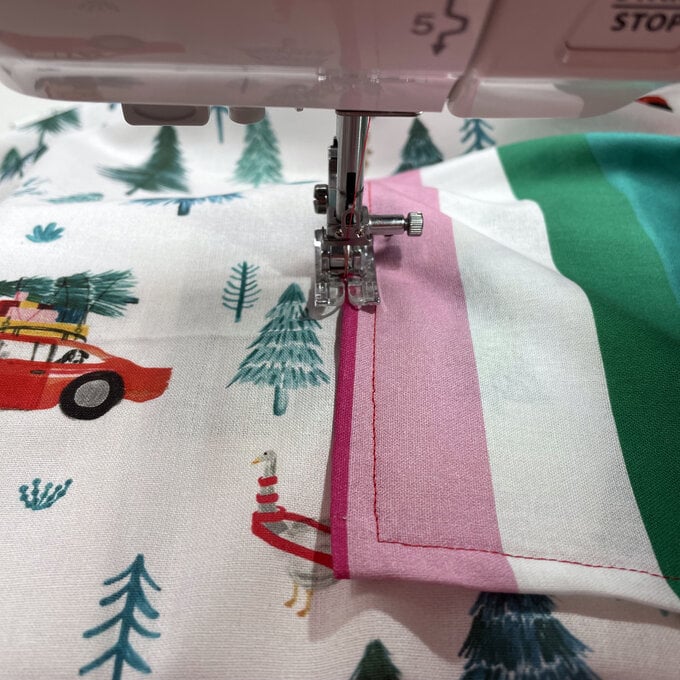
Sew the three unsewn pocket edges using the foot width to line up against the sides, turn at the top and come back down really close to the folded edge.
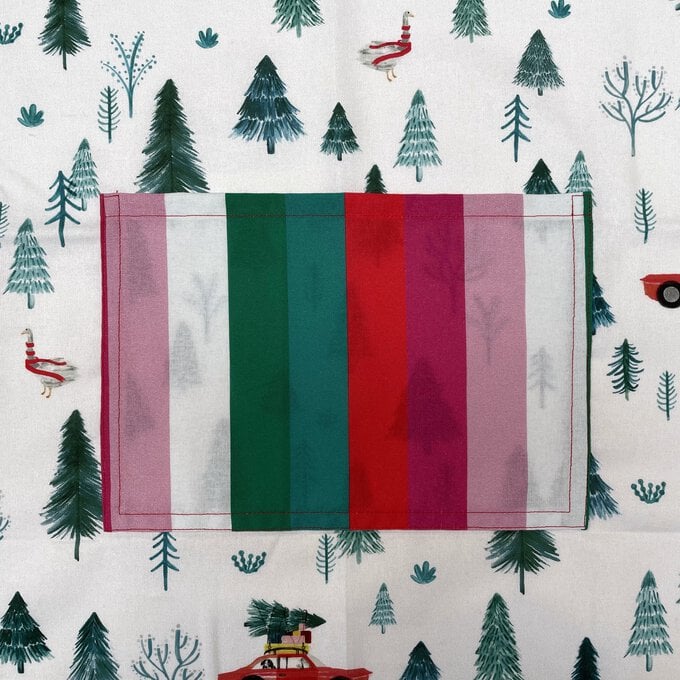
Cut your straps in contrasting fabric, you'll need (2x) 90 x 12cm Waist Straps, (2x) 55 x 12cm Neck Straps (ADULT) and (2x) 60x12cm Waist Straps (2x) 50 x 12cm Neck Straps (CHILD). You can make these longer if you wish.
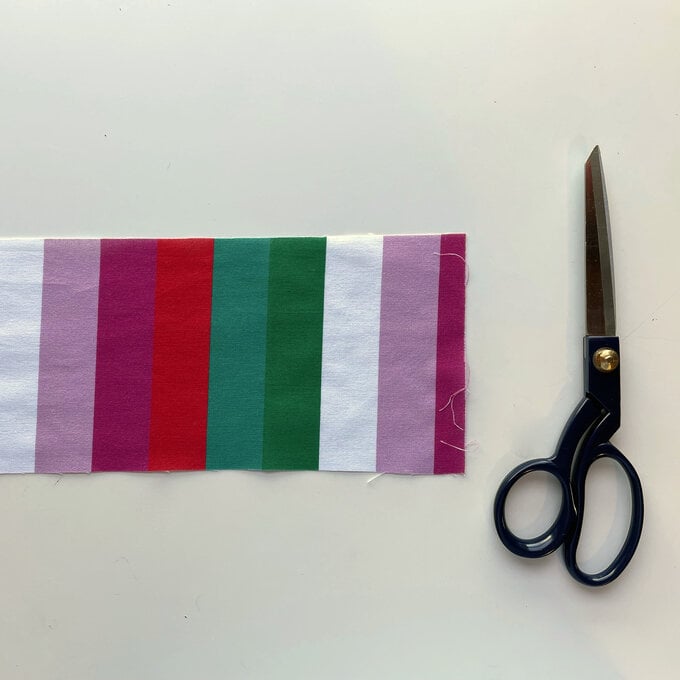
Start by folding one short edge of each strap to the wrong side by 1cm and press.
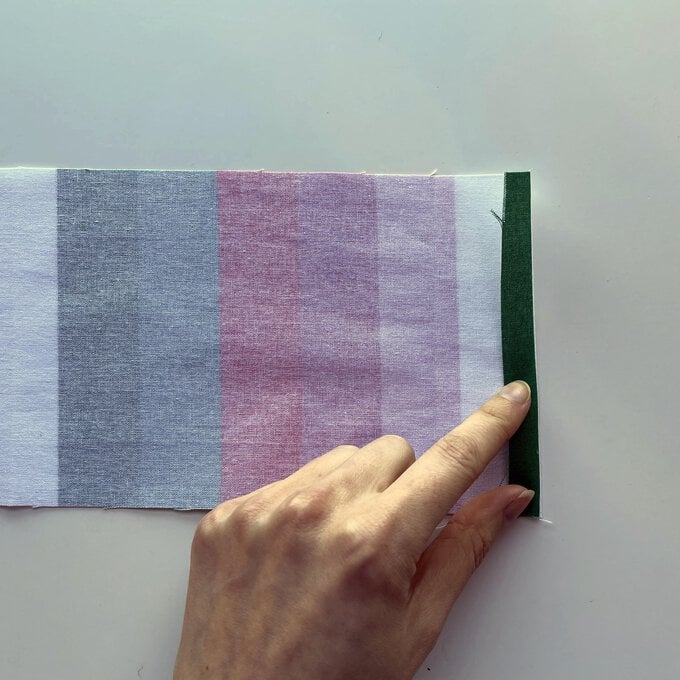
Press the whole length in half, wrong sides together. Then open it up to reveal the pressed half way line.
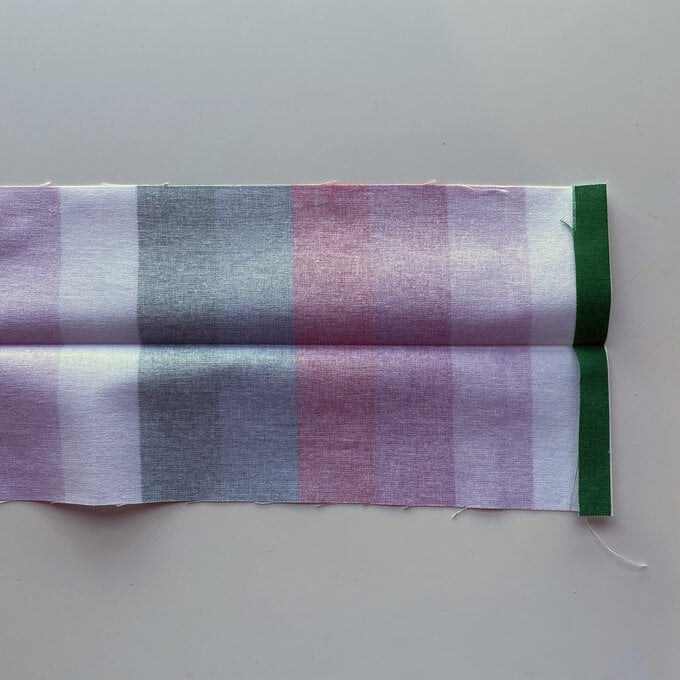
Fold the two raw long edges towards the middle pressed line and press them both flat.
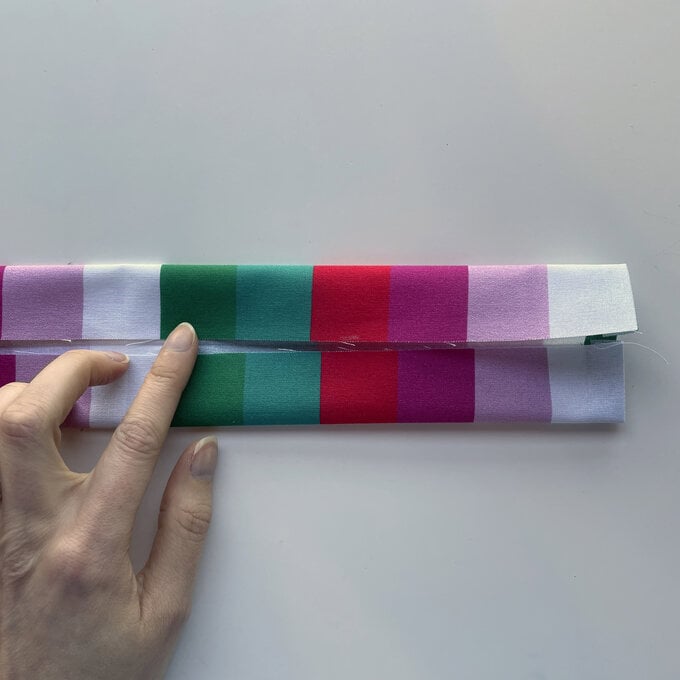
Fold the whole length in half again, encasing the raw edges on the inside. Press flat.
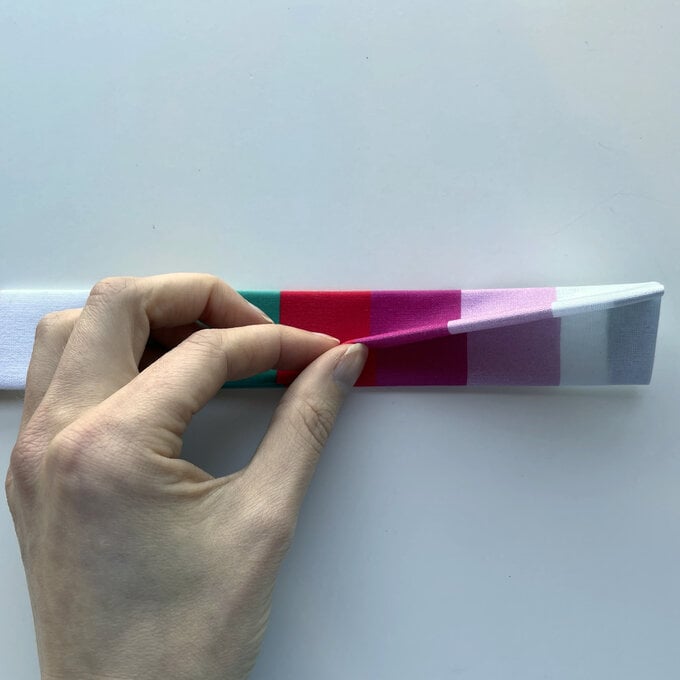
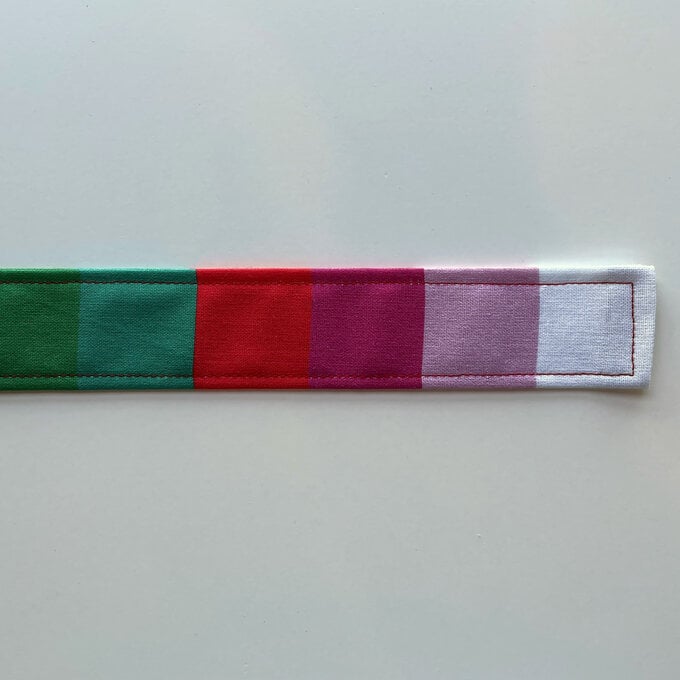
Starting at the raw short end, sew down the long open edge, close to the edge. Turn and sew along the short pressed edge, then come back down the long folded edge to finish. Press and repeat for all straps.
On your main apron fold in the curved edges to the wrong side by 1cm. Press flat. Repeat with the straight bottom edges. Don't worry about the short top edge for now.
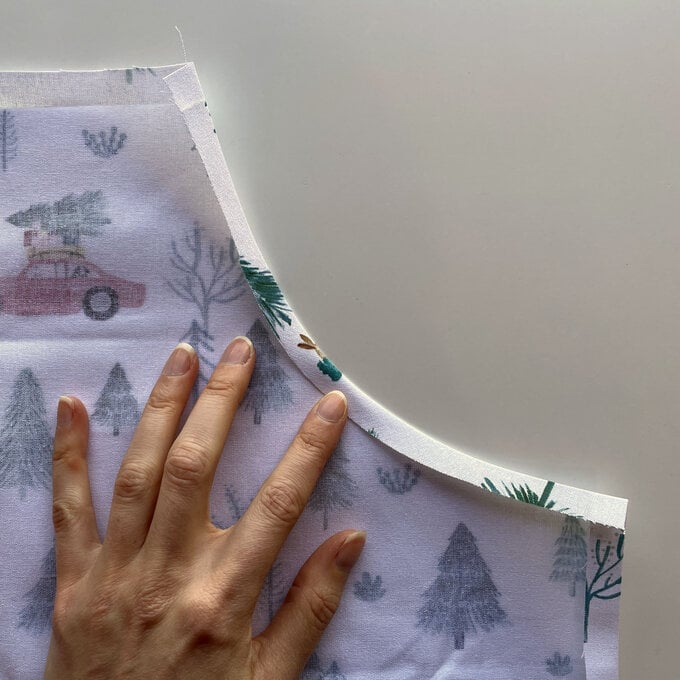
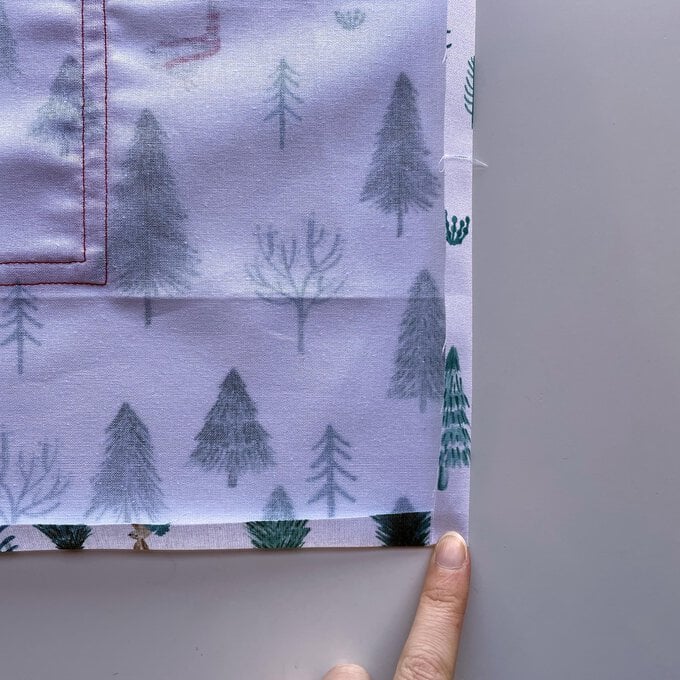
Repeat previous step to make a rolled hem. Make sure the straight side hem goes over the top of the curved hem. Then make the same rolled hem along the top short edge.
Press and Pin all edges.
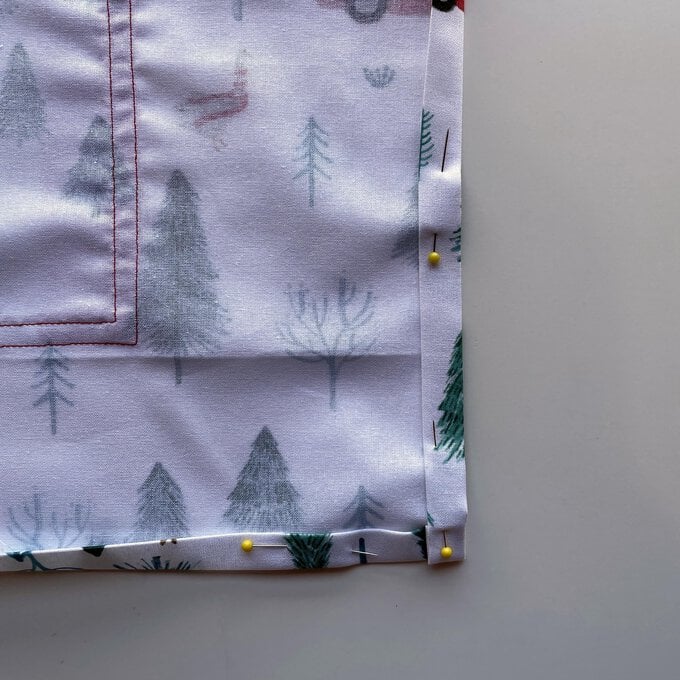
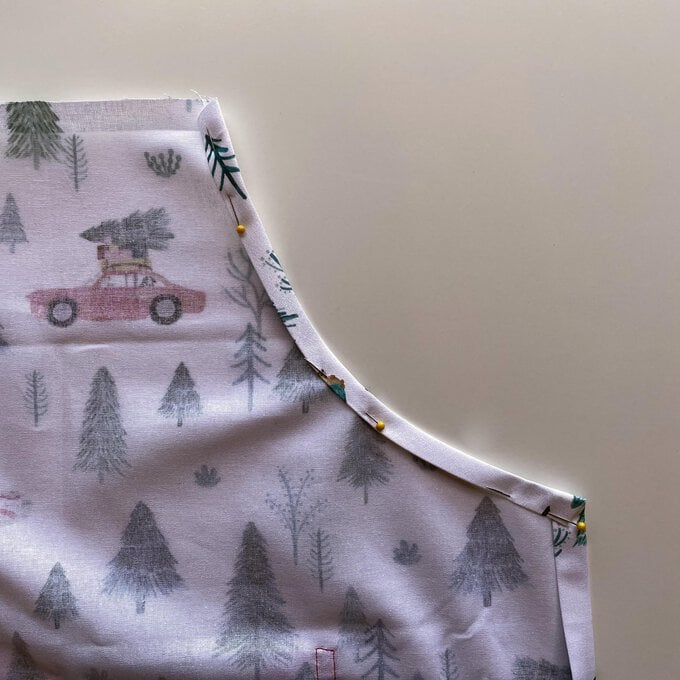
Get your longer waist straps and place the raw edge under the rolled hem at the sides. Tuck it right under and pin in place.2.
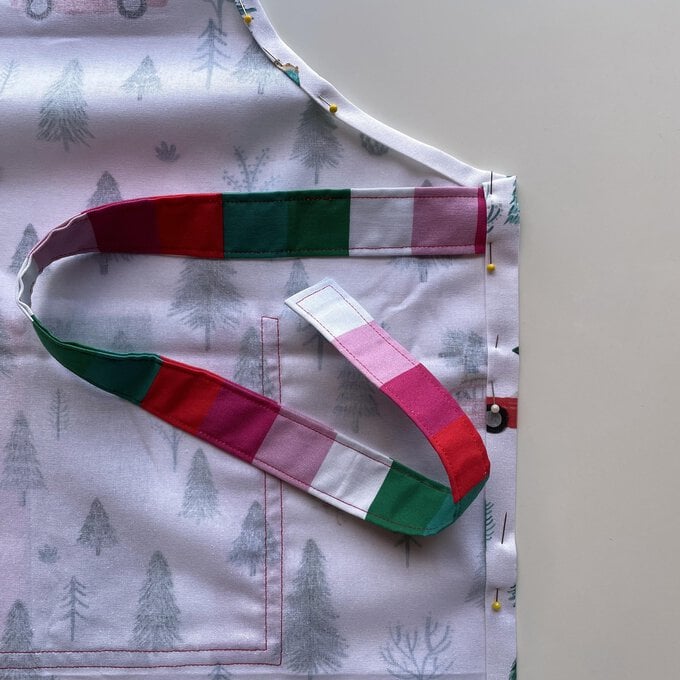
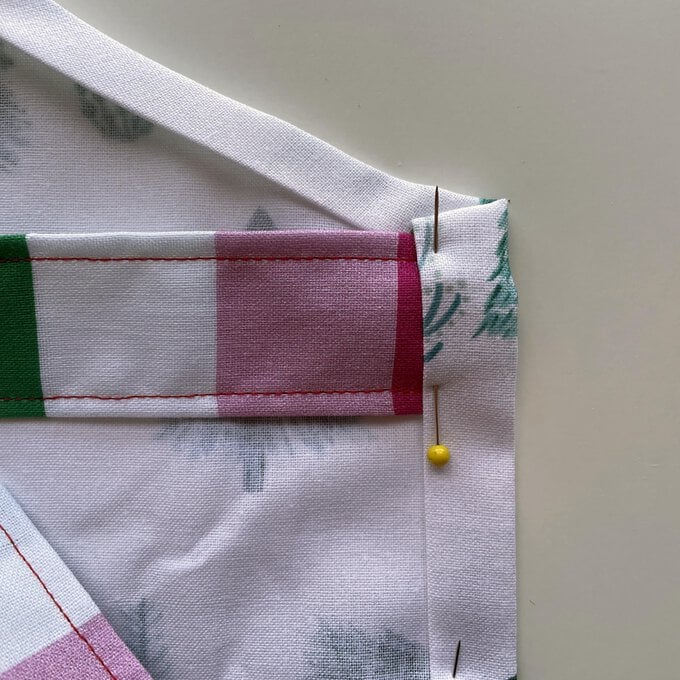
Next get your Neck straps and do the same at the top edge. Pin in place.
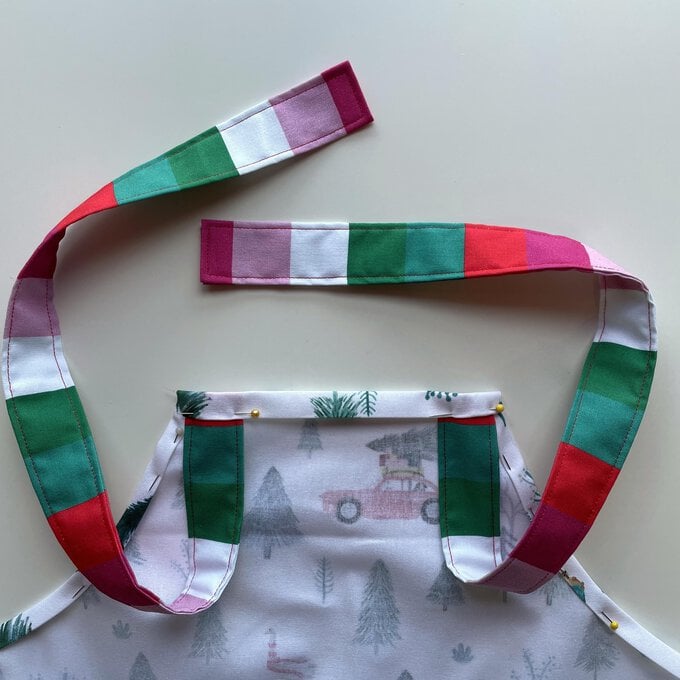
Sew around all rolled hem edges close to the open edge. Take care going over the thicker areas with the straps.
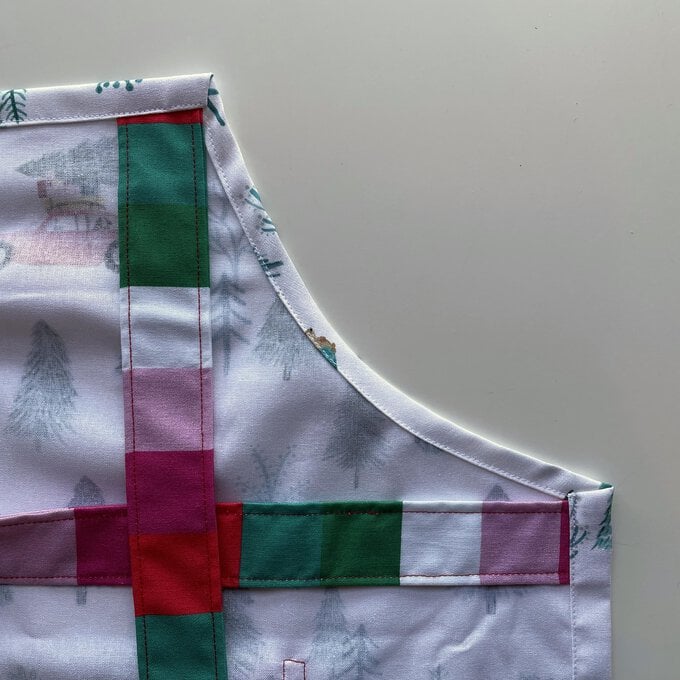
Press the neck straps up and away from the apron, then pin from the front. Repeat with the waist straps but pressed out to the sides.
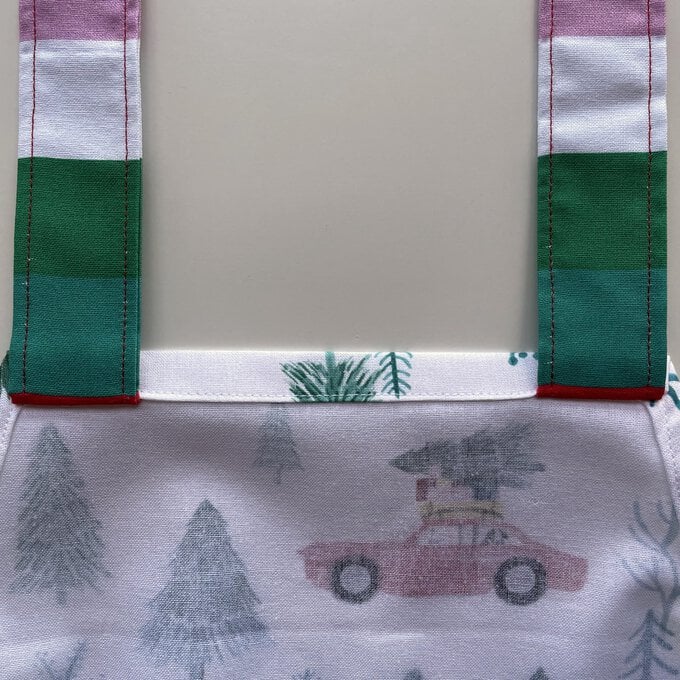
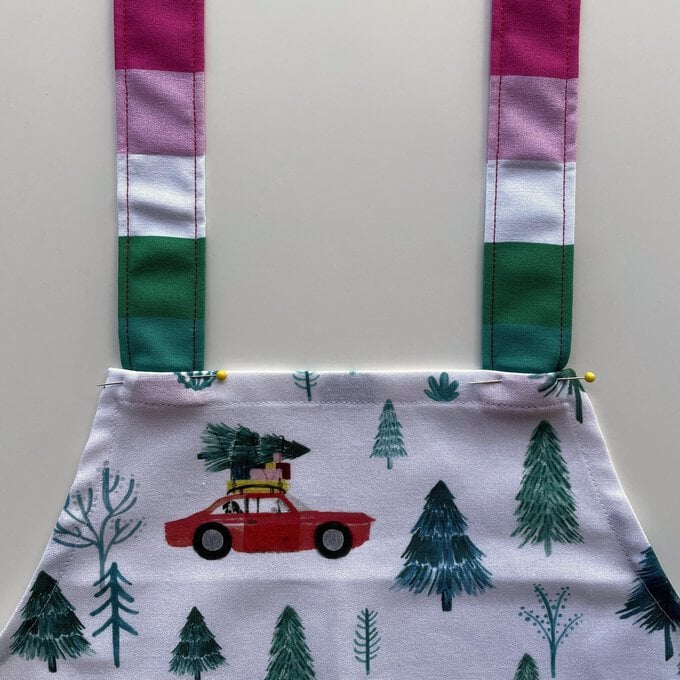
Sew from the front through all layers within the rolled hem allowance. First sew a rectangle the width of the strap, then sew a cross in the centre for extra strength.
Press to finish.
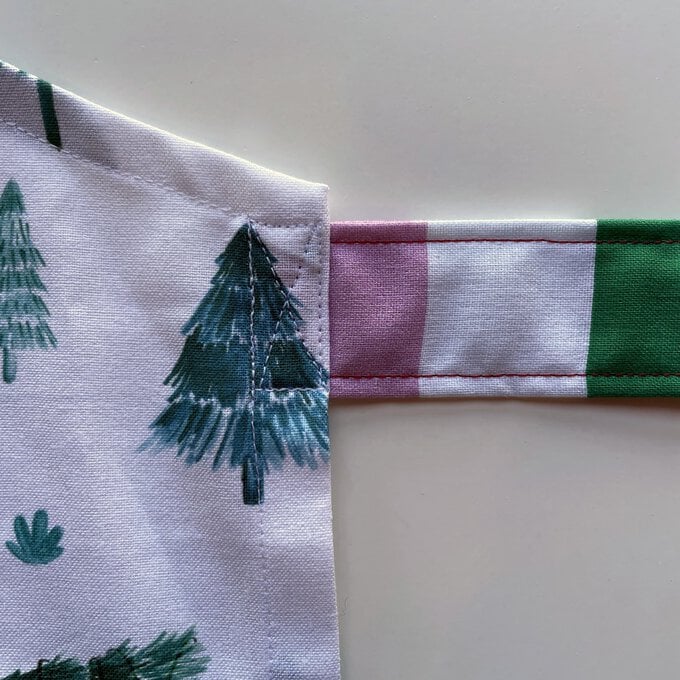
Tie the neck straps in a bow, then your aprons are ready to be worn!
