How to Tie Dye a Tote Bag
Are you ready to create a stunning tie dye tote bag? Try one of our easy to follow guides and make a eye-catching pattern on your own homemade, handcrafted piece.
Many kits are available for purchase, and with the help of our beginner friendly instructions, you can start creating immediately!
These fun, bright bags are sure to make your friends smile with you wherever you use it, at work, on holiday or just a trip to the shops!
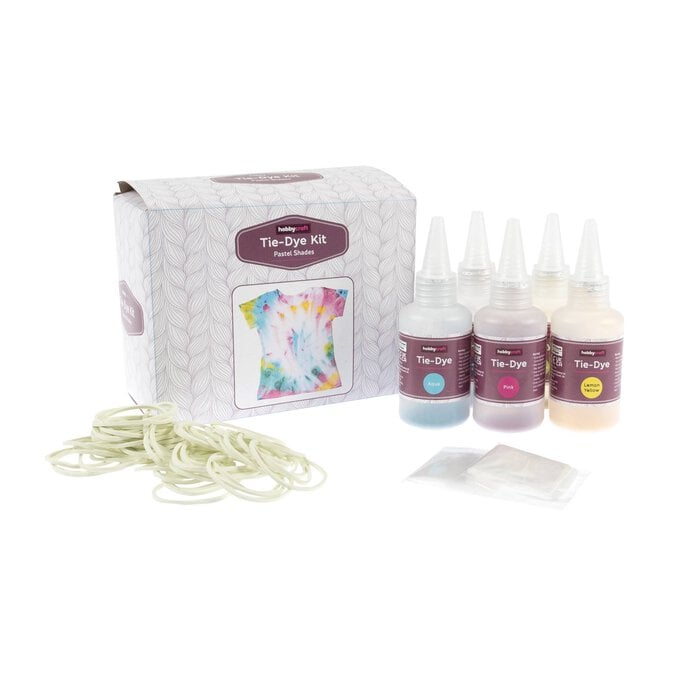
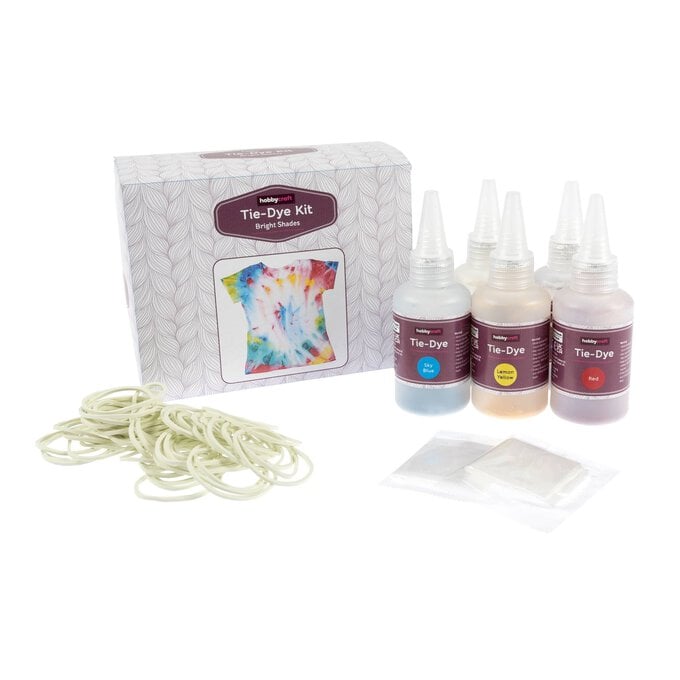
Please note: Choose one of the tie-dye kits to create this project.
You will need
Subtotal
Is $ 23.00
Subtotal
Is $ 23.00
Subtotal
Is $ 3.49
Subtotal
Is $ 10.00
How to make
* Tulip One Step Tie Dye Kit Brights 3 Pack
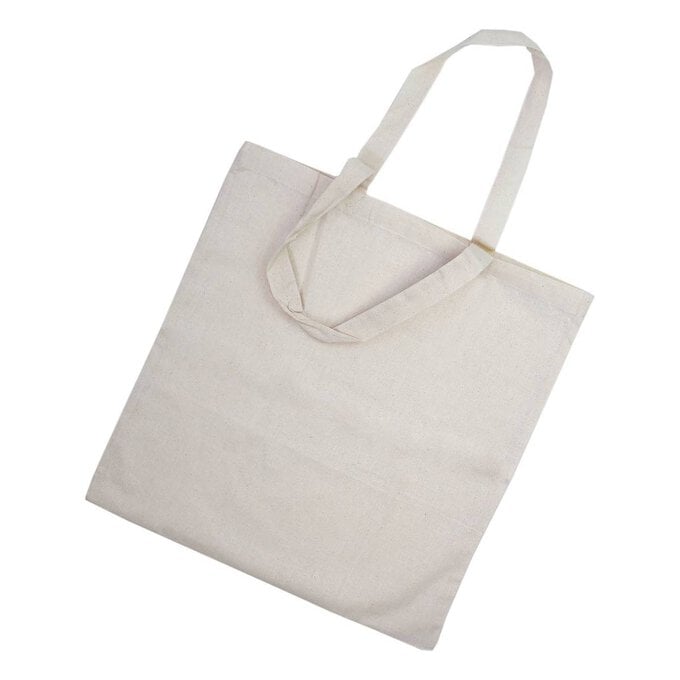
* Natural Cotton Shopping Bag 40cm x 38cm
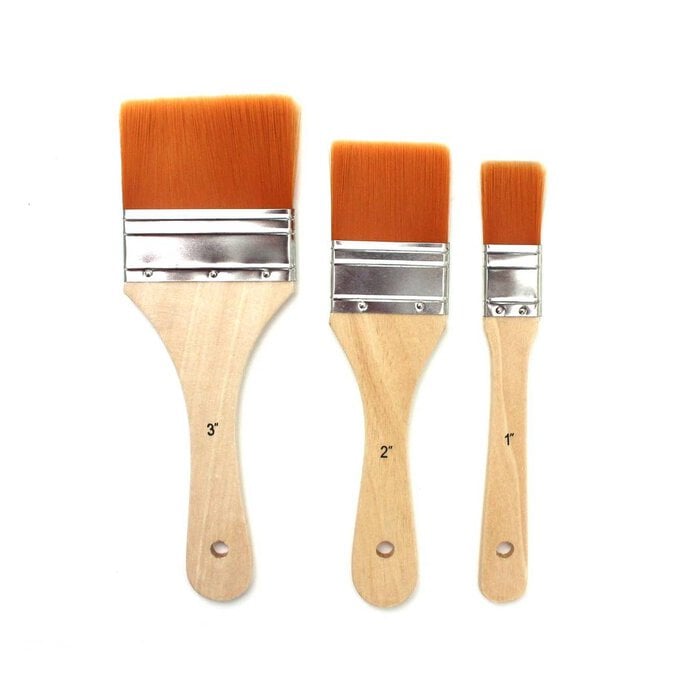
* Large Brush Set 3 Pieces
* Tulip One Step Tie Dye Kit Vibrant 3 Pack
* Tulip One Step Tie Dye Kit Classic 3 Pack
* Tissue
* Cable Ties

Wash, dry and iron your tote bag. (Don't skip this step – new bags have a coating that stops the dye being absorbed properly.)
Soak the tote in water and wring out excess water.
Place on flat surface and smooth out the bag.
Now it's time to fold your bag.
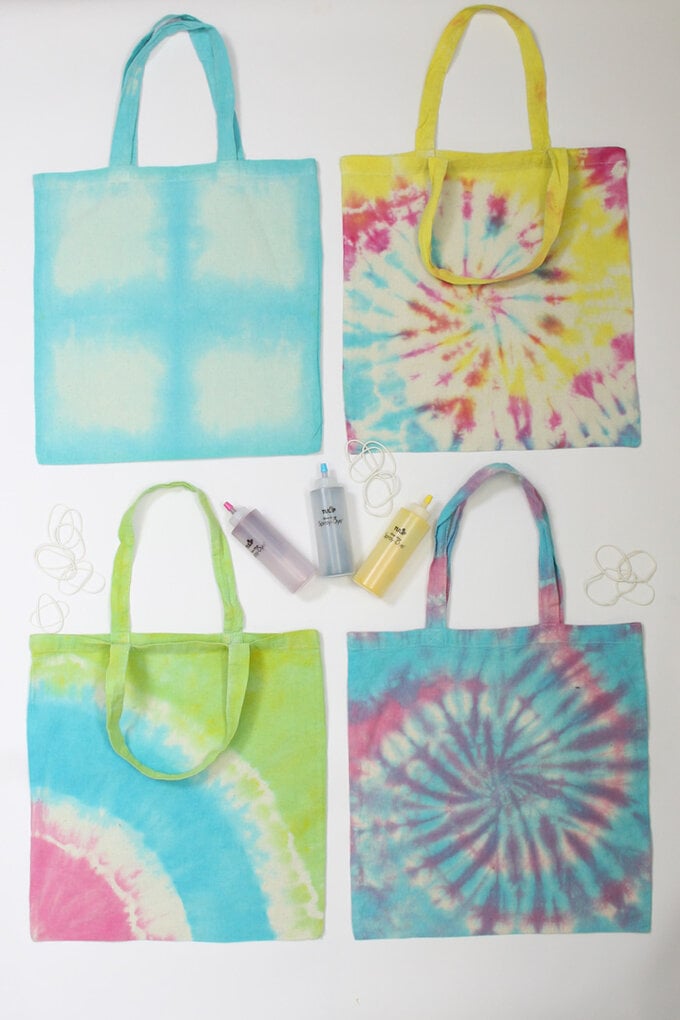
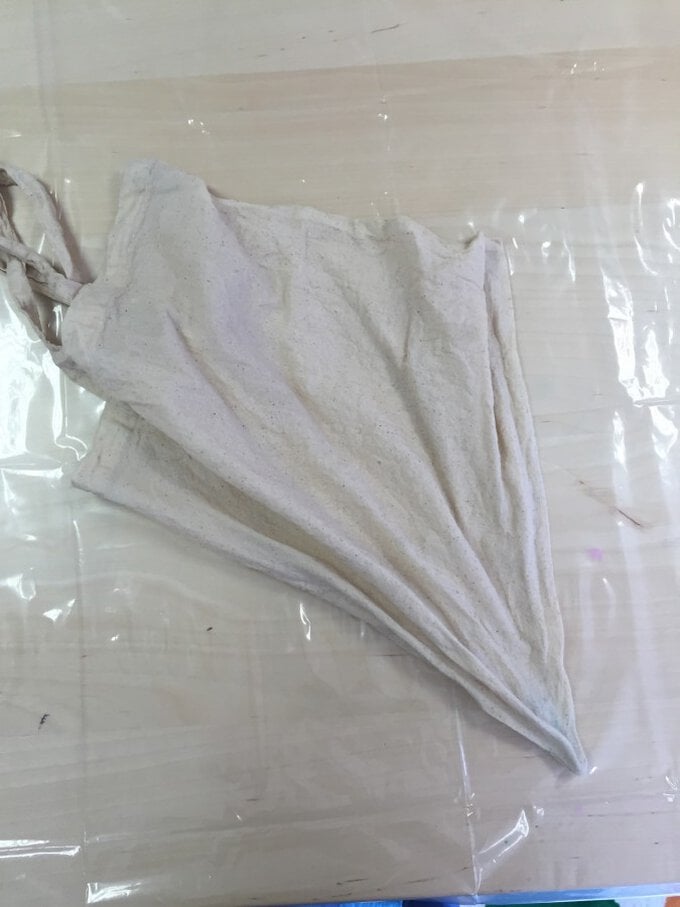
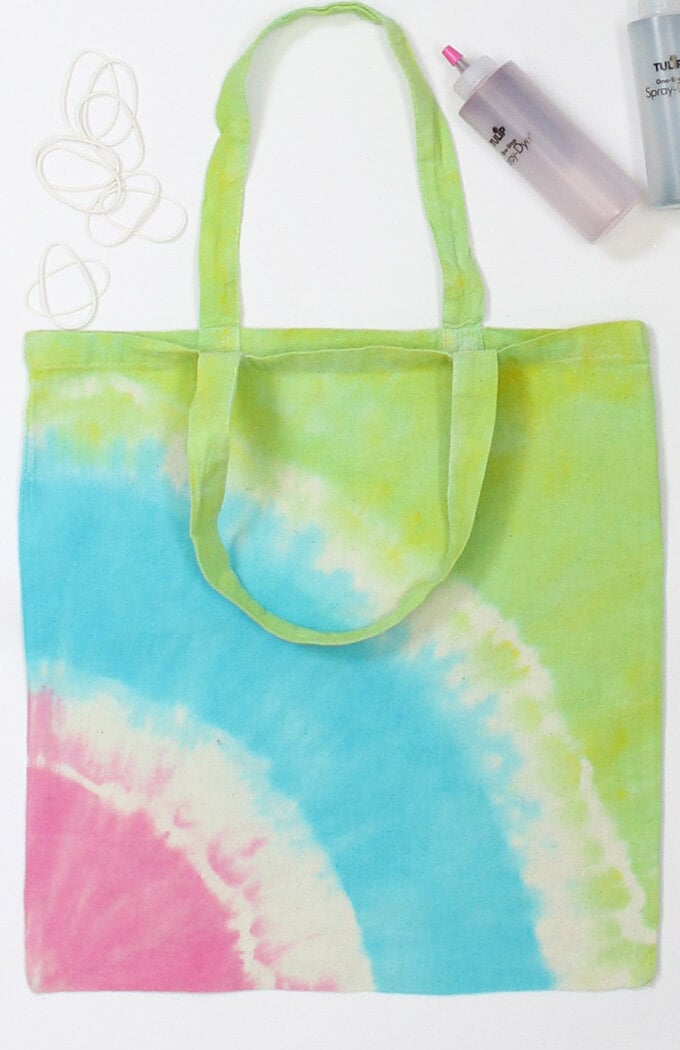
To begin, take your bag by the bottom right hand corner. Clasp and pull the bag through a closed fist to form an arrow shape - see images below.
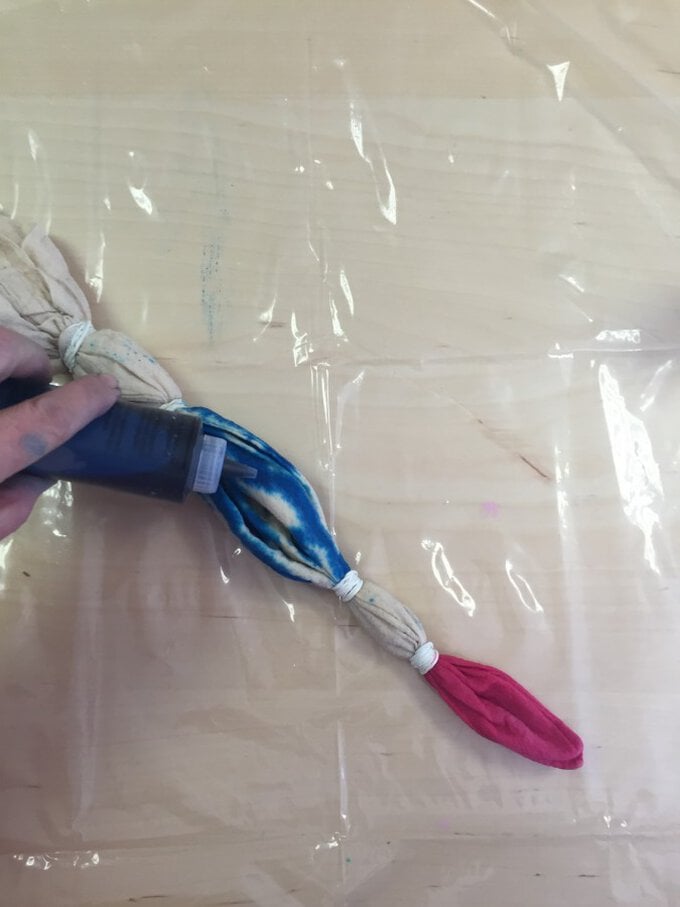
Apply first band tightly 10 cm from the corner.
Apply second band 17 cm from the corner.
Apply third band 30 cm from the corner.

Apply dye to sections.
Section 1 Pink.
Section 2 Leave plain.
Section 3 Turquiose.
Section 4 Leave plain.
Section 5 Lime.
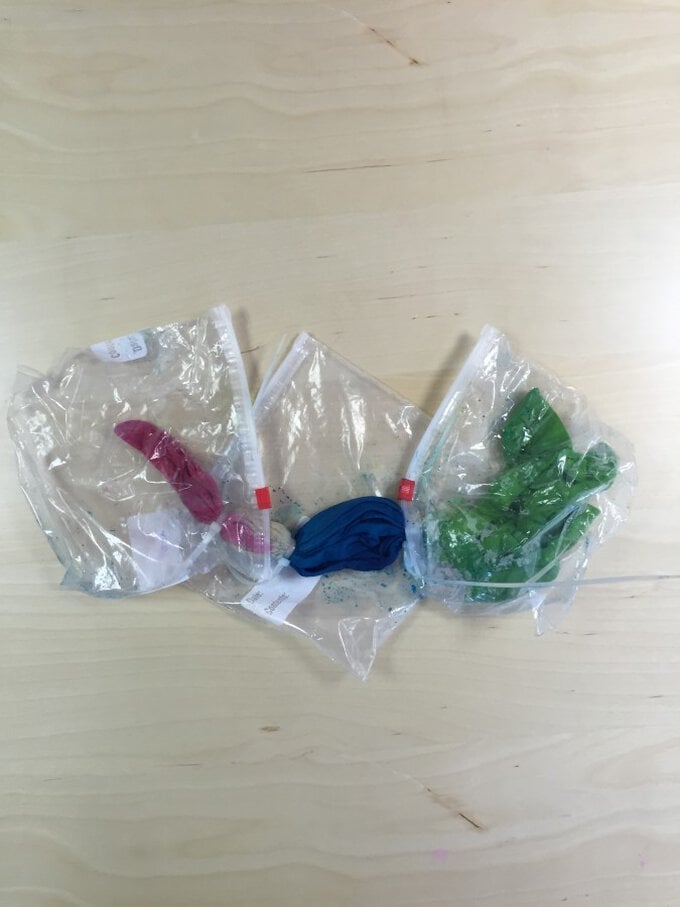
Wipe up excess dye with tissue and place bag in a zip seal bag.
Leave for 8 hours.
Wash, dry and iron your tote bag. (Don't skip this step – new bags have a coating that stops the dye being absorbed properly.)
To fold your bag, first pinch the bag in the centre and slowly twist it clockwise. Ensure the folds radiate out to the edge of the bag and continue to twist until the bag looks like the photo.
Apply the bands provided (or some cable ties) across the centre of the folded bag.
Apply 2 more bands or cable ties to divide the folded bag into 6 parts.
Ensure the bands are tight to hold the tote together.
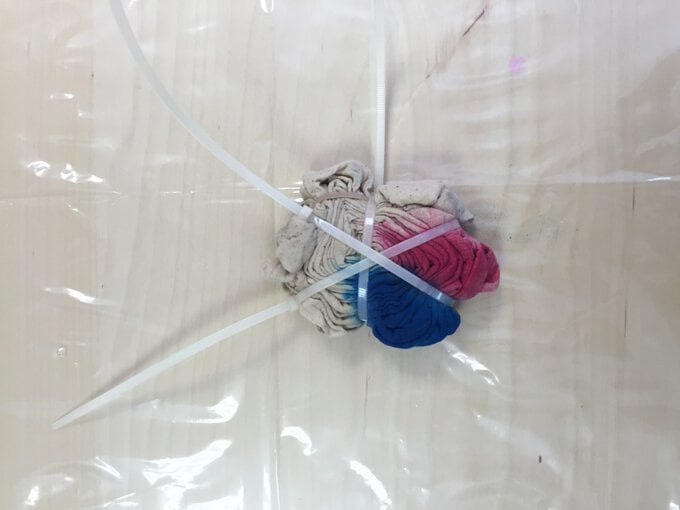
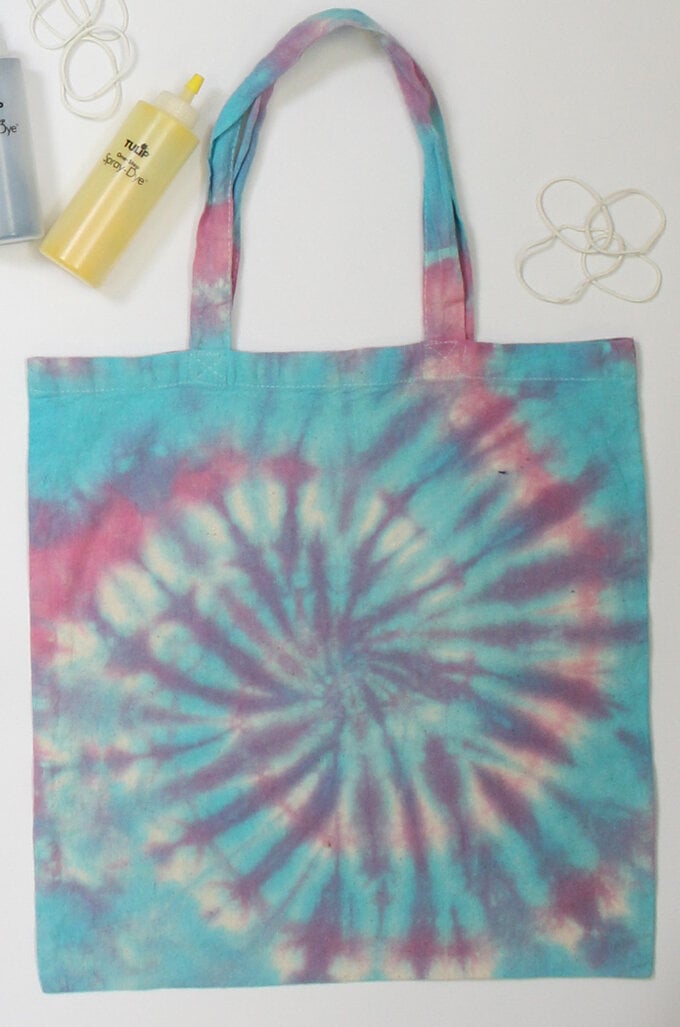
This bag uses 2 dyes and employs a blending technique to create the third colour.
Apply dye to each section alternatively. Ie turquoise, leave plain , pink, turquoise, leave plain and pink. In plain sections, mix turquoise and pink dye to create a purple blend.
Wipe up excess dye with tissue and place bag in a zip seal bag.
Leave for 8 hours.
Wash, dry and iron your tote bag. (Don't skip this step – new bags have a coating that stops the dye being absorbed properly.)
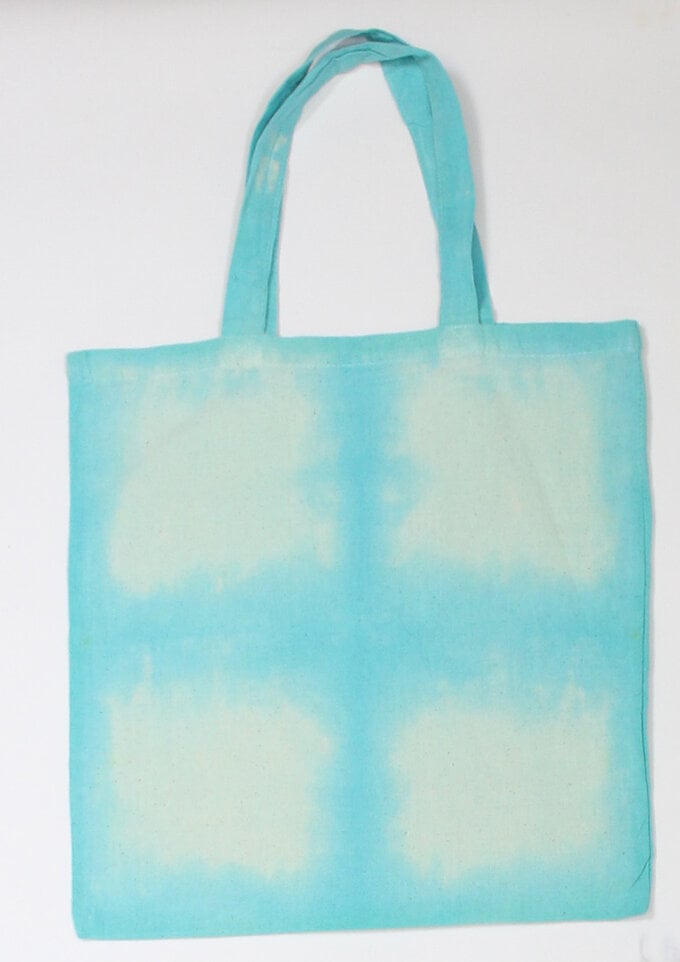
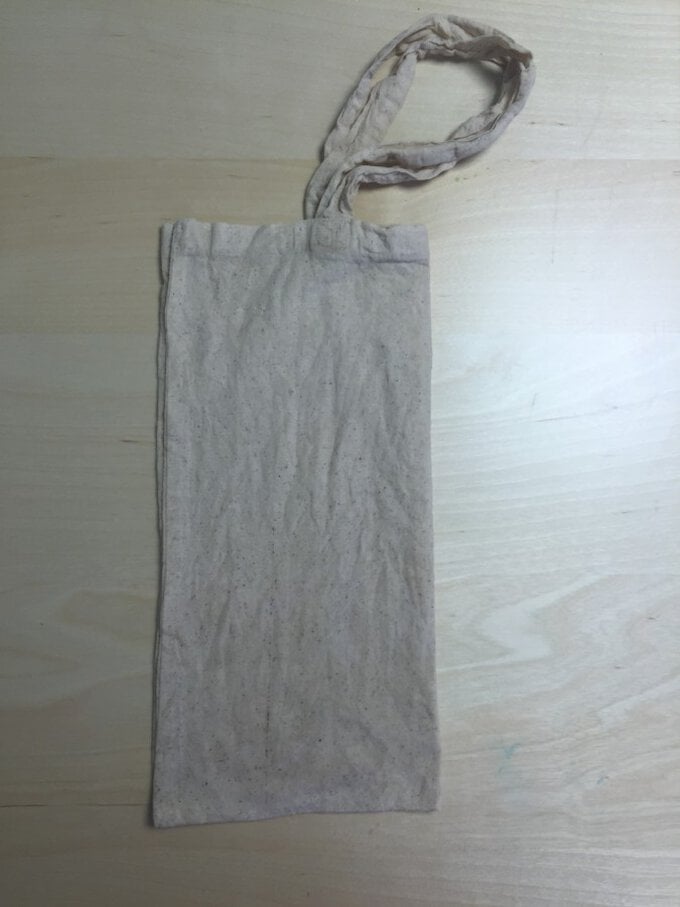
Folding: Fold the bag in half vertically and then fold horizontally to form a square.
Pour 5 mm of dye into a container.
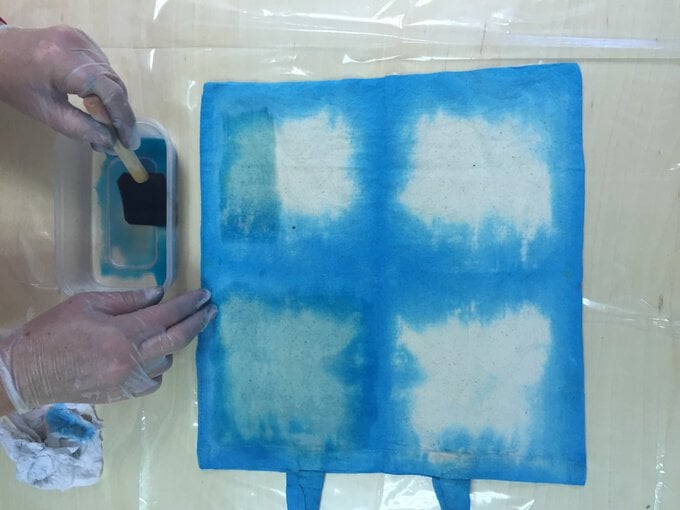
Holding the bag, dip the edges into the dye and rotate the bag and repeat until all four sides have been dipped.
To create the ombre effect, now add water to the dye in the container to make a wash.
Using the 5cm sponge brush, wash the centre of the square with the dye solution.
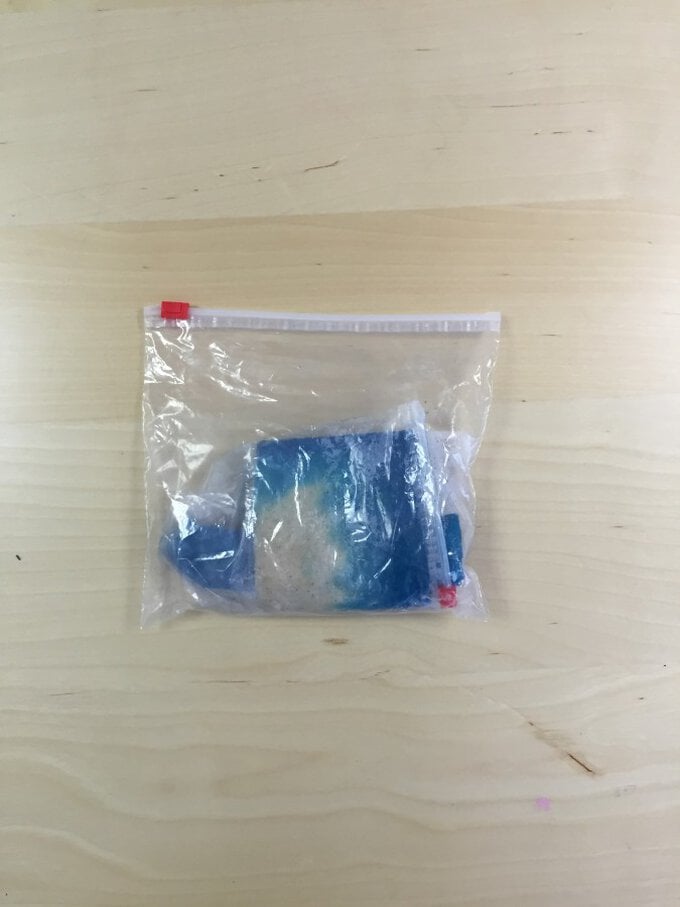
Wipe up excess dye with tissue, refold your tote into squares and place bag in a zip seal bag.
Leave for 8 hours.
Wash separately in machine at 60 degrees.
Dry and iron your bag ready for use.
