How to Make a Floral Pick Headband
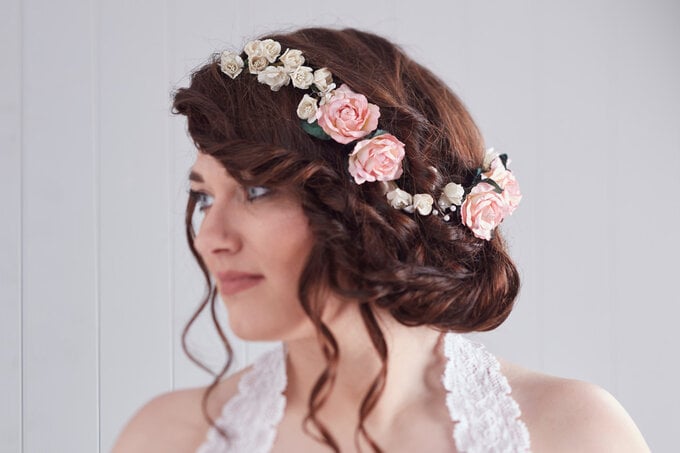
Get crafty with your bridesmaids for this gorgeous wedding make – a floral pick headband. Floral headbands are massive for weddings right now, offering a romantic and rustic charm to the day. Made from artificial elements, these not only look great but can also be made ahead of time without wilting; plus they make a great keepsake of your special day!
You will need
Subtotal
Is $ 9.49
Subtotal
Is $ 4.49
Out of stock
Subtotal
Is $ 2.49
Out of stock
Subtotal
Is $ 4.49
Subtotal
Is $ 3.49
Subtotal
Is $ 4.49
Subtotal
Is $ 6.49
Out of stock
How to make
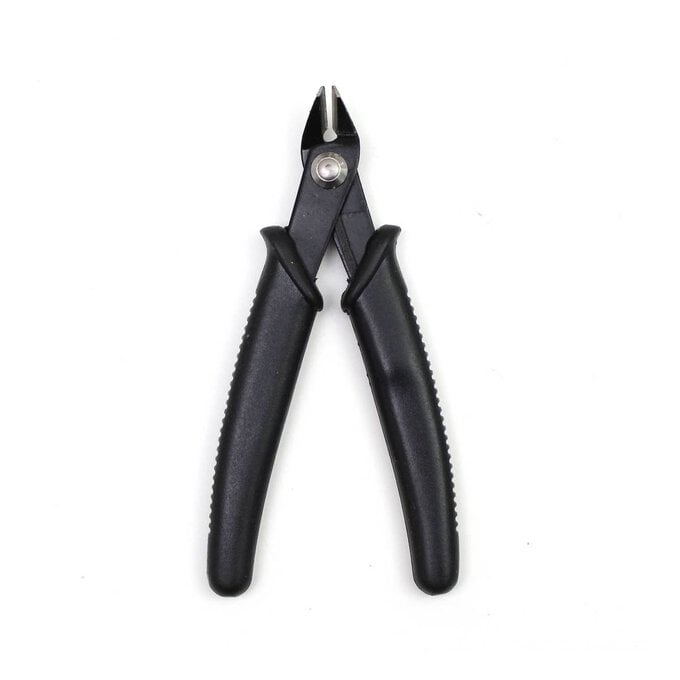
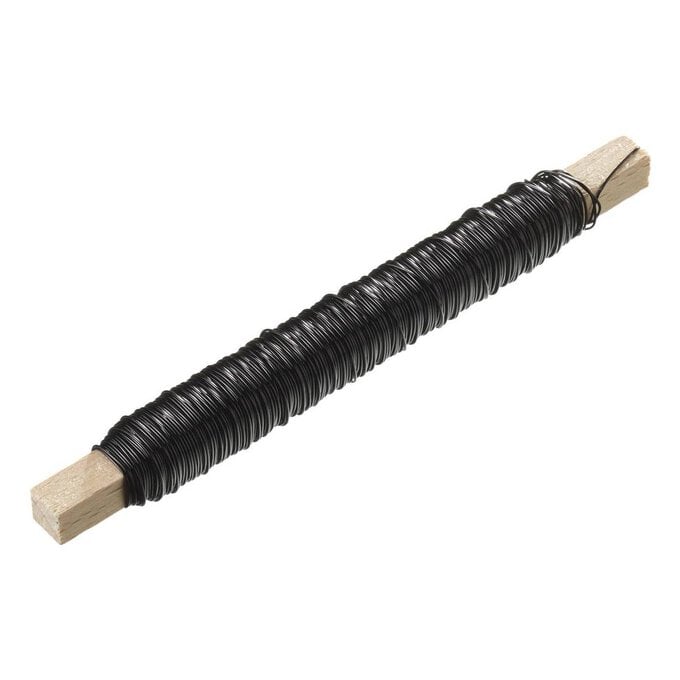
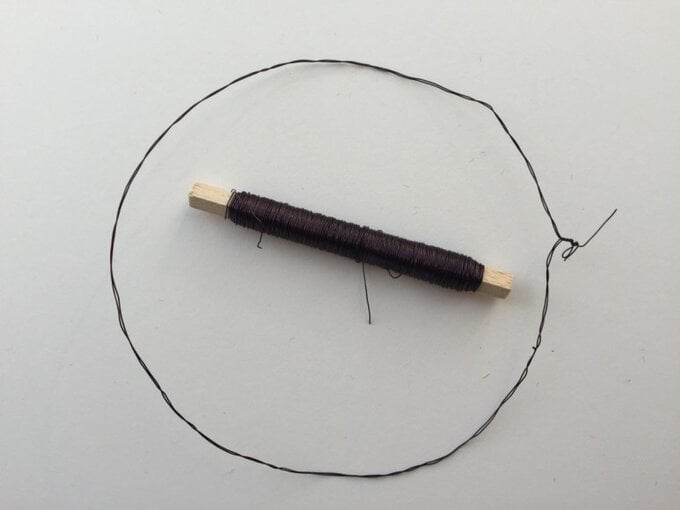
Cut a length of wire that is just over twice the circumference of the head it is to fit. Fold the wire in half to make it double thickness, and carefully twist it together several times to create a more stable base for the headband.
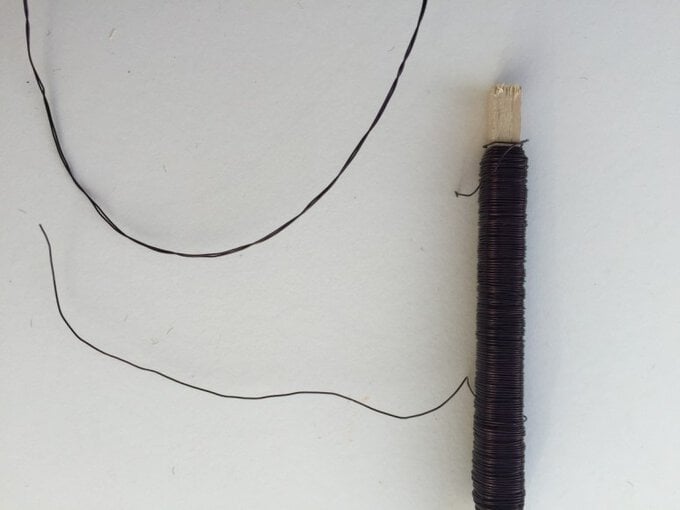
Shape the wire into a circle, twisting the ends together to hold the circular shape whilst you decorate it – the ends will be finished off neatly once the flowers have been added.
Select floral, leaf and gem picks to co-ordinate with your wedding theme.
Lay the flower and leaf picks out around the wire headband to roughly create your desired look before you start attaching them to the headband. This way you can visualise the overall look and add in or take out materials as desired.
Begin attaching the floral picks to the headband. Start at the centre front of the headband and work out towards the back. Push the stems through the twists in the wire.
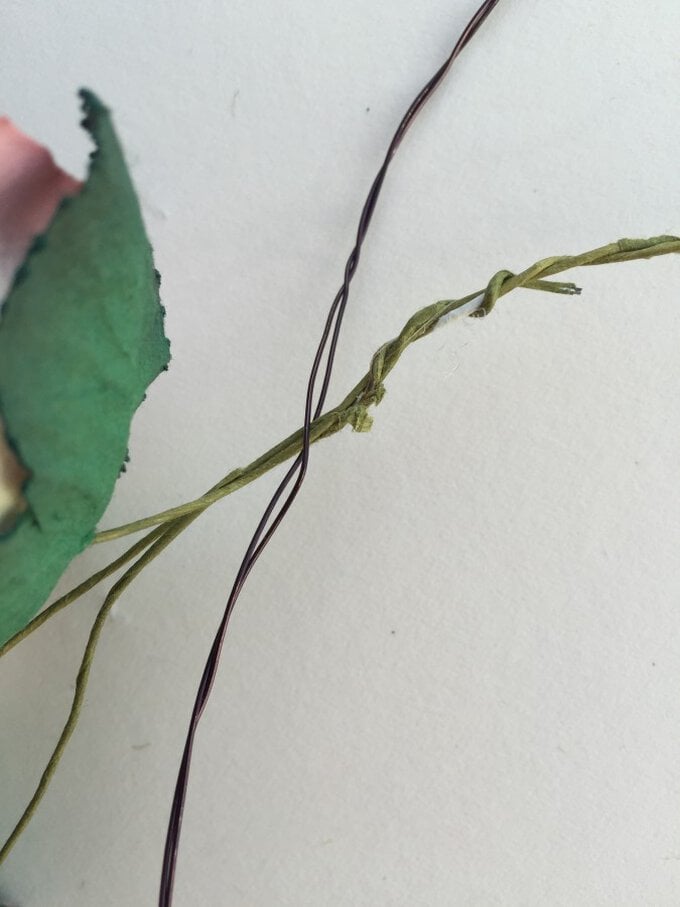
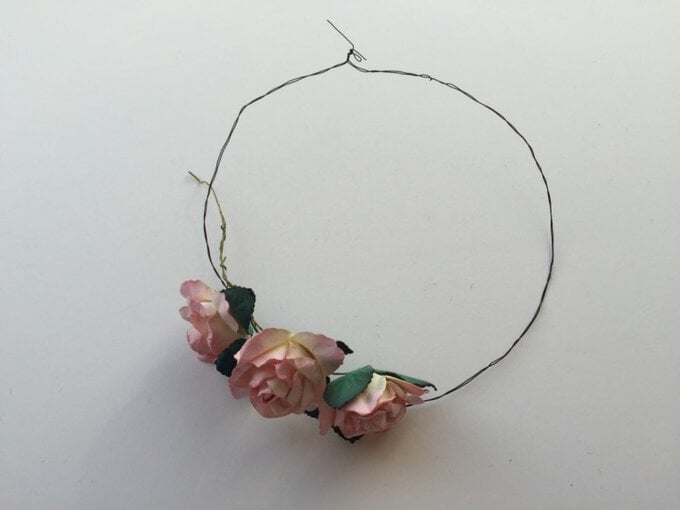
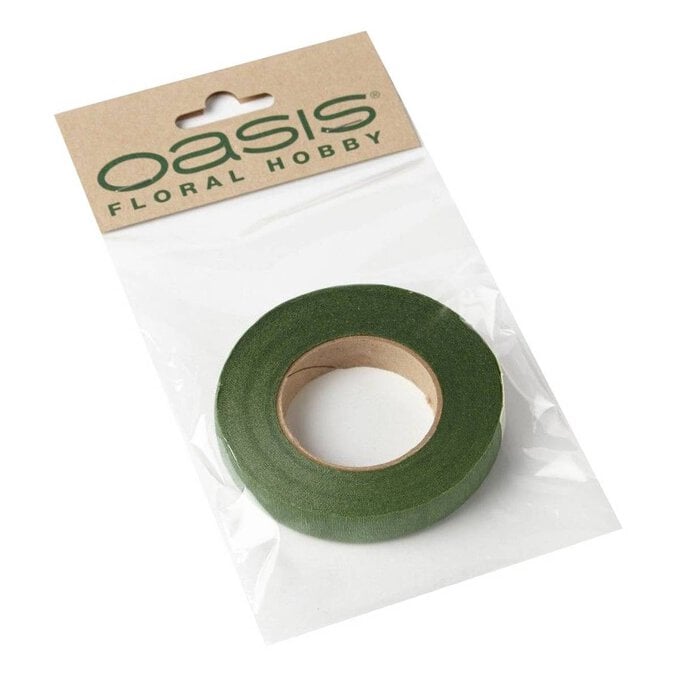
Secure the stems in place by wrapping florists tape around the stems and the wire headband. Continue adding floral picks and securing with tape until the headband is covered.
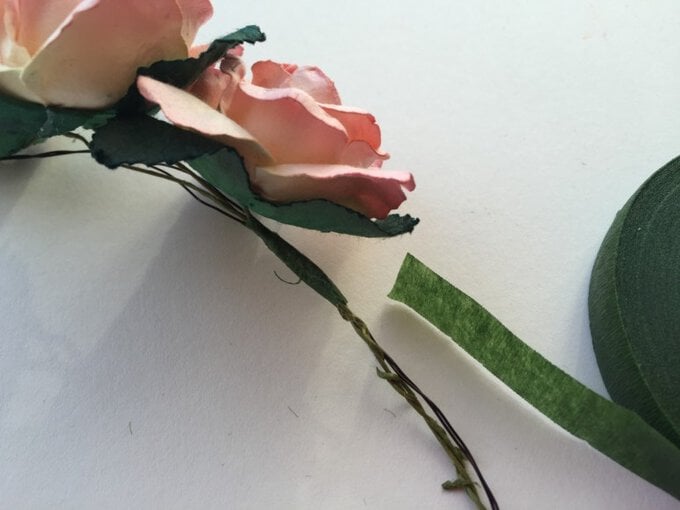
Add in a few gem picks where desired, and secure in place with florists tape.
Make a small loop at the end of each side of the headband by twisting the wire. Trim away any excess wire. Wrap florists tape around the ends of the headband covering all the wire up to the loop.
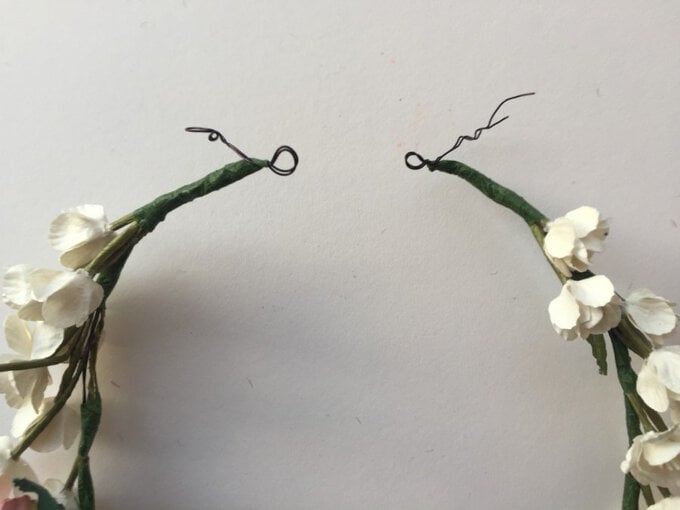
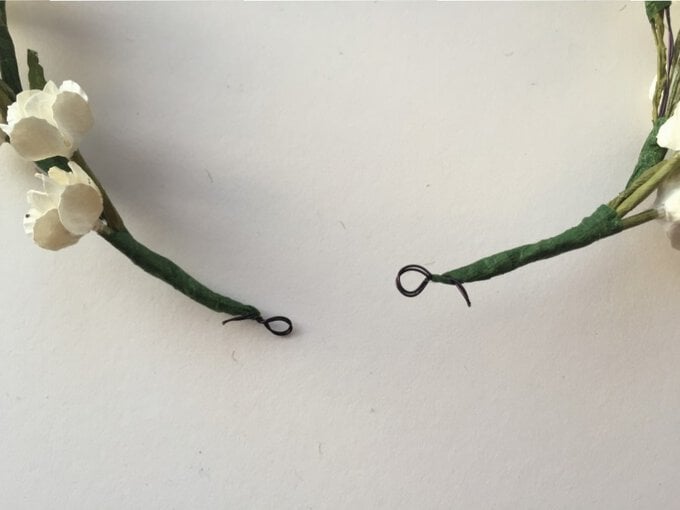
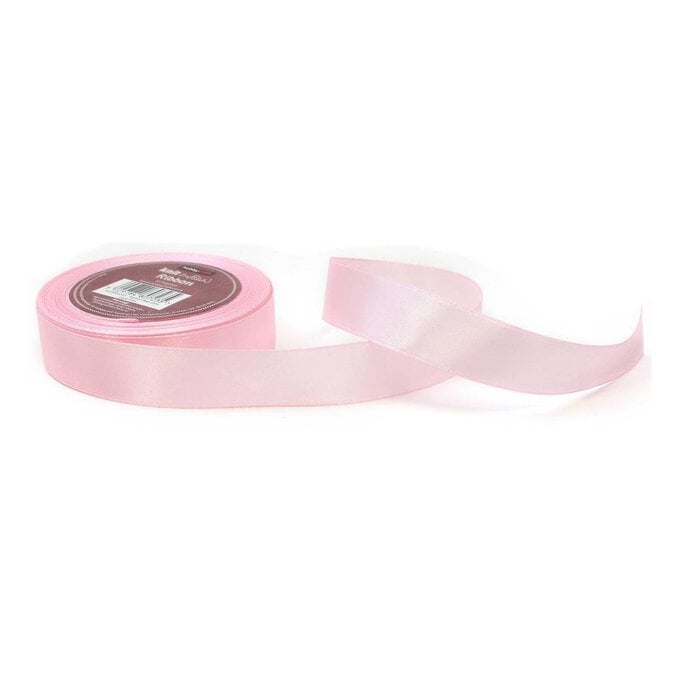
Thread a length of ribbon through the wire loops.
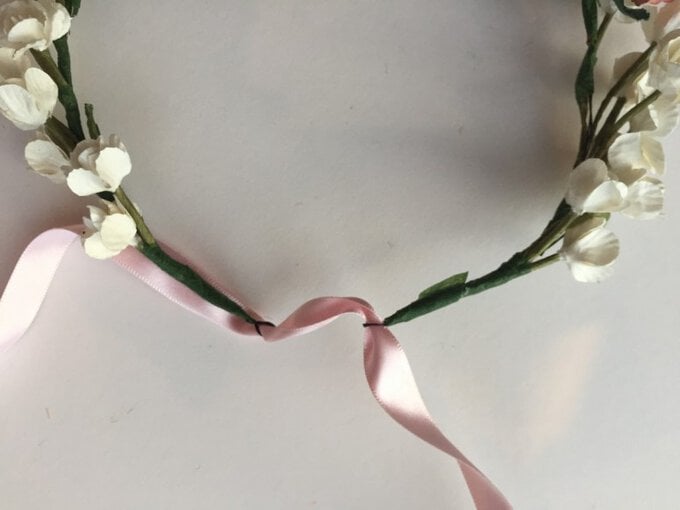
Tie the ribbon in a secure bow. Leave the ribbon ends long so that they trail through the hair when the headband is worn.
