How to Make Ice Cream Bunting
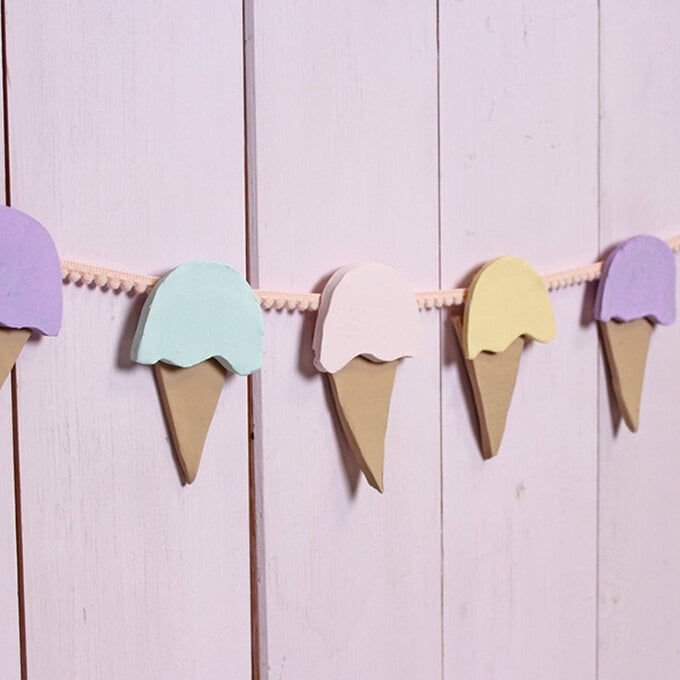
Dreaming of sunshine and ice cream? Satisfy that craving with this delicious-looking craft project. This ice cream bunting is perfect for parties or to hang up in your child's bedroom!
Air-drying clay makes this project super simple, choose whatever colours you like and get decorating. Follow our easy tutorial below.
You will need
Subtotal
Is $ 3.49
Subtotal
Is $ 4.49
Subtotal
Is $ 7.49
Subtotal
Is $ 7.49
How to make
You will also need:
*A rolling pin
*A knife
*A paint brush
*Scissors
*Sandpaper
*A hot glue gun
*Greaseproof paper
Using a piece of paper, create a template for the cone and ice cream scoop.
Roll out a block of air drying clay onto greaseproof paper to roughly the thickness of a pound coin.
Place the template on top of the clay and trace around it with a knife. Keep tracing around the templates until the entire piece of rolled out clay has been used. If you need to create more shapes simply gather all of the excess clay up and re-roll.
Carefully remove the excess clay from around each of the pieces and leave them to dry for at least 24 hours – you'll be able to tell once the pieces have completely dried out as the clay will have turned a lighter shade of white.
Use fine sandpaper to carefully remove any rough edges.
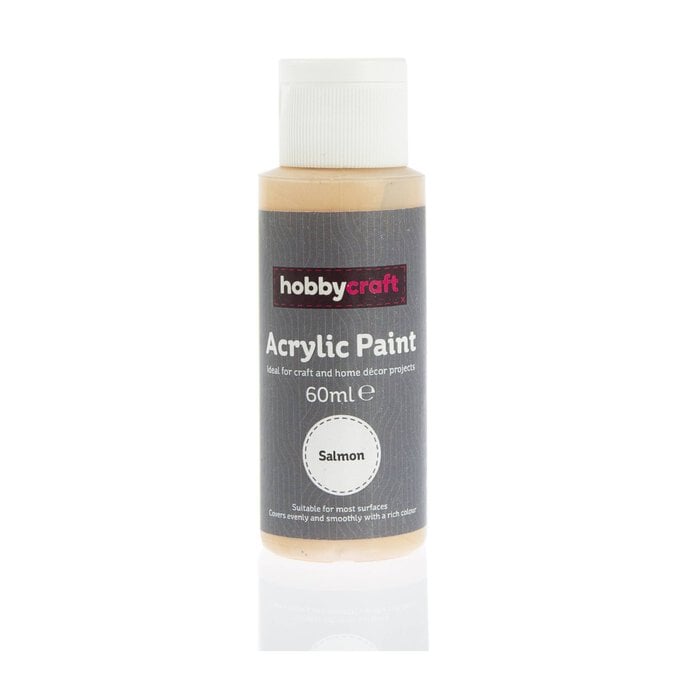
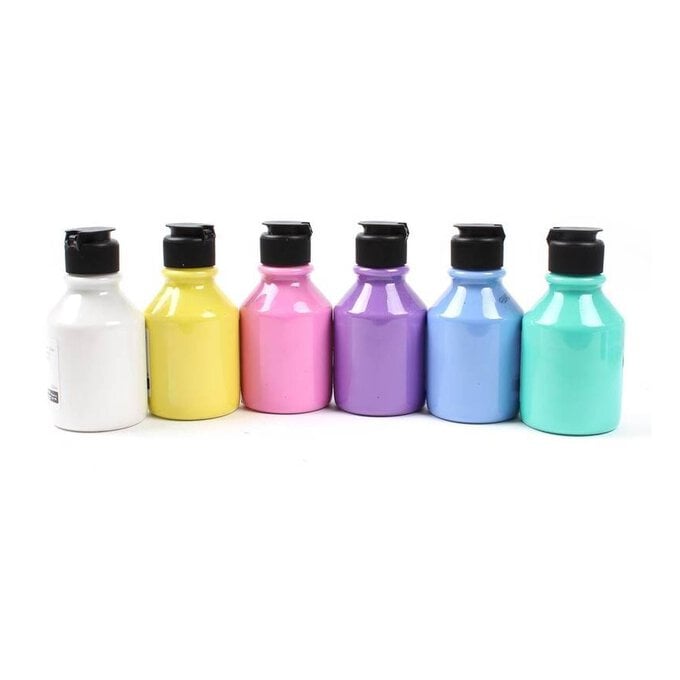
Paint each of the ice cream sections with two coats of pastel coloured paint and the cone section with a light brown.
Leave each layer to dry before applying the next one.
Once the front of each piece has been painted, repeat step four with the sides and back of each.
Leave to dry.
Use a hot glue gun to attach the ice cream sections to the cone, hold in place for a few moments to allow the glue to set.
Once all of the ice creams have been constructed, place them face down, evenly spaced, on a flat surface.
Run a length of ribbon along the back and secure to the back of each ice cream with a hot glue gun.
Once the glue has set, it's time to hang your bunting in pride of place!
