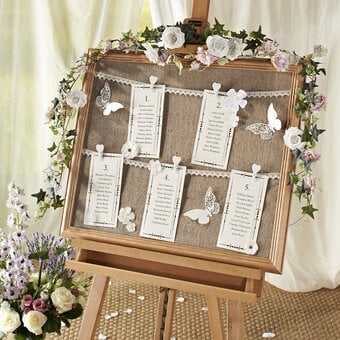
How to Make a Wedding Card Crate
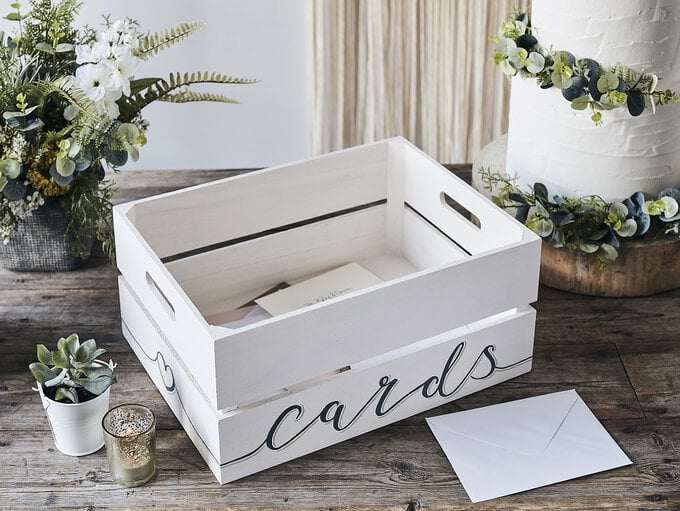
Add a personalised touch to your special day with a personalised card crate. This crate is so easy to make, and with our free downloadable templates, it's achievable even for a beginner.
The crate can be painted in whatever colour you like or left it's natural, rustic tone. Download our free templates and get making for the big day!
Project and instructions by Caroline Shard
You will need
Subtotal
Is $ 6.49
Subtotal
Is $ 10.00
Subtotal
Is $ 4.49
Subtotal
Is $ 5.49
How to Make
* Wooden Crate 40 x 30 x 18cm
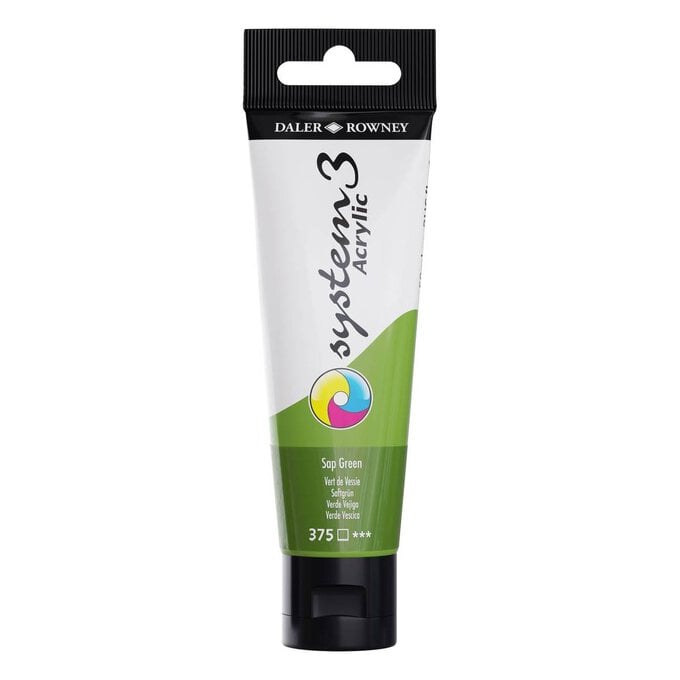
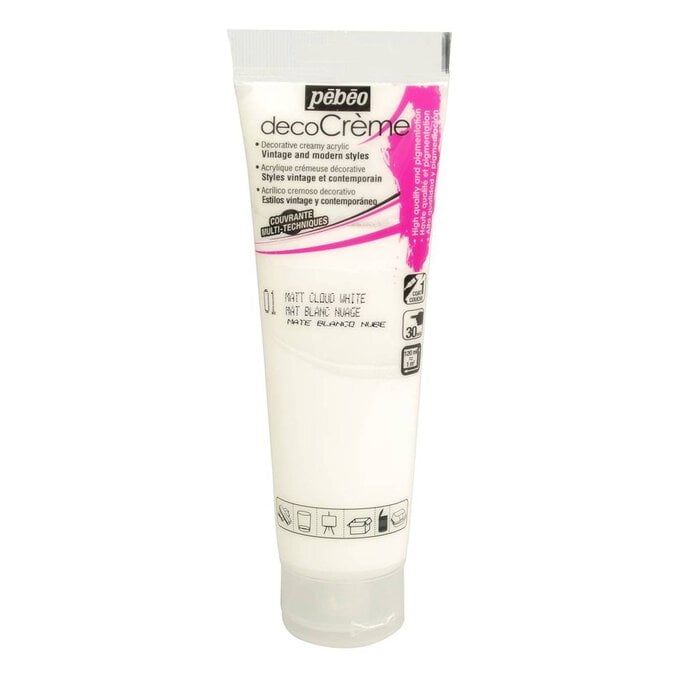
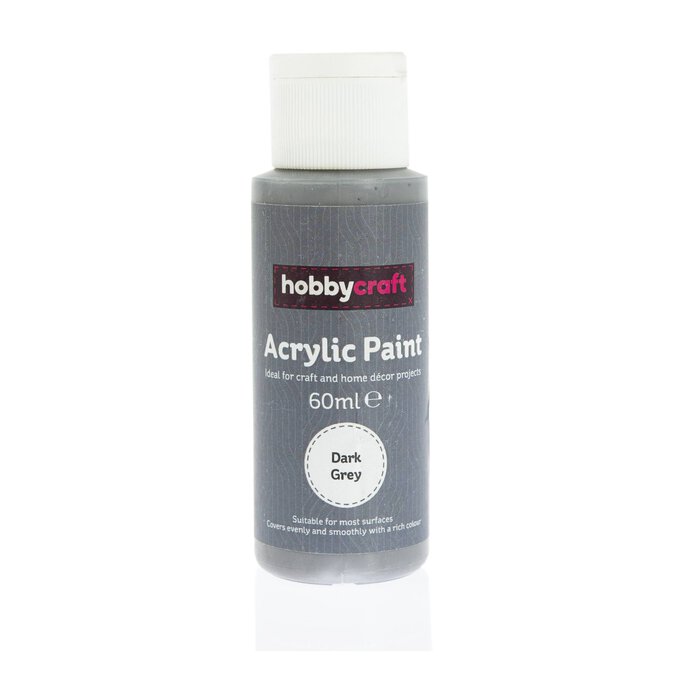
* Acrylic Paint - White, Dark Grey, Green
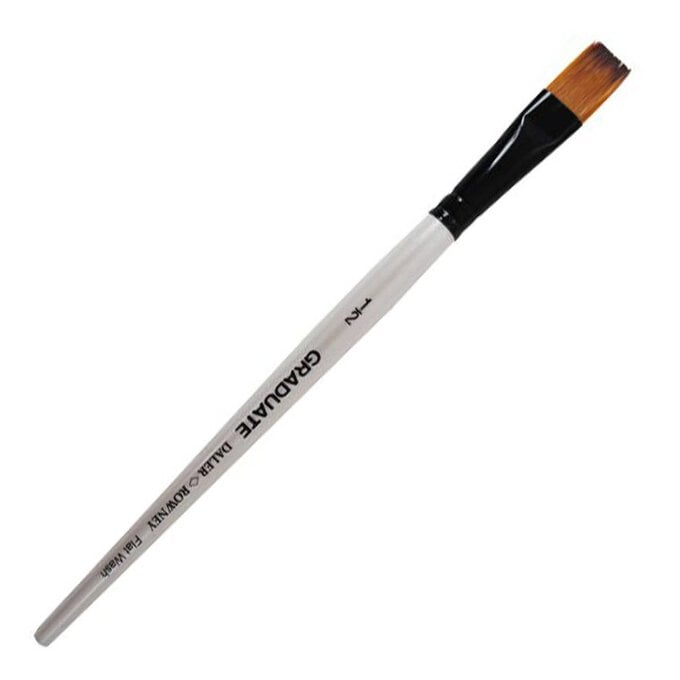
* Paintbrushes
* Templates - Downloaded + Printed

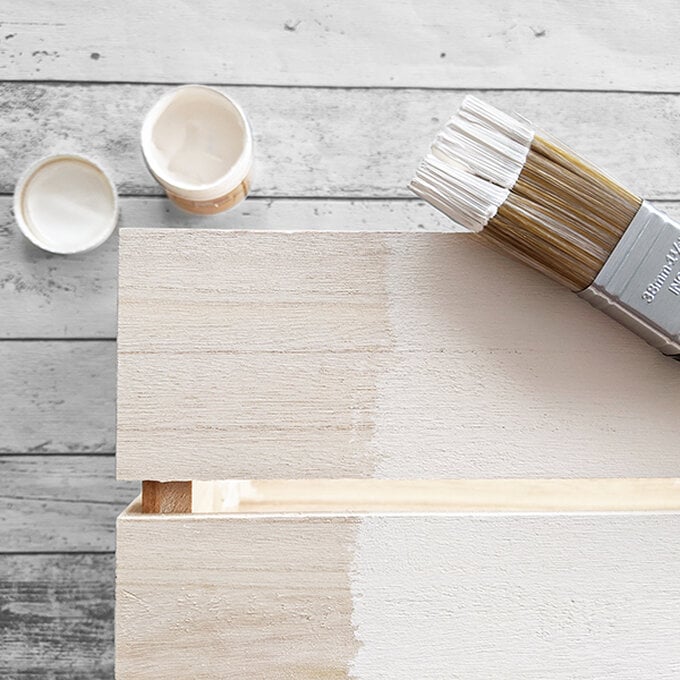
Cover the crate using the white chalky finish paint.
Make sure to paint the inside of the crate and also between the wooden panels.
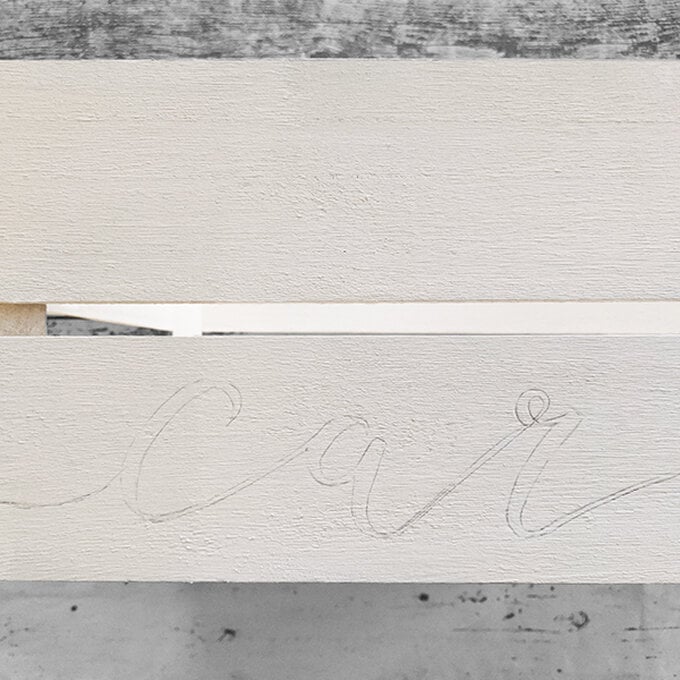
Print off the design and trace over the back of it with a pencil.
This can be done on a lightbox or against a window. Carefully line up the design with the side of the crate, then with a pencil gently scribble over the back to transfer a light pencil version of your design onto the side of the crate.
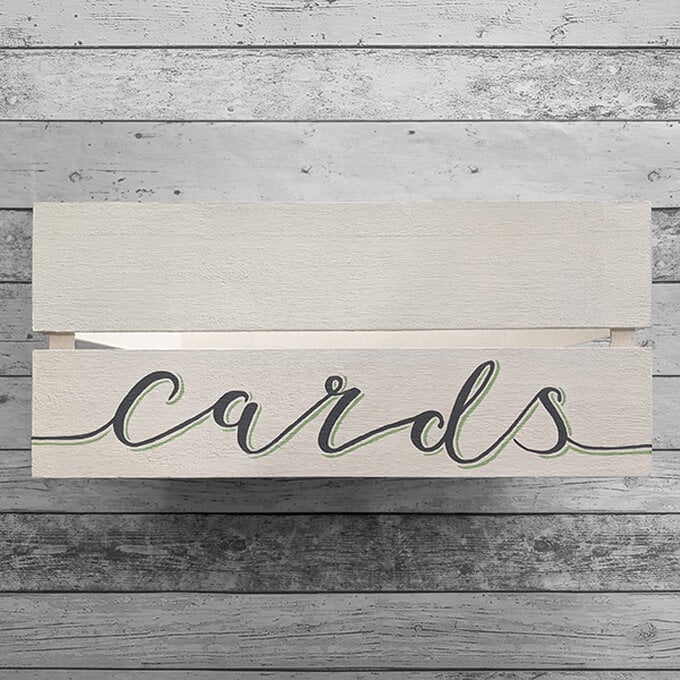
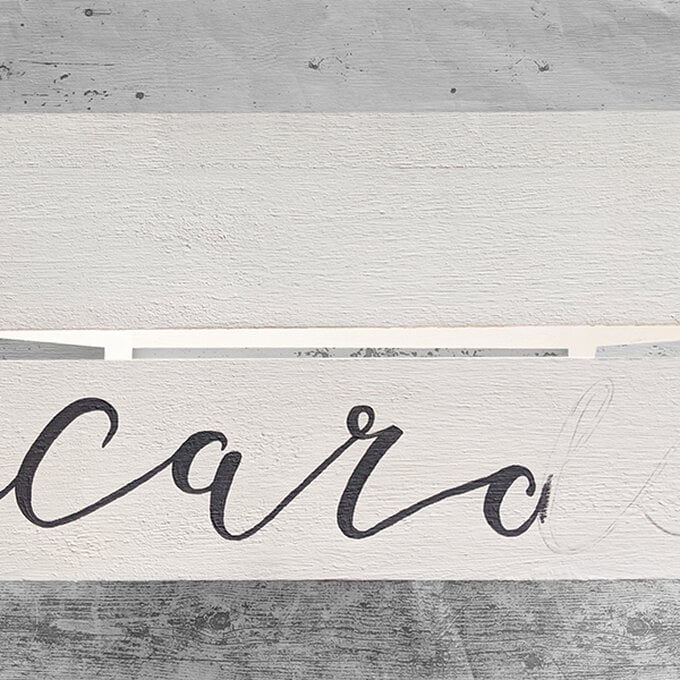
Using a fine paintbrush, carefully go over the lettering with the dark grey acrylic paint.
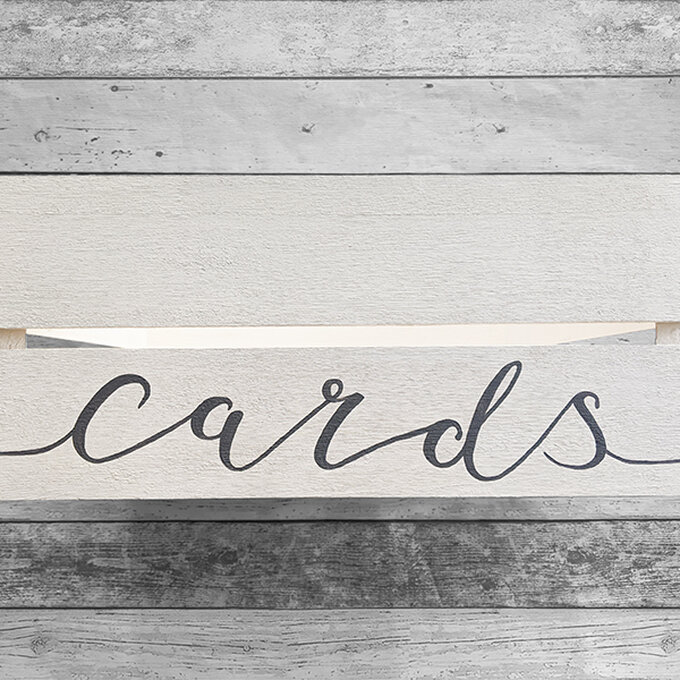
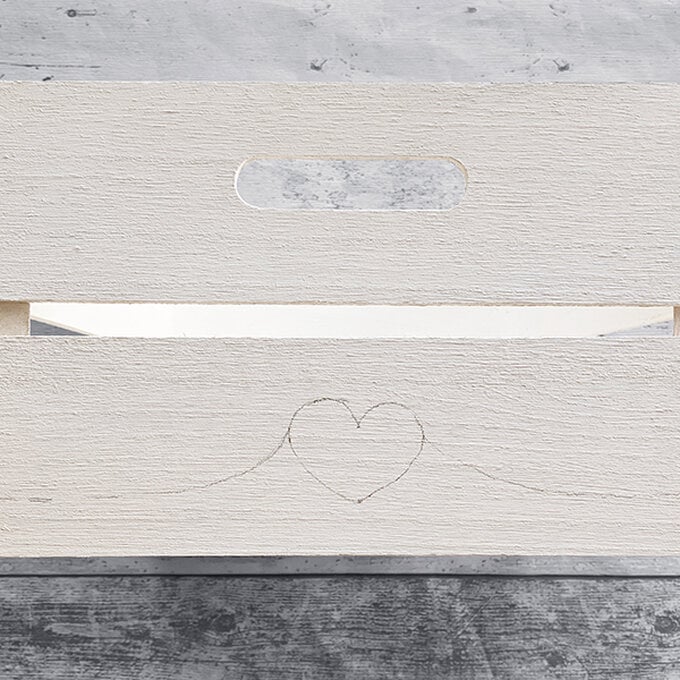
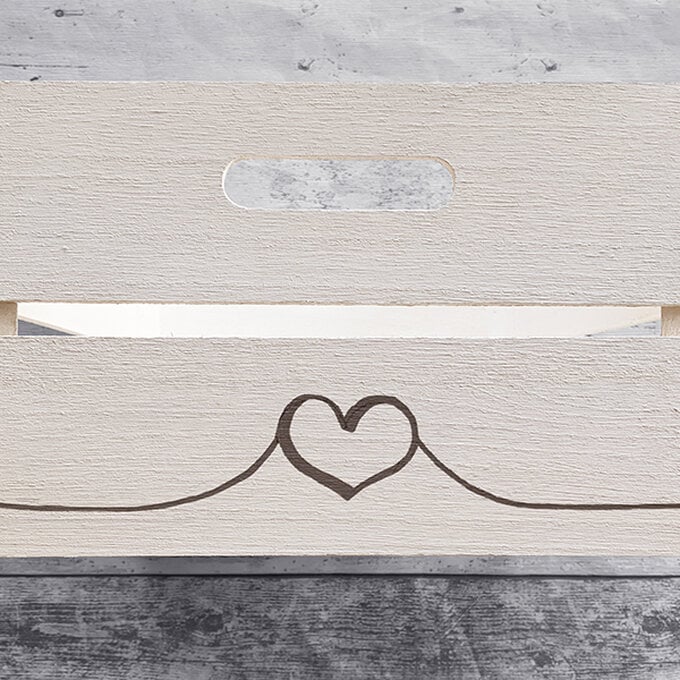
Draw a heart in the middle of the lower panel of both ends of the crate. Link the line coming from the start and end of the lettering over to the ends to
meet up with the hearts. Then go over the lines with the dark grey acrylic paint.
You can add a shadow to the lettering by lightly drawing a pencil line on the right hand side and bottom of the lettering. Then go over the lines with your green or accent colour acrylic paint.
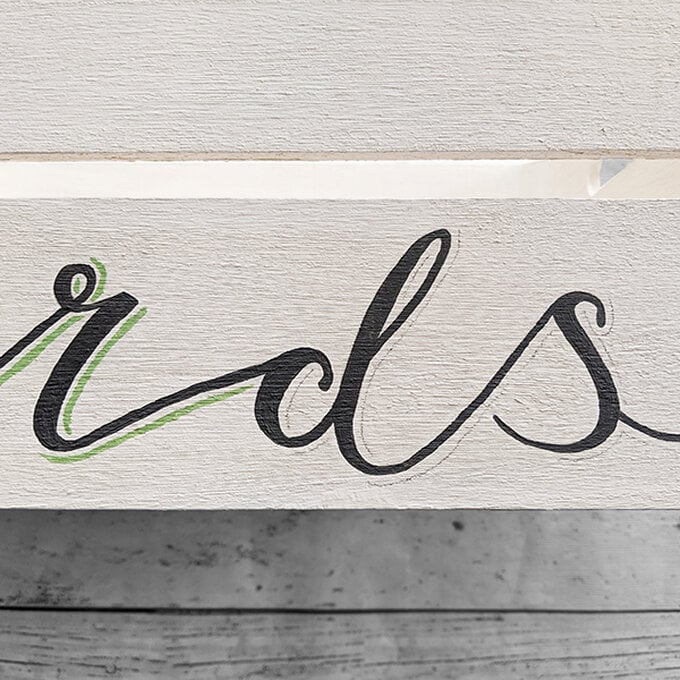
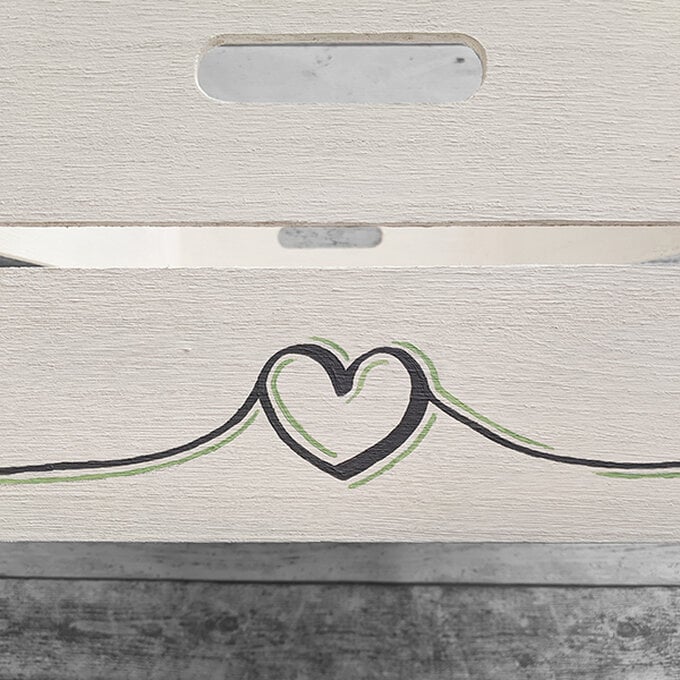
Once dry, if there any visible pencil lines, lightly remove with an eraser or cover up with a little of the white chalky paint.
