How to Make a Fascinator
Level
Intermediate
Time
1 hour
Budget
10 - 30
What better excuse to make a fascinator than the start of Royal Ascot?
The great thing about making fascinators is that you can use just about anything to make them, so it's a perfect use for all those spare feathers, buttons, beads, ribbons and scraps of material. Once you have decided on your type of hair fastening, your design and your colour scheme then it's all about constructing and decorating!
You will need


How to make
Step-1


Step-2

Step-3

Step-4

Step-5

Step-6


Step-7
Step-8
Step-9


Craft with us at our workshops


Related Products
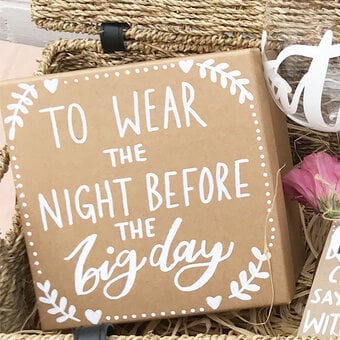
How to Make a Personalised Rustic Bridesmaid Hamper
Project and instructions by Hobbycraft Artisan: Becky Wallace from Rock Paper Vinyl Find out more. FREE PATTERN Sirdar Sublime Baby Cashmere Merino Silk DK Ballerina WrapBrand: SirdarYarn: Sirdar Snuggly DKBalls of Yarn: 5Size of garment: 33 cm (12 inches)Needle size: ...
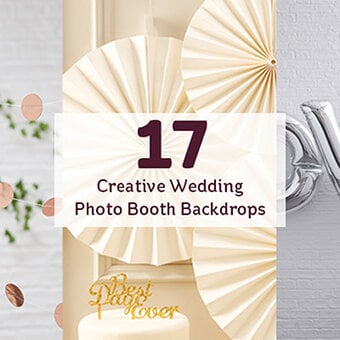
17 Creative Wedding Photo Booth Backdrops
Project and instructions by Hobbycraft Artisan: Becky Wallace from Rock Paper Vinyl Find out more. FREE PATTERN Sirdar Sublime Baby Cashmere Merino Silk DK Ballerina WrapBrand: SirdarYarn: Sirdar Snuggly DKBalls of Yarn: 5Size of garment: 33 cm (12 inches)Needle size: ...