Cricut: How to Make a Ramadan Fast Timings Calendar
This elegant display frame showing the fast opening (suhoor) and closing (iftar) timings will be a beautiful addition to your Ramadan décor this year!
This is a quick and simple project, ideal for beginner Cricut users. The project has already been designed, so all you have to do is click 'Make it' in the Design Space app and watch your Cricut machine do the rest.
Project and instructions by Rabia @Rabia.Khans.
Cricut Design Space Project: Ramadan Fast Timings Calendar
Please note: This project contains paid-for content from the Cricut Design Space app. Screen reference images are taken from the desktop Mac version of Design Space. This project can be recreated on any of the Cricut machines, we’ve used the Cricut Maker.
You will need
Subtotal
Is $ 585.00
Subtotal
Is $ 9.49 , was $ 11.00
Subtotal
Is $ 11.00 , was $ 14.00
Subtotal
Is $ 33.00 , was $ 42.00
Subtotal
Is $ 25.00 , was $ 31.00
Subtotal
Is $ 11.00 , was $ 14.00
You Will Need
* Cricut Machine
* Cricut LightGrip Cutting Mat
* Cricut Basic Tools
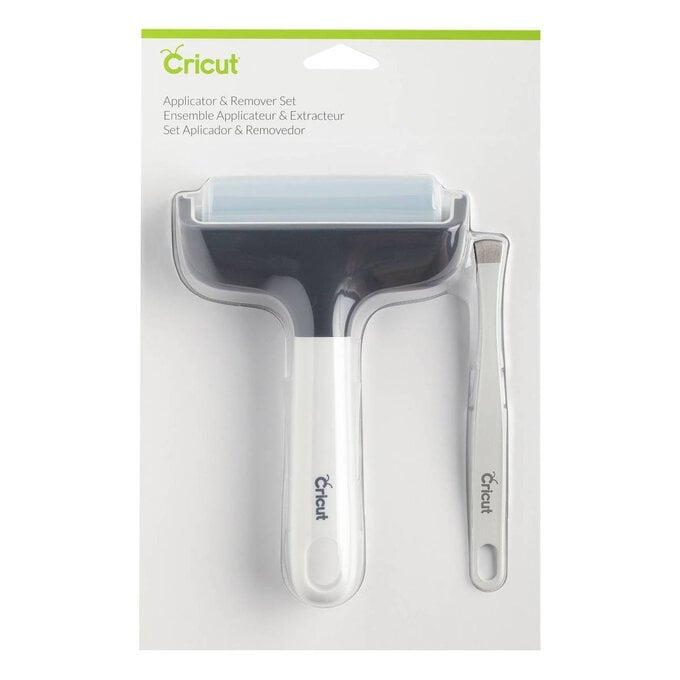
* Cricut Brayer and Remover
* 8x10" Glass Frame
* Pink Permanent Shimmer Vinyl
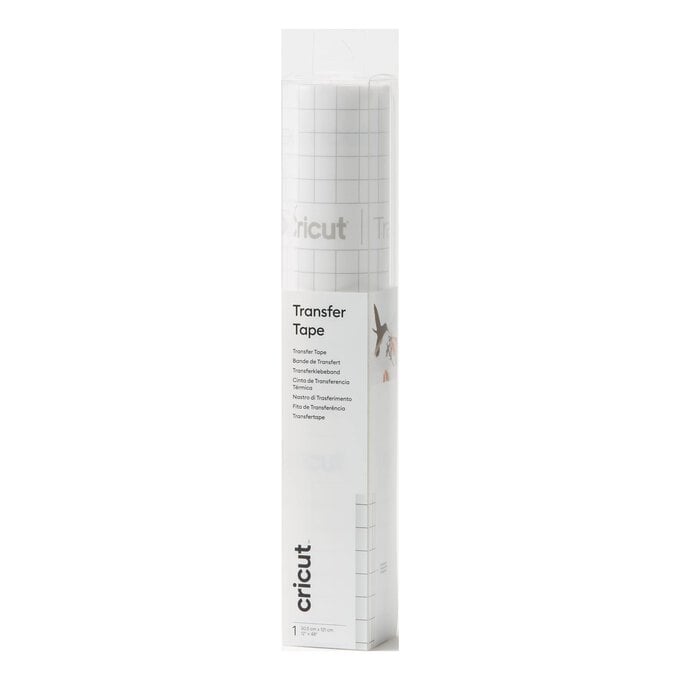
* Transfer Tape
* Soft Pink Bunny Tails Stems
* Twine
* Glue Gun
* Cricut Design Space app installed on a mobile, desktop or laptop
How To Make
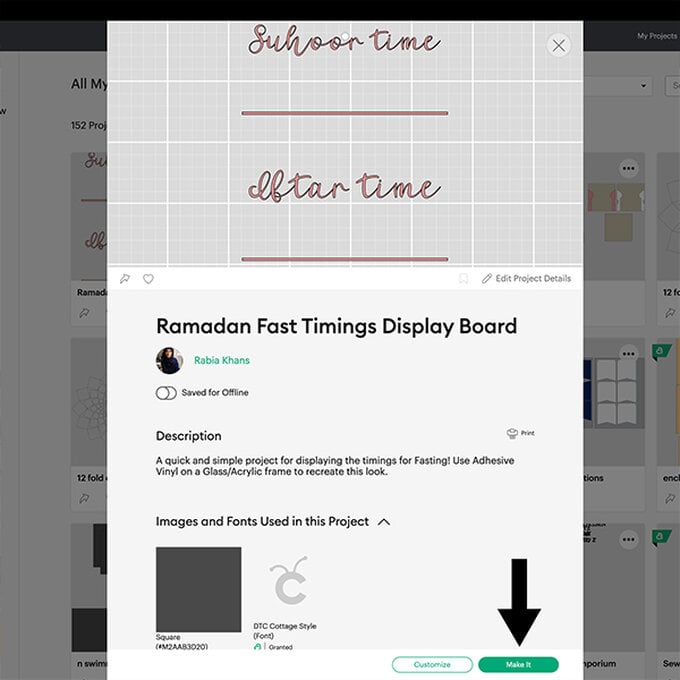
To access the project, click on the link below:
https://design.cricut.com/landing/project-detail/62209fc5c96927e93b25cb1e
The Cricut Design Space webpage will open, follow the one-screen inctructions to open the project,
Cick 'Customise' to amend the size of the design to suit your frame, or select 'Make it' to create the project exactly how we have on an 8 x 10" glass frame.

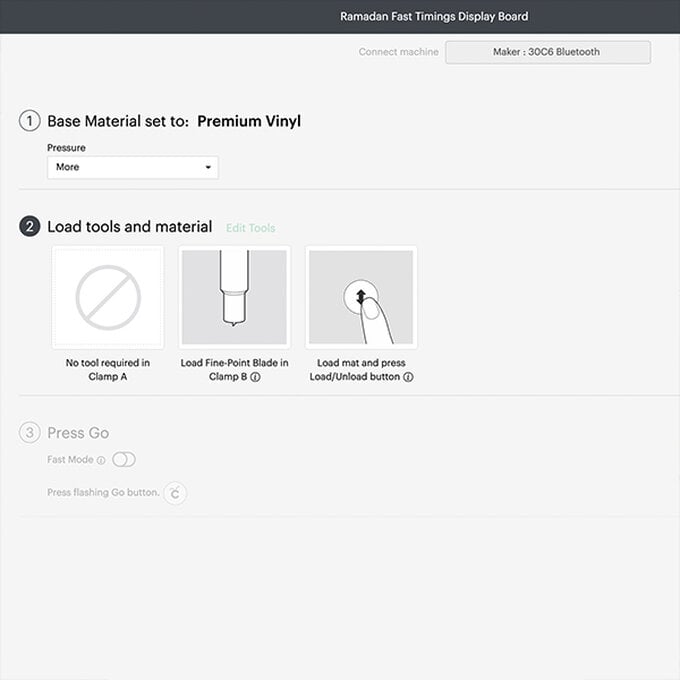
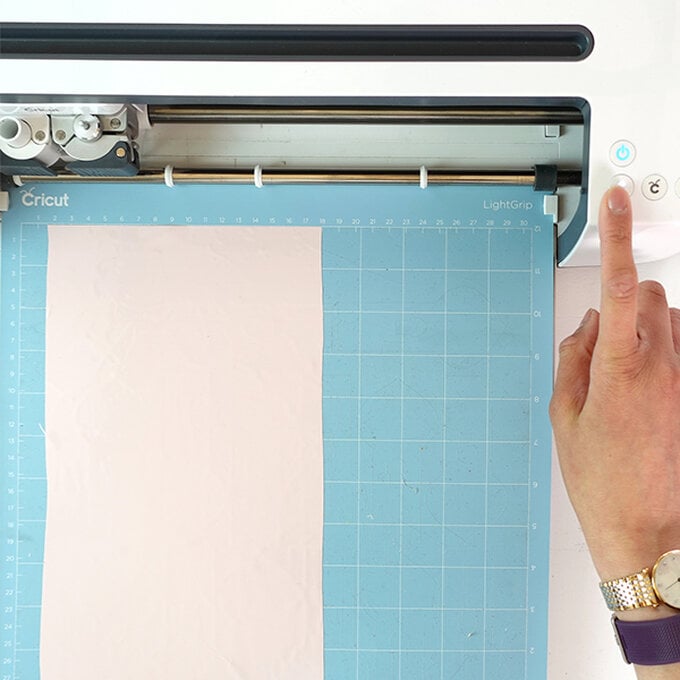
Once through to the machine setp-up screen, connect to your Cricut machine and and select the Premium Vinyl cut setting, then select 'More' from the pressure drop down menu.
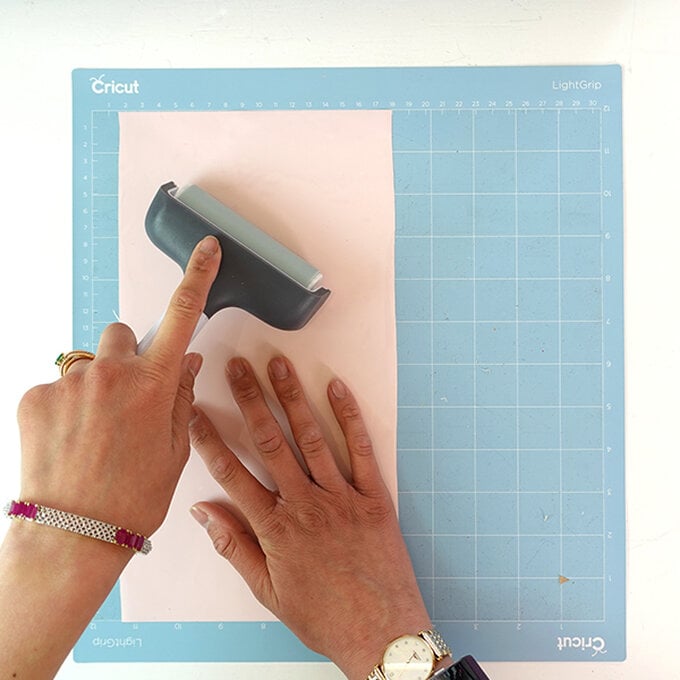
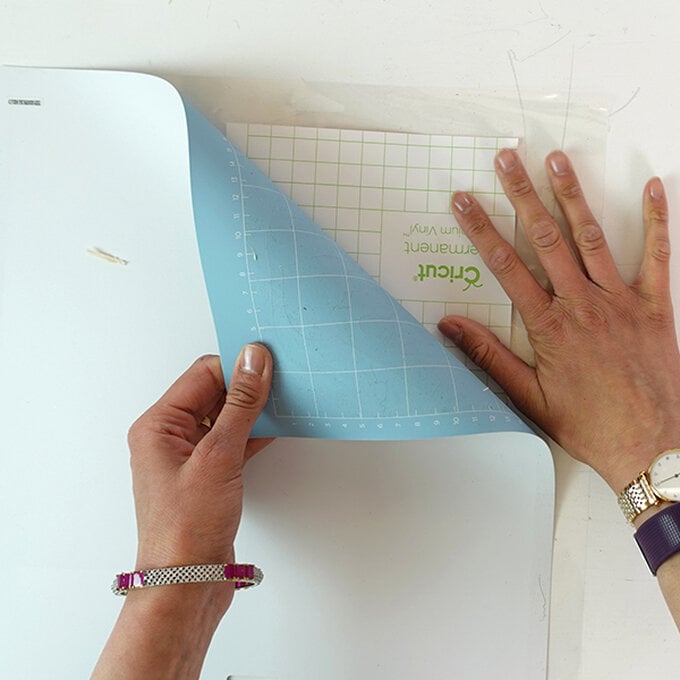
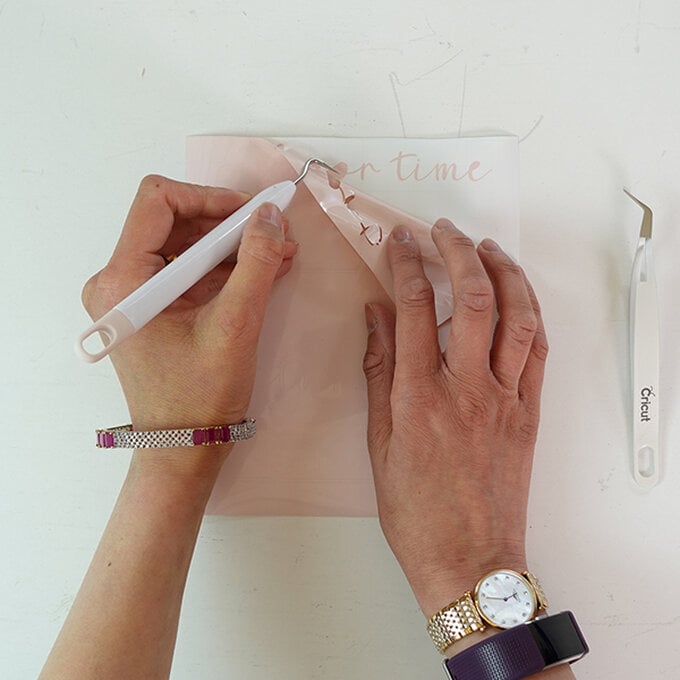
Remove the negative pieces from the cut vinyl design – this process is called weeding.
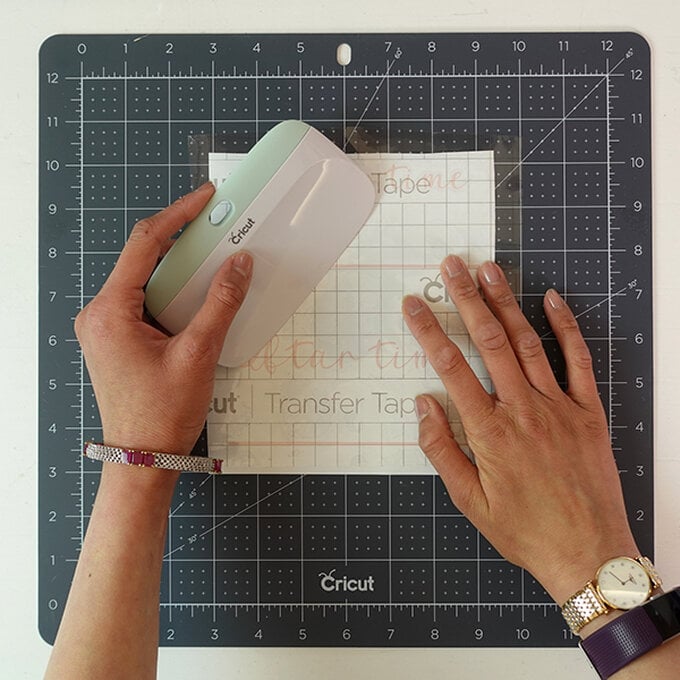
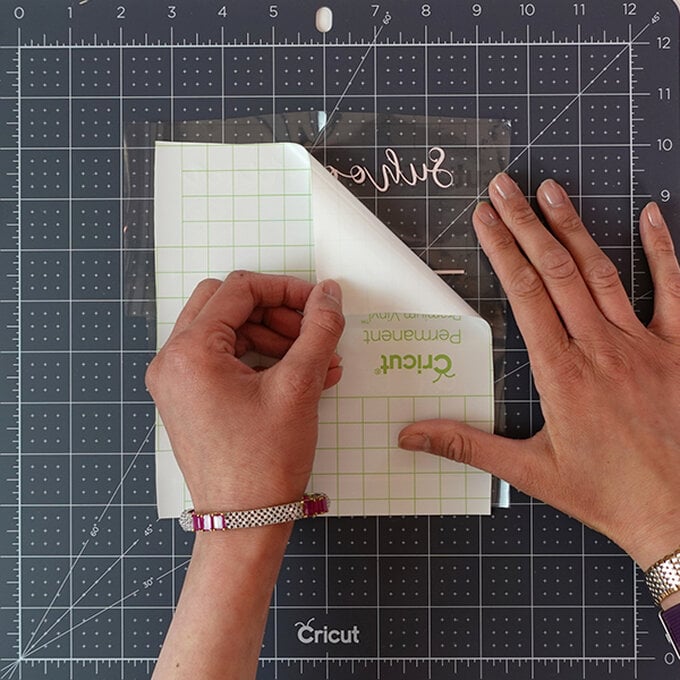
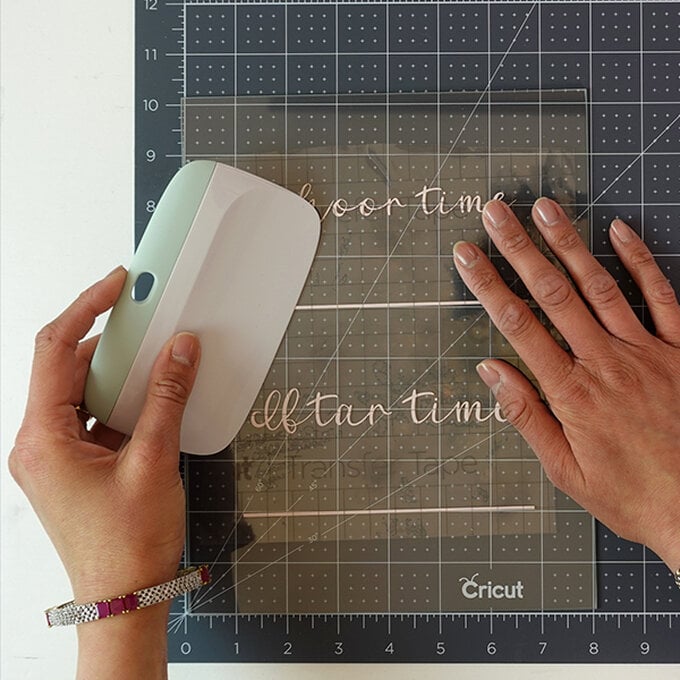
Place Standard Grip Transfer Tape over the top of the weeded Vinyl and burnish with a scraper.
Top Tip: Use the grid lines on the Transfer Tape to help align the vinyl design.
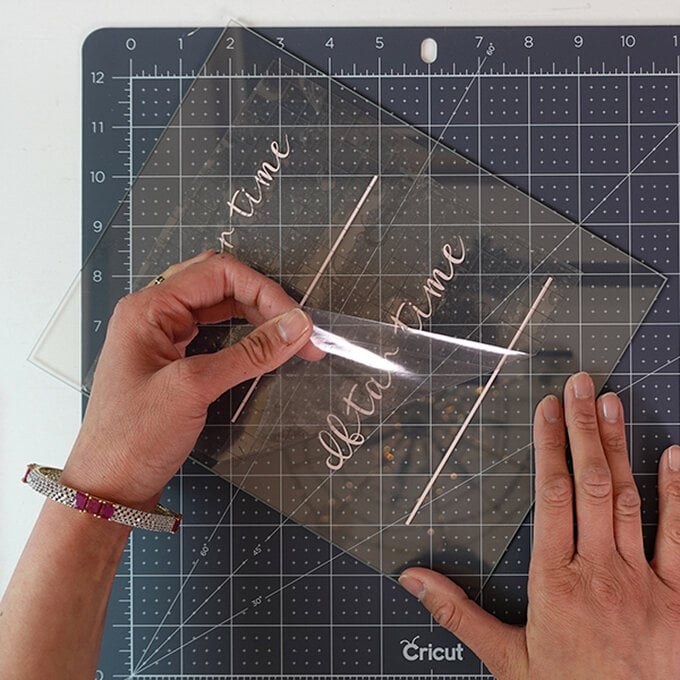
Peel away the vinyl backing paper to leave the weeded design on the Transfer Tape.
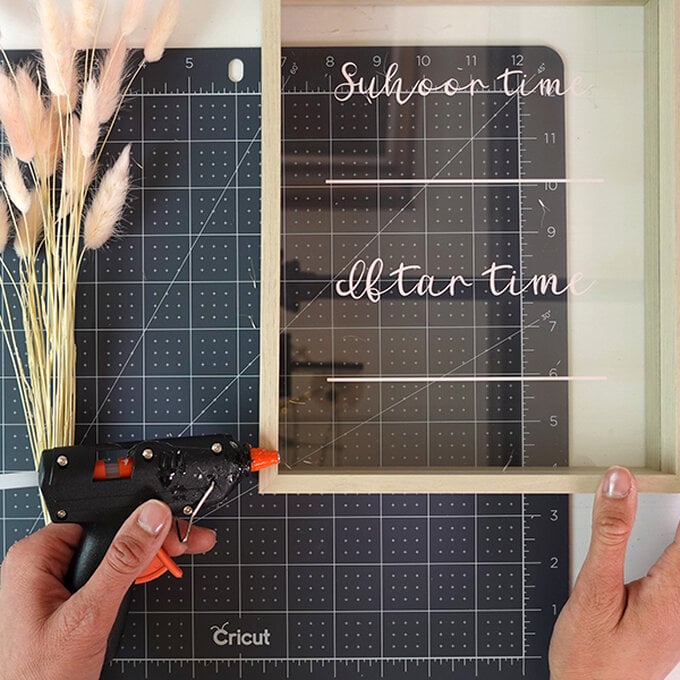
Apply the Transfer Tape to the glass inside wooden insert frame.
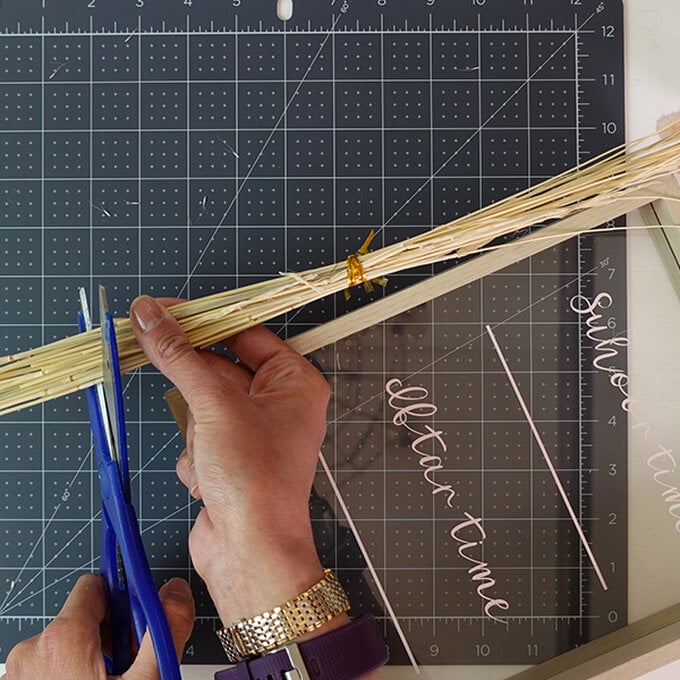
Cut your bunny tails to the correct length so they are just shorter than the frame. Use twine to secure the stems together, and then stick the bunny tails to the side of the frame using a hot melt glue gun.
