How to Crochet Flowers
Looking for a fun and creative way to update your space? Try hooking up these colourful crochet flowers! They're perfect for brightening up any room and they'll be far less maintenance than the real thing.
You could even stitch yourself a bunch of crochet flowers or gift them to a friend.
You will need
Subtotal
Is $ 4.49
Subtotal
Is $ 3.49
Subtotal
Is $ 3.49
Subtotal
Is $ 3.49
Subtotal
Is $ 4.49
Subtotal
Is $ 7.49
Subtotal
Is $ 2.49
Subtotal
Is $ 5.49
Subtotal
Is $ 9.49
Subtotal
Is $ 4.49
Subtotal
Is $ 2.49
Out of stock
You Will Need
* DK Yarn - Dark Brown, Yellow, Green, Red, Bright Green, Lavender, White
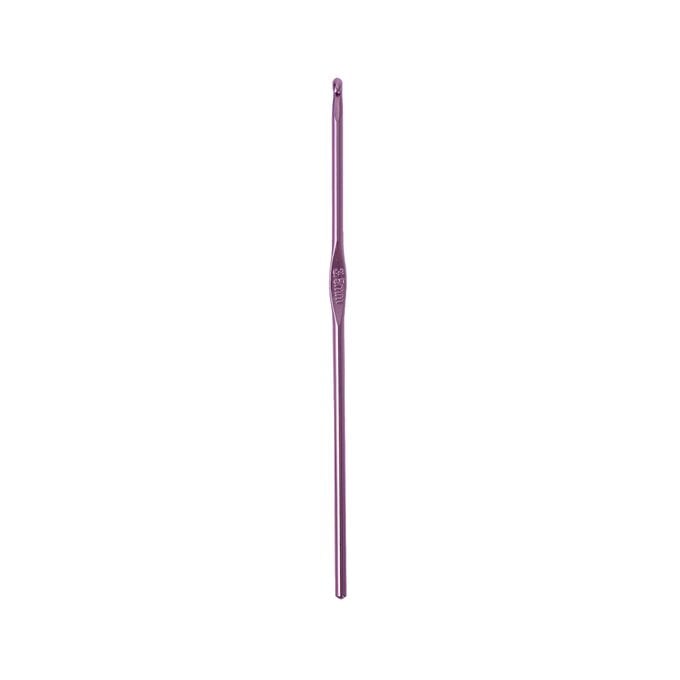
* 3.5mm Crochet Hook
* 4mm Crochet Hook
* Toy Stuffing
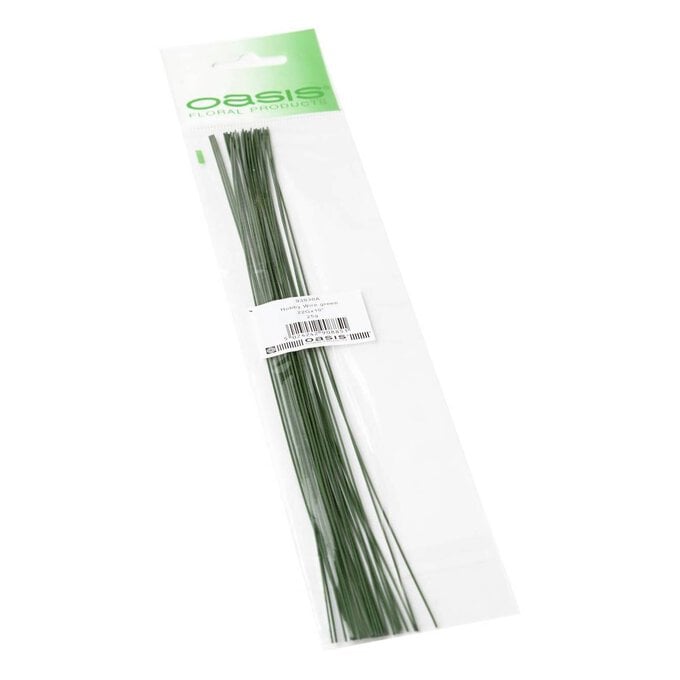
* Floristry Wire
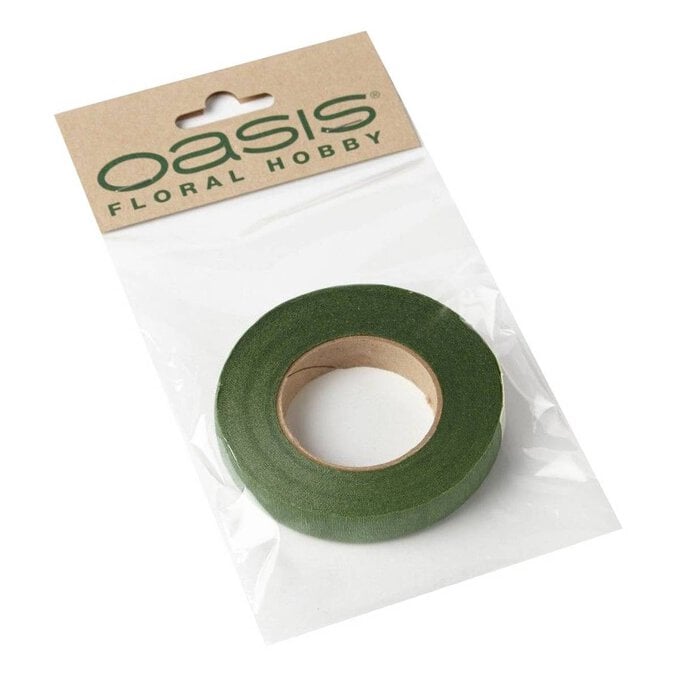
* Floristry Tape
* Dowel
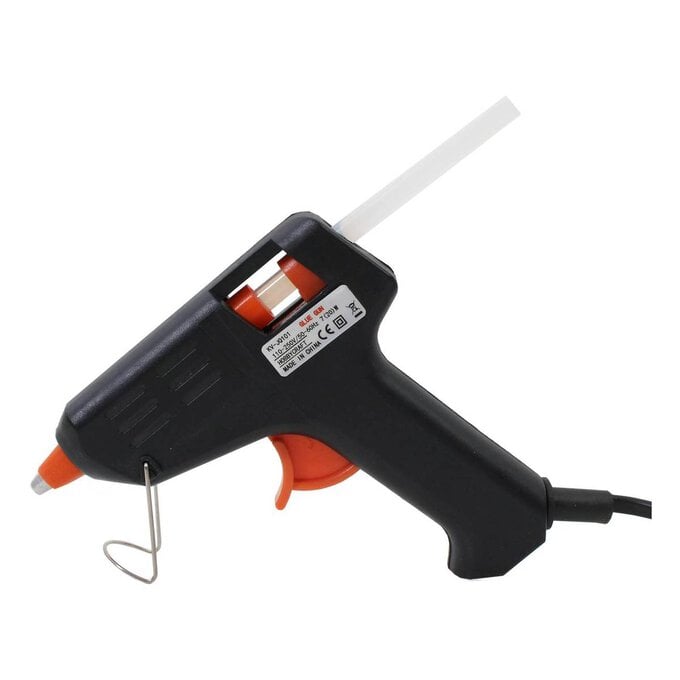
* Glue Gun
Pattern Notes
This pattern is written in UK terms
Abbreviations
Ch – Chain
Ch1-sp / Ch2-sp - Chain space, the space made by chains in the previous row
St(s) - Stitch(es)
Sl st - Slip stitch
MC - Magic circle
Dc – Double crochet
2dc - Work 2 double crochet into same stitch
Htr – half treble crochet
Tr – Treble crochet
Dtr - Double treble crochet
Bst – Bean stitch (See below)
BLO - Back loop only
RS - Right side
WS - wrong side
*...* rep – repeat between the * *
Special Stitches
Bst - Bean stitch
Yo, insert hook in st indicated, yo, bring up loop, [yo, insert hook in same, yo, bring up loop] 2 times, yo, pull through all 7 loops on hook
Yarn Colours
Yarn A - Dark Brown
Yarn B - Yellow
Yarn C - Green
Yarn D - Red
Yarn E - Bright Green
Yarn F - Lavender
Yarn G - White
Pattern Notes
This pattern is worked four pieces; front of sunflower, back of sunflower, stem, and leaves which are then sewn together.
Front and back of sunflower are worked in joined rounds.
Stem is worked in a continuous spiral, without joining the rounds.
Leaves are worked in one round, working along both sides of the chain.
Beginning ch1 does not count as stitch.
Front of Sunflower
With 'Yarn A' and 3.5mm hook, make a MC.
Rnd 1: Ch1, 6dc in MC join. (6dc)
Rnd 2: Ch1, 2dc in each around, join. (12dc)
Rnd 3: Ch1, * dc in next st, 2dc in next st *, rep around, join. (18dc)
Rnd 4: Ch1, * dc in next 2 sts, 2dc in next st *, rep around, join. (24dc)
Rnd 5: Ch1, * dc in next 3 sts, 2dc in next st*, rep around, join. (30dc)
Rnd 6: Ch1, * dc in next 4 sts, 2dc in next st*, rep around, join. (36dc)
Rnd 7: Ch1, * dc in next 5 sts, 2dc in next st*, rep around, join. (42dc)
Rnd 8: Ch1, dc in next 3 sts, * 2dc in next st, dc in next 6 sts, *, rep around ending dc in last 3 sts, join. (48dc)
Rnd 9: Ch1, * dc in next 7 sts, 2dc in next st *, rep around, join. (54dc)
Change to 'Yarn B'
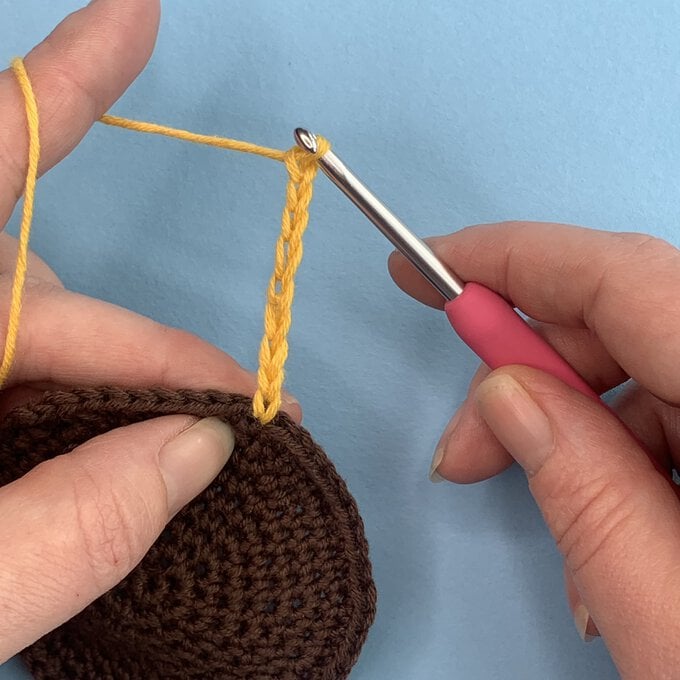
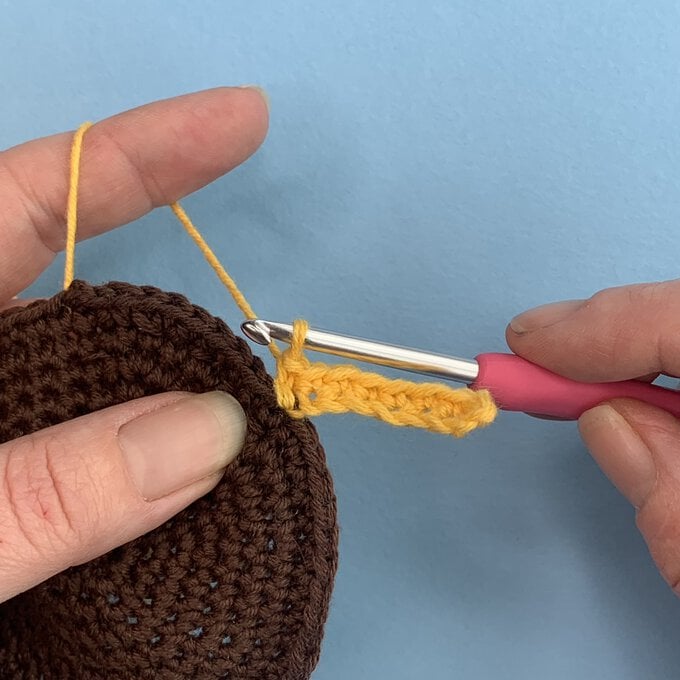
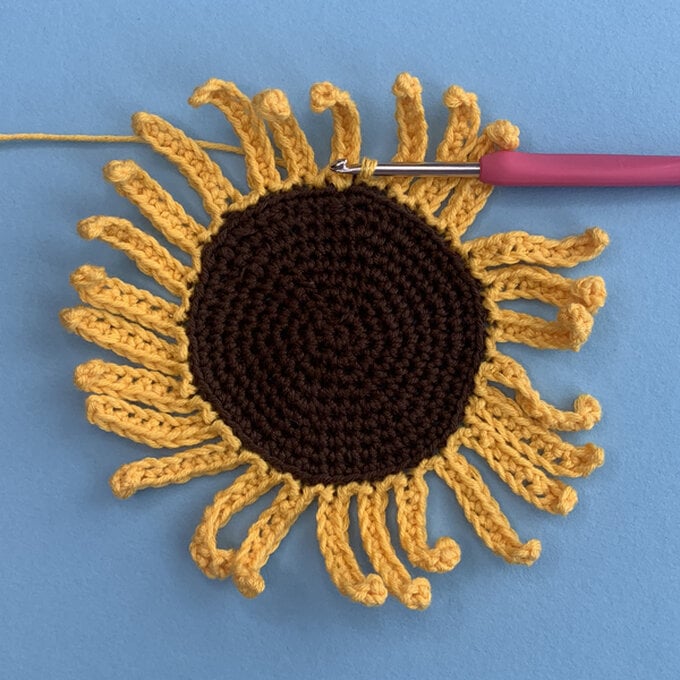
Rnd 10: * Ch9, sl st in 2nd ch from hook and each, sl st to same st, sl st across next 2 sts in BLO * (petal base created); rep around, final sl st will be in base of 1st. (27 petal bases)
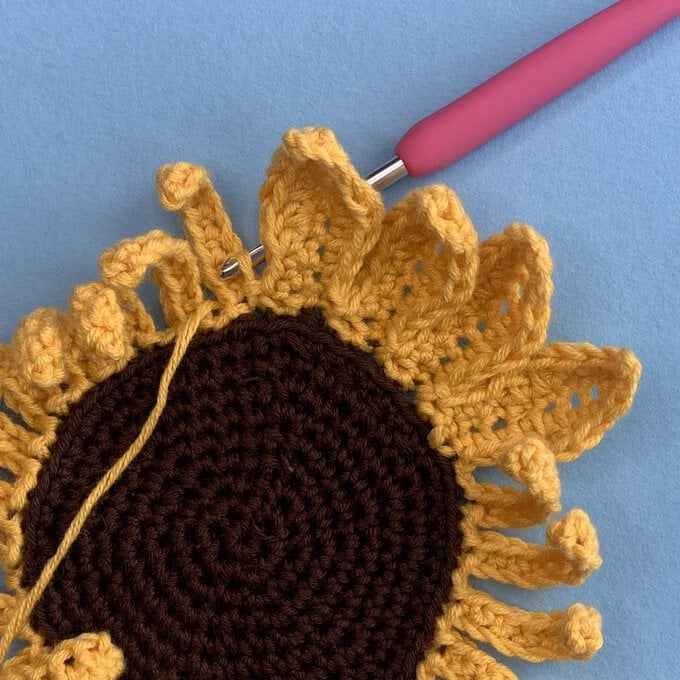
Rnd 11: Beginning working on other side of ch 9, * dc in next 2 sts, htr in next st, tr in next 2 sts, htr in next st, dc in next st, (dc, ch 2, sl st to 1st ch) in top of ch, dc in next 2 sts, htr in next st, tr in next 2 sts, htr in next st, dc in next 2 sts, sl st to same as petal base, sl st to next petal base *; rep around. (27 petals)
Fasten off, weave ends.
Back of Sunflower
With 'Yarn C' and 3.5mm hook, make a MC.
Rnd 1: Ch1, 6dc in MC, join. (6dc)
Rnd 2: Ch1, 2dc in each around, join. (12dc)
Rnd 3: Ch1, * dc in next st, 2dc in next st *, rep around, join. (18dc)
Rnd 4: Ch1, * dc in next 2 sts, 2dc in next st *, rep around, join. (24dc)
Rnd 5: Ch1, * dc in next 3 sts, 2dc in next st*, rep around, join. (30dc)
Rnd 6: Ch1, * dc in next 4 sts, 2dc in next st*, rep around, join. (36dc)
Rnd 7: Ch1, * dc in next 5 sts, 2dc in next st*, rep around, join. (42dc)
Rnd 8: Ch1, dc in next 3 sts, * 2dc in next st, dc in next 6 sts, *, rep around ending dc in last 3 sts, join. (48dc)
Rnd 9: Ch1, * dc in next 7 sts, 2dc in next st *, rep around, join. (54dc)
Fasten off, weave ends.
Stem
With 'Yarn C' and 3.5mm hook, make a MC.
Rnd 1: Ch 1, 8dc in MC, do not join. (8dc)
Rnd 2: Dc in each around. (8dc)
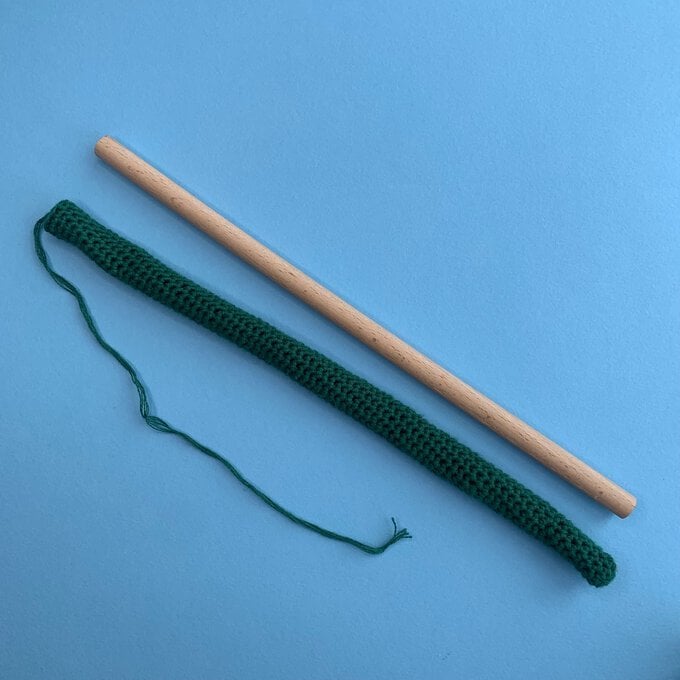
Repeat round 2 until the stem is 30cm long, insert dowel or stuff firmly and insert optional wire.
Sew through sts to close.
Leaf (Make 2)
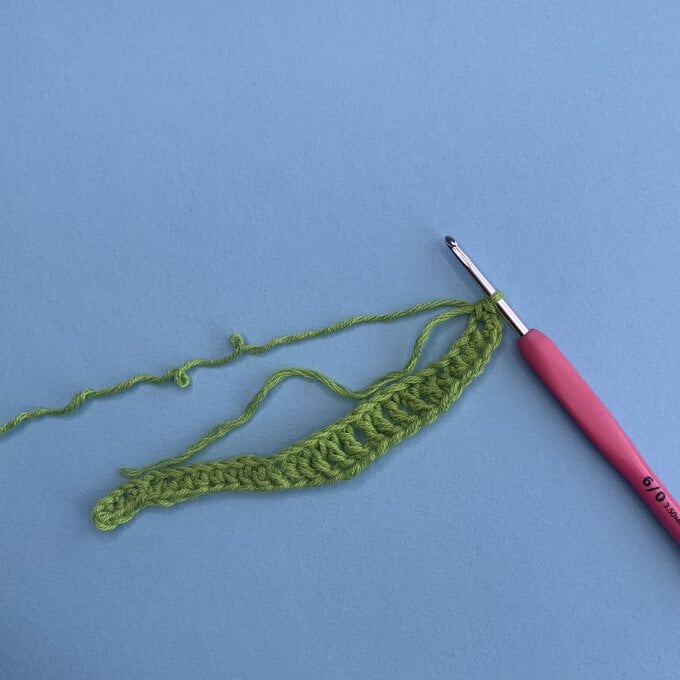
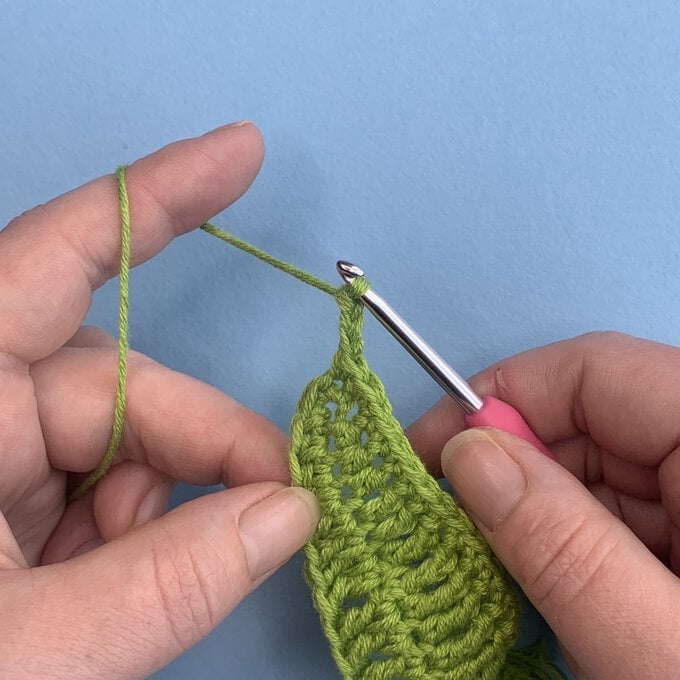
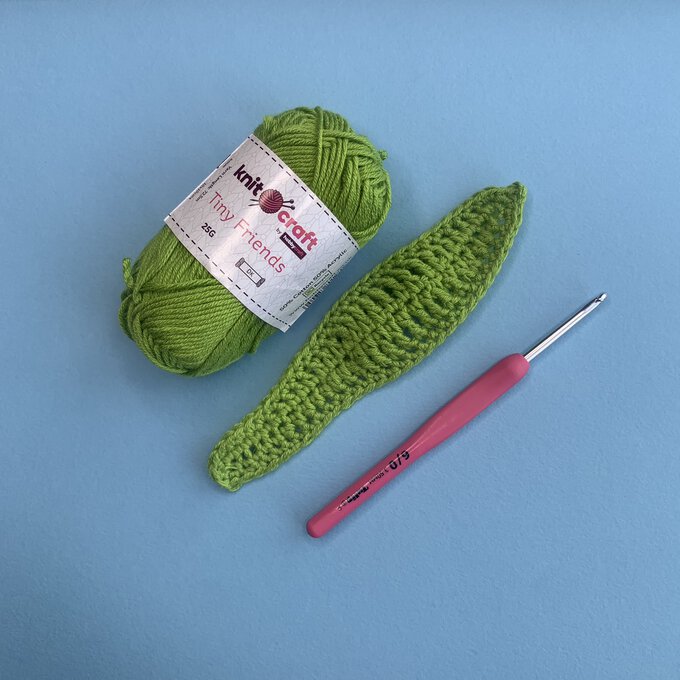
With 'Yarn C' and 3.5mm hook, Ch15.
Rnd 1: Sl st in 2nd ch from hook, sl st in next 2 sts, dc in next st, htr in next 2 sts, tr in next 2 sts, dtr in next st, tr in next 2 sts, htr in next st, dc in next st, [dc, ch 3, sl st to 1st ch, dc] in last ch, rotate to work on other side of ch, dc in next st, htr in next st, tr in next 2 sts, dtr in next st, tr in next 2 sts, htr in next 2 sts, dc in next st, sl st in next 2 sts, sl st in last st.
Fasten off, leaving 12 cm tail for sewing.
Sewing Up
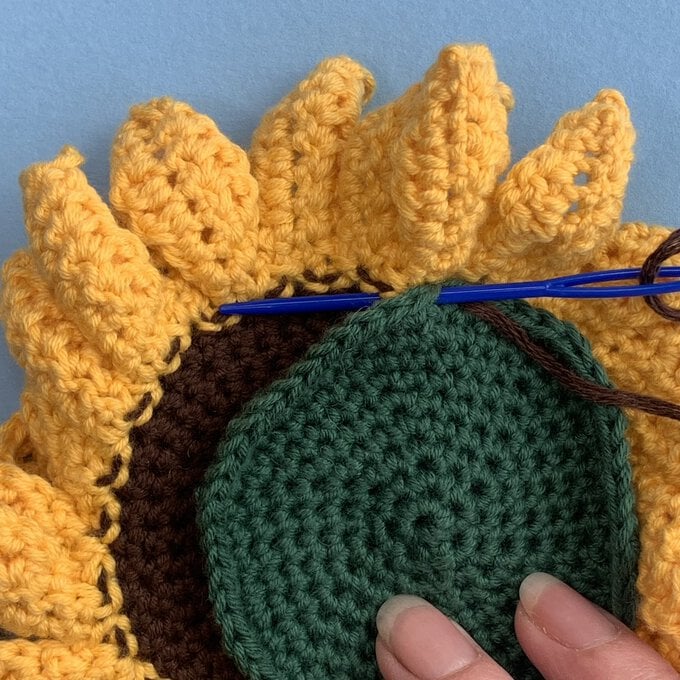
Place the front and back of the sunflower together with WS facing. Using 'Yarn A' sew together through petal bases leaving 6 sts unsewn.
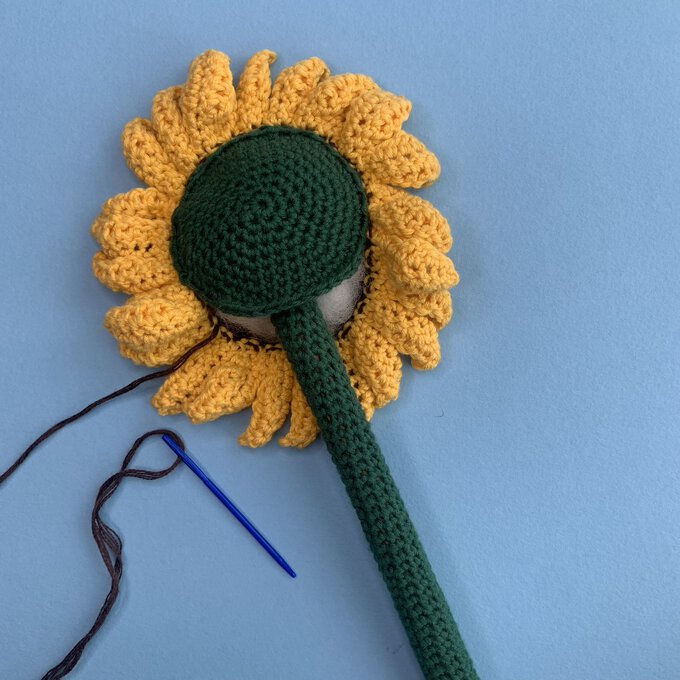
Insert stem into the gap, and stuff firmly. Sew through stem to secure it in place and close remaining sts.
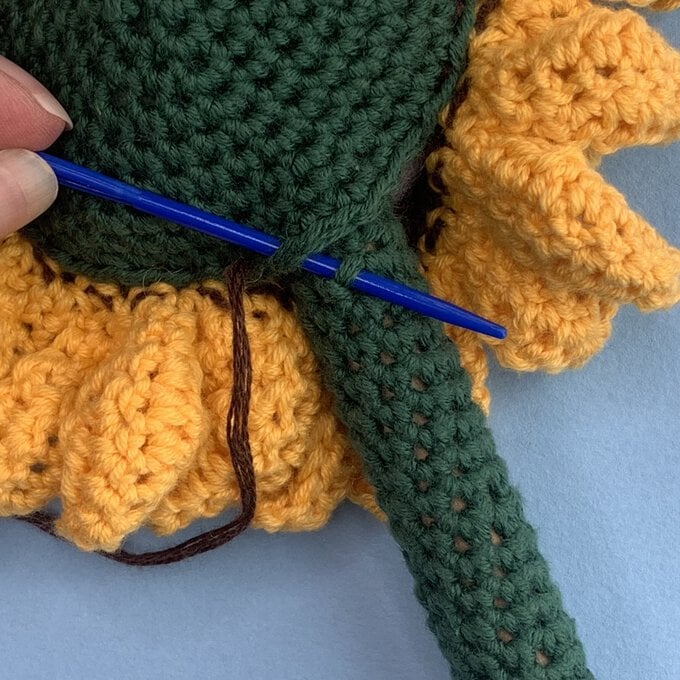
With front of sunflower facing, sew each leaf on the rear of the stem, 4 sts below lowest petal.
Pattern Notes
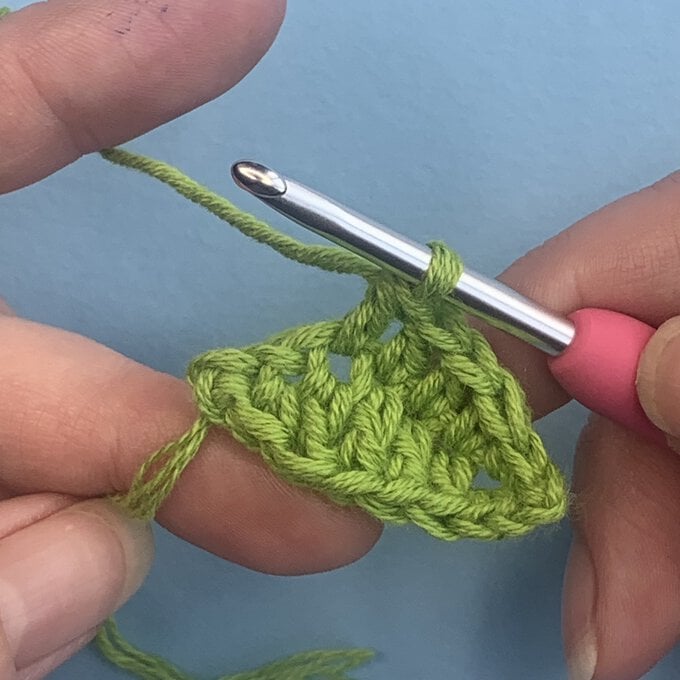
This pattern is worked in four pieces; front of rose, back of rose and two leaves. The stem is created by wrapping floristry wire with tape.
The front of the rose is rolled up and then sewn to the back of the rose, and then glued to the top of the stem. The leaves are also glued to the stem.
Rose is worked in turned rows.
Back of rose and leaf are worked in rounds.
Beginning ch1 does not count as stitch.
Front of Rose
With 'Yarn D' and 3.5mm hook, ch61.
Row 1:
Htr in 4th ch from hook (counts as first htr v-stitch),
* skip 2 ch, [htr, ch1, htr] in next * rep 5 more times,
* skip 2, [tr, ch2, tr] in next * rep 12 more times, turn. (7 htr v-stitch, 13 tr v-stitch)
Row 2:
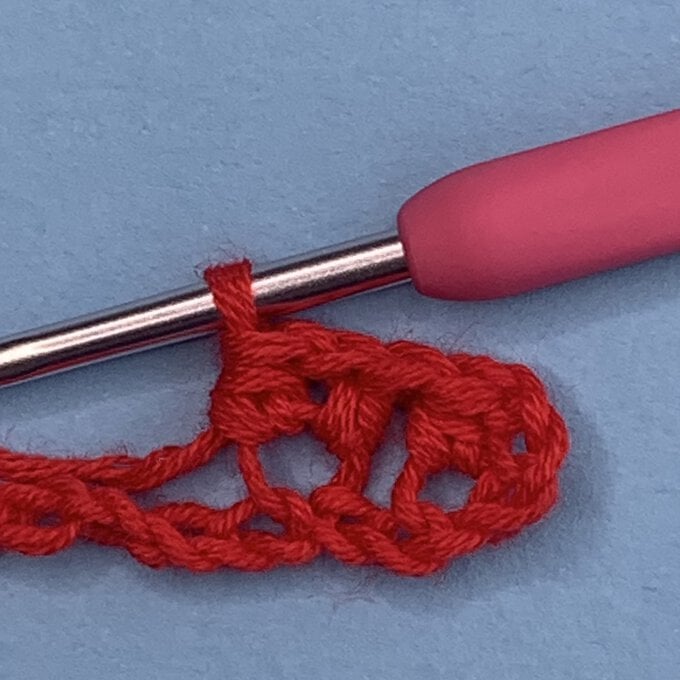
Ch1, * [5dtr, ch 2, sl st to 1st ch, 5dtr] in first ch-sp, sl st in next ch-sp * rep 6 more times,
* [5tr, ch 2, sl st to 1st ch, 5tr] in same ch-sp, sl st in next ch-sp * rep 2 more times,
* [4tr, ch2, sl st to 1st ch, 4tr] in same ch-sp, sl st in next ch-sp * rep 2 more times,
* 6tr in ch-sp, sl st in next ch-sp * rep 2 more times,
* 6htr in ch-sp, sl st in next ch-sp * rep 2 more times,
6htr in last ch-sp, sl st in same ch-sp.
Fasten off with 20cm tail for sewing.
Back of Rose
With 'Yarn E' and 3.5mm hook, make a MC.
Rnd 1: Ch 1 (does not count as st), 8htr into MC, do not join. (8htr)
Rnd 2: 2dc in each st around, join. (16dc)
Rnd 3: *Ch 6, sl st in 2nd ch from hook, dc in next 4 ch, sl st to base of ch 6, sl st in next 5 sts* rep to last st, sl st in last st.
Fasten off, weave ends.
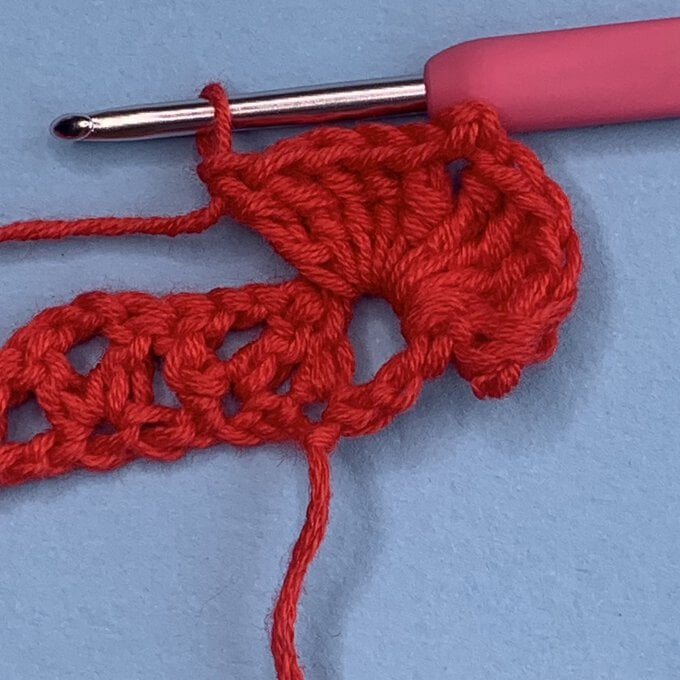
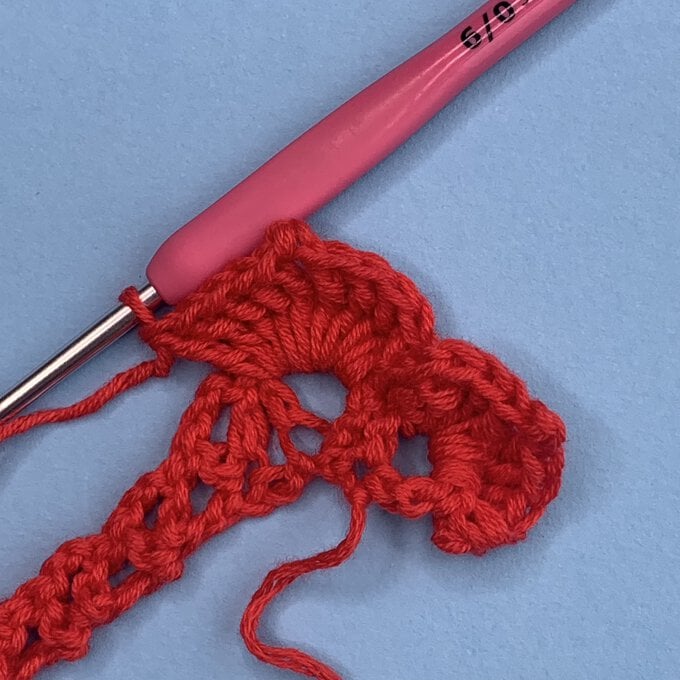
Beginning with final petal made, roll up the front of the rose to create the rose shape. Use tail to sew through the back of the rose to secure petal positions. Weave ends.
Leaf (make 2)
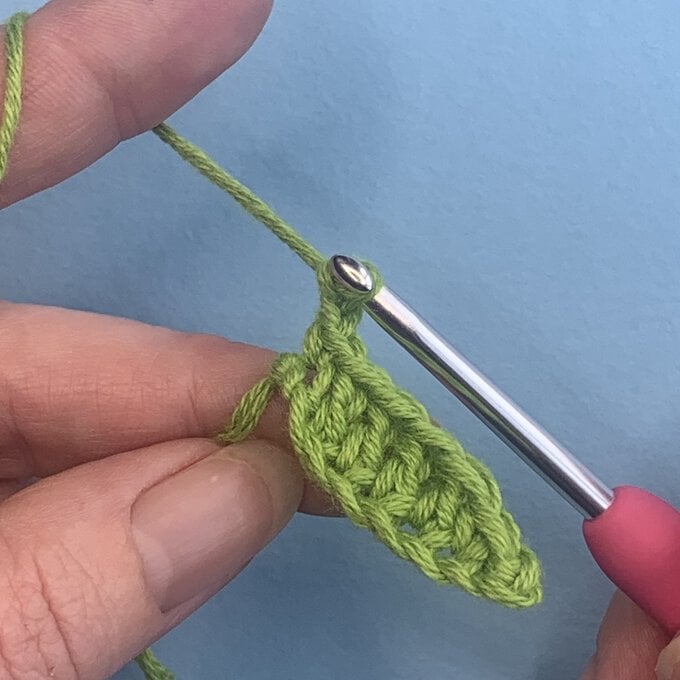
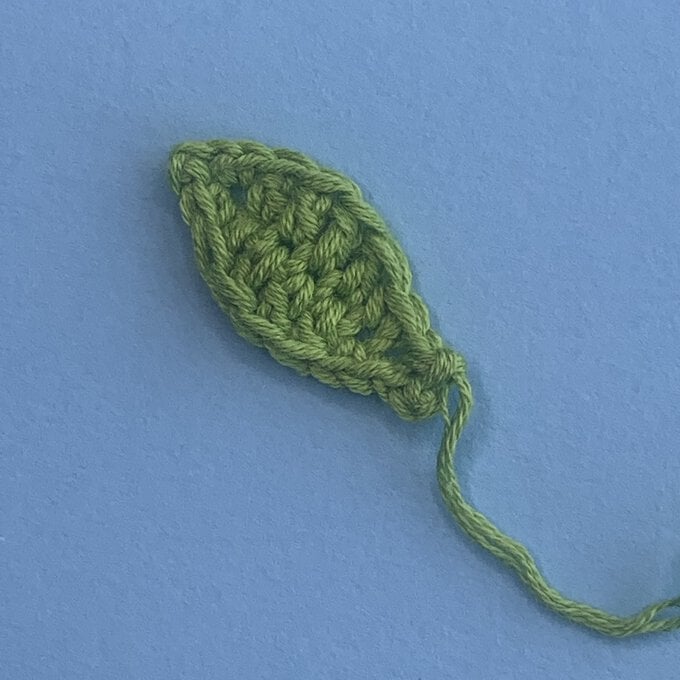
With 'Yarn E' and 3.5mm hook, ch8.
Rnd 1: Ch8, sl st in 2nd ch from hook, dc in next st, tr in next 4 sts, * dc, ch2, sl st to 1st, dc * in last st, rotate to work other side of ch, tr in next 4 sts, dc in next st, * sl st, ch 2, sl st * in last st.
Fasten off, sew leaves together and then weave ends.
Stem
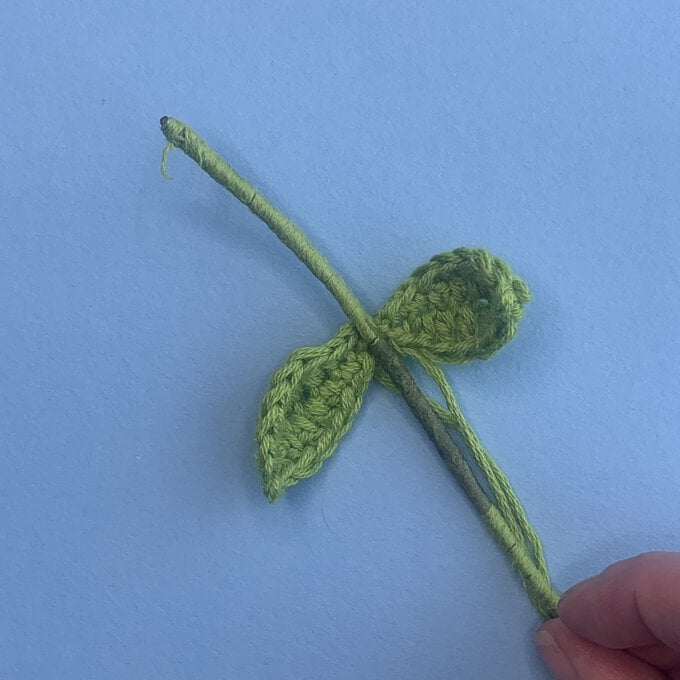
Cut a 30cm length of floristry wire and wrap with floristry tape. Position leaves roughly halfway along the wire and secure with hot glue.
Wrap wire, over floristry tape with 'Yarn E' to end, secure yarn ends with hot glue.
Insert top of wire through middle of 'back of rose' and bend at 45° angle.
Secure stem to 'back of rose' using a hot glue gun.
Pattern Notes
This pattern is worked in seven pieces; three large petals, three small petals and one leaf. The stem is created by wrapping floristry wire with tape.
The petals are sewn together and then the stem is inserted into the middle and sewn around. The leaf is sewn on last.
The petals are worked in turned rounds, working along both sides of the chain.
The leaf is made in joined rounds, working along both sides of the chain.
Beginning ch1 does not count as stitch.
Beginning ch3 DOES count as stitch.
Large Petals (make 3)
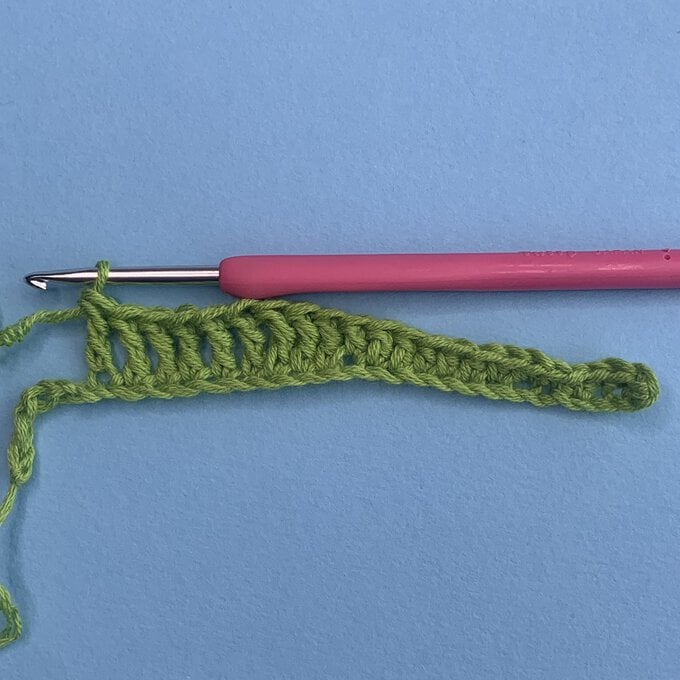
With 'Yarn F' and 3.5mm hook, ch13.
Rnd 1: Tr in 4th ch from hook, tr in next 5 sts, htr in next 3 sts, 5dc in last st, rotate to work on other side of ch, htr in next 3 sts, tr in next 7 sts, turn. (25sts)
Rnd 2: (WS) Ch 1, dc in same and next, tr in next 4 sts, htr in next st, dc in next 4 sts, sl st across next 3 sts, dc in next 4 sts, htr in next st, tr in next 4 sts, dc in last 2 sts, turn. (25sts)
Rnd 3: Ch 1, dc in each st across. (25dc)
Fasten off leaving 20cm tail for sewing.
Small Petals (make 3)
With 'Yarn F' and 3.5mm hook, ch11.
Rnd 1: (WS) Tr in 4th ch from hook, tr in next 3 sts, htr in next 3 sts, 5 dc in last st, rotate to work on other side of ch, htr in next 3 sts, dc in next 5 sts, turn. (20sts)
Rnd 2: Ch 1, dc in same and next 8 sts, sl st across next 3 sts, dc in st each to end. (21sts)
Fasten off leaving 20cm tail for sewing.
Stem
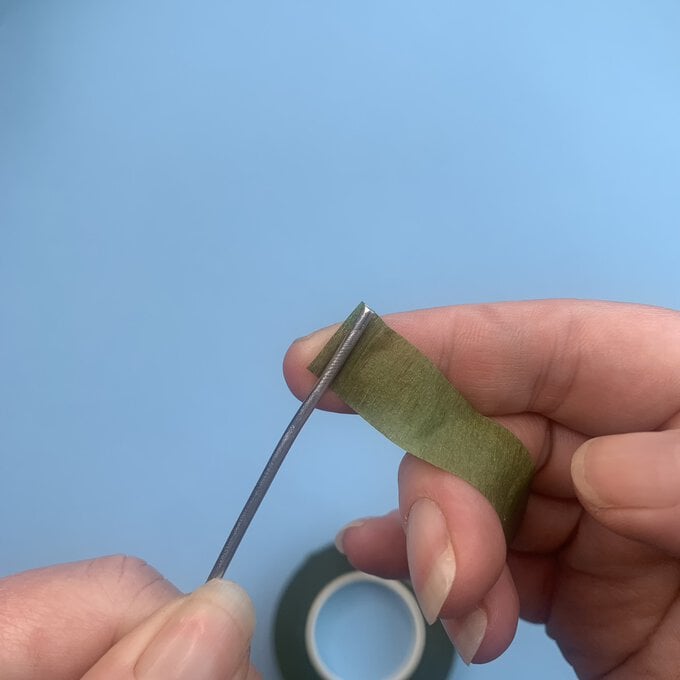
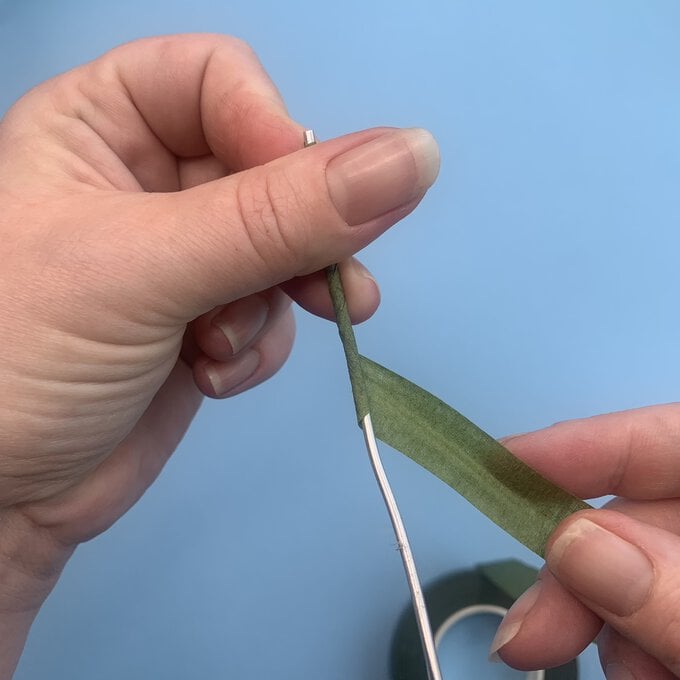
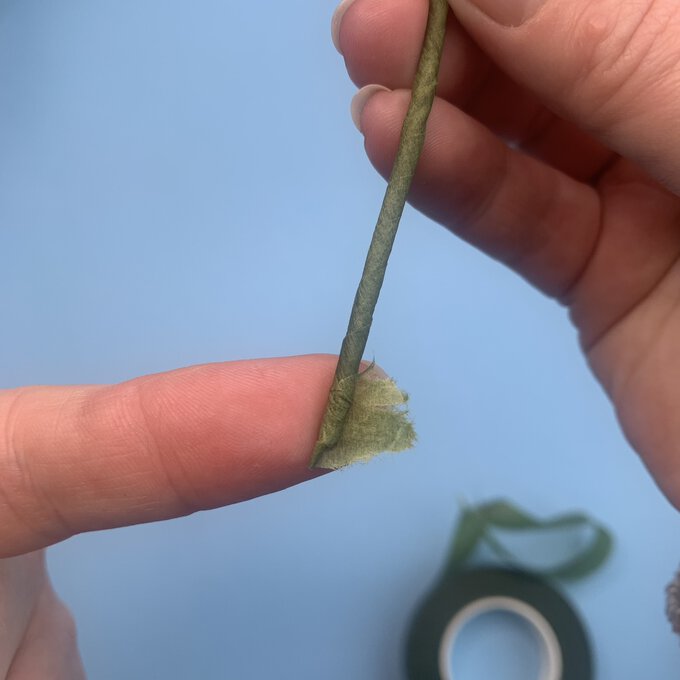
Cut a 18cm length of floristry wire, wrap the wire using the floristry tape at a 45° angle to cover the wire.
Bend the wire 2cm down from the end to a 45° angle.
Sewing Up
Place the group of 3 small petals with WS facing, overlapping on Row 1.
Sew through the stitches visible on the WS of the 1st petal to join to the petal beneath.
Repeat to attach the 2nd petal to the 3rd.
Roll the petals to join the 3rd petal to the 1st.
Feed the wire through the sewn smaller petals, and sew tightly around the bottom of the petals to secure.
Repeat the steps for the larger petals, feeding the wire through and positioning the petals to ensure the top of the bigger petals is offset to the smaller petals.
Leaf (make 1)
With 'Yarn E' and 3.5mm hook, ch29.
Rnd 1: Dc in 2nd ch from hook, dc in next 4 ch, htr in next 5 sts, tr in next 3 sts, dtr in next 9 sts, tr in next 2 sts, htr in next 3 sts, 3dc in last st, rotate to work on other side of ch, htr in next 3 sts, tr in next 2 sts, dtr in next 9 sts, tr in next 3 sts, htr in next 5 sts, dc in next 4 sts, 2dc in last st, join. (58sts)
Rnd 2: Ch1, dc in next 27 sts, 2dc in next st, * dc, ch3, sl st to 1st ch, dc * in next sts, 2dc in next st, dc in each to end, join.
Fasten off, weave ends. Insert a length of floristry wire to strengthen the leaf. Secure wire with hot glue.
Attach to tulip stem.
Pattern Notes
This pattern is worked in two pieces; front of daisy and back of daisy. The stem is created by wrapping floristry wire with tape.
The stem is inserted through the back of the daisy, and then both are glued to the front of the daisy.
Both parts are worked in joined rounds.
The beginning ch 1 does not count as stitch.
Front of Daisy
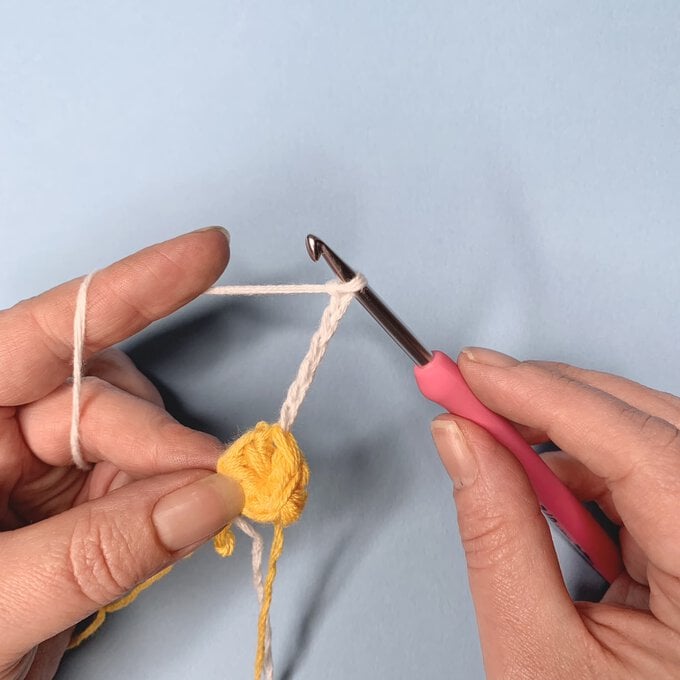
With 'Yarn B' and 4mm hook, make a MC.
Rnd 1: Ch1, 6bst in MC, join. (6bst)
Change to 'Yarn G',
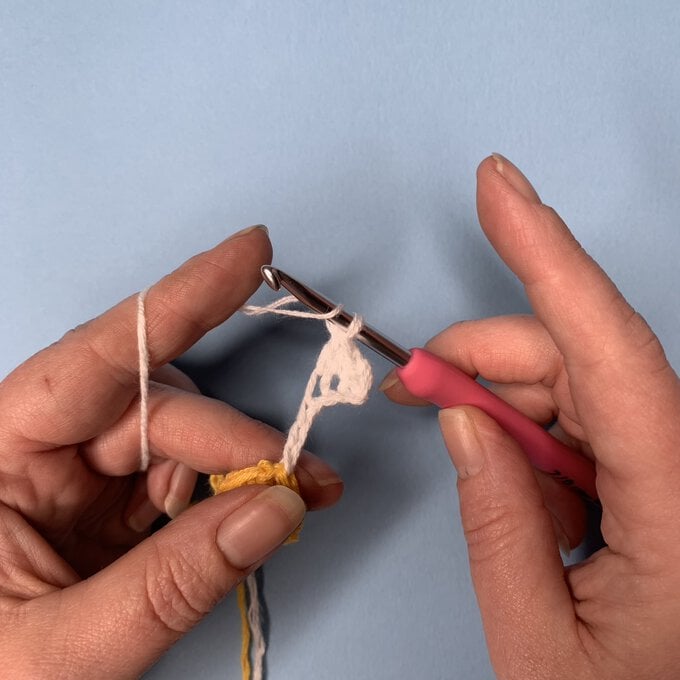
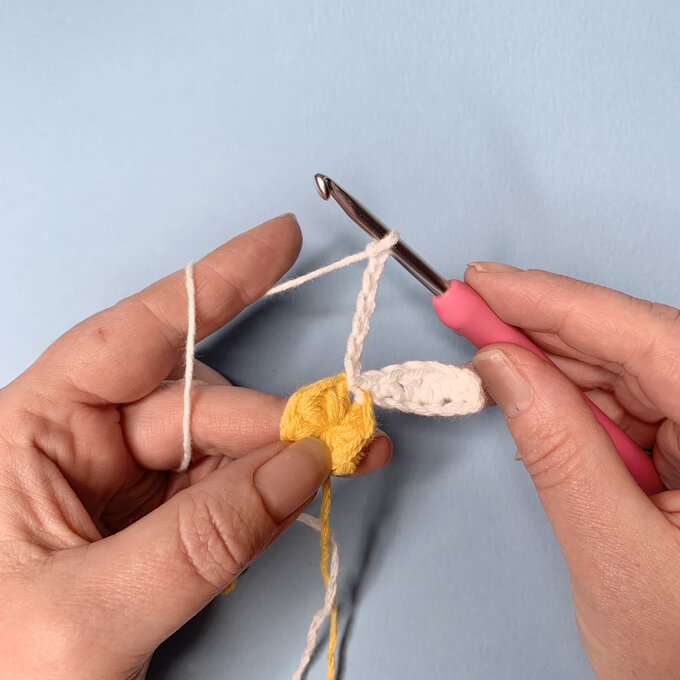
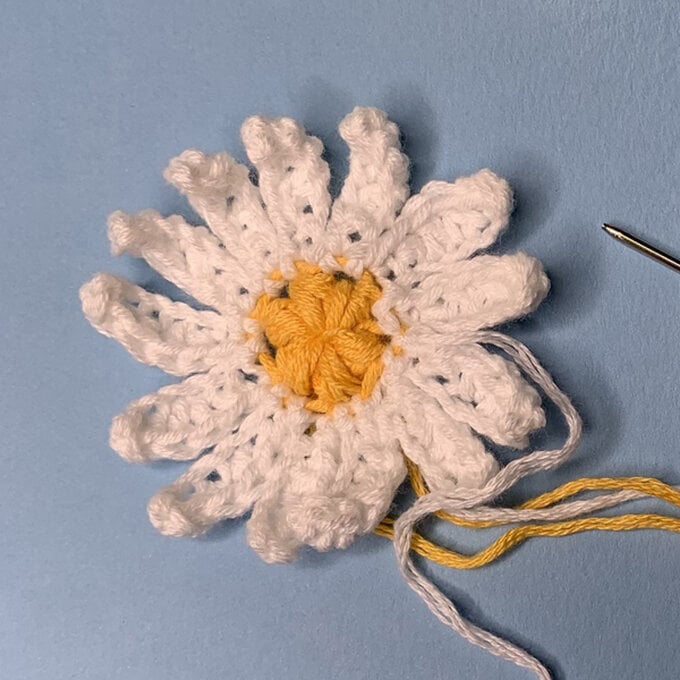
Rnd 2: * ch 7, dc in 2nd ch from hook, htr in next st, tr in next 2 sts, htr in next st, dc in last st, ch, sl st in same as base of ch-7, ch 7, dc in 2nd ch from hook, htr in next st, tr in next 2 sts, htr in next st, dc in last st, sl st in next * rep 6 times. (12 petals)
Fasten off, weave ends.
Back of Daisy
With 'Yarn E' and 4mm hook, make a MC.
Rnd 1: Ch1, 6dc in MC, join. (6sts)
Rnd 2: Ch1, 2dc in each st around, join. (12sts)
Fasten off, weave in ends.
Stem
Cut a 18cm length of floristry wire, wrap the wire using the floristry tape at a 45 degree angle to cover the wire.
Bend the wire 2cm down from the end to a 45° angle.
Insert wire through the centre of the 'back of daisy'.
Using a hot glue gun, secure the wire and the 'back of daisy' to the 'front of daisy' and allow to dry.
