How to Make a Bridesmaid Memory Box
Make a simple and elegant memory box for your bridesmaids! Fill it with personalised goodies and treats to help them plan for your big day.
This step-by-step project will take you through painting a wooden box and adding vinyl decals for personalisation. With your digital cutting machine and Hobbycraft's range of vinyls, you can create a gift that your bridesmaids will treasure forever.
Cricut Design Space Project Link: Bridesmaid Proposal Box
This project contains paid for content from Cricut's Design Space app. Screen reference images are taken from the Android version of Design Space.
You will need
Subtotal
Is $ 12.00
Subtotal
Is $ 12.00
Subtotal
Is $ 24.00
Subtotal
Is $ 599.00
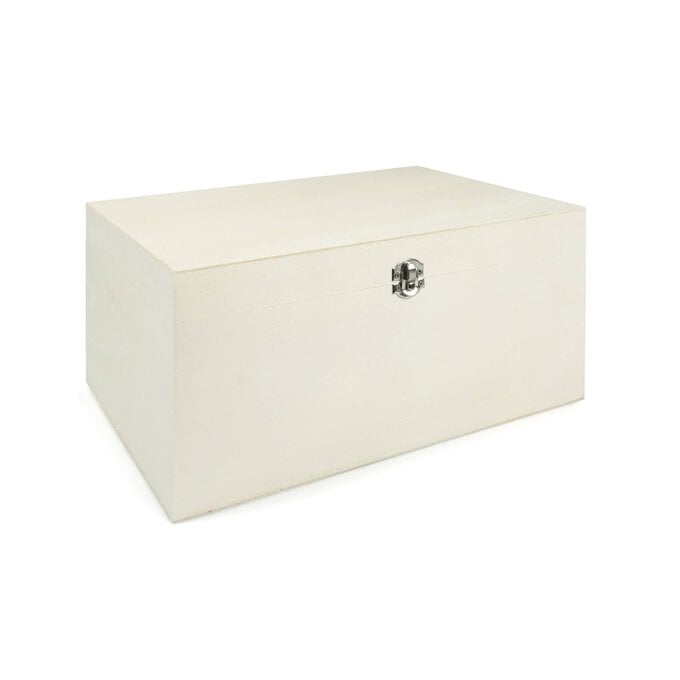
* Wooden Storage Box
* Acrylic Paint (we've used Pebeo - Powder Grey, Powder Pink and Dark Green)
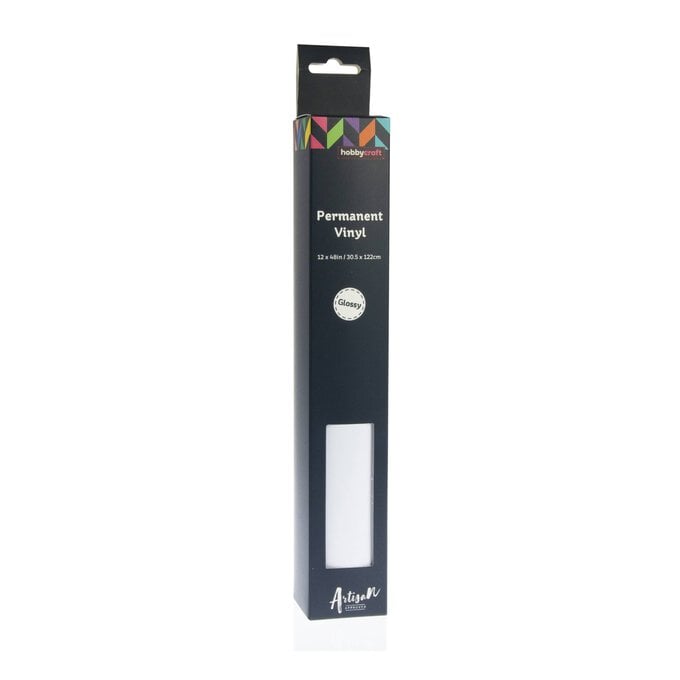
* White Glossy Permanent Vinyl
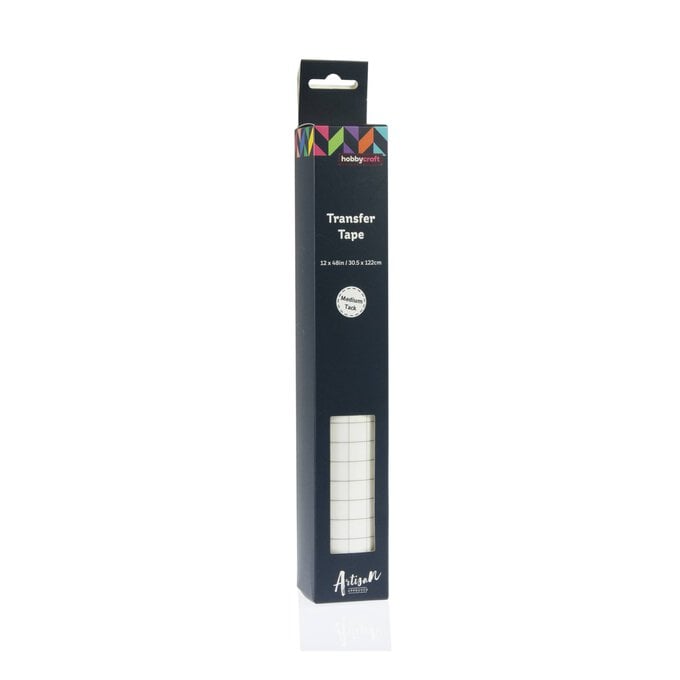
* Transfer Tape
* Paintbrushes
* Ruler
* Masking Tape

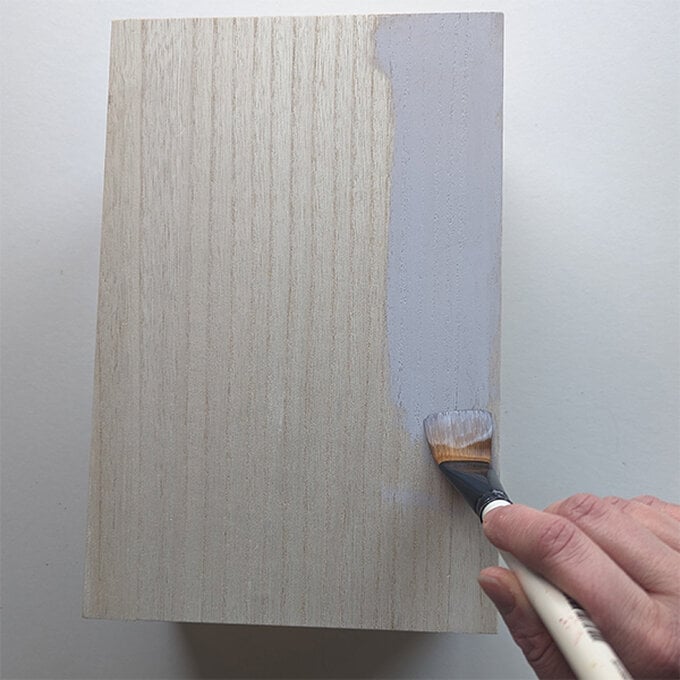
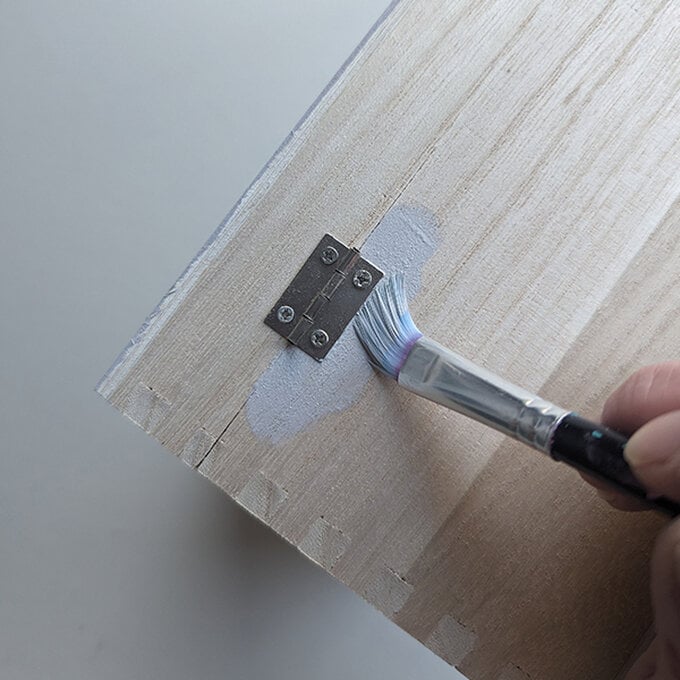
Paint the outside of the wooden box in your main colour (we've used Power Grey). Take care around the hinges on the box.
Leave to dry.
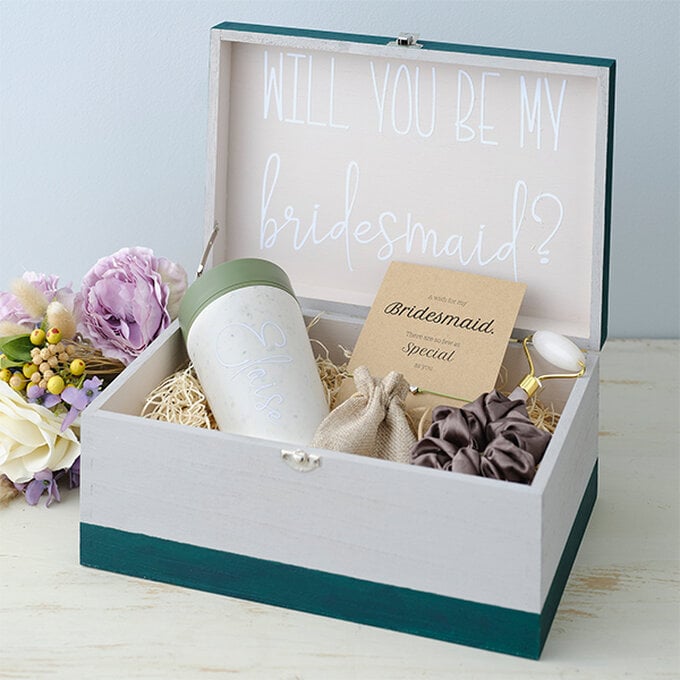
Paint the inside of your box in your chosen colour (we've used Powder Pink).
Leave to dry.
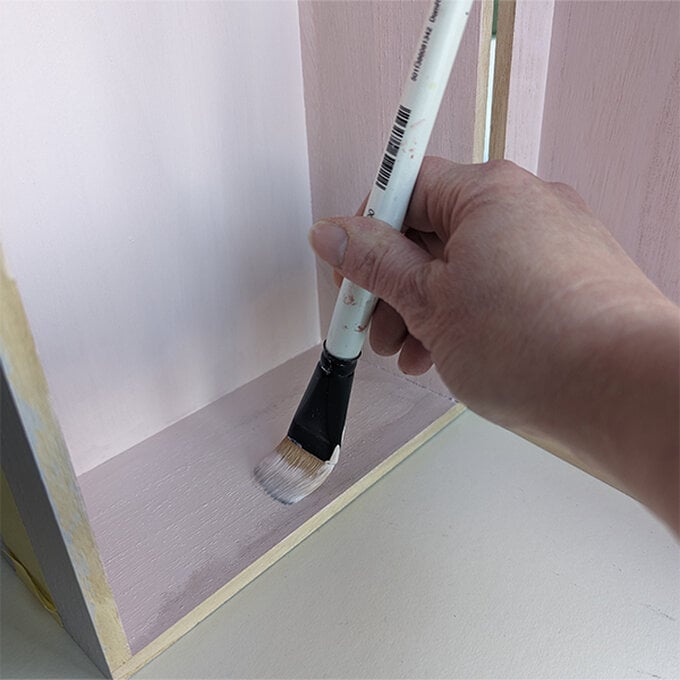
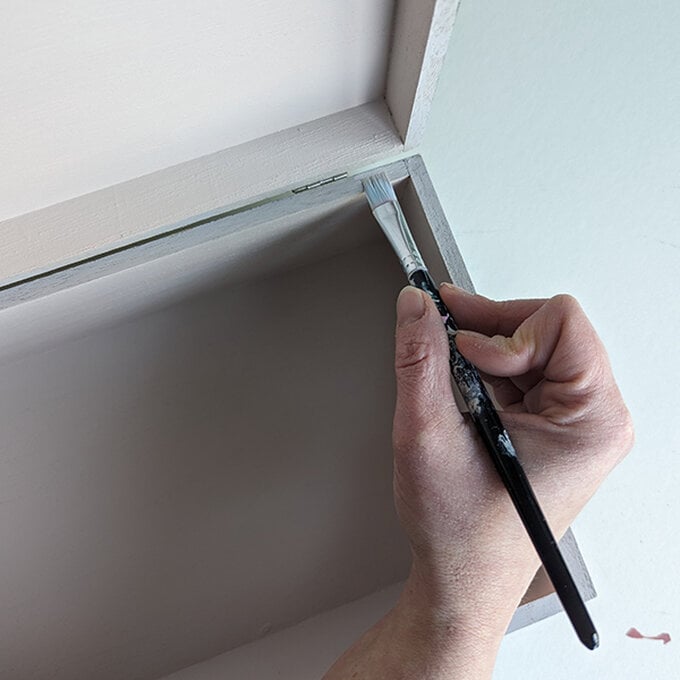
Carefully paint the edges of the box inside with a smaller brush.
Leave to dry.
Measure the depth of the lid and, using masking tape, mask off the same size section around the bottom of the box (on all sides).
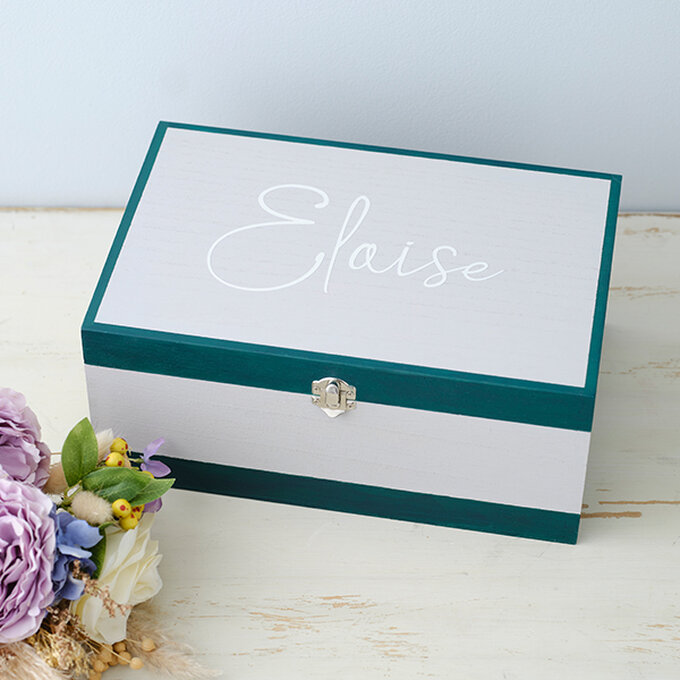
Paint a contrasting stripe in the colour of your choice (we've used Dark Green). Also paint the side of the lid on all four sides and leave to dry.
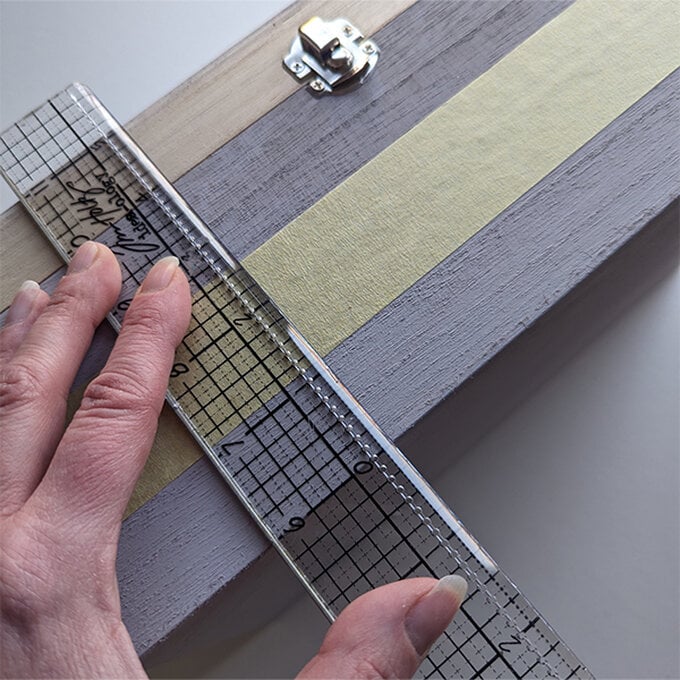
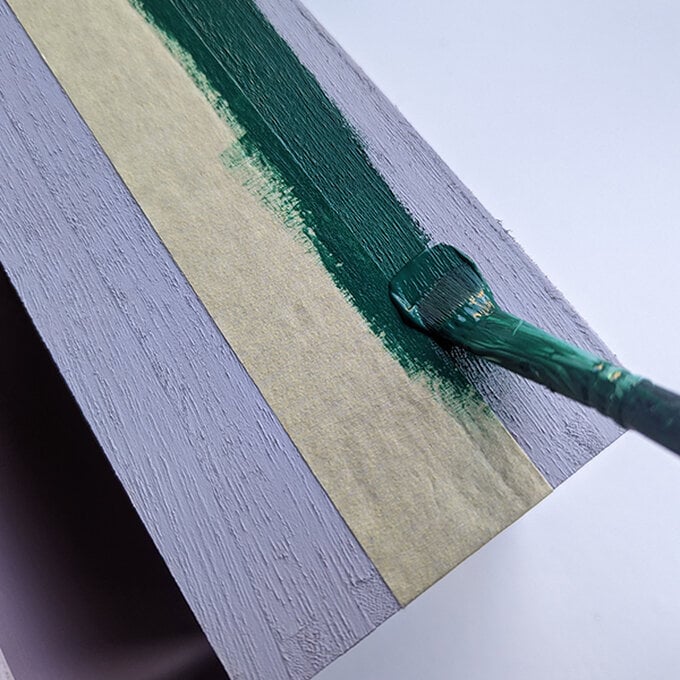
To create the boarder on the lid of the box, mask off a thin line on two opposite sides of the top.
Paint and leave to dry before repeating on the other two sides of the lid.
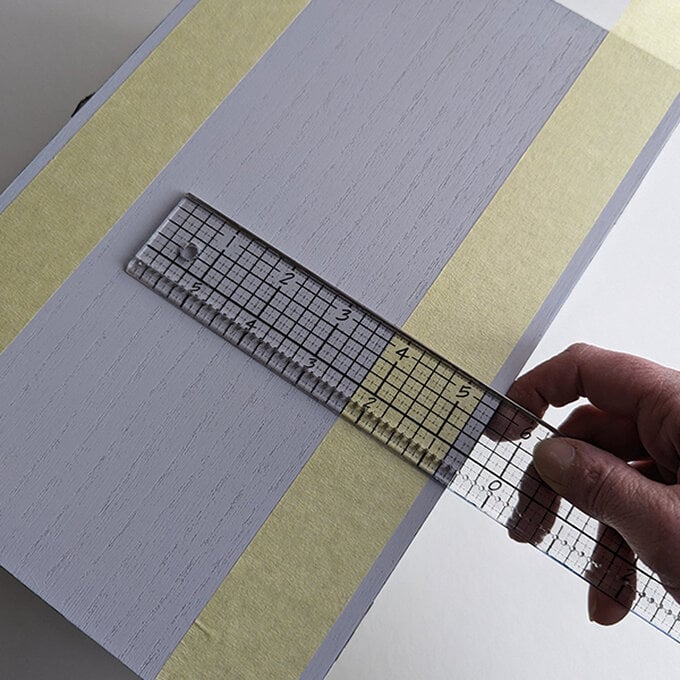
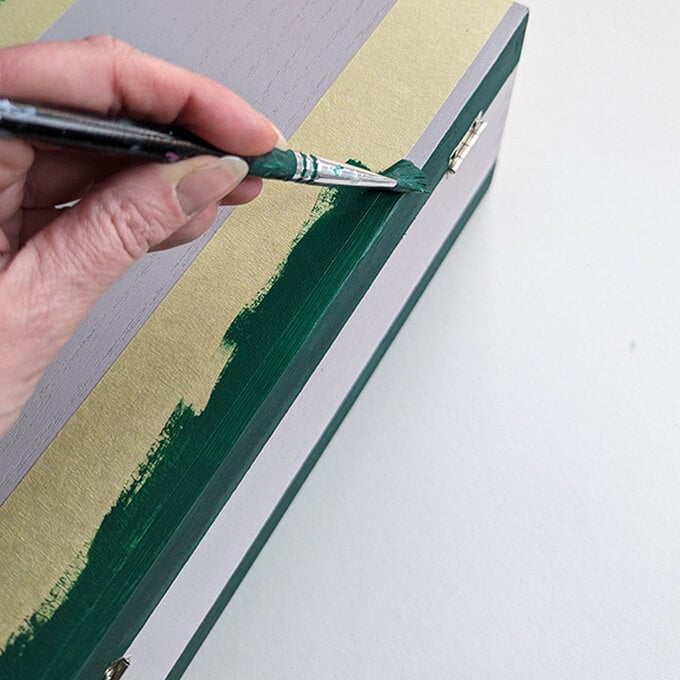
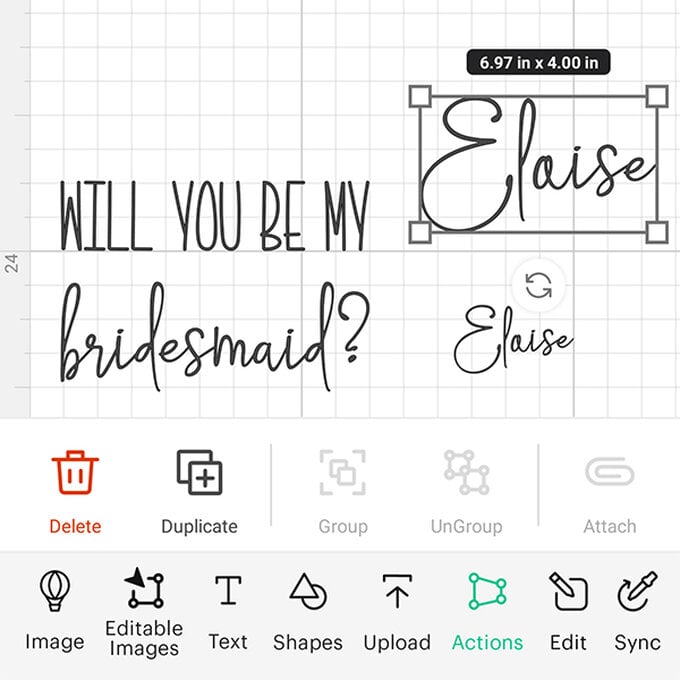
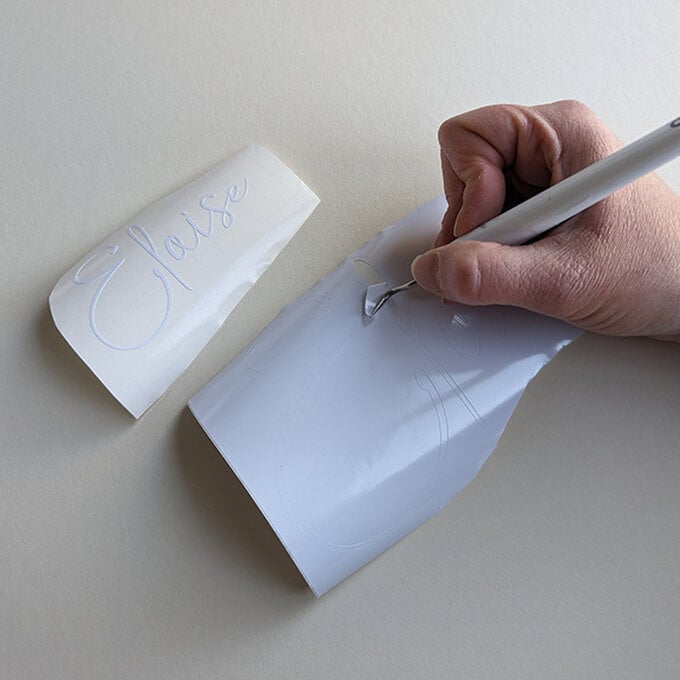
Follow the link to Design Space to create this project: Bridesmaid Proposal Box
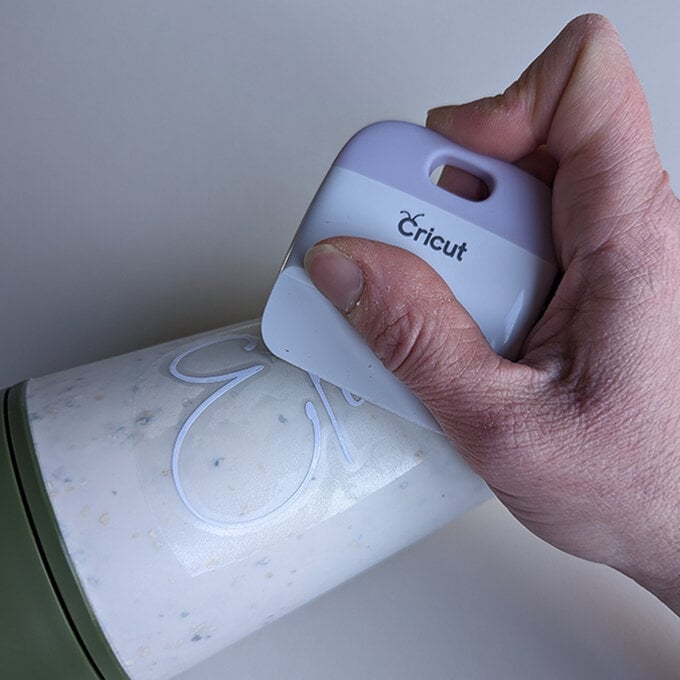
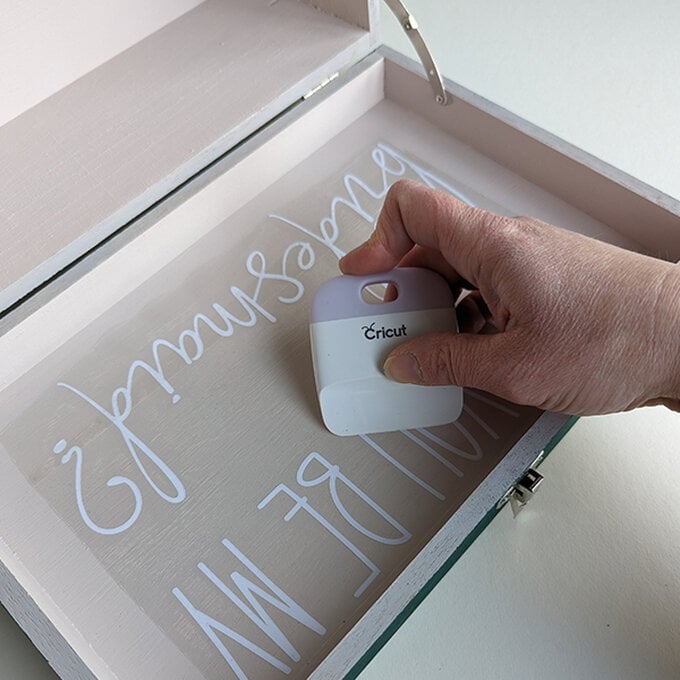
We used the Cricut font 'Hey Marilyn' with a 4" height for the lid and 2" height for the reusable cup. We also used the Cricut font 'Kyden' on the inside.
