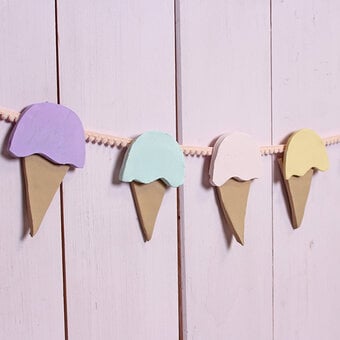
How to Make a Clay Daffodil for St David's Day
This easy clay craft is a great way to celebrate St David's Day! The national flower of Wales can be made into a magnet, brooch or upcycle a hair clip.
The large daffodil is around 5cm and the small is around 3cm. Why not make a clay daffodil to gift to friends and family?
You will need
Subtotal
Is $ 3.49
Subtotal
Is $ 3.49
You Will Need:
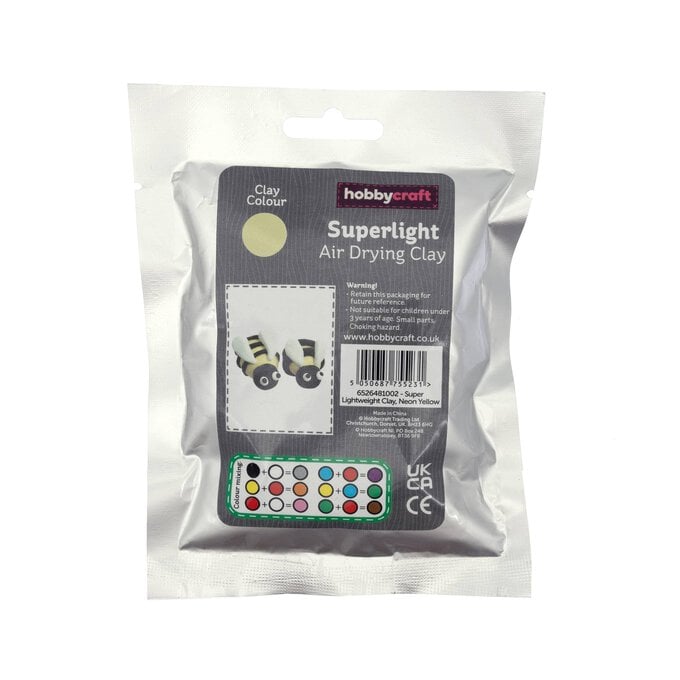
* Yellow Superlight Clay
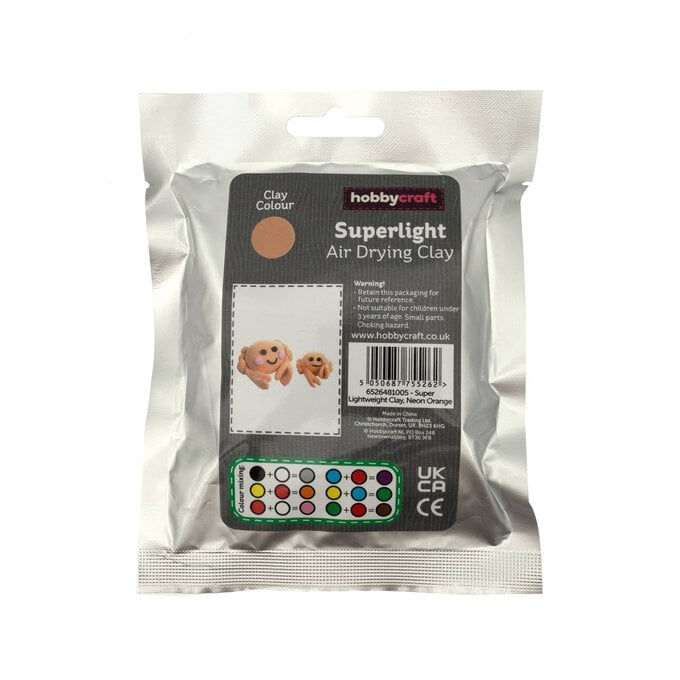
* Orange Superlight Clay
* Scissors
* Thin Paintbrush/Tool
Make six balls of yellow clay roughly 8mm in size. The more you roll, the smoother the clay will become.
Gently roll the edge of each ball to make an egg shape. Press the egg shapes flat. Once flat, gently squeeze the sides to curl the petal - each petal should be around 2cm in length.


To join the petals, take three of them and arrange them in a triangle. Press in the centre to make sure they're joined properly.
Join the remaining three petals by placing them in between each of the three you've just joined. Again, press in the centre to join.


To make the centre of the flower, start with a ball of orange clay around 8mm in size, then gently roll into a cylinder like shape.
Make a shallow hole in one end - we've used the rounded end of a paintbrush, but you could use the pointed tip of a pen lid. Press a little at a time to avoid the clay sticking to the tool.


Pinch the edges around the hole to flatten, then press a few indentations around the edge with the tool.


Join the centre to the petals by gently pressing and twisting until it feels firmly attached.
To make the stamen, roll a few tiny balls of yellow clay then gently press them into the hole in the centre piece.


Make 6 balls of clay around 1cm in size. The more you roll, the smoother the clay will become.
Gently roll the edge of each ball to make an egg shape. Press the egg shapes flat.
Once the egg shapes are nice and flat, pinch around the edges to thin them out even more.


Make three indentations down the length of the petal, we've used a thin paintbrush. It's easier to press into the clay rather than dragging the tool across the surface.
Gently squeeze the sides to curl the petal. Each petal should be around 3-3.5cm in length.
To join the petals, take three of them and arrange them in a triangle, then press in the centre to make sure they're joined properly. As the clay dries it can be difficult to join pieces together. If it's not sticking, just wet your finger and rub the surface of the clay until it feels sticky again.


Join the remaining three petals by placing them in between the three you've just joined - again, press in the centre to join. If you've lost a bit of the curl in the petal, squeeze the sides again to add a bit more shape.


To make the stamen, roll out some very thin tubes of clay and cut into 1-2cm long pieces - make a few different lengths.
The edges may look a little sharp, give them a gentle roll to smooth them down. Now place the ends of the tubes together and squeeze to join them.


To make the trumpet-shaped centre of the daffodil, make two balls of orange clay around 1cm in size. Roll them into a tube then press them flat. Make sure one edge is fairly flat.
Using the same tool as earlier, press a few indentations into the surface then use the tool to press a notch into the end of each line to make a wavy edge. Gently pinch the edge to thin it out a little.


Take one of the orange centre pieces then place your stamen in the middle. Gently squeeze the two pieces together.
Take the next centre piece and join it to the edge of the other by squeezing together. Wrap the two flat pieces around the stamen then gently squeeze and roll to join.
Carefully press the edges down to bend them and form a trumpet shape.


Next, flatten the back before joining it to the petals by removing a little of the clay. You can do this by cutting a bit off with some scissors or tear it off then press it flat.
To join it to the petals, gently press it into the centre and twist slightly until it feels firmly stuck on. You can reinforce the join by pressing the edges together (we've used the paintbrush again).
To make a 7cm daffodil, use the same steps as above, but make all your balls of clay 1.5cm. This should give you petals that are around 4-4.5cm long.


Once the daffodil is completely dried/set, you can turn it into a brooch or magnet!
To do this, ask an adult to use strong all purpose glue to attach the brooch or magnet to the back of the flower. You may need to prop it up whilst the glue dries.


Ensure the daffodil is fully dry/set. Then, ask an adult to use strong all purpose glue to attach a hair clip to the back of the clay flower. You may need to prop this up whilst the glue dries.


Craft with us at our workshops


Related Products