How to Make a Punch Needle Bunny Backpack
Make this super-cute punch needle bunny backpack, perfect for getting into the spirit of spring! Your child will love carrying their belongings in this adorable accessory.
Customise this project by using a patterned fabric of your choice! You could also make the straps longer to fit an adult. Follow the instructions below to find out how to make it.
Project and instructions by Caroline Jane Creative
You will need
Subtotal
Is $52.00
Subtotal
Is $ 11.00
Subtotal
Is $ 11.00
Subtotal
Is $ 15.00
Subtotal
Is $ 4.49
How to make
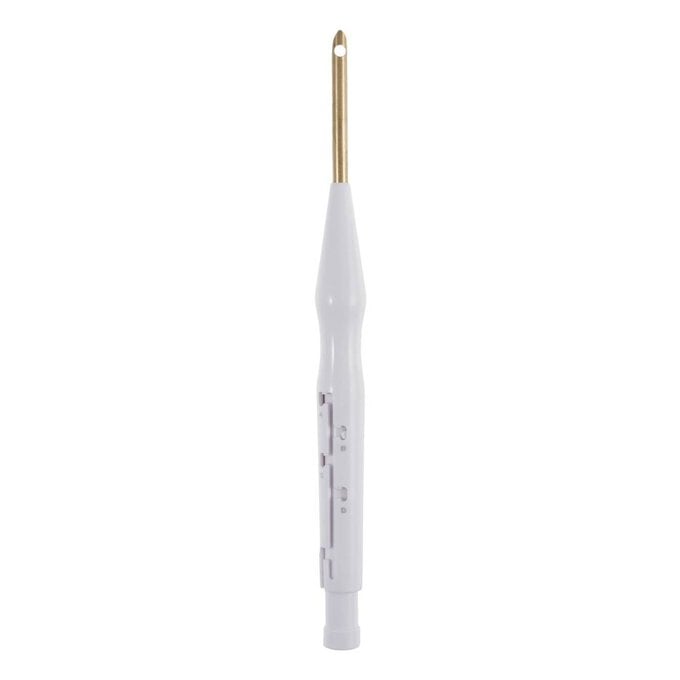
* Adjustable 5mm punch needle
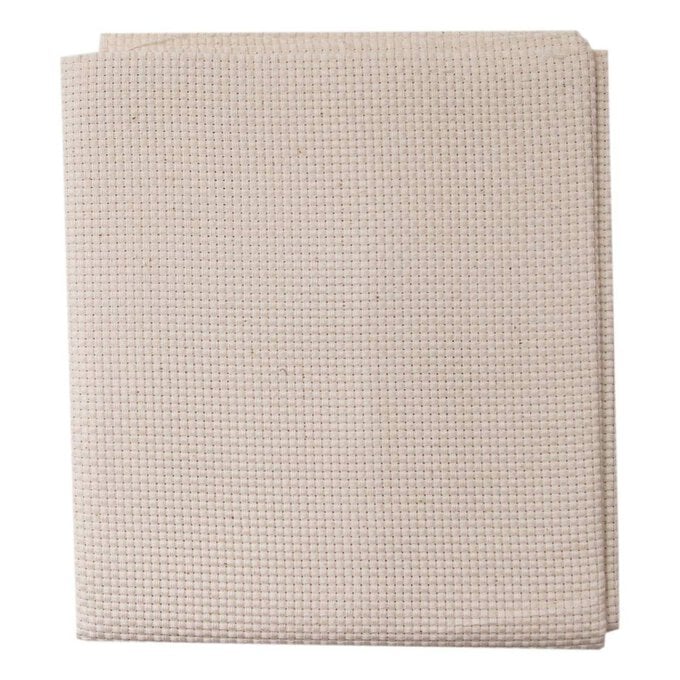
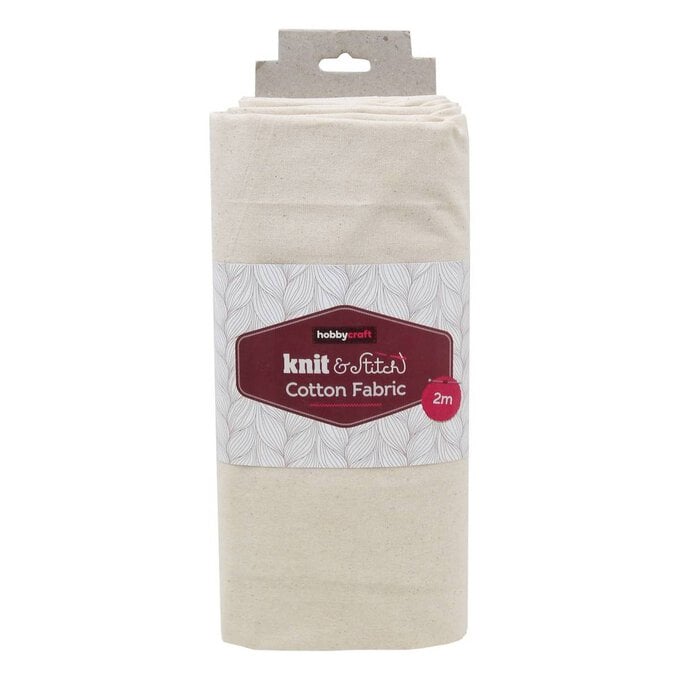
* 70 x 80cm Cream cotton needlecraft fabric x2
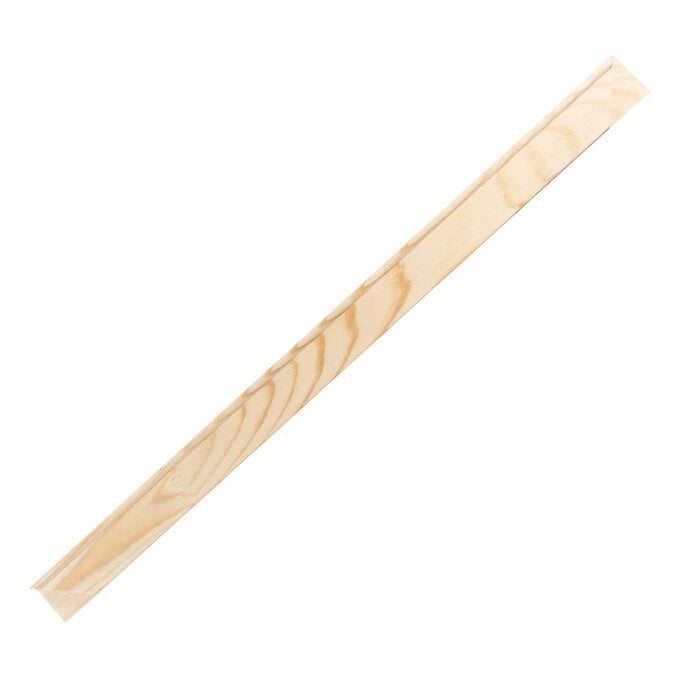
* 60cm Wooden canvas stretcher bar x2
* 51cm Wooden canvas stretcher bar x2
* Masking tape
* Staples
* Staple gun
* Fabric pen
* Soft and chunky yarn - Cream x5
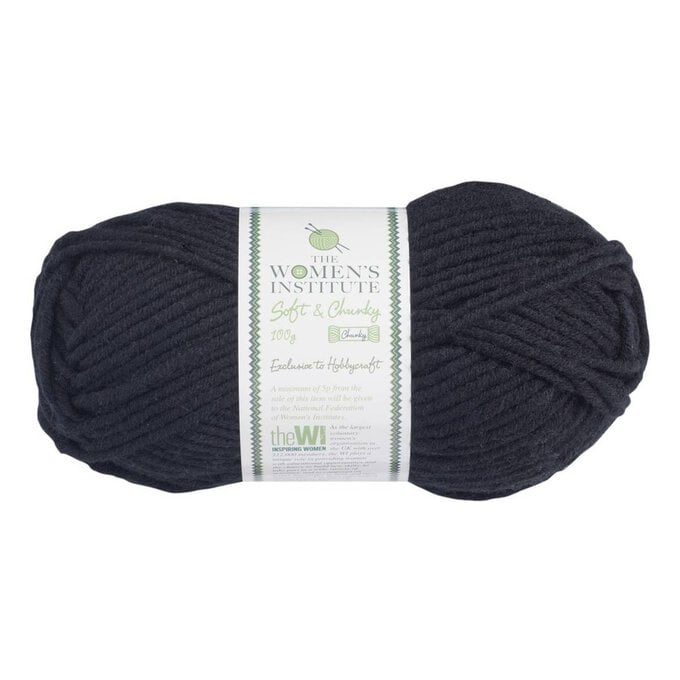
* Soft and chunky yarn - Black
* Flutterby chunky yarn - Rose
* 36cm Dress and skirt zip - Cream
* 1 x 1m Iron-on interfacing
* Rotary cutter
* 112 x 2m Cotton fabric pack
* 119 x 2m Cotton fabric bolt
* Thread - Cream
* A needle
* No-sew fabric glue
* Free templates - downloaded + printed

Slot the four sides of the stretcher frame together to create a rectangle.
Stretch the foundation fabric over the frame (see this blog post for step by step instructions on how to do this).
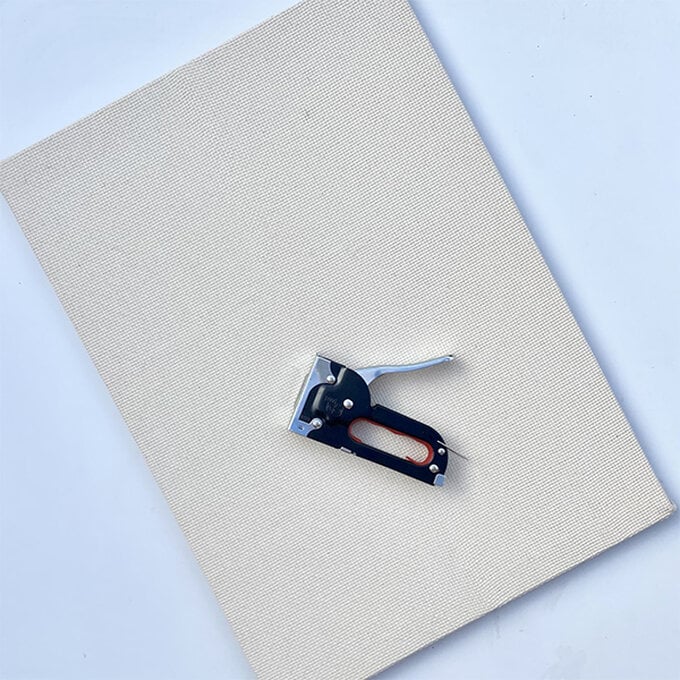
Download and print out the templates. Join any sections together and check that the measurements on the pieces match your printed templates.
Attach the front, back, paw and ear templates to the back of the stretched fabric with masking tape, allowing an extra 1” border for each piece.
Place the frame in front of a light source, such as a window or a light box, and trace the design using the fabric marker. Trace 2 ears and 2 paws (you will need to stretch another piece of foundation fabric for the other template pieces once the above sections have been punched and removed).
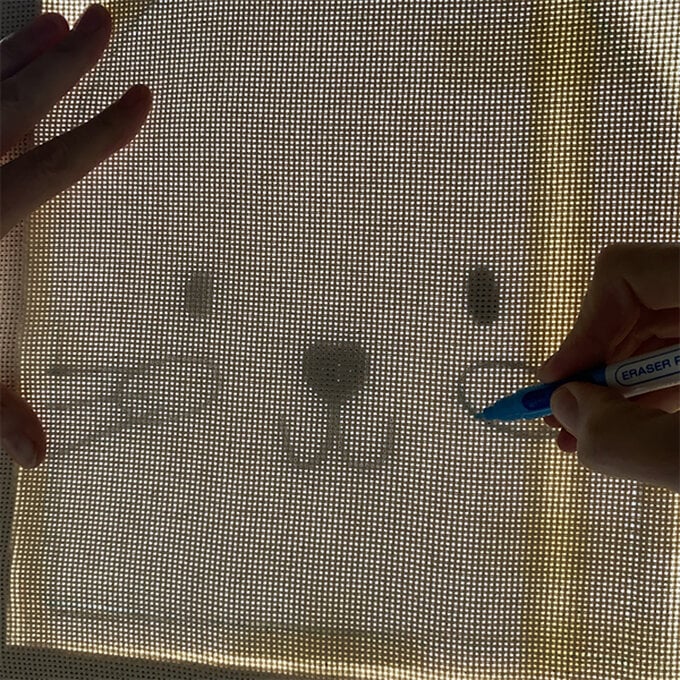
Set the needle to position C.
Pass the wire end of the threader through the outside hole in the tip of the needle and down the shaft until the wire sticks out at the base. Thread the Soft and Chunky black yarn through the threader. Using the white tab, pull the yarn up through the shaft and the hole in the tip of the needle. Ensure you have a yarn tail of about 10cm from the tip of the needle.
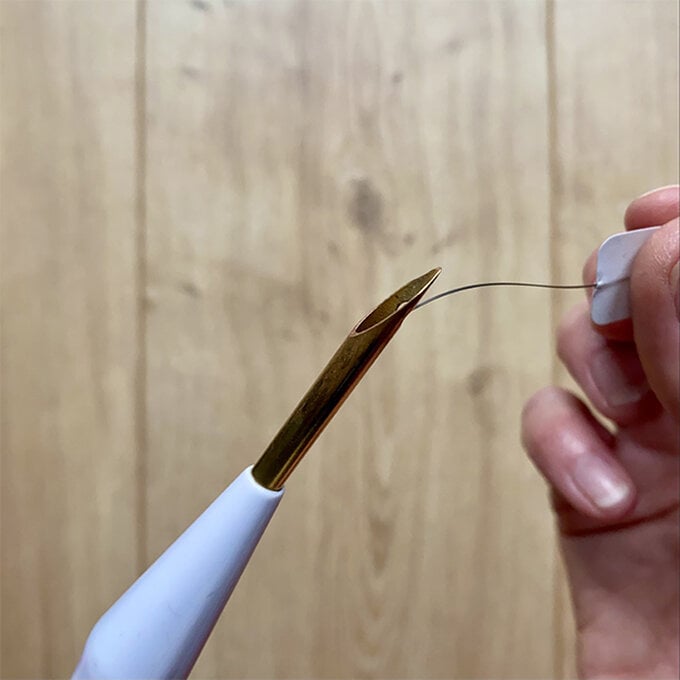
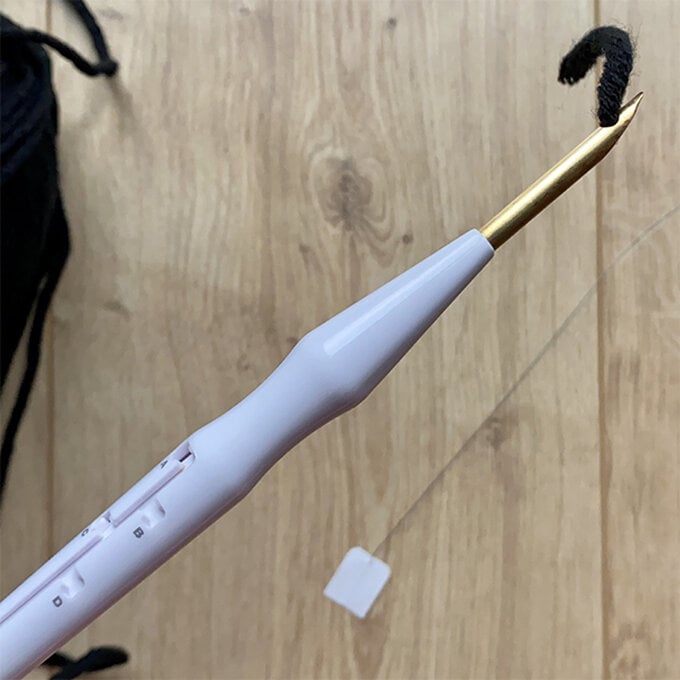
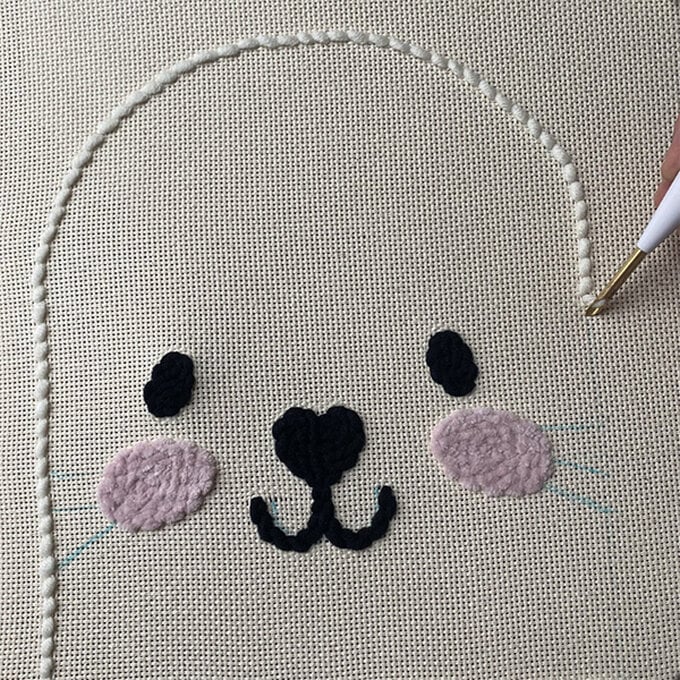
Start by punching the face details of the rabbit.
Hold the needle as you would a pen and place the tip at the end of the mouth. Push the tip of the needle, at a slight angle, all the way through the foundation fabric so the bottom of the handle shaft touches the fabric. Turn the frame over and gently pull the yarn tail through so it is on the other side of the frame.
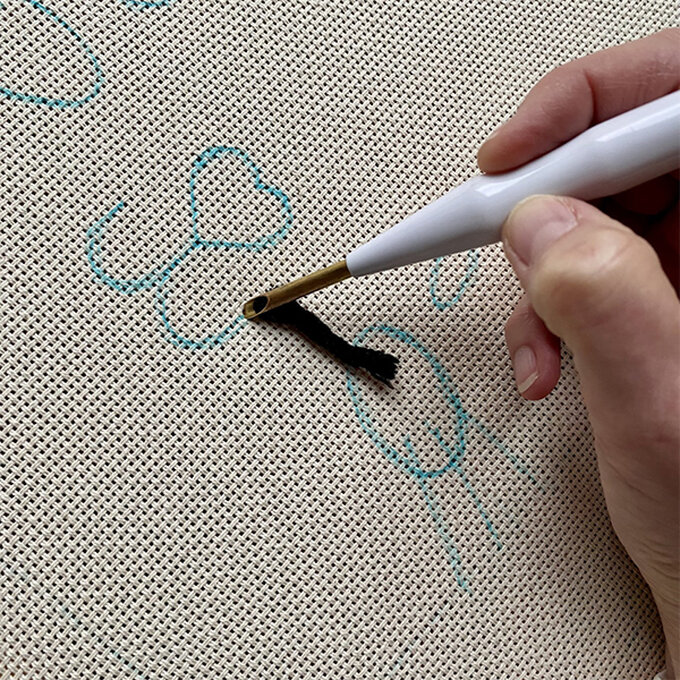
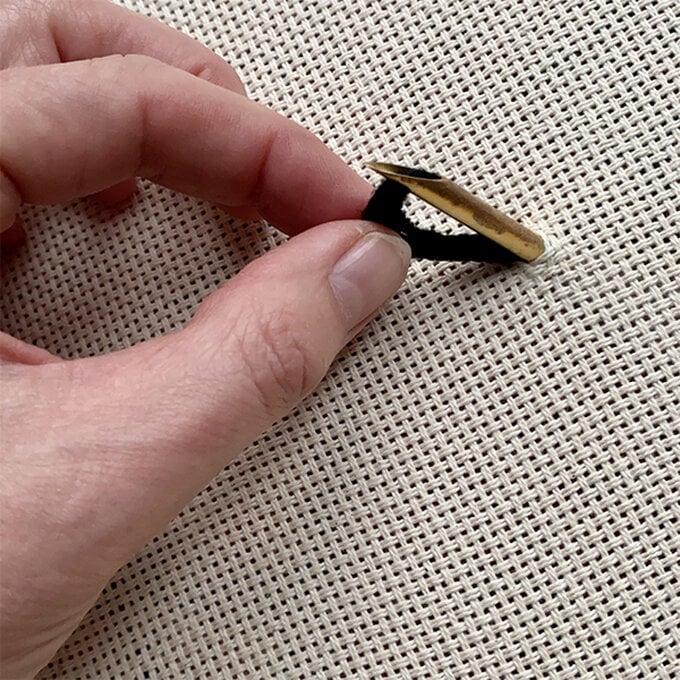
Bring the needle up and out slightly, then glide it across for about 1cm, before pushing the needle back in.
Continue creating stitches to create the outline of the nose and have punched two rows of stitches on the mouth. Fill the rest of the nose with stitches.
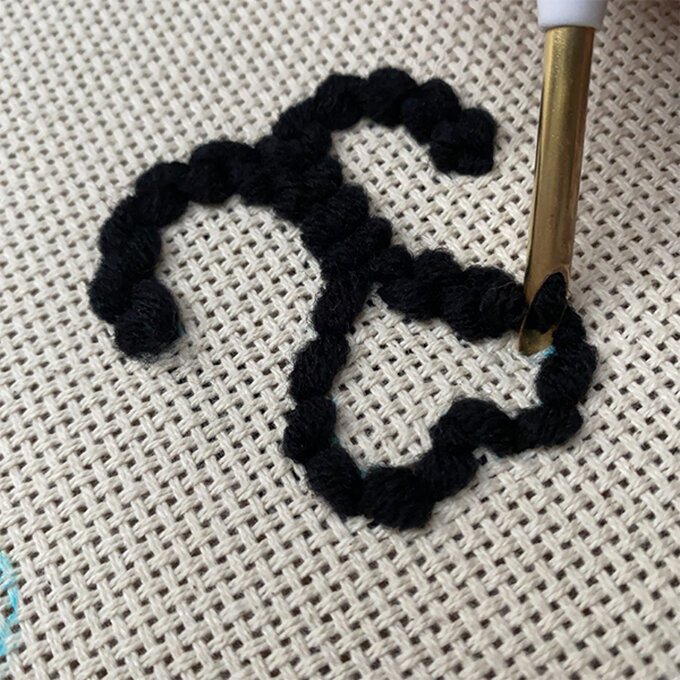
On your last stitch, keep your needle pushed in and with your other hand, slowly pull a short section of yarn through the needle, making sure you don’t pull the yarn from your stitches. Snip the yarn on the front. Continue punching the eyes.
Change the yarn colour to Flutterby Chunky pink yarn and punch the cheek sections. You will stitch the whiskers later.
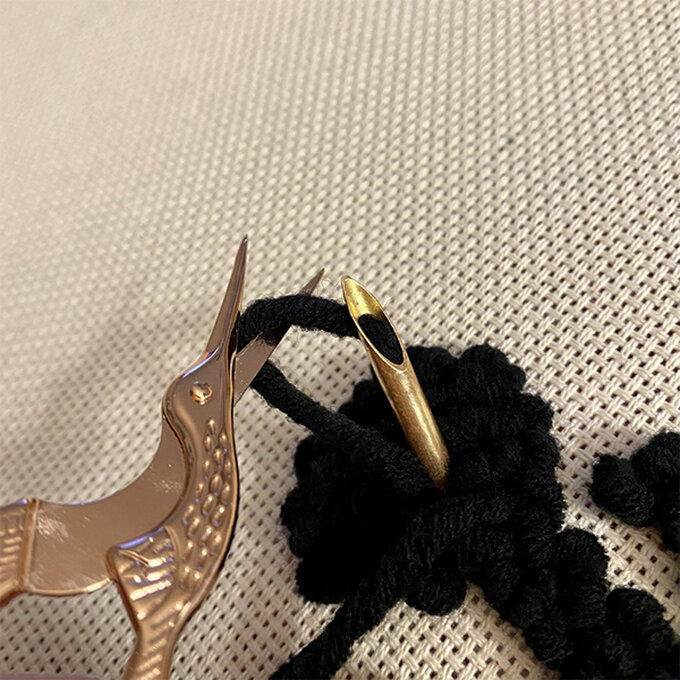
Change to Soft and Chunky cream yarn.
Place your needle in the corner of the front (face) piece and punch the outline. Continue punching until the face section is complete.
Punch the back (tail) piece by starting with the tail in Flutterby Chunky pink yarn and the rest of the section in cream.
Set the needle to position B.
Punch the paws and ear (cream yarn) sections.
Remove the fabric from the frame and stretch the second piece of foundation fabric.
Trace the remaining pieces, including the back of the paws and 2 ears (pink).
Punch all sections as above. Remove this fabric from the frame.
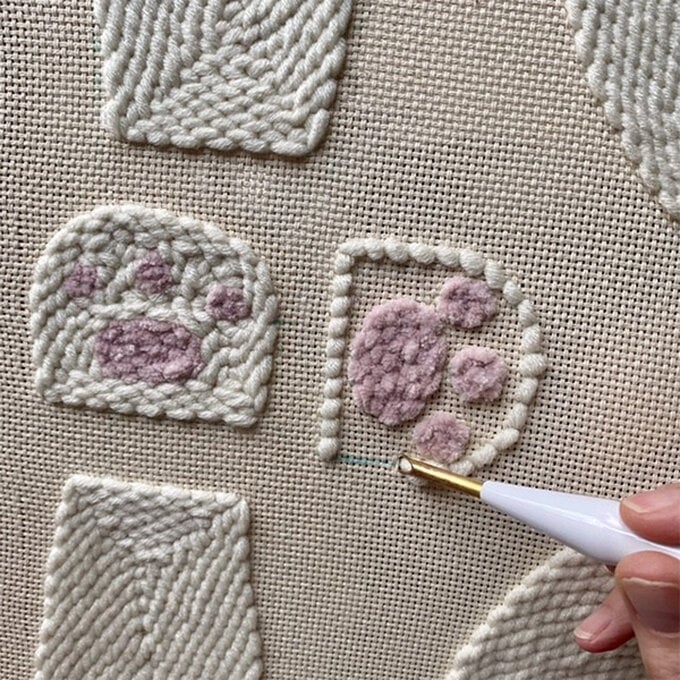
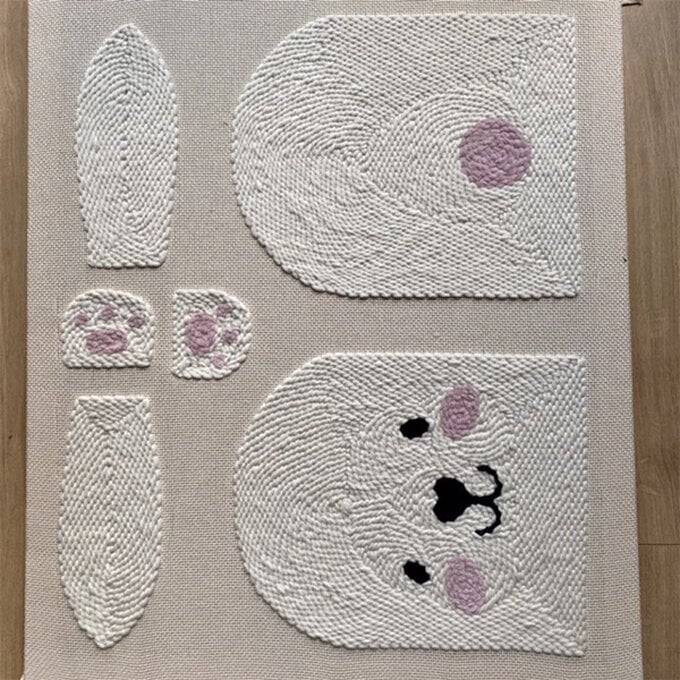
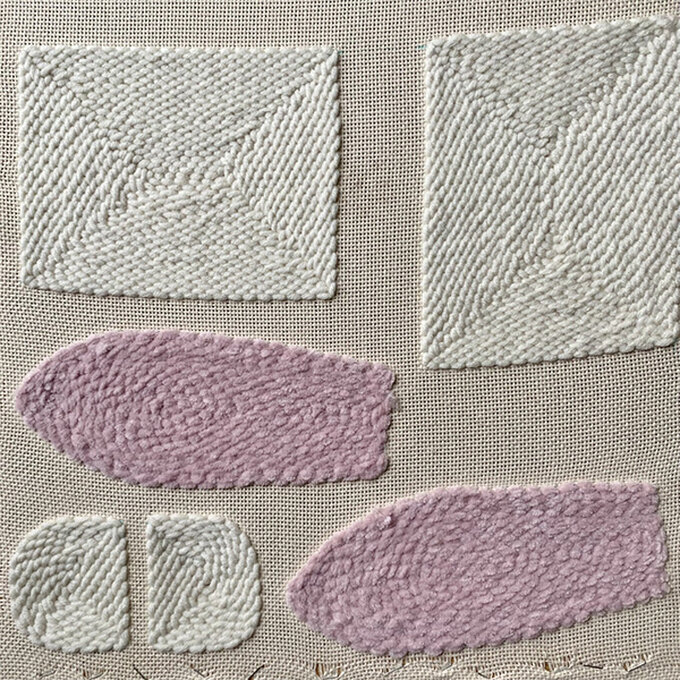
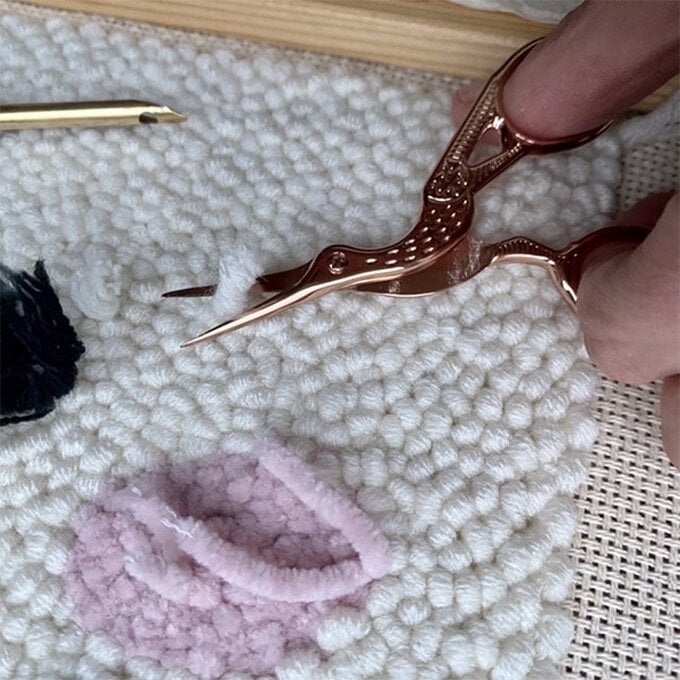
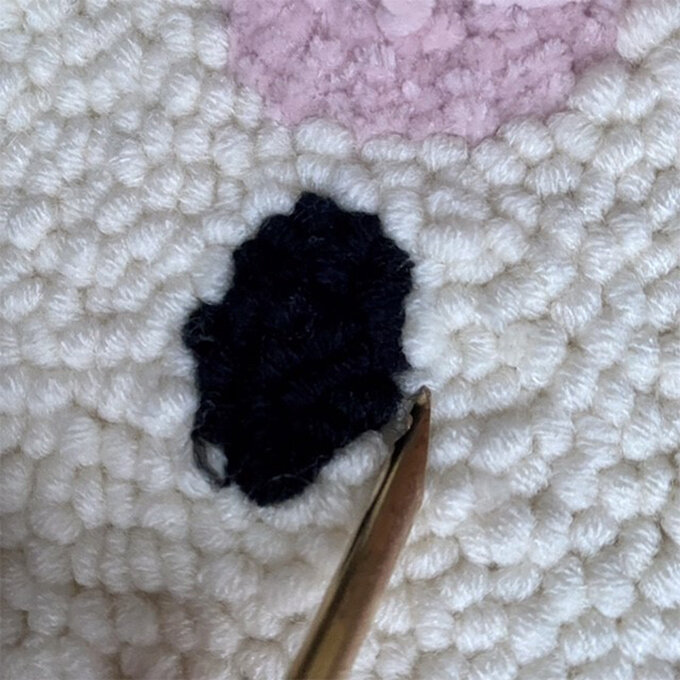
Use the tip of your needle to neaten the stitches between the colours on the face, paws and tail. Snip the yarn tails on the front so they are flush with the rest of the looped stitches.
Optional: Using black yarn, sew whiskers on the face section.
Press the back of all your pieces with a damp tea towel.
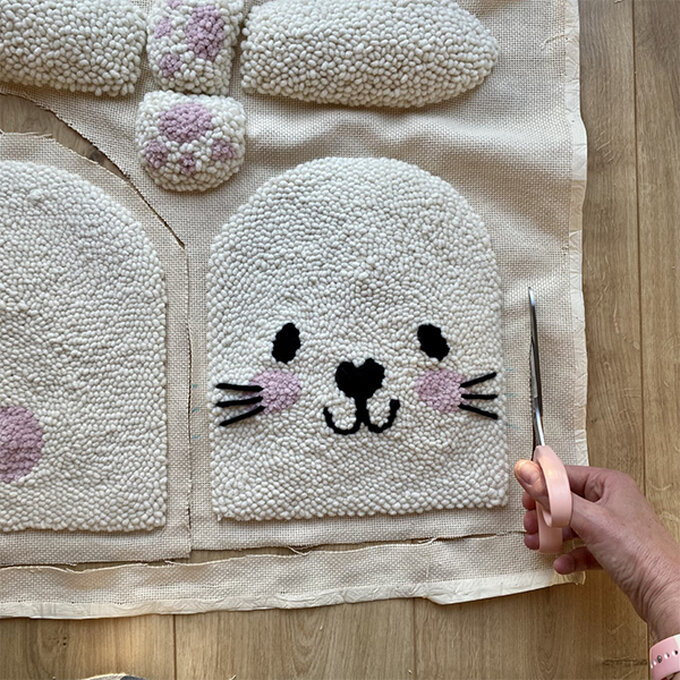
Cut a 1” border around all the punched pieces.
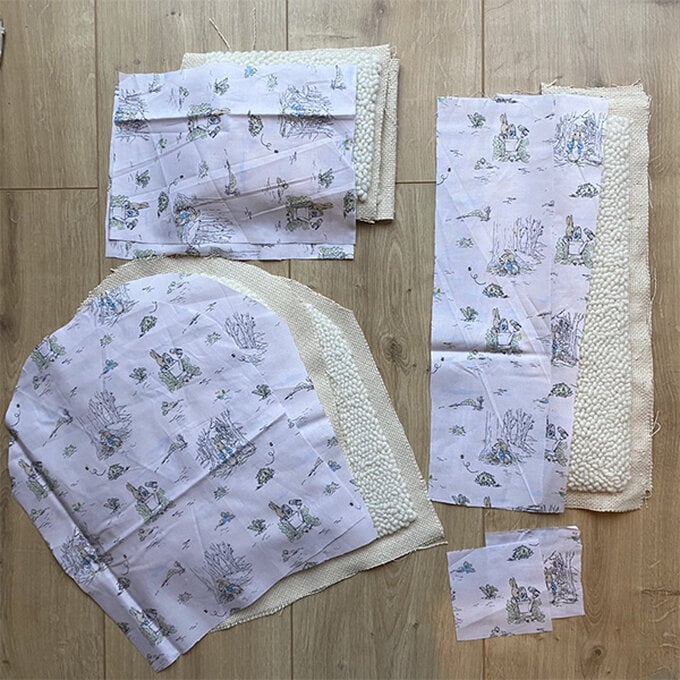
Cut 2 10” x 6” pieces of cream fabric for the base of the backpack.
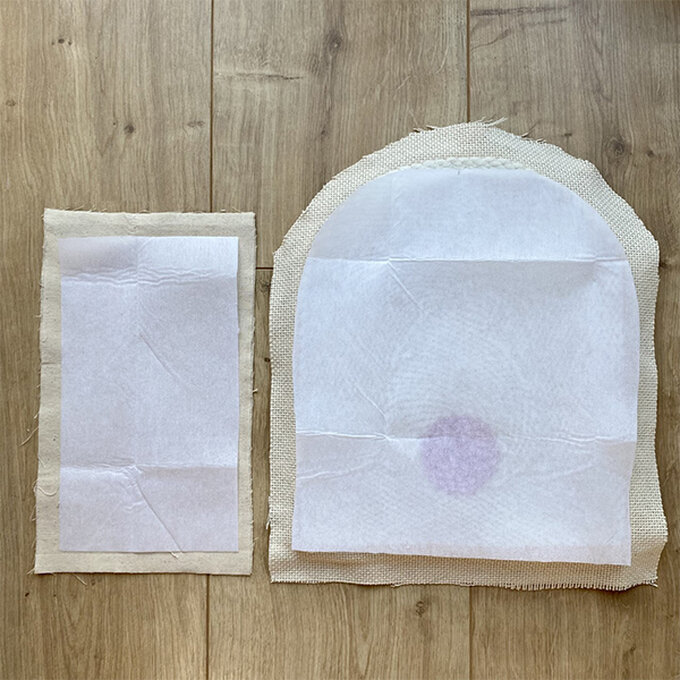
Using the punched pieces as a guide cut lining fabric for the front, back, side and top pieces.
In addition, cut two 3” x 2” pieces of lining fabric and two 3.5” x 3.5” pieces of cream fabric. If your lining fabric has a pattern, ensure you cut in the correct orientation.
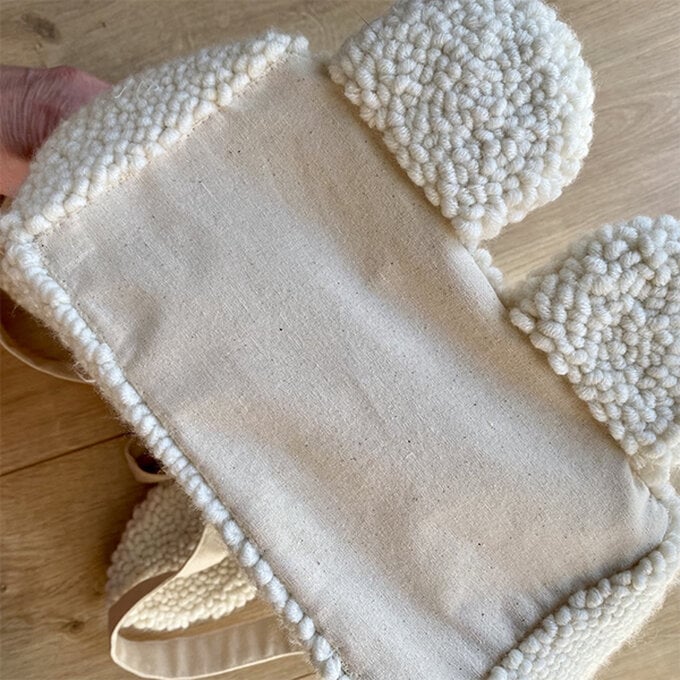
For the paws and ears, snip into any curved edges, fold and glue the border, leaving the bottom of each unfolded. Squeeze a line of glue around the edge of one of each pair and glue together.
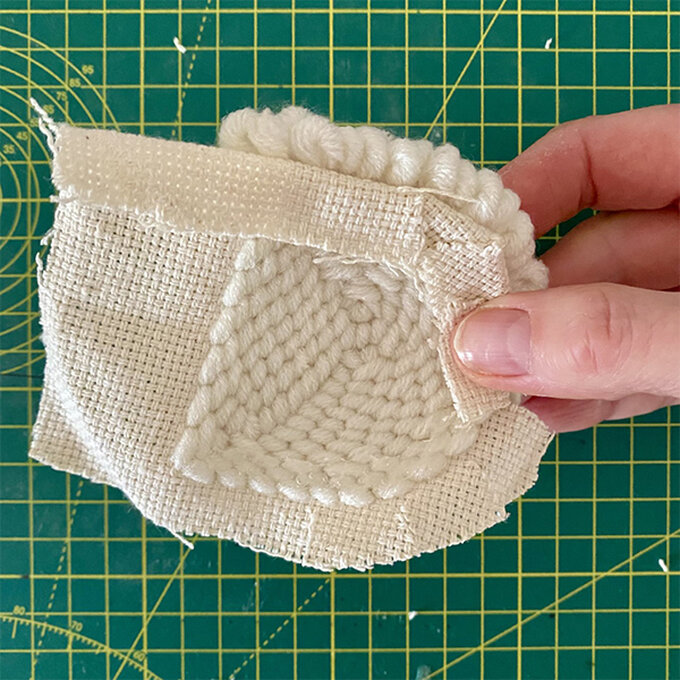
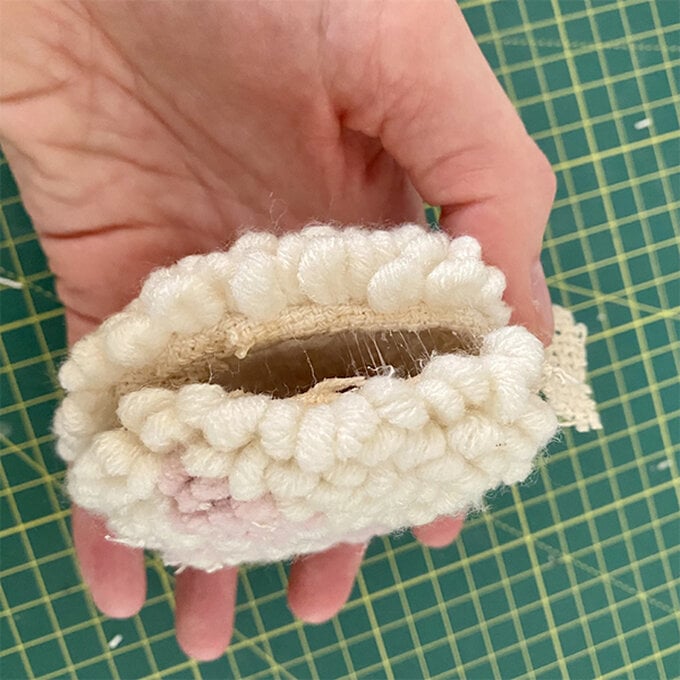
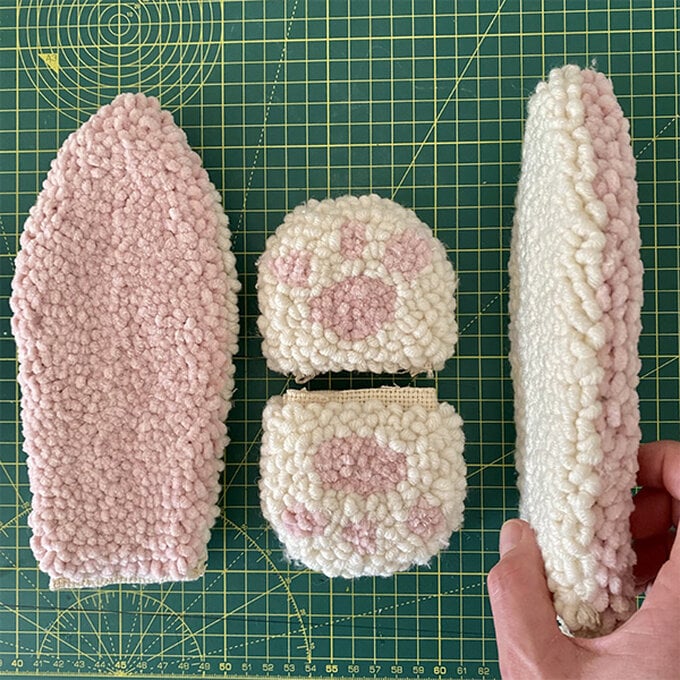
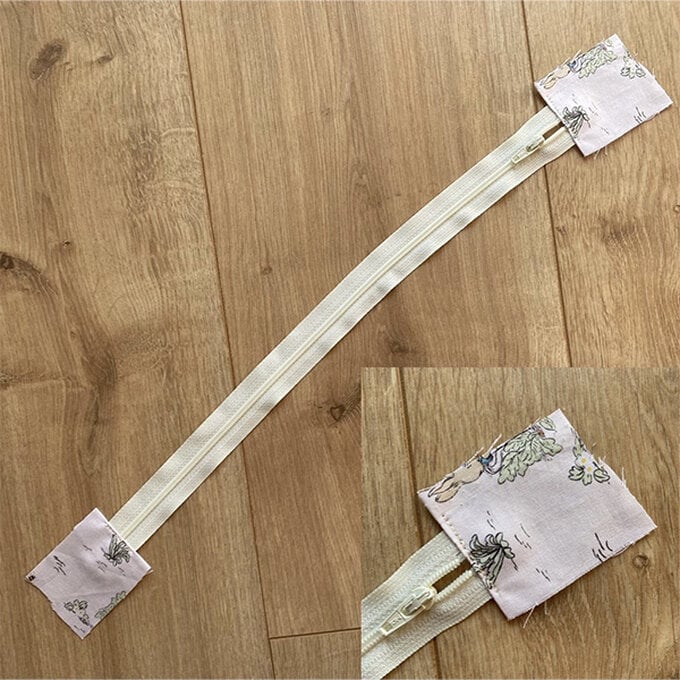
For the zip, fold over 1/5” of each of the 3” x 2” lining scraps at one end and press. Place the pressed end of each piece on each end of the zip. Sew down the inner side with a straight stitch.
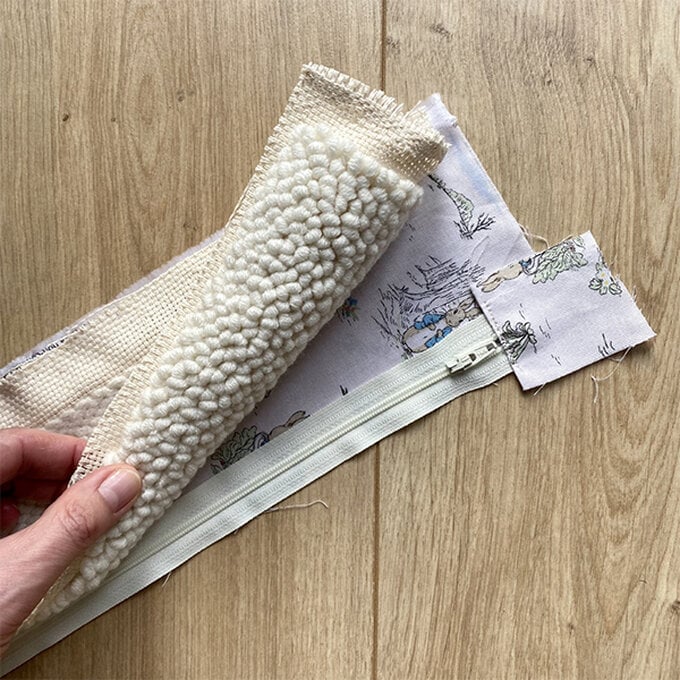
Place the zip the right way up along one edge of the lining right side up. Place the punched section facing down on top to match the edge. Pin all 3 together and sew.
Repeat with the other top section so the zip is now in the middle of both top sections. Trim the scrap fabric from each short edge so it is flush with the other pieces. Due to the bulk of fabric and yarn, it is easier to hand stitch these pieces.
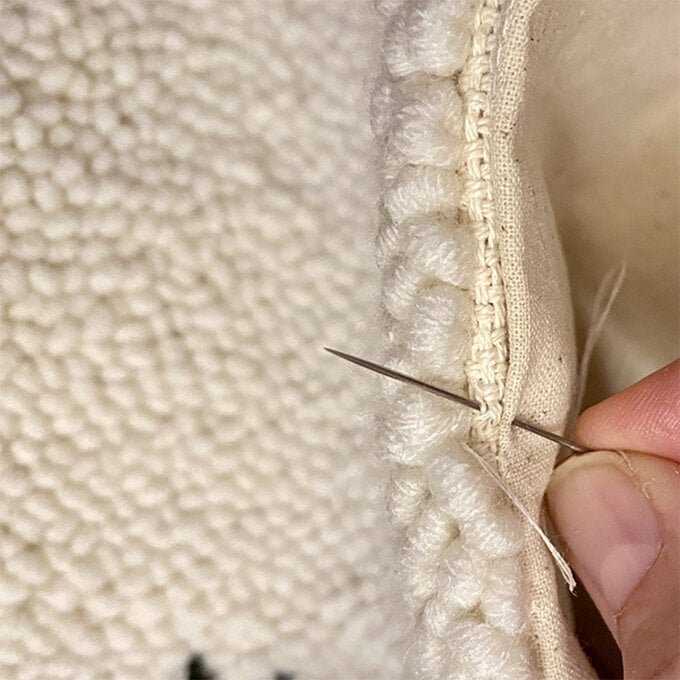
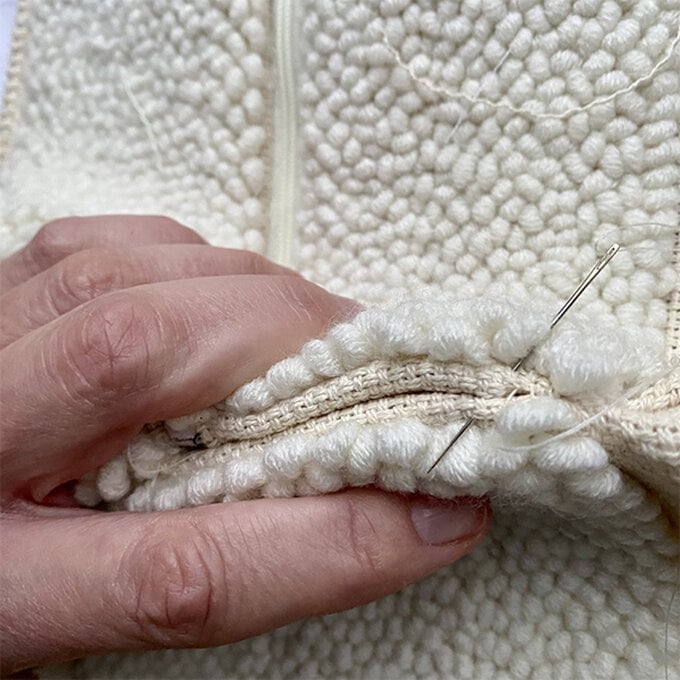
To attach the 2 side pieces to the zip section, fold the border inwards on both pieces. Place the 2 sections together so the backs are together. Overstitch the pieces together where the loops of the punched parts meet.
You will now have one long section that will form the top and sides of your backpack.
To attach the ears, mark the centre top point of the front face section. Mark 1 inch either side.
Place the inner edge of each ear, pink side down, next to the lines. Pin and overstitch them to the front section.
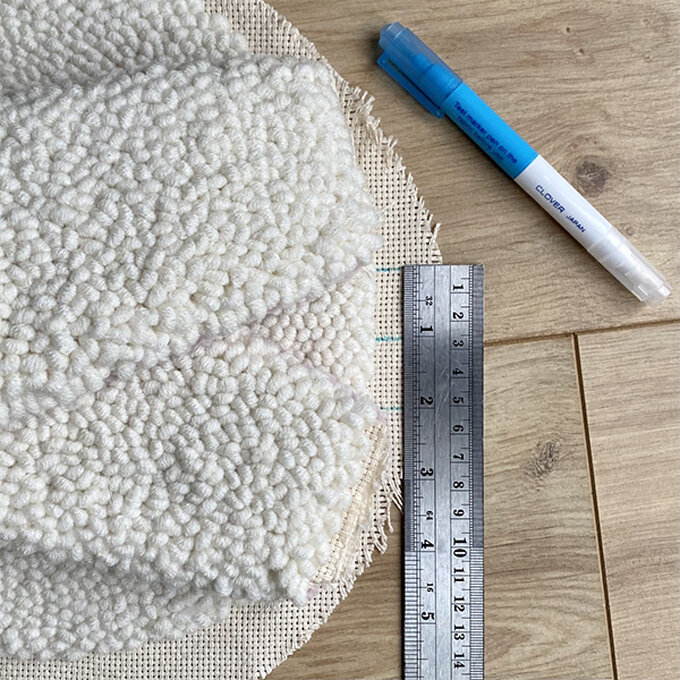
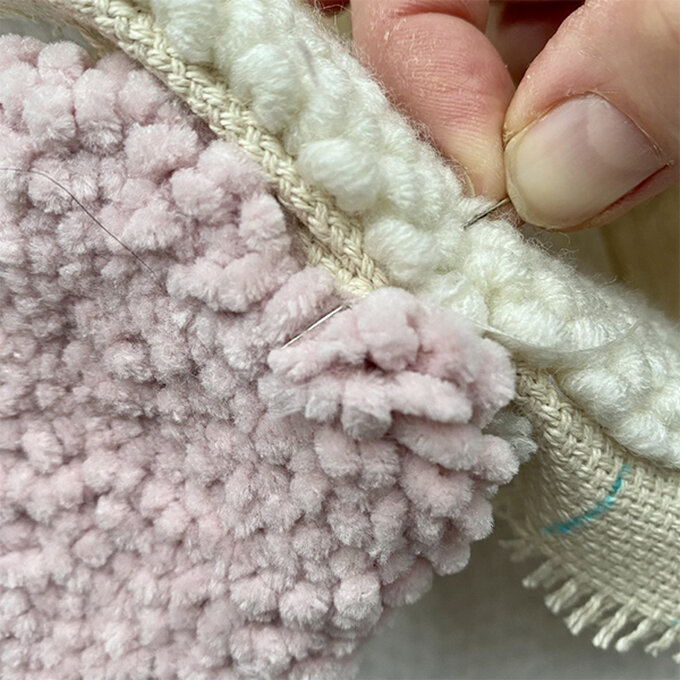
To attach the paws, mark the centre bottom point of the front face section and 1" either side.
Pin and sew so the pink pads face the front.
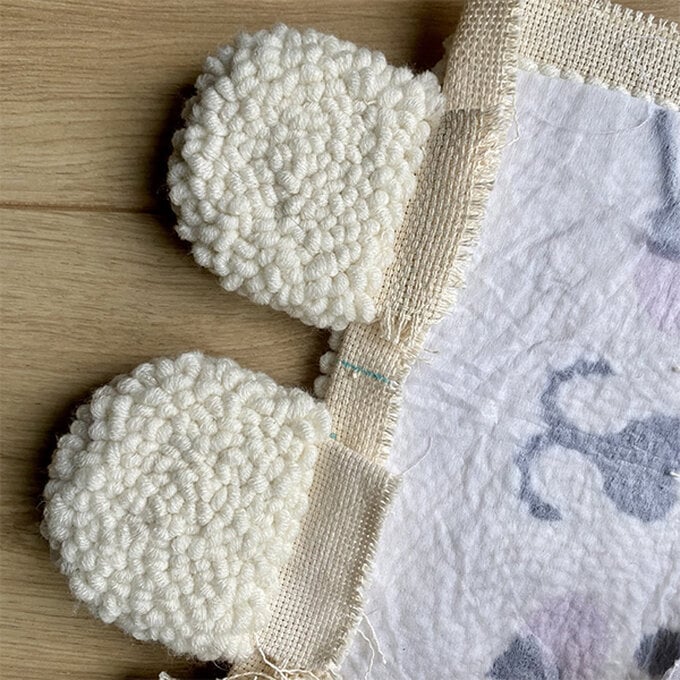
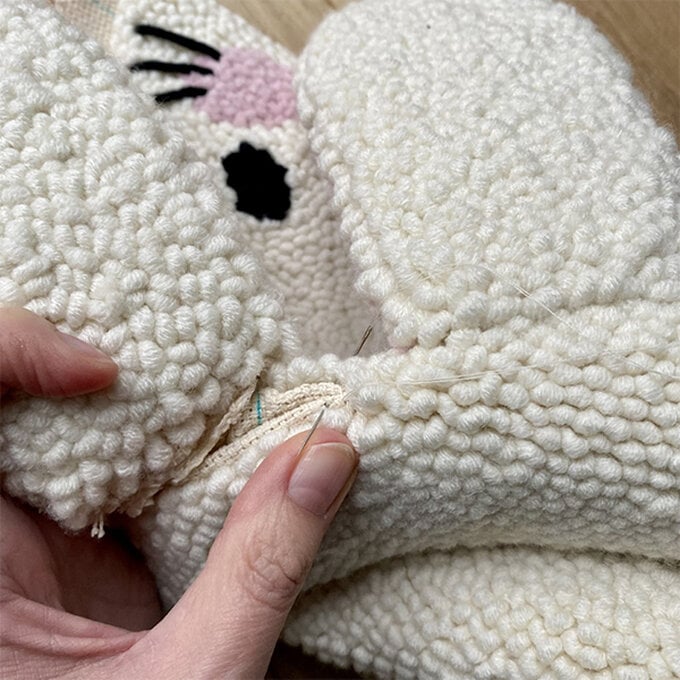
To attach the front face section to the zip section, mark a centre point on both pieces. Pin and using an over stitch, sew the sections together, ensuring you sew the ears in.
Start from the centre point and sew down one side and repeat for the other side.
To make the straps, cut two 4” x 20” pieces from the plain cotton fabric. Also cut one 9” x 4” piece for the handle.
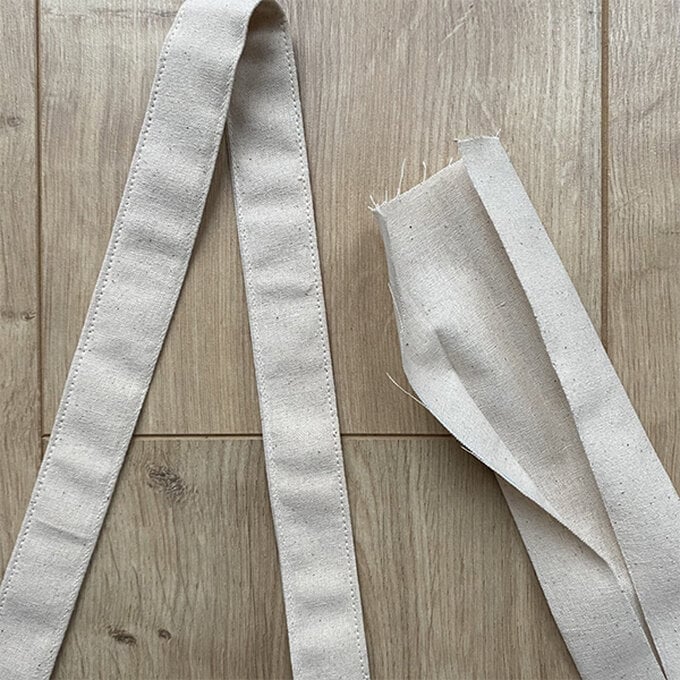
Fold them in half vertically and press them to form a crease that marks the centre. Turn them over and fold each long edge in to meet the crease in the middle and press. Fold that in half one more time along the centre crease so all raw edges are enclosed.
Press and top stitch each of the long sides.
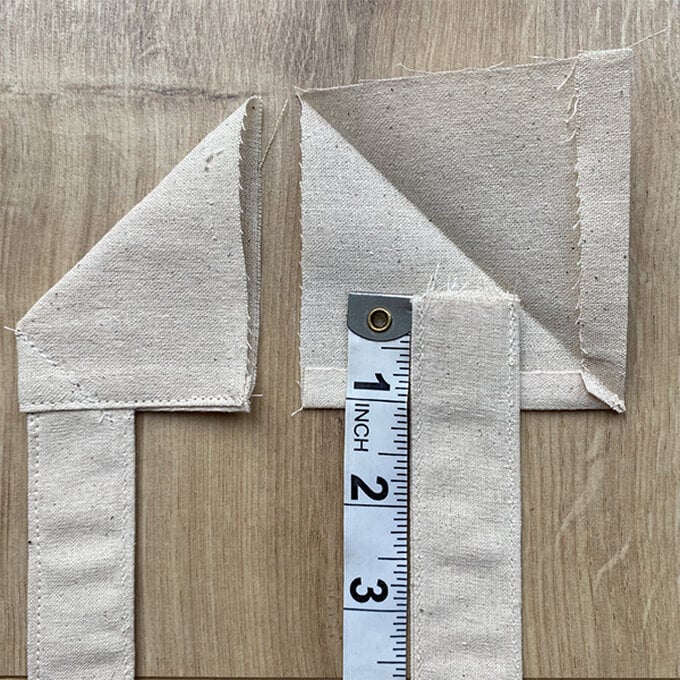
Take your two 3.5” x 3.5” pieces of cream fabric and fold and press ¼” along the top and one side and then into a triangle with the pressed edges together. Place one end of the strap 1” down so it meets the diagonal crease and sew across the edge with a straight stitch. Fold the corner edge underneath the strap and sew a straight stitch across it.
Repeat with the other strap.
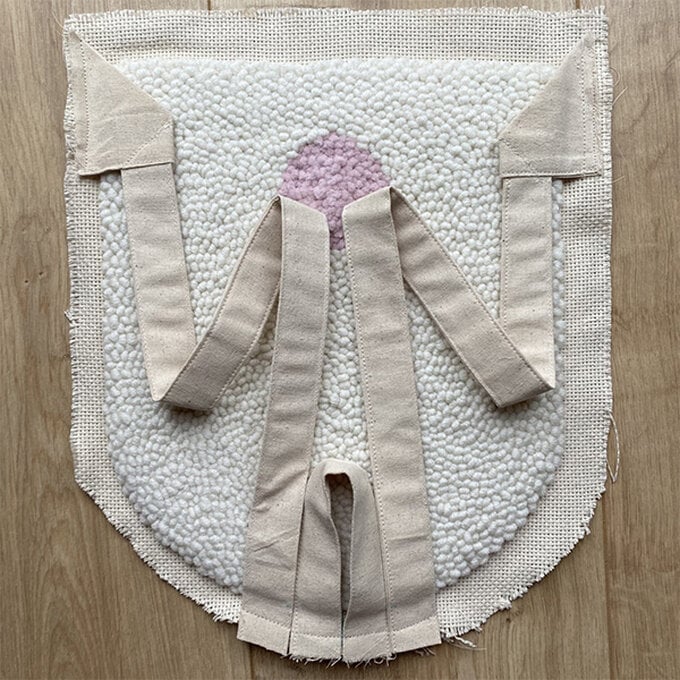
With your back piece facing up, place the raw edges of the strap attachments you’ve just sewn against the side and bottom of your back piece. Tack in place.
Mark the centre point of the top of the back piece, place the ends of your handle strap either side and tack in place. Place the other end of your long straps either side of the handle and tack in place.
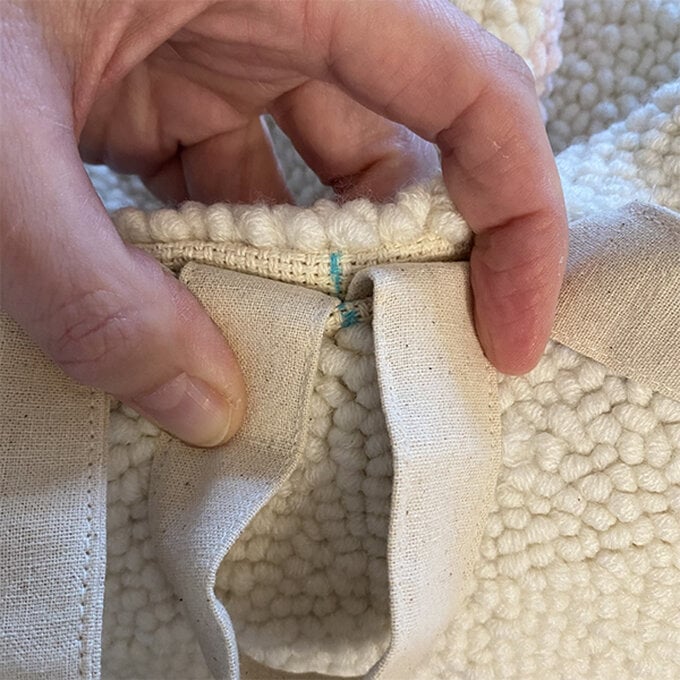
Match the centre marks of the back piece and the zip top piece, fold the border inwards and place the punched loops from both pieces close together. Secure with a few stitches.
Stitch down one side ensuring you sew the straps and handle in place as you go. You will therefore sew through the back piece, the strap and the zip piece.
Go back to the middle point and stitch down the other side.
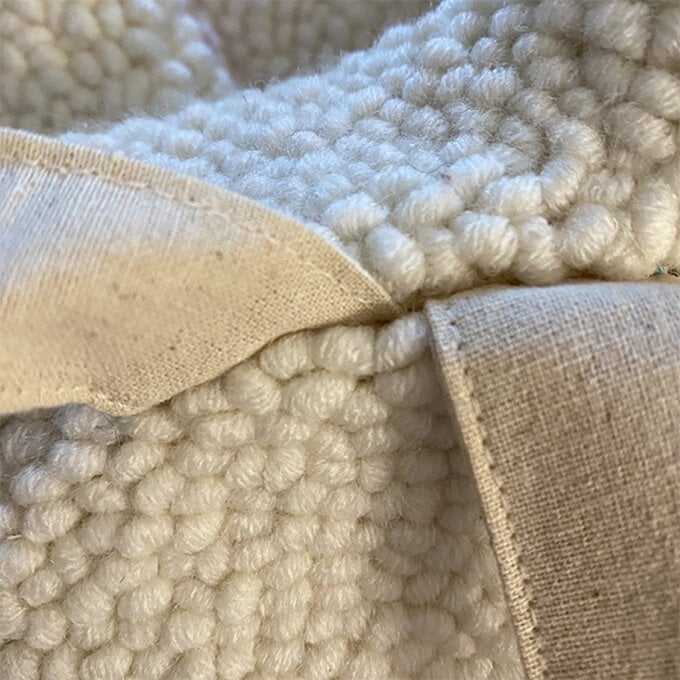
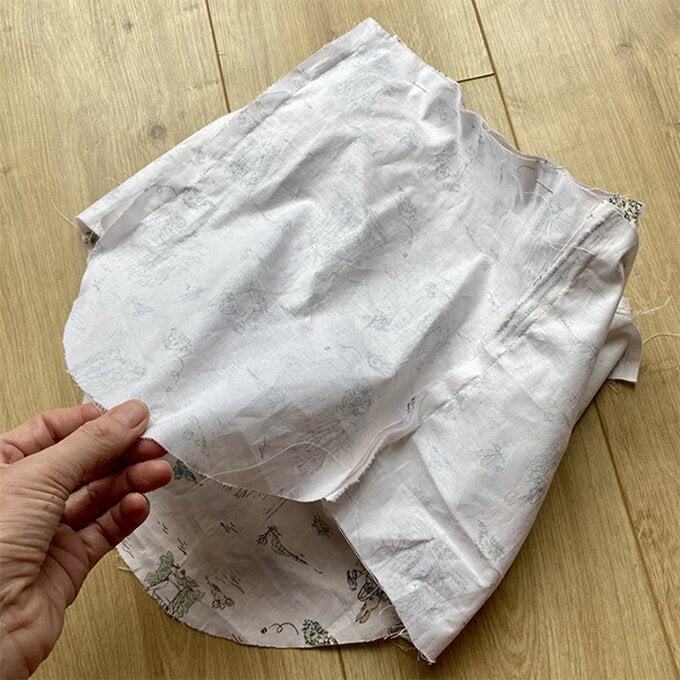
Mark the centre top point of the front and back lining pieces and the top zipper section. Pin and sew the top of the front, back and side lining pieces to the lining already attached to the top section.
Turn the backpack the correct way round.
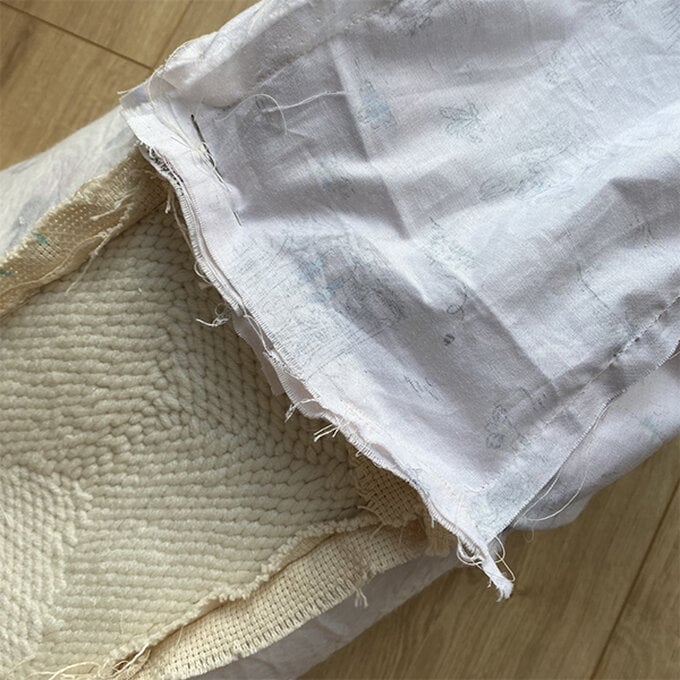
Tack the two cream fabric base sections together. Fold and press ¼” around the edge of the base section and hand stitch it to the base of the backpack.
Optional: Add a pom pom to the zip.
