Skip to Content (Press Enter) Skip to Footer (Press Enter)

Baby Bobble Hat Knitting Loom Pattern

Level
Beginner
Time
1/2 day
Budget
10 - 30

I am a keen knitter so when I saw the knitting looms in Hobbycraft I was really excited to see what they were like and to see what they could make. I was really surprised at how easy and quick it was to make and how many sizes come with the loom set!

Follow along with the step-by-step tutorial below to find out how to make this adorable baby bobble hat.

Project and instructions by Victoria Frampton

Discover more knitcraft projects here >

You will need

Is $ 15.00

Quantity: 1

Subtotal

Is $ 15.00

Is $ 6.49

Quantity: 1

Subtotal

Is $ 6.49

Out of stock

Is $ 6.49

Low stock only 11 left

Quantity: 1

Subtotal

Is $ 6.49

Is $ 20.00

Quantity: 1

Subtotal

Is $ 20.00

Is N/A

Quantity: 1

Subtotal

Is N/A

Out of stock

You’ve viewed 2 of 5 products

You’ve viewed 4 of 5 products

Total:

How to make

You will also need:

*Darning needles

*Scissors
Step 1
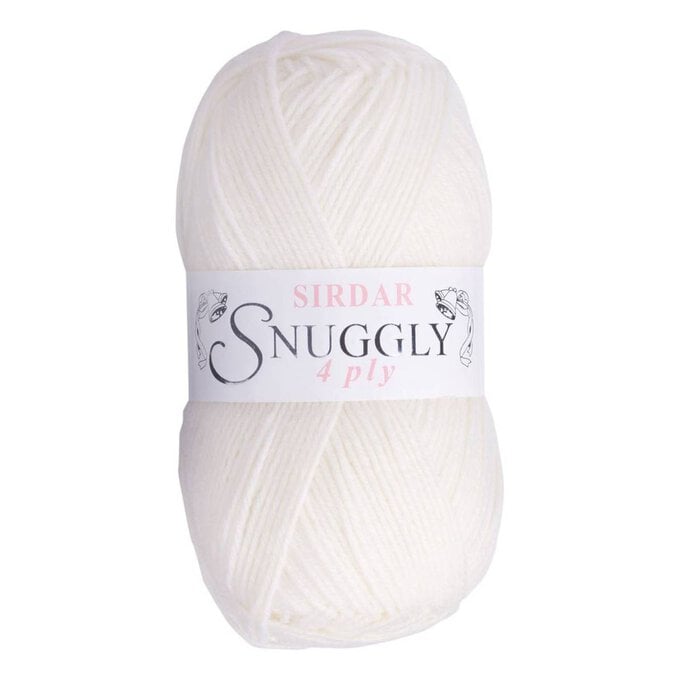
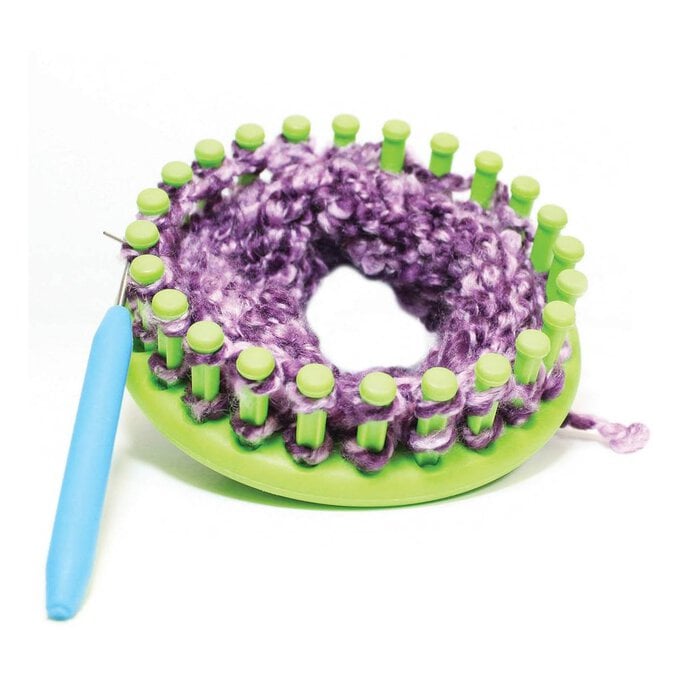
Pick the colour of wool that you want the hat to be, the great thing about the 6 piece loom is you can choose what size hat you want to be and it doesn't really matter what type of wool that you use.
Step 2
Start off by making a slip knot on the yarn and attach it to the hook on the outside of the knitting loom.
Step 3
Wrap the yarn completely around the first peg clockwise so it crosses on the inside of the ring, then move onto the second peg. Keep going until you have wrapped the last peg.
Step 4
Slide the yarn loops on each peg towards the bottom of the pegs – you now have your first row!
Step 5
For the second row, wrap the yarn around all pegs starting with the first pegs so you have two rows, secure the loose end of yarn around the outer peg.
Step 6
Now this part is a bit fiddly – with the hook which is included in the set lift the bottom loop over the top loop and over the top of the peg. Continue this all the way round until you have on row of loops left on your pegs – this is your first knotted row.
Step 7
Push the loops to the bottom of the pegs and repeat steps 5 and 6 until you have reached the desired length for the hat. Once you have completed several rows you can take off the slipknot from the outer peg.
Step 8
Once you have the desired length of hat you are ready to complete the hat. You need to have left one row of loops on the loom, cut the end of the wrapping yarn leaving a 10cm tail.
Step 9
Then from the ball of yarn cut a piece about 60cm long – it won't look long enough but it is – thread this onto the needle which is included in the knitting loom set.
Step 10
Starting with the first peg use the needle to sew through the yarn loop on each peg starting from the bottom of the peg to the top of the peg, once it is threaded lift the loop up and over the peg. Continue this until you have sewn through all the loops and pulled them off the pegs. Make sure that the end of the yarn is still sticking out of the first loop you pulled off!
Step 11
Turn the hat inside out and pull the two ends of the yarn together to gather the yarn for the top of the hat. Tie these in a secure double knot and weave the ends of the yarn into the hat to tidy up.
Step 12
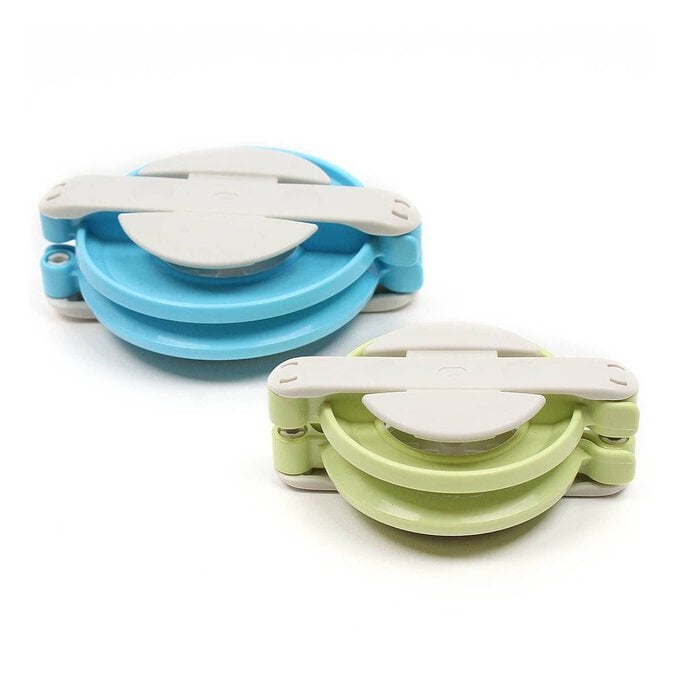
Turn back the right way and you have completed the main part of your hat, you can now attach a pompom or leave the hat as it is!
  • bvseo_sdk, dw_cartridge, 18.2.0, p_sdk_3.2.0
  • CLOUD, getReviews, 4ms
  • reviews, product
  • bvseo-msg: Unsuccessful GET. status = 'ERROR', msg = 'Not Found.'; Unsuccessful GET. status = 'ERROR', msg = 'Not Found.';

Related Products

Top