Skip to Content (Press Enter) Skip to Footer (Press Enter)

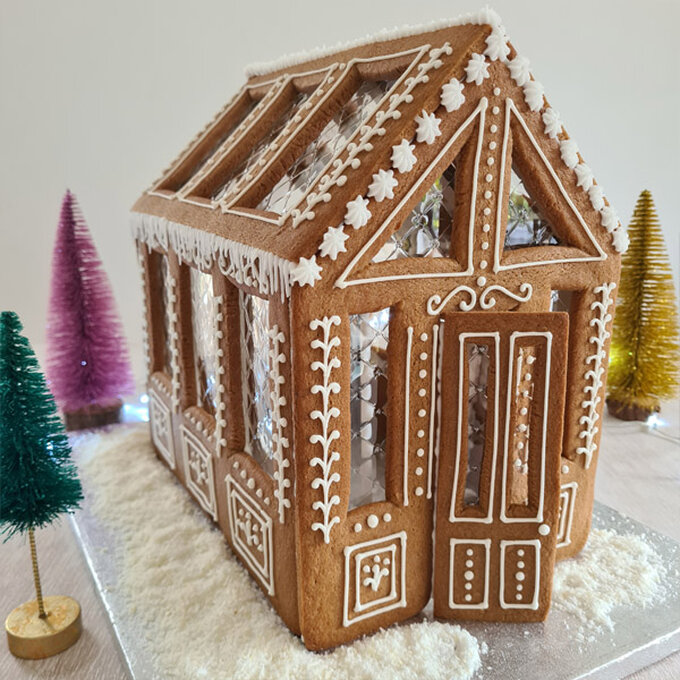
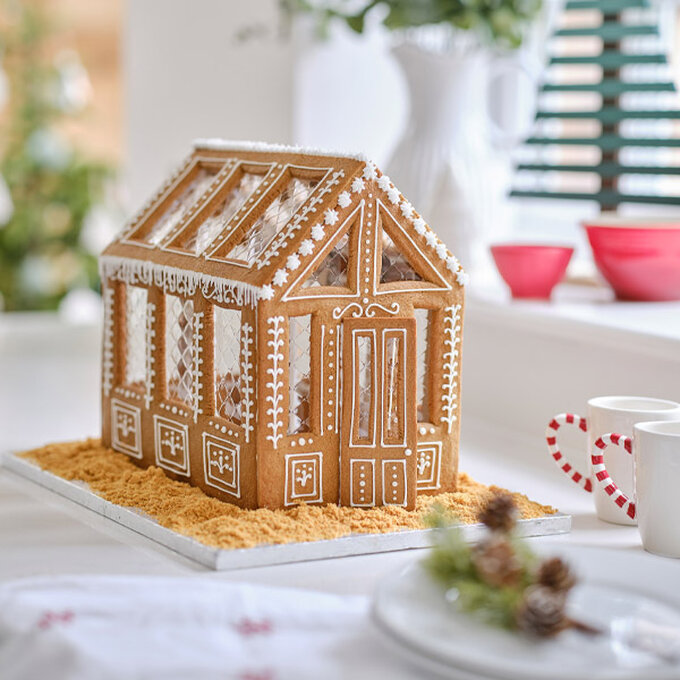
How to Make a Gingerbread Greenhouse

Level
Intermediate
Time
1/2 day
Budget
10 - 30

Ready to build your very own festive gingerbread masterpiece? Turn this sweet treat into a showstopping piece of edible art with our step-by-step guide. It's a great spin on the classic gingerbread house. 

Find free downloadable templates below to help construct the walls of the gingerbread greenhouse, then get ready to bring this magical project to life with royal icing!

Project and instructions by Lucy Bruns

Discover more baking ideas >

You will need

Is $ 6.49

Quantity: 1

Subtotal

Is $ 6.49

Is $ 4.49

Quantity: 1

Subtotal

Is $ 4.49

Out of stock

Is $ 6.49

Quantity: 1

Subtotal

Is $ 6.49

Is $ 4.49

Quantity: 1

Subtotal

Is $ 4.49

Out of stock

Is $ 7.49

Quantity: 1

Subtotal

Is $ 7.49

You’ve viewed 2 of 5 products

You’ve viewed 4 of 5 products

Total:

You will also need:

* 2 Baking trays

* Baking paper

* Desiccated coconut


Ingredients:

* 350g Dark muscovado sugar

* 170g Golden syrup

* 200g Butter

* 700g Plain flour

* 2tsp Bicarbonate of soda

* 2tbsp Ground ginger

* 2tsp Cinnamon

* 2 medium eggs


How to make

Free Template
Idea_How-to-make-a-Gingerbread-Greenhouse_Template.png?sw=680&q=85
Step 1

Put the sugar, syrup and butter in a saucepan. Bring to a simmer and bubble for 1-2 minutes, stirring until well combined. Cool for 10 minutes.


Tip the flour into a large bowl along with the spices and bicarbonate of soda


Add the cooled syrup mixture and the eggs and stir together.


Gently knead the mixture in the bowl until smooth.


Split the dough into 2 batches and wrap in cling film. Chill the dough in the fridge for at least 30-60 minutes whilst you cut out the paper templates.


Cut pieces of baking paper to fit twov baking trays.


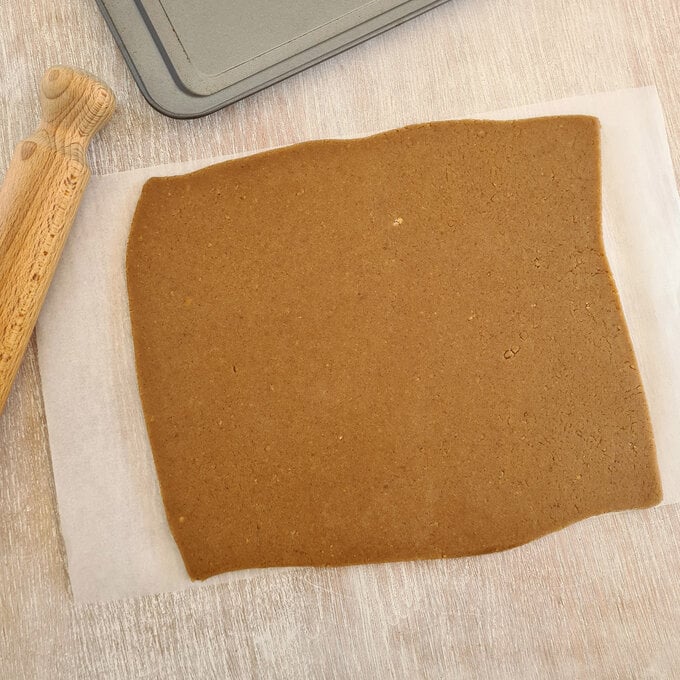
Roll out half of one of your wrapped batches of chilled dough onto a piece of baking paper – aim for a thickness of 4mm.
idea_How-to-make-a-Gingerbread-Greenhouse_Step1.jpg?sw=680&q=85
Step 2

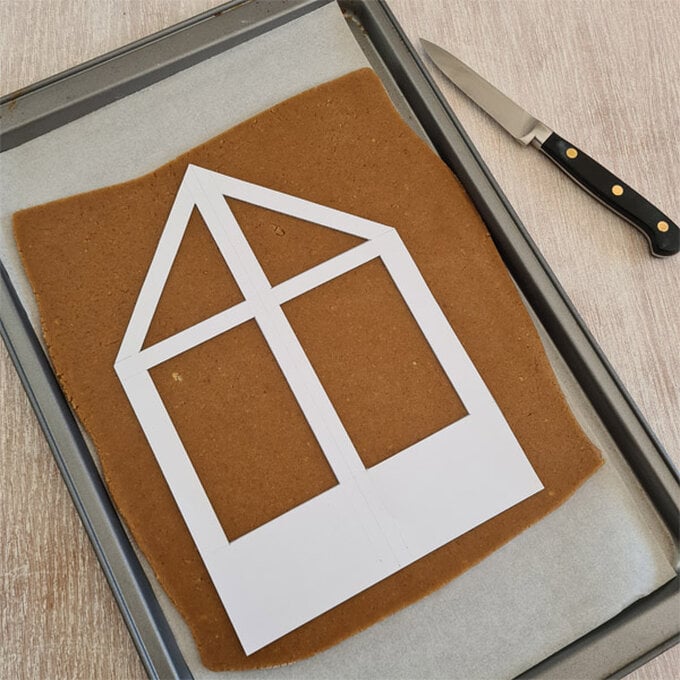
Transfer the paper with dough onto a tray and cut out the first of the five template pieces with a pizza wheel/sharp knife; when carving each segment, try to make sure each piece has straight edges to make the construction of your greenhouse as easy as possible.
Idea_How-to-make-a-Gingerbread-Greenhouse_Step2.jpg?sw=680&q=85
Step 3

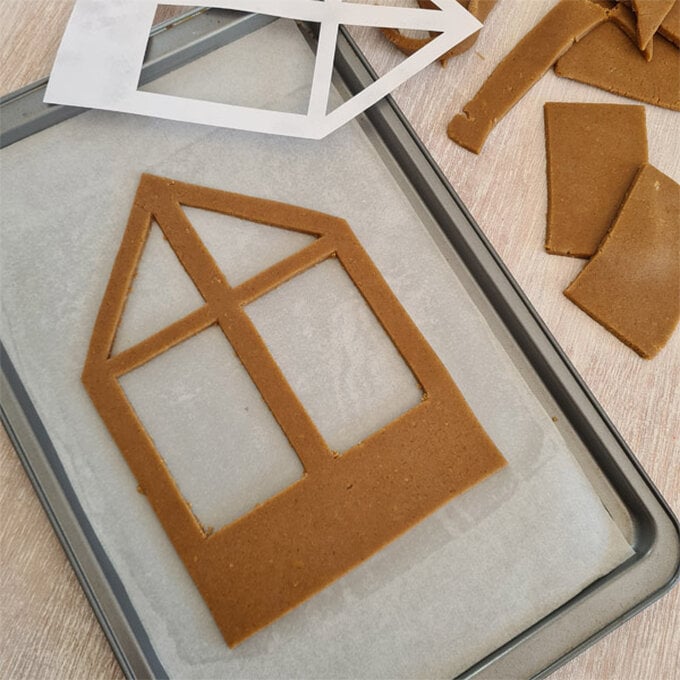
Once you have cut out your first two pieces, place the rest of your dough in the fridge so it can cool back down again. Bake the first 2 pieces for approximately 15 minutes, rotating the trays halfway through.


Top Tip: It is better if the gingerbread is over-baked rather than under-baked so that the pieces are strong enough to hold the structure together – but do keep and eagle eye on it in the oven so that it doesn’t burn!
Idea_How-to-make-a-Gingerbread-Greenhouse_Step3.jpg?sw=680&q=85
Step 4

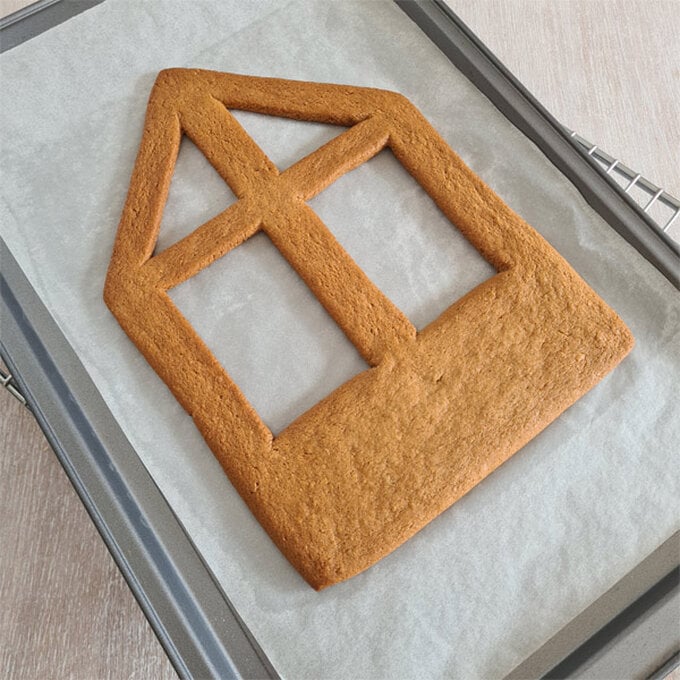
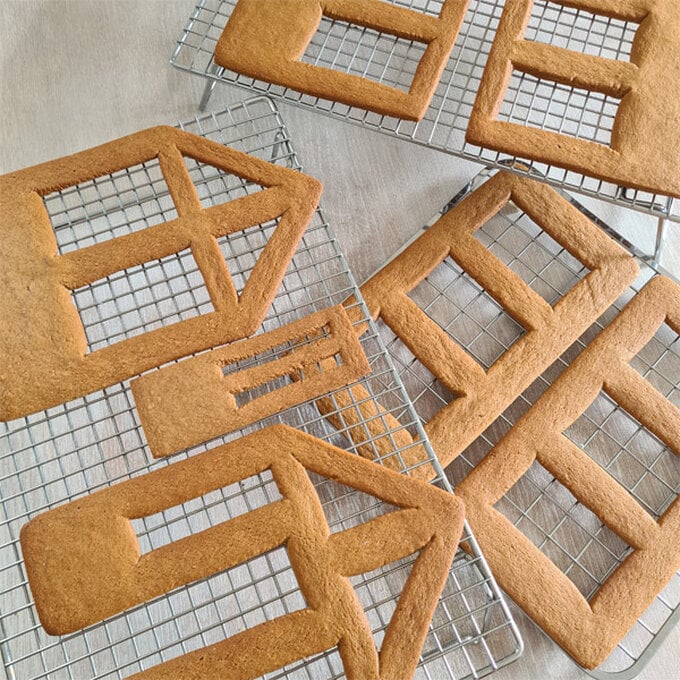
When the gingerbread has turned an even, dark brown colour, remove the tray from the oven and carefully place on a cooling rack.


Top Tip: Straight edges on your baked gingerbread is super-important for this project – you can trim the baked pieces as soon as they come out of the oven if they have baked unevenly. Just trim away any wavy edges with a sharp knife whilst the gingerbread is still soft and warm. Alternatively, if the gingerbread is too hard to cut then you can file the edges with a fine microplane or grater.
Idea_How-to-make-a-Gingerbread-Greenhouse_Step4.jpg?sw=680&q=85
Step-5
Repeat this process for each of your seven segments.
Idea_How-to-make-a-Gingerbread-Greenhouse_Step5.jpg?sw=680&q=85
Step-6
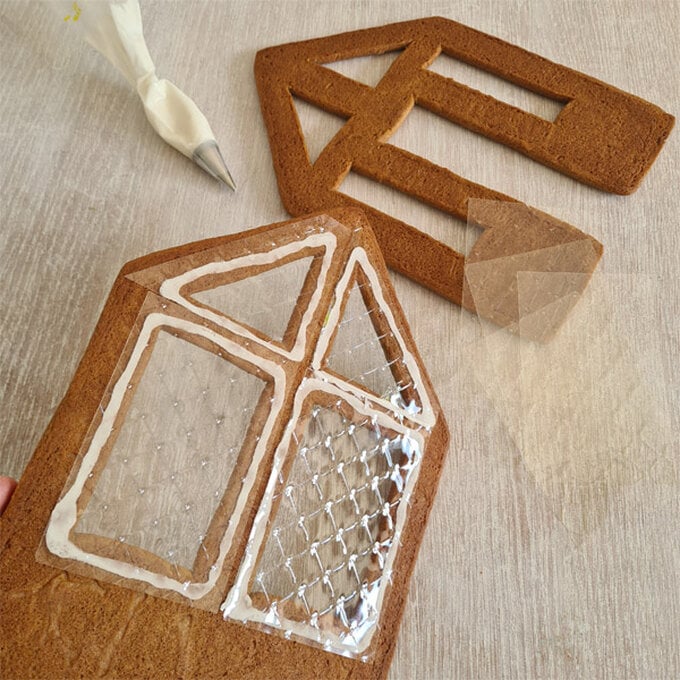
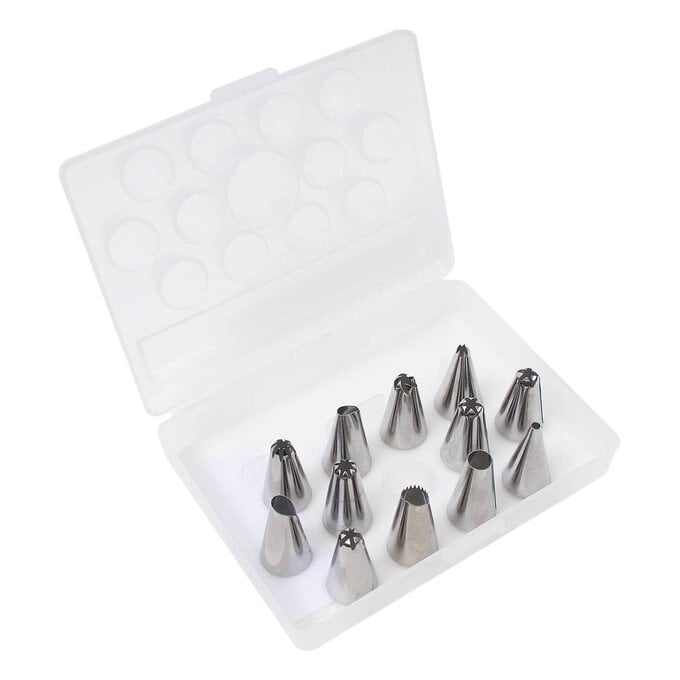
Once all your pieces are baked and cooled, it’s time to add your windows! Take a piping bag fitted with a writer nozzle (no.3) and spoon in 1/3 of royal icing. Turn over all the gingerbread pieces so they are wrong side up. Pipe a line of royal icing around the perimeter of one window and attach a gelatine sheet - trim with scissors if you need to. Repeat for all windows and door.
Idea_How-to-make-a-Gingerbread-Greenhouse_Step6.jpg?sw=680&q=85
Step-7
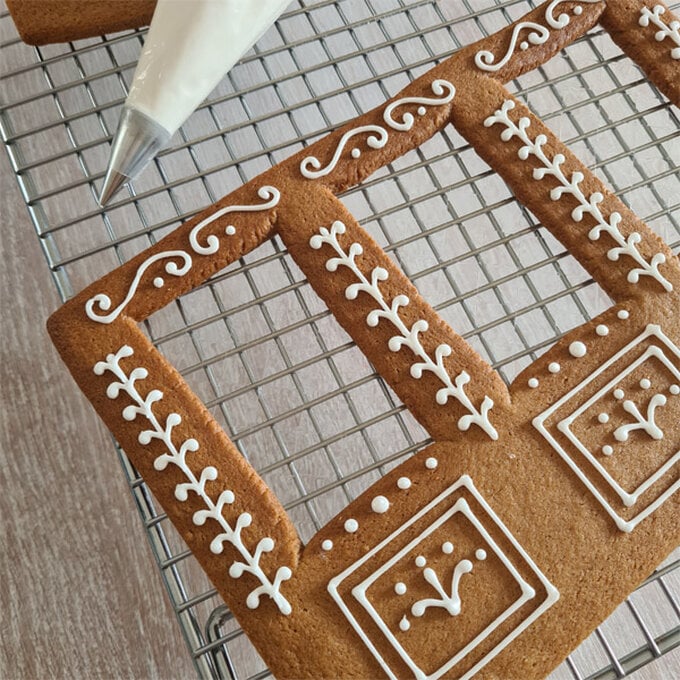
When all the windows are attached, turn the gingerbread pieces back over the right way up and now it’s time to decorate as desired. Once you have decorated all the pieces, leave them until the icing has dried – approximately 1 hour.
Idea_How-to-make-a-Gingerbread-Greenhouse_Step7.jpg?sw=680&q=85
Step 8
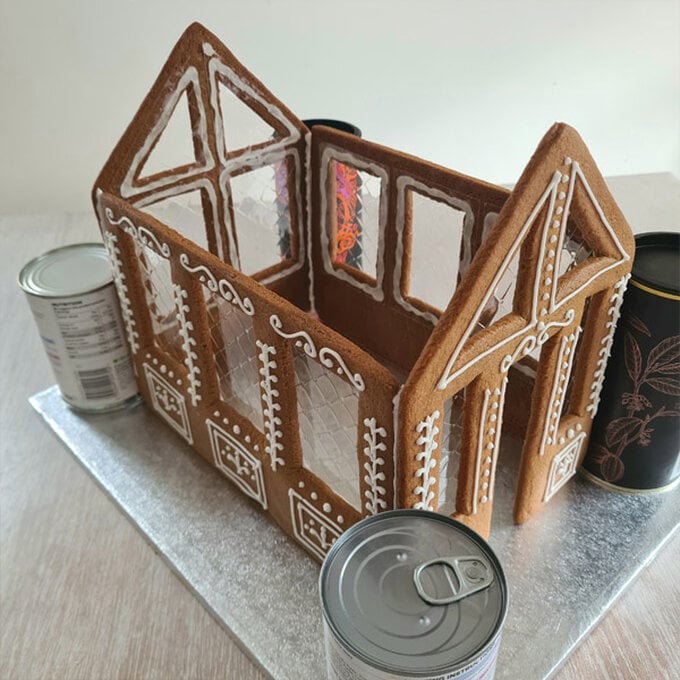
Grab a cake board or flat platter on which to build the greenhouse and have some heavy cans to hand to support the structure as it dries. Start with one of the end pieces and pipe a thick line of royal icing on the back where the side panels will join. Attach 1 side panel and then the other - use the cans to support the pieces in position. Attach the other end piece and leave the icing to dry for 30 minutes. Fix the door in position so that it is slightly ajar at the front of the greenhouse.
Idea_How-to-make-a-Gingerbread-Greenhouse_Step8.jpg?sw=680&q=85
Step 9
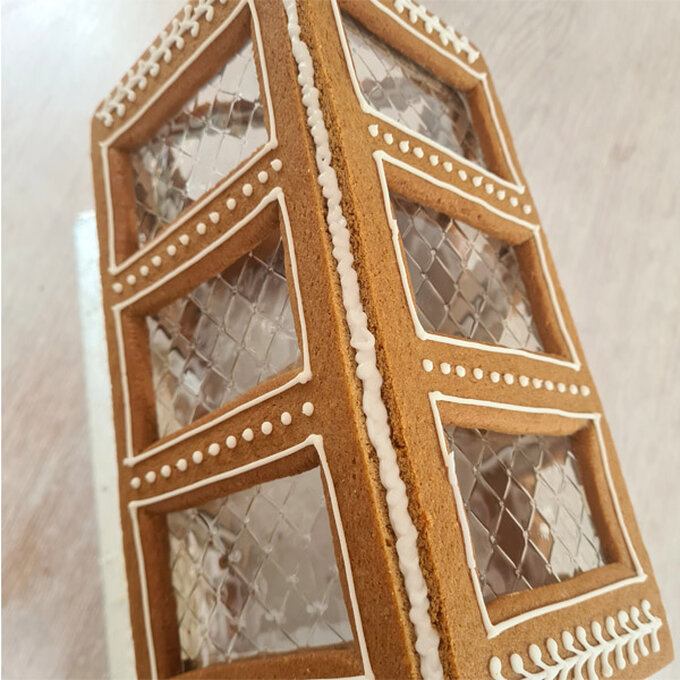
Pipe royal icing along the top edges of the greenhouse and attach the roof panels, one at a time. A line of royal icing along the ridge of the roof will help to seal the roof panels together. Leave the structure to dry for 30 minutes before adding finishing touches.
Idea_How-to-make-a-Gingerbread-Greenhouse_Step9.jpg?sw=680&q=85
Step 10
Pipe icicles hanging down from the eaves of the roof and add desiccated coconut around the base of the greenhouse to look like snow. Use a small star nozzle to pipe stars around the gable ends and along the ridge of the roof.
Idea_How-to-make-a-Gingerbread-Greenhouse_Step10.jpg?sw=680&q=85
Step 11
Once the icing has set, your gingerbread greenhouse is ready to take pride of place on your Christmas table.
Idea_How-to-make-a-Gingerbread-Greenhouse_Step11.jpg?sw=680&q=85
  • bvseo_sdk, dw_cartridge, 18.2.0, p_sdk_3.2.0
  • CLOUD, getReviews, 5ms
  • reviews, product
  • bvseo-msg: Unsuccessful GET. status = 'ERROR', msg = 'Not Found.'; Unsuccessful GET. status = 'ERROR', msg = 'Not Found.';

Related Products

Top