How to Make a Botanical Wooden Advent Calendar
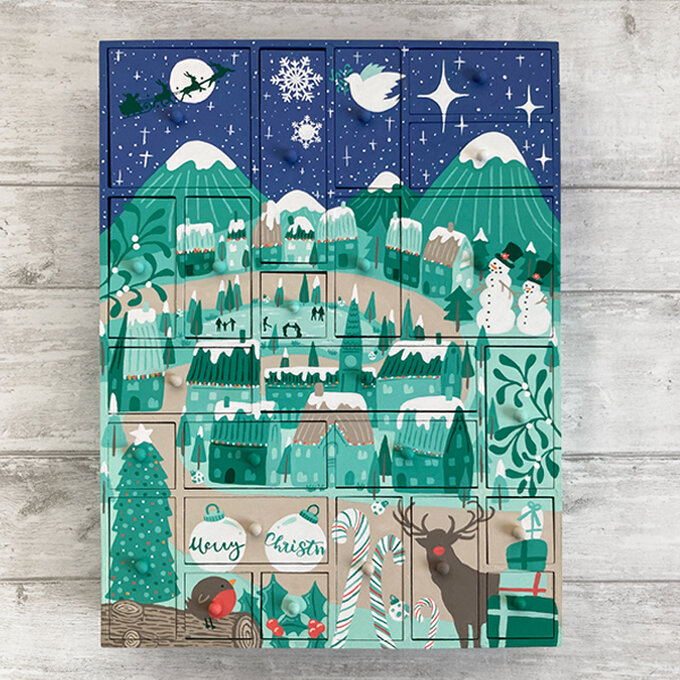
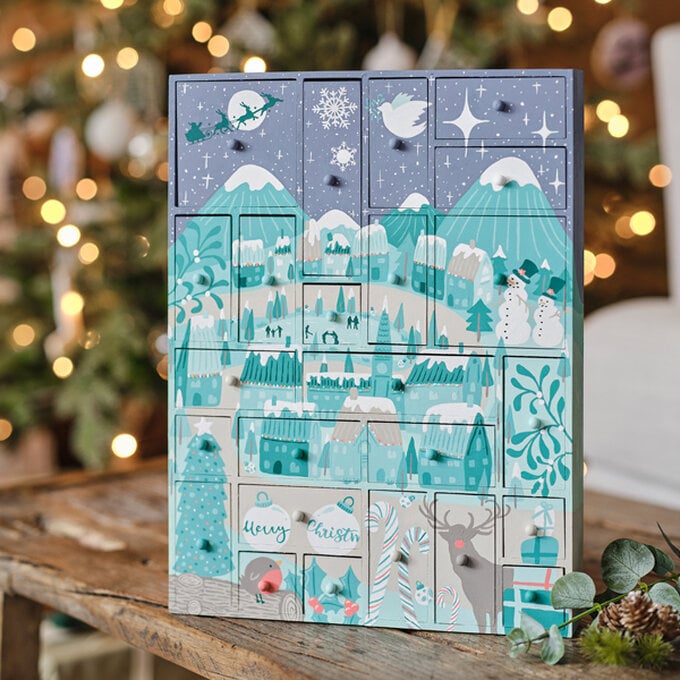
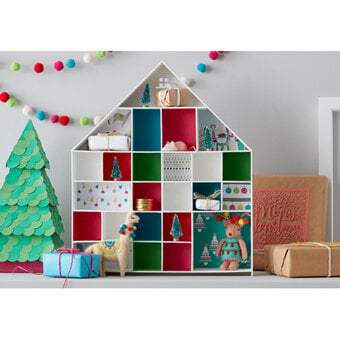
Bring the magic of Christmas to your home this winter with this beautiful botanical wooden advent calendar. The ideal gift idea, grab your acrylic paints and brushes and prepare to countdown to the big day in superb style.
Let your creativity run free as you create a Christmas masterpiece. You can choose from a host of colours and motifs to make your own, unique advent calendar.
Once complete, fill your calendar with sweet treats and various unique presents to make this Christmas extra special for a loved one!
Project and instructions by Caroline Shard
You will need
Subtotal
Is $ 69.00
Subtotal
Is $ 5.49
Subtotal
Is $ 5.49
Subtotal
Is $ 5.49
Subtotal
Is $ 5.49
Out of stock
Subtotal
Is $ 4.49
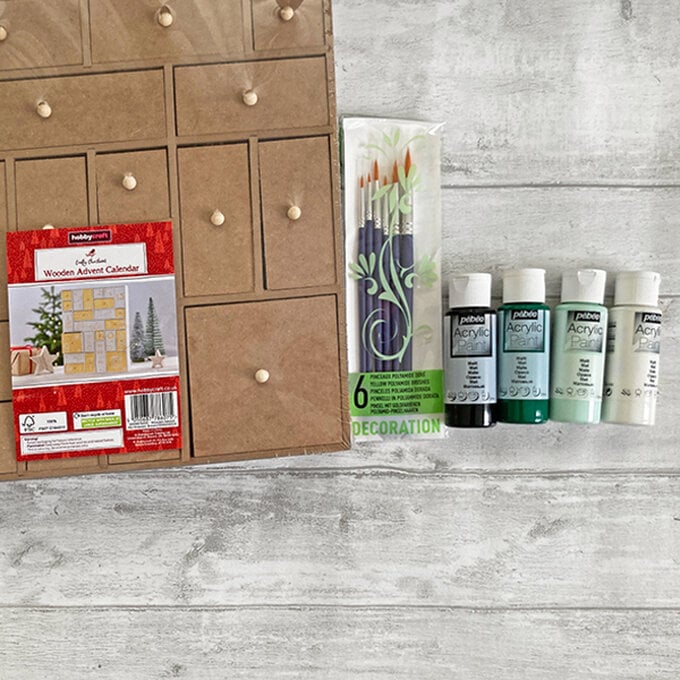
You Will Need
* Wooden Advent Calendar
* Acrylic Paints
* Paintbrushes
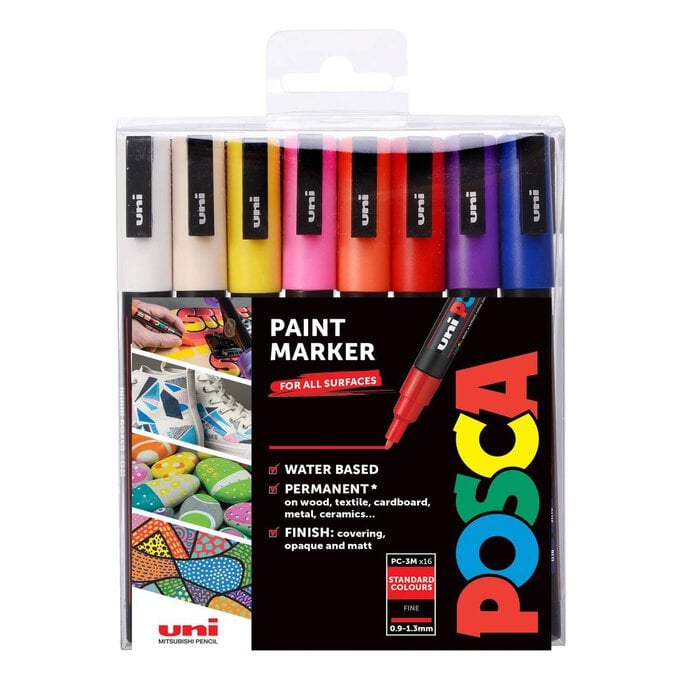
* Paint Pens
* Pencil
* Paper
* Scissors
How to make
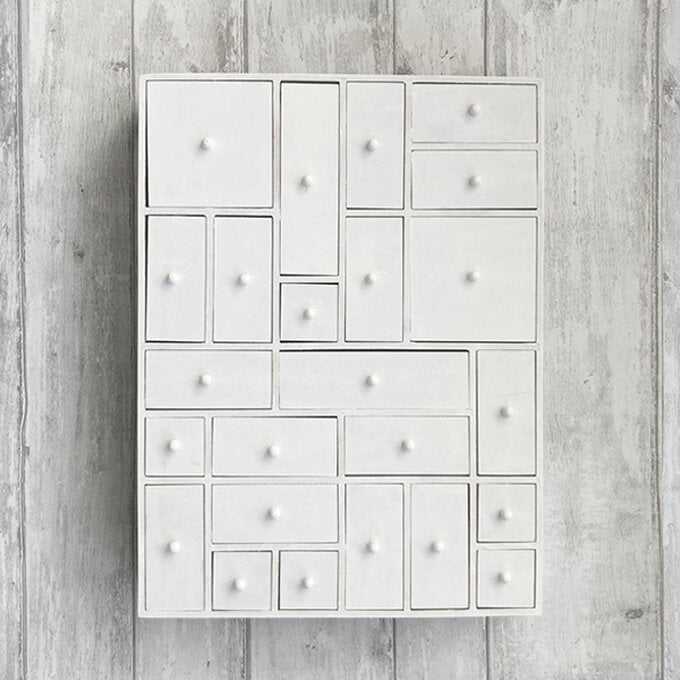
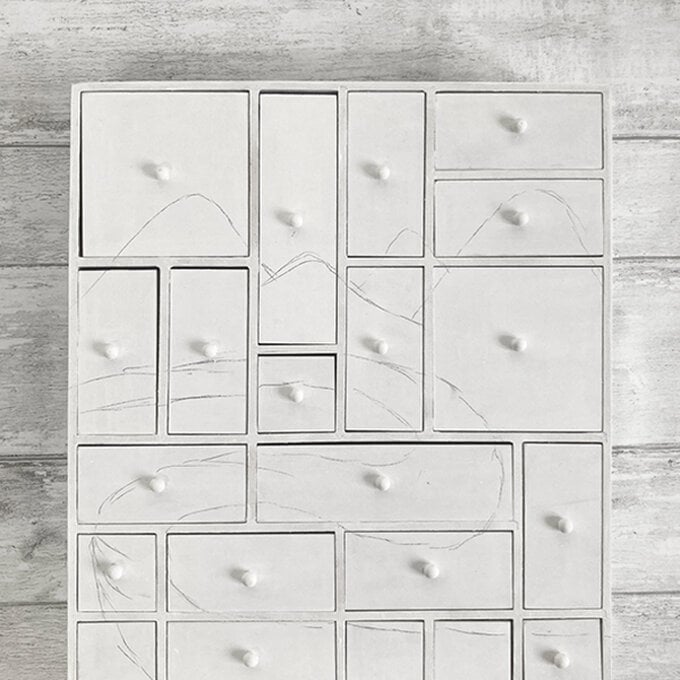
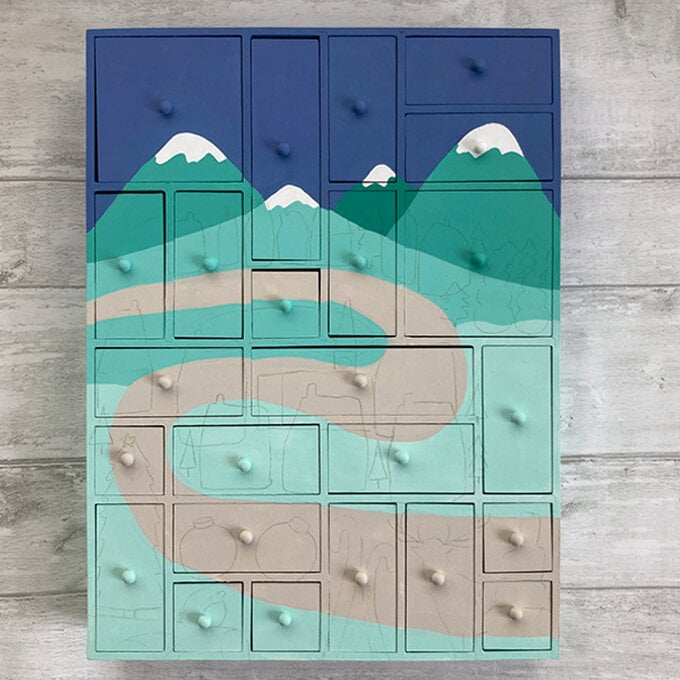
Using a pencil, softly draw a winding path and some mountains across the front, don’t worry about sticking to these original lines, they are just a rough guide
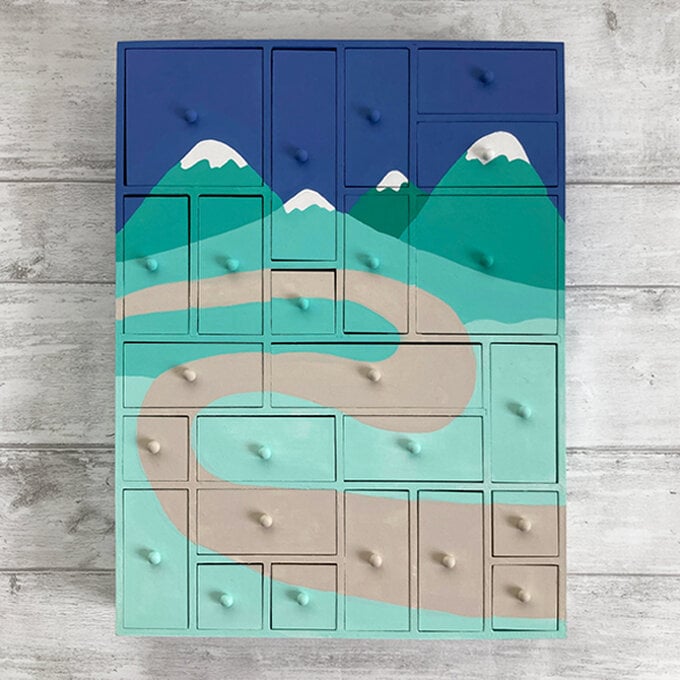
Using a gradient of colours, paint sections across the foreground and up to the mountains. Add in the path and sky so the whole background is covered.
Top Tip: Once you’ve covered the front of the advent calendar, remove the boxes and paint carefully round the edges in the right colours to avoid seeing gaps in the design later.
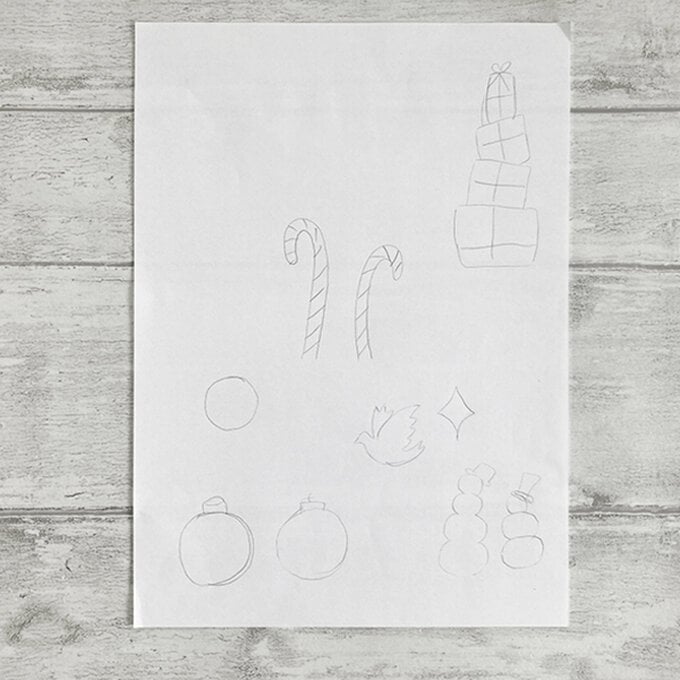
Draw out some simple outlines of festive images you like on some of paper. Try drawing the same things at different sizes.
Then cut them out.
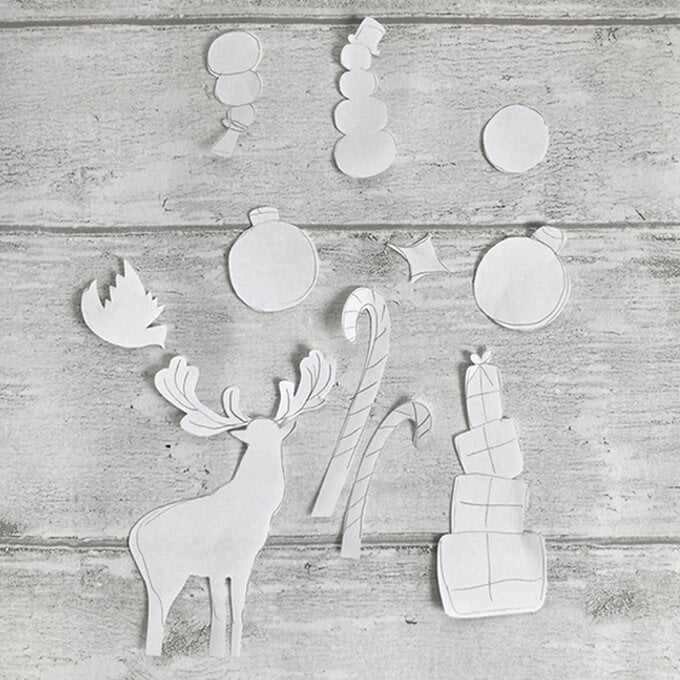
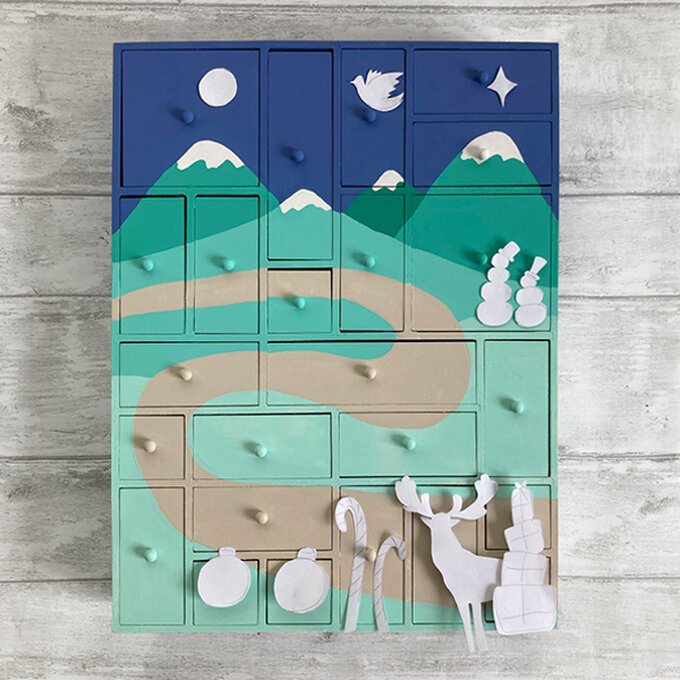
Create and add extra pieces as you build up the design.
Top Tip: Try to make sure most of the pieces are across the solid doors as this will make painting easier later.
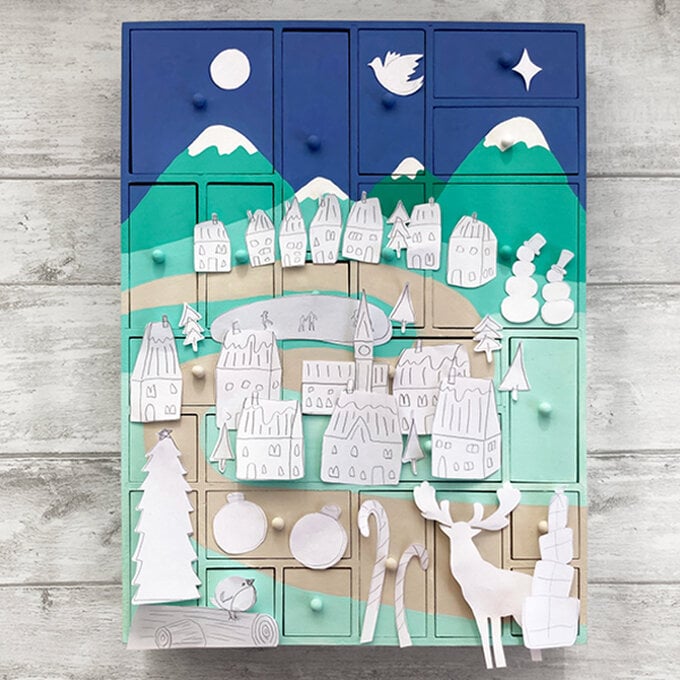
Build up the design using blocks of colours, then add details on top.
Top Tip: Using a smaller range of colours will make your design look more cohesive, try making darker or lighter shades of similar colours.
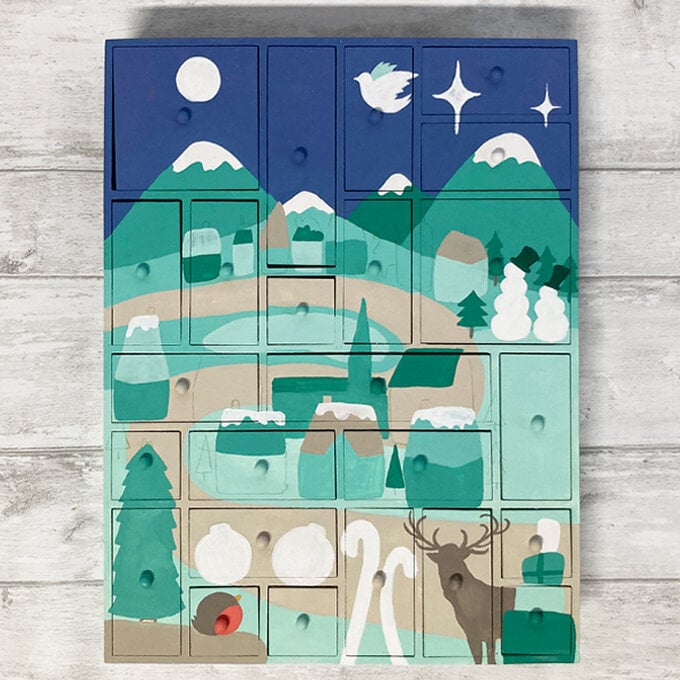
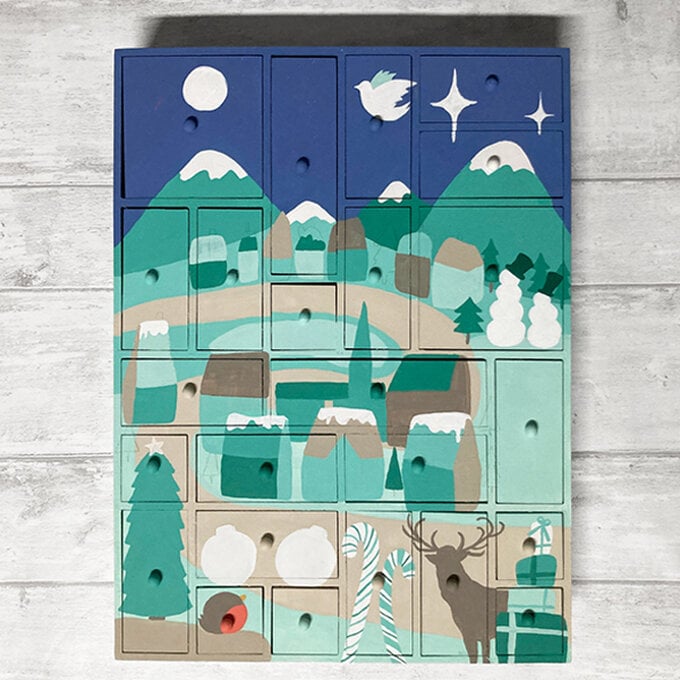
Continue adding layers and details until finished.
Top Tip: Use simple shapes or patterns to fill empty spaces, like simple trees, stars, dots or lines.
