Cricut: How to Decorate a Photo Frame
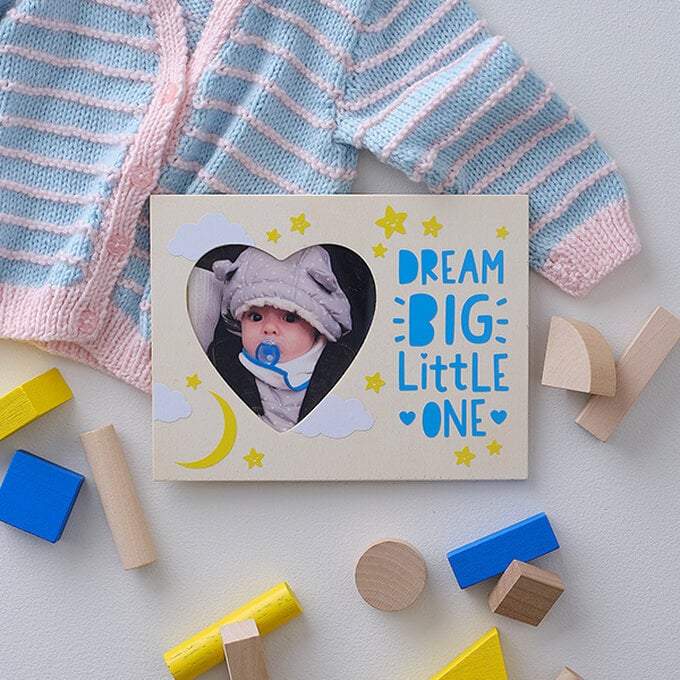
Looking for a cute way to display a photo of your little one? Or perhaps you'd like to make a gift for a family with a new arrival!
This adorable heart frame is super simple to personalise with your Cricut machine and makes a wonderful addition to any mantelpiece.
You will need
Subtotal
Is $ 6.49
Subtotal
Is $ 12.00
Subtotal
Is $ 12.00
Subtotal
Is $ 12.00
How to make
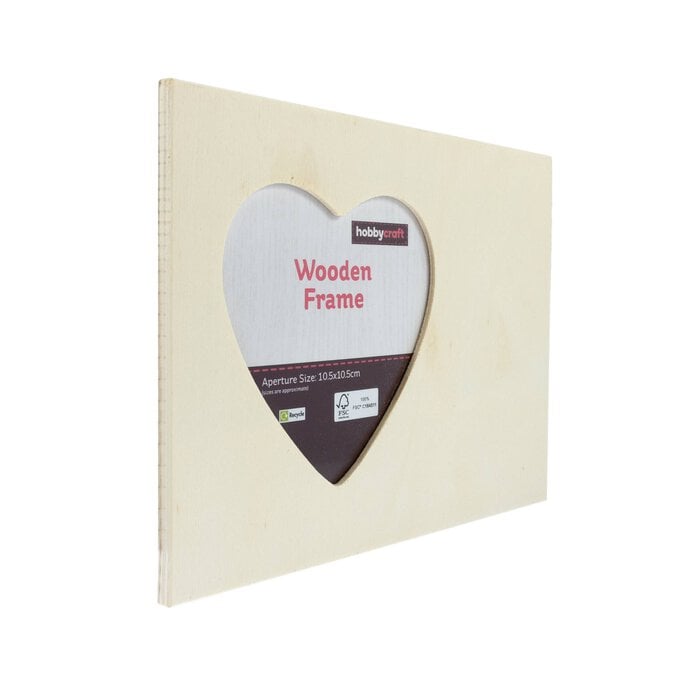
* Heart Frame
* Permanent Glossy Vinyl - White, Yellow, Blue
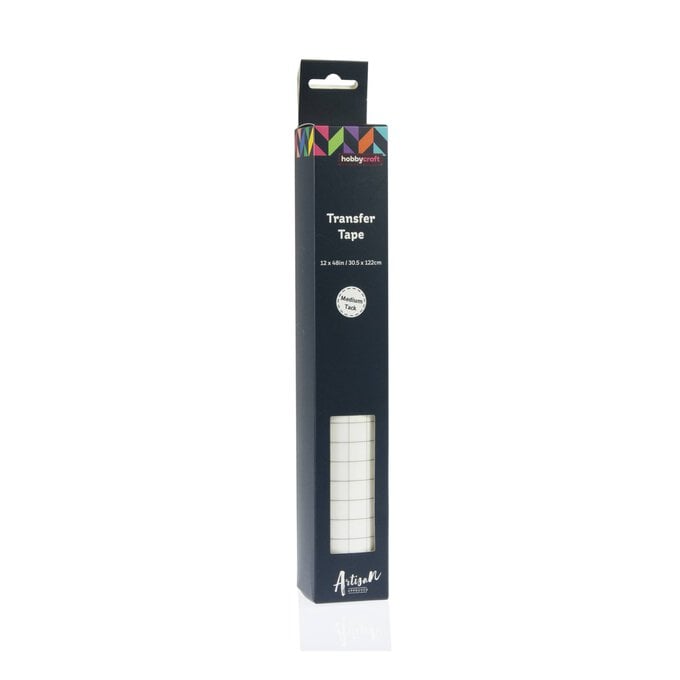
* Transfer Tape
* Scraper Tool
* Scissors

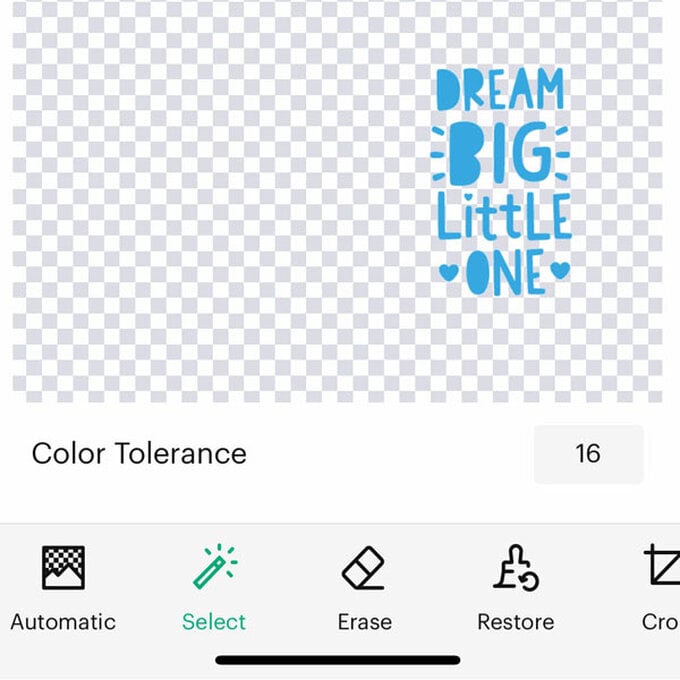
Open Cricut Design Space, go to the canvas, click on ‘upload’, select ‘browse files’ and upload the Heart Frame Text file. Click select on the toolbar and tap the white background to remove it, then click ‘apply’. Select the version that says ‘cut’ underneath it, name your image and upload it.
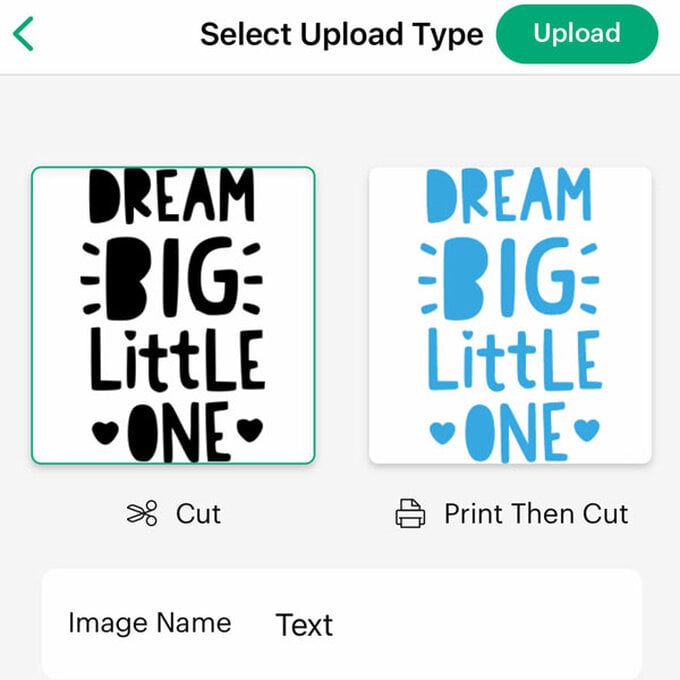
Click ‘make it’, select ‘on mat’ and click ‘confirm’. Select your material and follow the instructions using the blue vinyl. Repeat for the other two files, cutting the stars from yellow and the clouds from white.
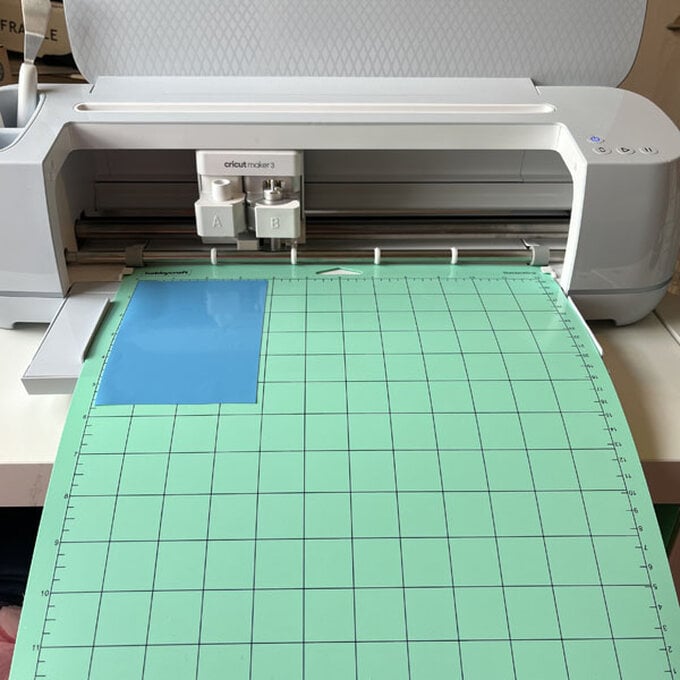
When all your vinyl is cut, remove the excess pieces of vinyl, leaving just your design.
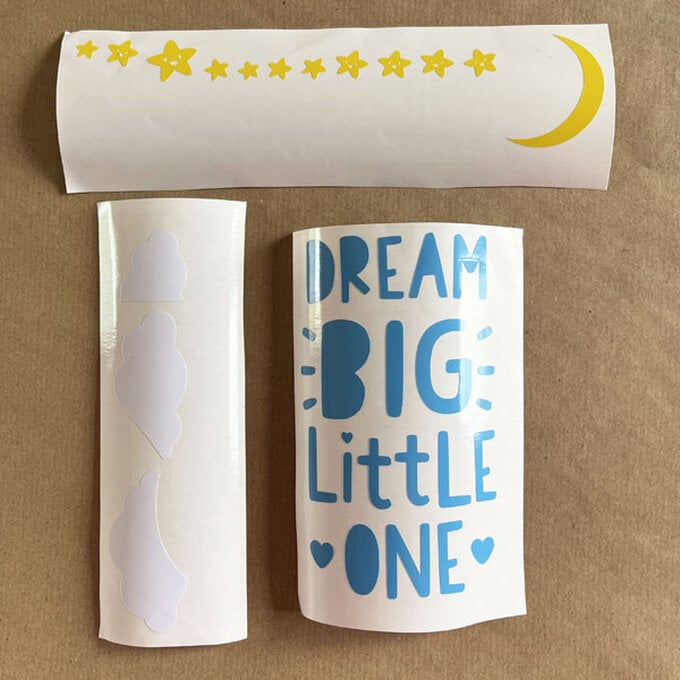
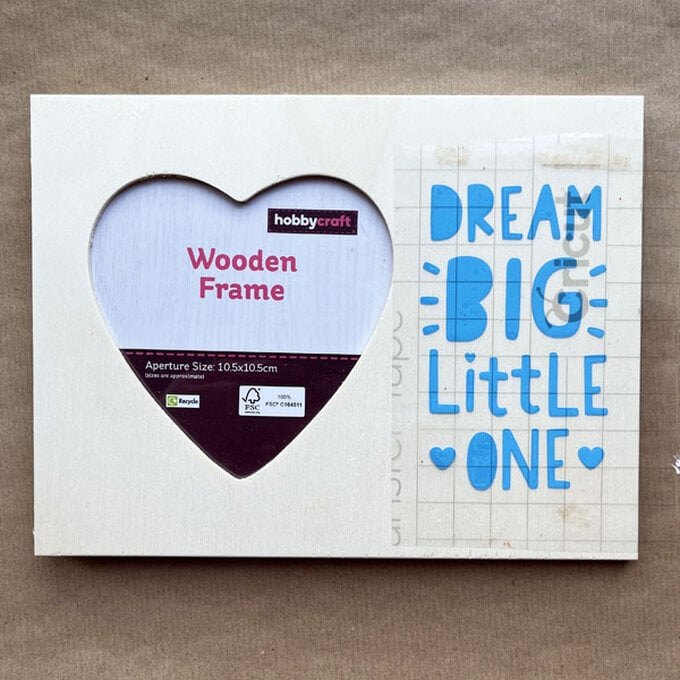
Cut a piece of transfer tape to the same size as the blue vinyl wording. Peel the backing off the transfer tape and place it over your vinyl. Use your scraper tool to press the vinyl firmly onto the transfer tape.
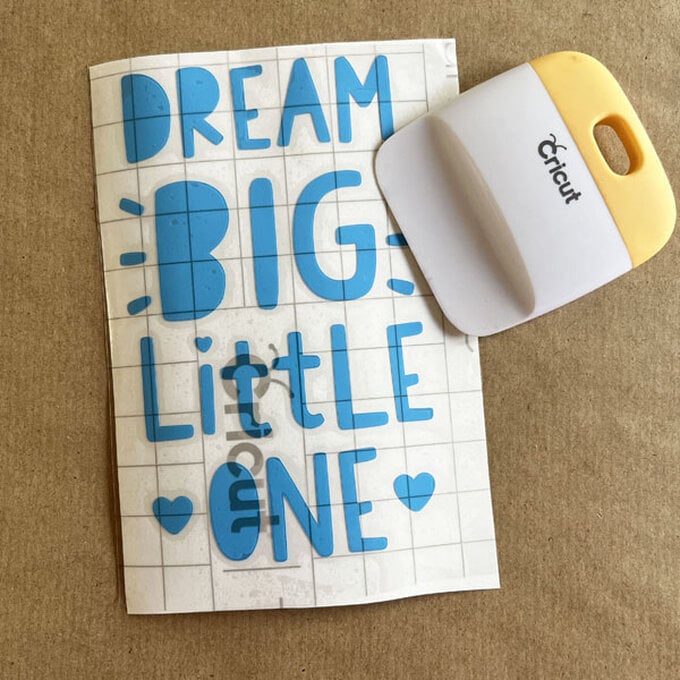
Turn it over and peel away the backing on the vinyl, leaving the words stuck to your transfer tape. Position it over the frame and press down. You can use the scraper tool again to stick it down firmly. Then peel away the transfer tape.
For the clouds and stars you can just peel them off the backing and place them on the frame, using the photo of the finished frame as a guide.
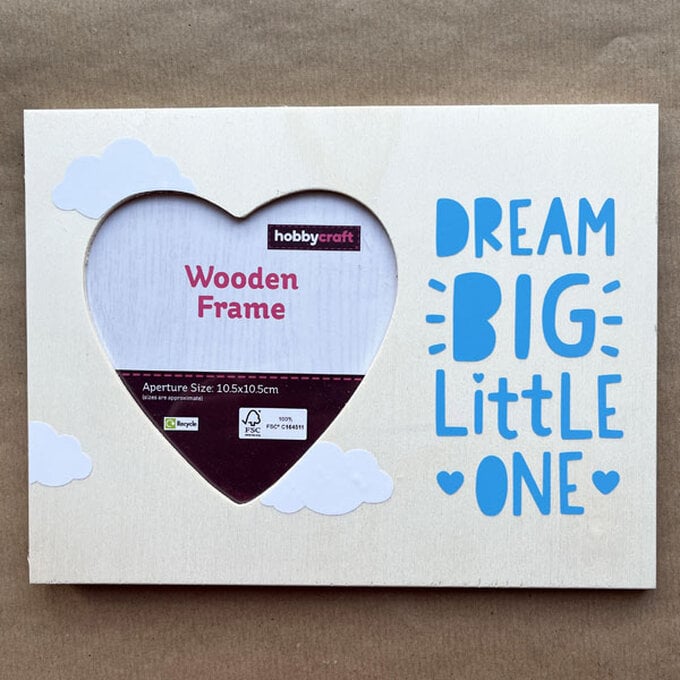
Place a picture of your loved one inside, and then your frame is ready to display!
