Cricut: How to Make an Embroidered Reindeer
Project and how-to make instructions by Jennifer Harper
One of my favourite Christmas traditions is sourcing new ornaments each year. They make lovely keepsakes to look back on year after year. This year, I've tried something a little different: embroidery! This isn't your typical papercraft project by any stretch of the imagination but makes use of a Cricut machine to draw your design onto fabric. Using Cricut's extensive library of fonts and images, you'll have plenty to inspire you and (my favourite bit!) if drawing isn't your thing, your Cricut will help you to transfer your design perfectly every time!
You will need

Subtotal
Is $ 7.49 , was $ 15.00
Out of stock
Subtotal
Is $ 0.49 , was $ 1.49
Out of stock
Subtotal
Is $ 5.49
Subtotal
Is N/A
Out of stock
Subtotal
Is $ 7.49
Subtotal
Is $ 2.49

Subtotal
Is $ 2.49
Subtotal
Is $ 2.49
Subtotal
Is $ 2.49
Subtotal
Is $ 7.49
Out of stock

Subtotal
Is $ 570.00
Out of stock
How to make
Design your image in Cricut Design Space. I found it easier to start by drawing a circle in Design Space that I knew would be smaller than my embroidery hoop, this helped me to centre my image and gave me peace of mind that my design would definitely fit.

Cricut's washable fabric marker pen is a great way to transfer images to fabric. It is light blue so is most effective when used on lighter coloured fabrics. Select the washable marker pen for your entire design.

Add your images to your design, I used the Rudolph with Deer Head image.


Resize the deer image so that it sits centrally within the circle, then add any text (I added the year to my piece), using the text function in Design Space. Once happy with the layout, make sure that everything is attached in the image – this will ensure your machine understands the design is meant to be one entire piece, not several pieces to draw separately – then click the 'make it' button.


When you're ready to transfer your design, place a piece of ironed fabric to your Cricut FabricGrip mat. You should drag your design to the centre of your mat, so that there will be excess fabric around the outside. This is important as it will help you to position your fabric on the embroidery hoop. The Cricut Explore Air 2 does not have a fabric setting, but I found that using the 'Light Cardstock' setting did the job perfectly, without damage to pen or fabric. Follow your machine's instructions for transferring the image.

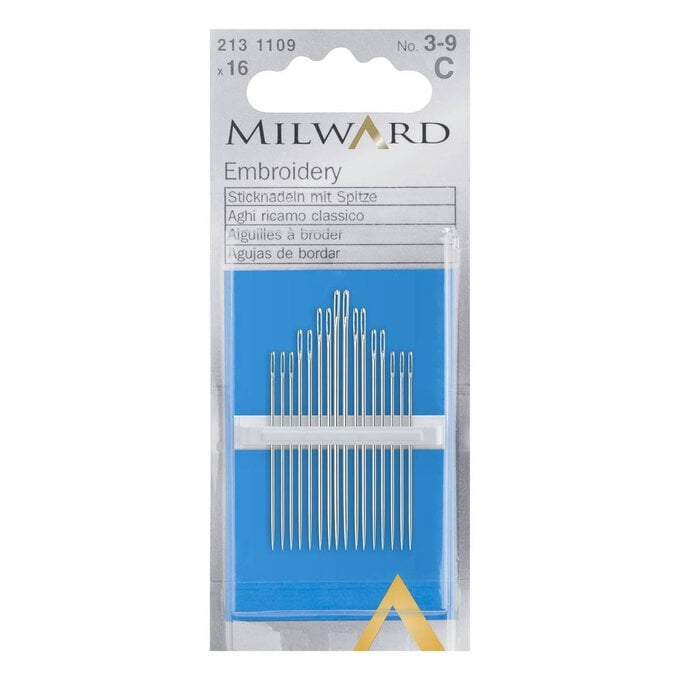
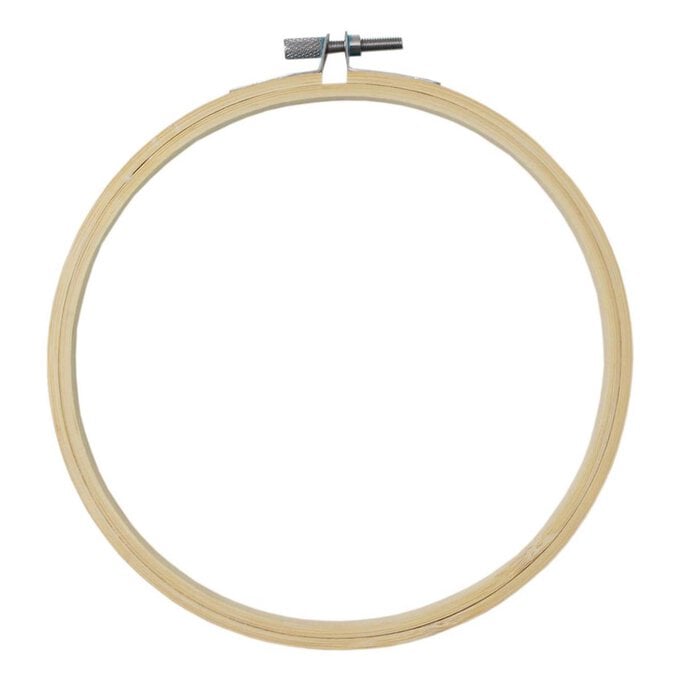
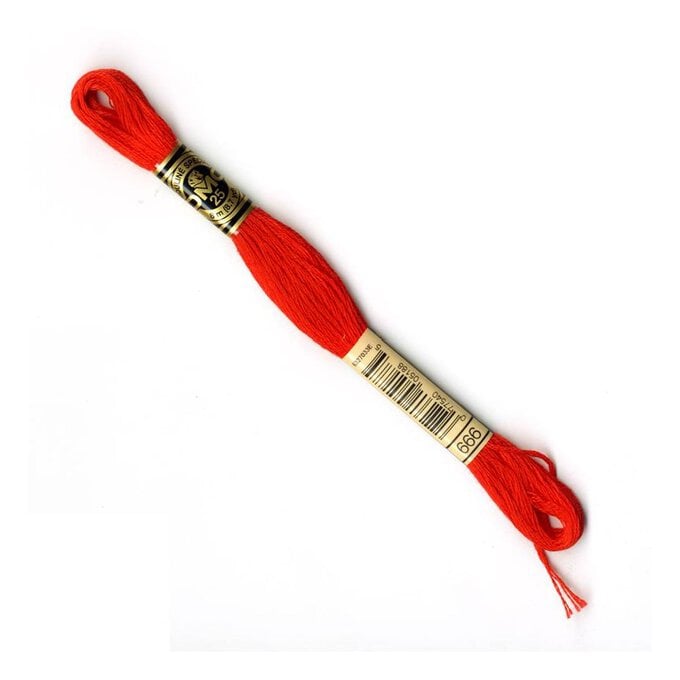
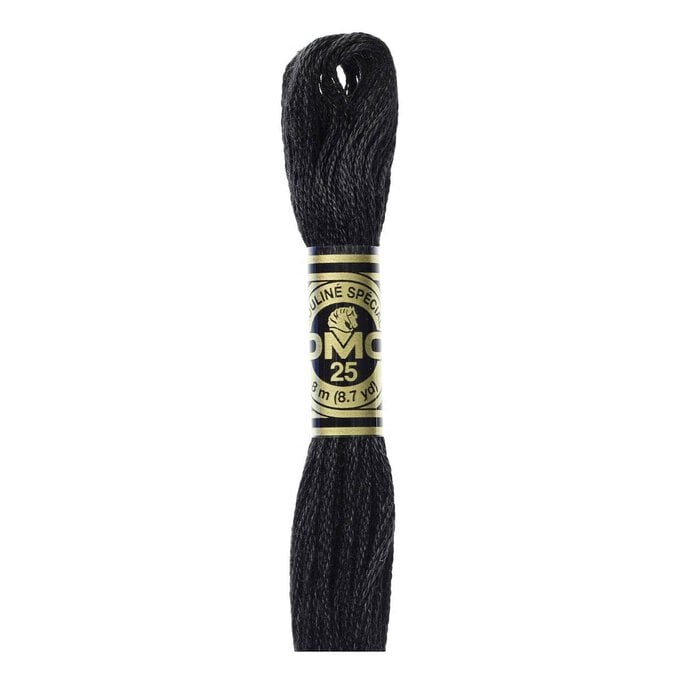
When your image is transferred, remove your fabric from your mat and put it in an embroidery hoop. Stitch your design using whichever stitches you like best. I chose chain stitch for the border, back-stitch for the reindeer and year date, and then satin stitch for Rudolph's nose.
Once you have finished your embroidery, remove the fabric from the hoop and rinse under warm water until you see the transfer lines fade away. Line-dry your fabric and try not to ring out too much of the water as this can damage your embroidery.
Finish your embroidery by putting it back into a hoop and trimming away the excess fabric. There are several ways you can finish the back of your embroidery including using stitches and felt. I chose to use tacky glue to stick the ends of my fabric to the inside of the hoop.

Craft with us at our workshops


Related Products