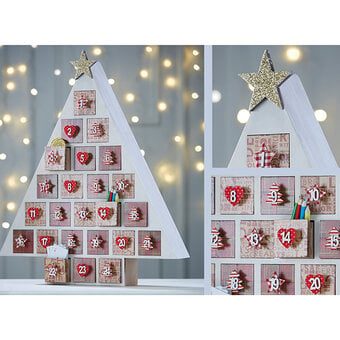
Cricut: How to Create Festive Home Decor Wall Art
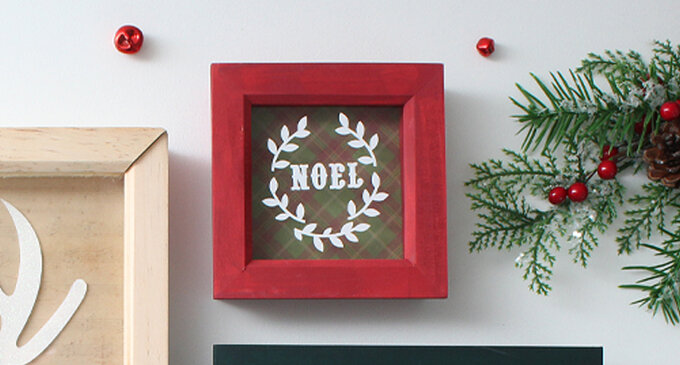
If you're looking to create a few new handmade pieces of home decor this Christmas, you can't go wrong with a decorative box frame, hang up on the wall, display on top of the fireplace or why not even give it as a gift.
This dinky little frame uses festive papers and white vinyl cut using a Cricut machine and its online software, Design Space, to create a one-of-a-kind piece of decor for your home.
You will need
Subtotal
Is $ 586.00
Subtotal
Is $ 33.00 , was $ 42.00
Subtotal
Is $ 10.00
Subtotal
Is $ 5.49
How to make
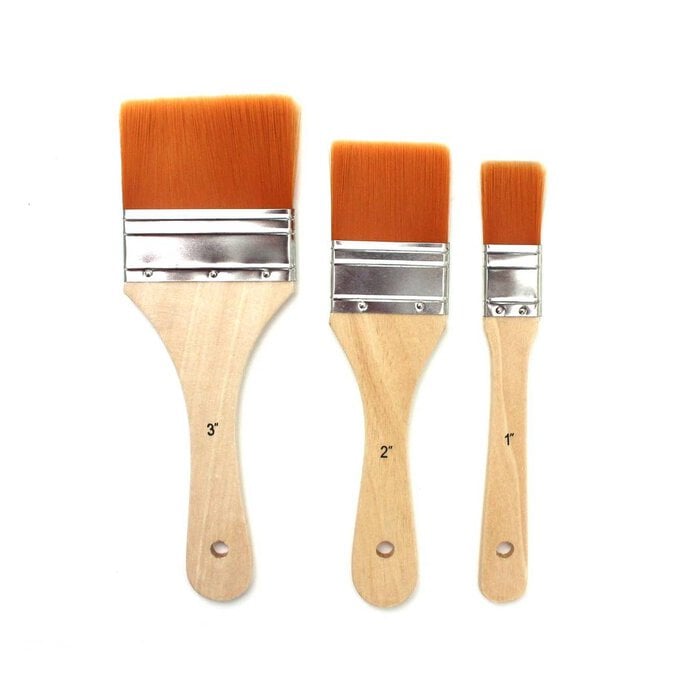
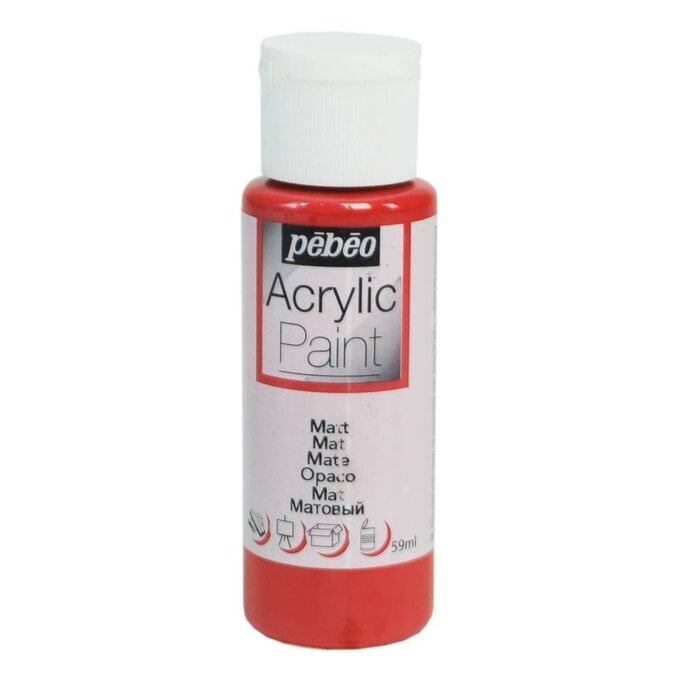
Dismantle the wooden frame, carefully removing the back, inner frame and glass. Paint the outside frame with brick red acrylic paint and allow to dry. Repeat with a second coat of paint if necessary.
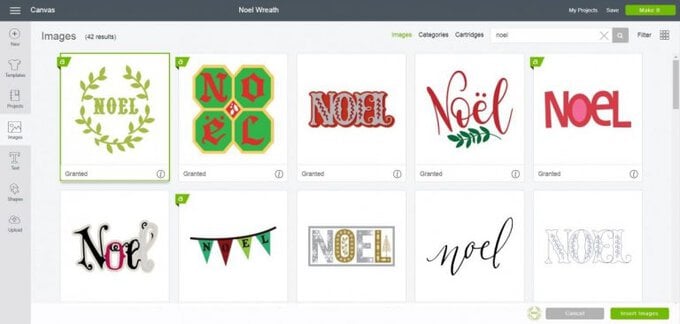
Using a laptop/Mac/iPad/iPhone/Android device, log on to your Design Space™ account and make sure you are connected to your Cricut Explore™ / Maker™ machine. Open a new project. Search for 'Noel wreath' and select the design you'd like to use.
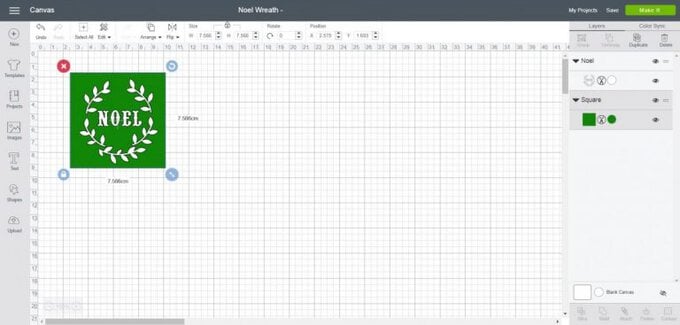
You may need to add a square to the canvas using 'shapes' and change the colour to make the design easier to see. Resize the square to 7.6 x 7.6cm.
You may need to resize the image as required by first highlighting the image and then dragging the corner point. The size appears in a black text box as the image is altered. This project sized the image at 6.3(W) x 6.8(H)cm.
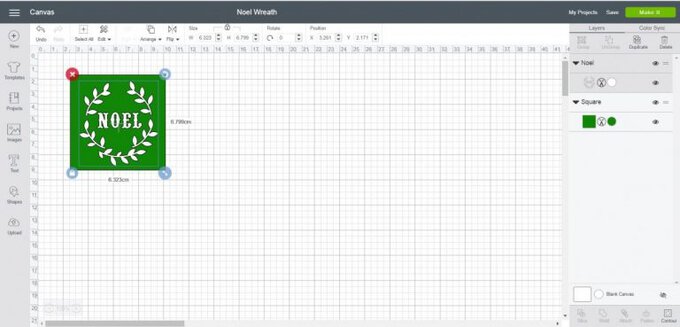
Cut the images from the required materials: the square from decorative paper, the wreath from white vinyl: adjusting the materials setting as appropriate.
Reassemble the dry painted frame, inserting the backing paper square into the frame. Clean the outside glass.
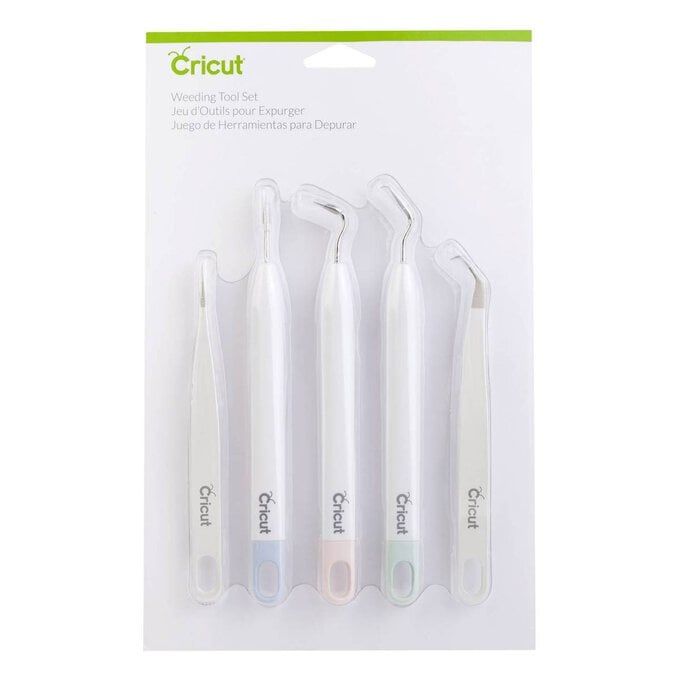
Using the Bright Pad and weeder tools, carefully remove the unwanted vinyl from the cut image.
Position the white vinyl text centrally on the glass, following the packaging instructions.
