Cricut: How to Make Garden Party Jars
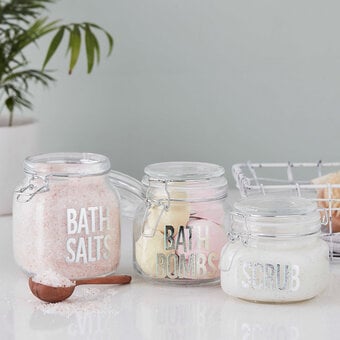
Personalised vinyl details are certain to transform your party jars for a decorative detail you might even let your guests take home! These multi-purpose mini favour jars can be used to hold cocktails and mocktails, a selection of sweets, or perhaps a pretty tealight.
Follow simple steps to recreate the project with your Cricut machine. Using mix and match patterns with a minimal palette will make these jars the talking point of your table.
Project and instructions by Nerrisa Pratt.
Discover more Cricut ideas here andgt;
Please note: This project contains paid-for content from Cricut's Design Space app. Screen reference images are taken from the desktop version of Design Space. The Cricut Maker was used to create this project; however, this project can also be created using a Cricut Explore.
You will need
Subtotal
Is $ 584.00
Subtotal
Is $ 11.00 , was $ 14.00
Subtotal
Is $ 33.00 , was $ 41.00
Subtotal
Is $ 11.00 , was $ 14.00
How to make
Open the Cricut Design Space app and start a new project, and add in your shapes, for this project we've used the following: Basic leaf (#M1EC4C503), Seaweed (#MB34FCFF), Speech bubble (#M9803551) and some circles
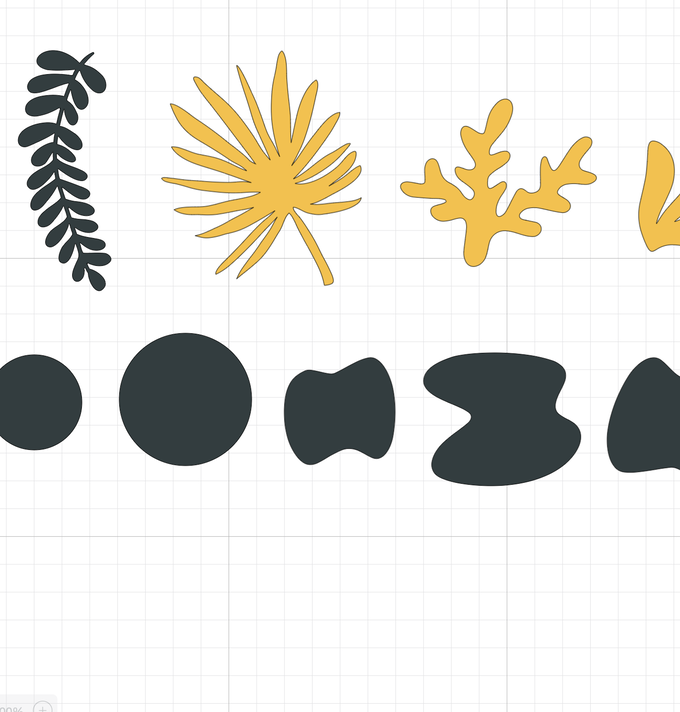
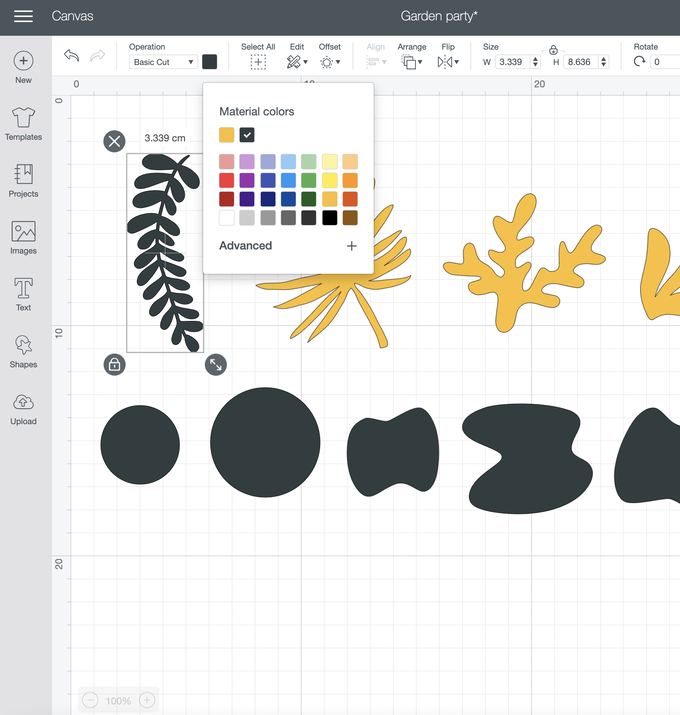
To make it easier to identify your colour palette, change the gold sections to another colour, this will split the project at the cutting stage
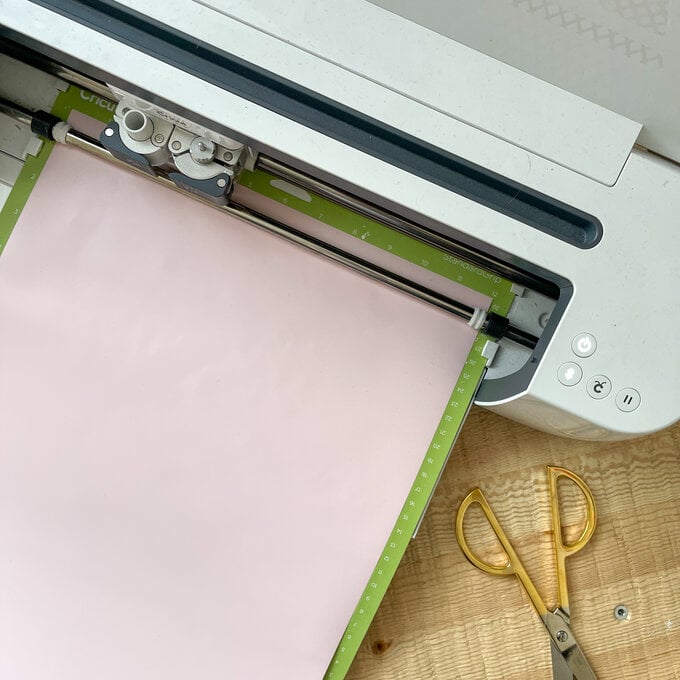
Once you're happy with the design, send it to cut. For this project, the gold assets are cut once and the shapes are cut a total of 1 time in each colour (pink and mint)
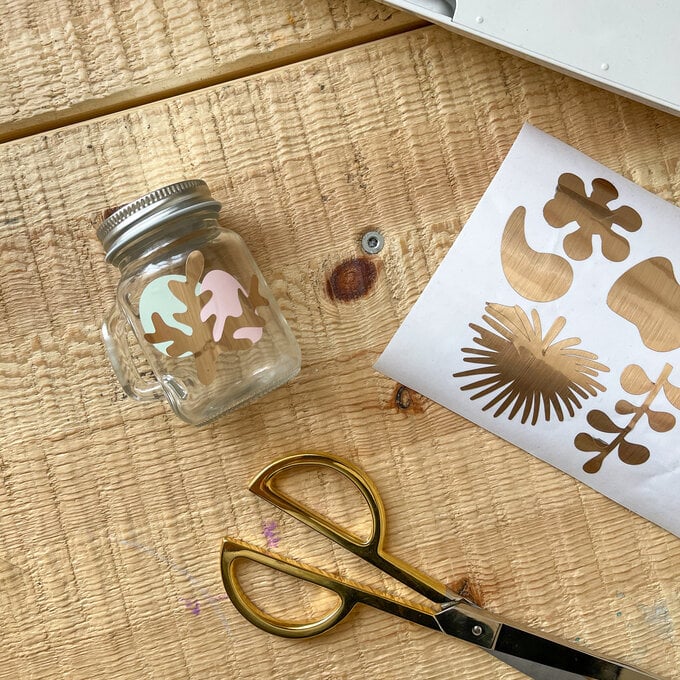
Weed your design and if it's easier, cut the shapes into individual pieces so your transfer tape doesn't accidently pick up any of the other shapes
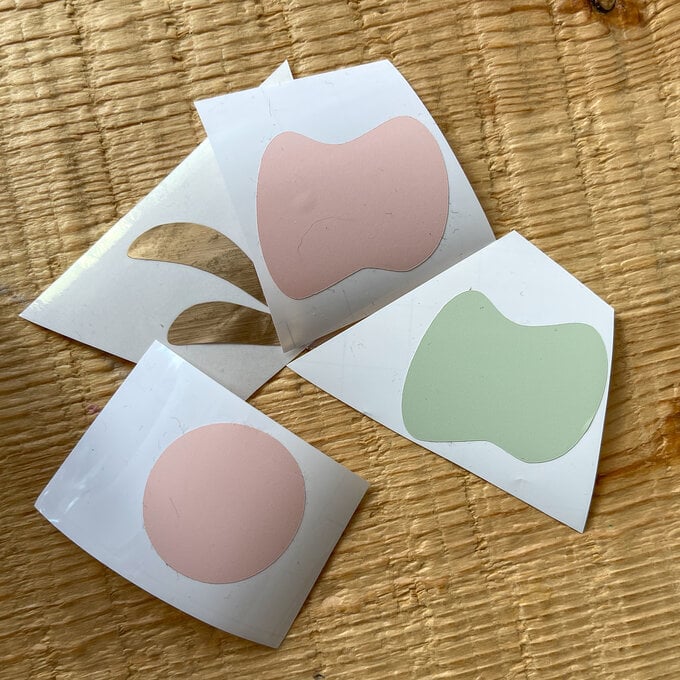
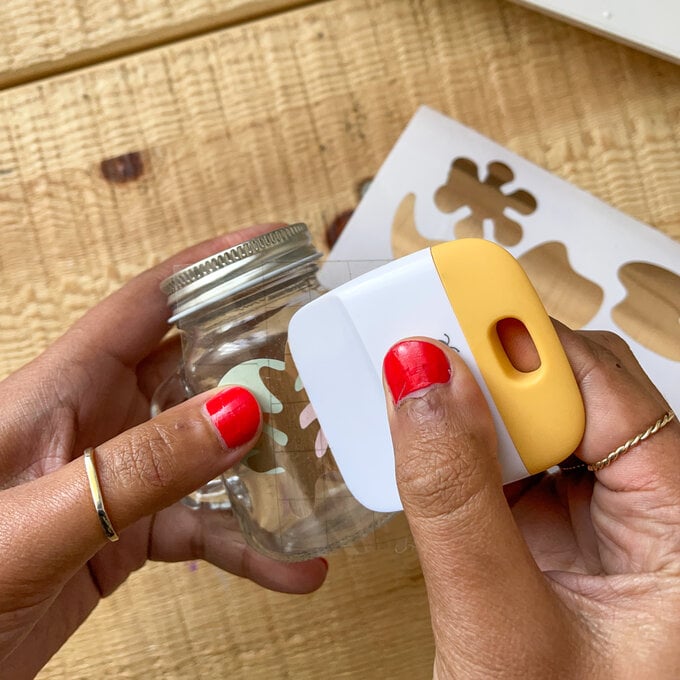
Using your transfer tape, first layer up your pink and mint shapes – try combining similar and mixed shapes so they all vary just a little bit.
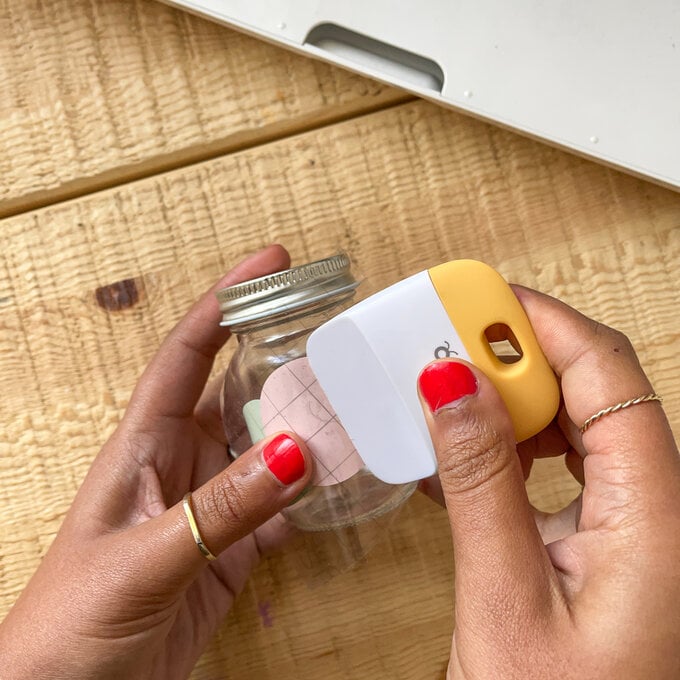
Once you're happy with the base, us the foil shapes to cover the seam on the base – be careful when peeling away the transfer tape from the foil as it can tear easily
