Skip to Content (Press Enter) Skip to Footer (Press Enter)

Silhouette: How to Make a Scratch Card & Envelope

Level
Beginner
Time
1 hour
Budget
30+

Get creative with your Silhouette machine by crafting your own personalised scratch card and envelope.

Perfect for beginners, this project will guide you through how to design and create a one-of-a-kind scratch card that will make the perfect gift idea!

Enhance your skills and explore new creative possibilities with this distinctive digital crafting idea.

Project & Instructions by Hobbycraft Artisan:

Chrissie Ellson

Find out more

You will need

Is $ 4.49

Quantity: 1

Subtotal

Is $ 4.49

Is $ 18.00

Quantity: 1

Subtotal

Is $ 18.00

Is $ 20.00 , was $ 26.00

Quantity: 1

Subtotal

Is $ 20.00 , was $ 26.00

Out of stock

Is $ 11.00

Quantity: 1

Subtotal

Is $ 11.00

You’ve viewed 2 of 4 products

Total:

You Will Need

* A Silhouette Cameo 4 Machine

* Silhouette Studio Software Downloaded

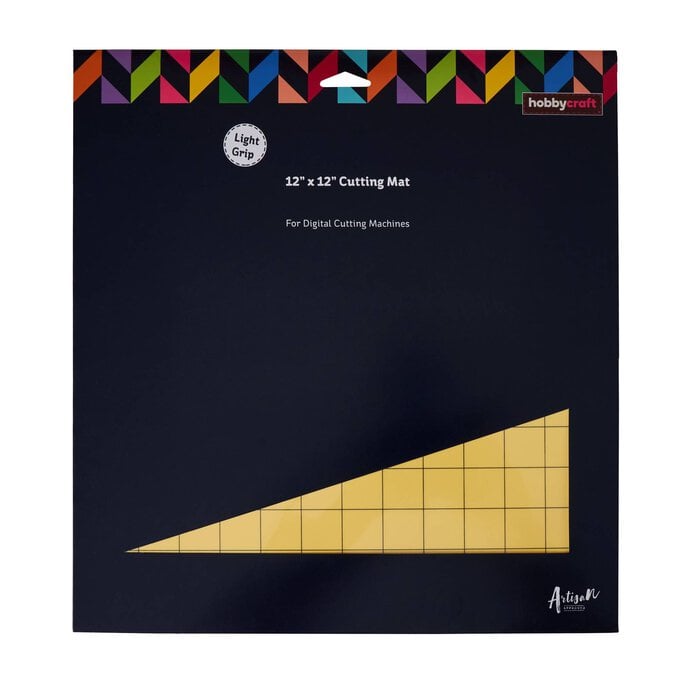
* A Light Grip Cutting Mat

* White A4 Card

* White A3 Card

* A Silhouette Sticker Sampler Pack

Step 1

Let's begin by creating the design for your ticket.


First, use the square drawing icon to create three slightly different sized rectangles. Change the line colour of your first square to red (this will be how the Silhouette knows to cut this section).


For your second one, ensure it is slightly smaller than the first and use the fill colour to change the colour to black.


The third one should be slightly smaller than the second, and use the fill colour to change it to white. When you line these three up together, the red, black and white sections will look like you have created a small black border.

idea%5Fsilhouette%2Dscratch%2Dcard%5F%2D14.jpg?sw=680&q=85
Step 2
Select the three layers together, right click your mouse and then select “Group”.
idea%5Fsilhouette%2Dscratch%2Dcard%5F%2D13.jpg?sw=680&q=85
Step 3

Create the design for your wording and space it out as you would like it to look. The fonts we used were 'Arial', and for the Happy Birthday wording we used a Silhouette font called 'Fallen Angel' purchased from the Silhouette Design Store.


To create the thin vertical line we used a square shape and resized it to a thin line using a black fill.

idea%5Fsilhouette%2Dscratch%2Dcard%5F%2D12.jpg?sw=680&q=85
Step 4
Once your design is complete highlight it all, right click your mouse and then select “Group”.
idea%5Fsilhouette%2Dscratch%2Dcard%5F%2D11.jpg?sw=680&q=85
Step 5
To make the best use of an A4 piece of card, rotate the design so that it's portrait.
idea%5Fsilhouette%2Dscratch%2Dcard%5F%2D10.jpg?sw=680&q=85
Step 6
As this is a print and cut project you will need to turn on the registration marks. It is also good practice to click “Restore Defaults”.
idea%5Fsilhouette%2Dscratch%2Dcard%5F%2D03.jpg?sw=680&q=85
Step 7

When your design is ready to go, send it to your printer.


After your image has printed, apply it to your light grip mat in the top left hand corner and then select “Send” in the top right hand corner of your screen. Make sure that the only box that is ticked is the red section that will cut round the edge of the project. We used the card stock setting to cut this project.

idea%5Fsilhouette%2Dscratch%2Dcard%5F%2D01.jpg?sw=680&q=85
Step 8
Load your mat in to your machine and use the arrow keys on the machine to line the blade up over the small black square. You are then ready to cut.
idea%5Fsilhouette%2Dscratch%2Dcard%5F%2D16.jpg?sw=680&q=85
Step 9
The scratch off section is created by using a circle large enough to cover the secret message.
idea%5Fsilhouette%2Dscratch%2Dcard%5F%2D09.jpg?sw=680&q=85
Step 10
Send this project to the machine and select “Scratch-off Sticker Sheet”.
idea%5Fsilhouette%2Dscratch%2Dcard%5F%2D08.jpg?sw=680&q=85
Step 11
Once the circle is cut apply it to the card.
idea%5Fsilhouette%2Dscratch%2Dcard%5F%2D15.jpg?sw=680&q=85
Envelope - Step 1
The envelope was created by using the basic squares and then adjusting the corners so they are curved.
idea%5Fsilhouette%2Dscratch%2Dcard%5F%2D07.jpg?sw=680&q=85
Envelope - Step 2
Overlap two rectangles and then after highlighting both, right click your mouse and select “Weld”.
idea%5Fsilhouette%2Dscratch%2Dcard%5F%2D06.jpg?sw=680&q=85
Envelope - Step 3
Create the score line with another square ensuring the corners are sharp. Make sure to change the line colour for the score section to a different line colour so we can change the function.
idea%5Fsilhouette%2Dscratch%2Dcard%5F%2D05.jpg?sw=680&q=85
Envelope - Step 4
Send the project to the machine making sure that you change the functionality of the black line to 'score'.
idea%5Fsilhouette%2Dscratch%2Dcard%5F%2D04.jpg?sw=680&q=85
Finished
Your scratch card will make the perfect gift idea!
idea%5Fsilhouette%2Dscratch%2Dcard%5Fstep.png?sw=680&q=85
  • bvseo_sdk, dw_cartridge, 18.2.0, p_sdk_3.2.0
  • CLOUD, getReviews, 5ms
  • reviews, product
  • bvseo-msg: Unsuccessful GET. status = 'ERROR', msg = 'Not Found.'; Unsuccessful GET. status = 'ERROR', msg = 'Not Found.';

Related Products

Top