Cricut: How to Make a Personalised Family Plaque
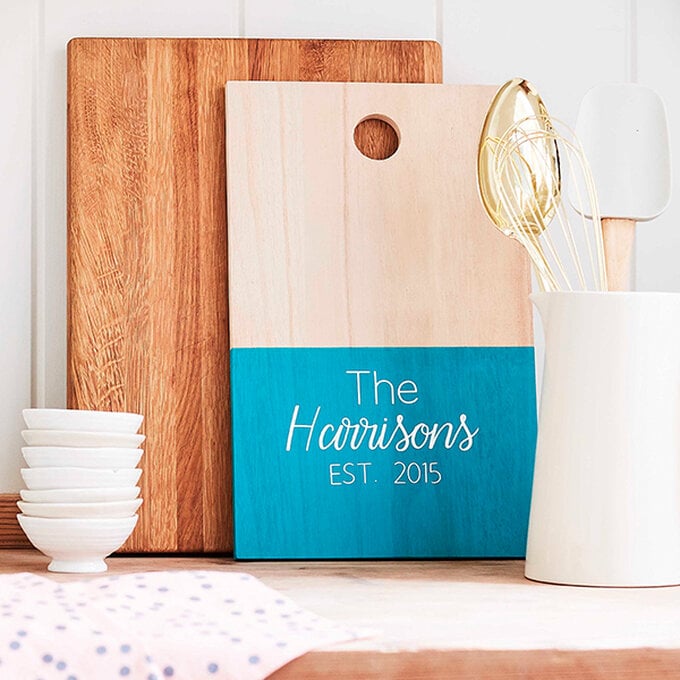
This custom family plaque makes a beautiful decorative piece for any family home. Make it as a little something to brighten up your home or as an extra-special, personalised gift for a loved one.
Wooden slabs are the perfect base item to use for this type of project as you can also add a pop of colour using your favourite colours of paint! Make sure that whatever surface you are using is nice and flat as this will help when it comes to adhering your vinyl greeting.
Discover more Cricut projects here >
This project contains paid-for content from Cricut's Design Space app.
Screen grab reference images are taken from the iOS version of Design Space.
Project by Hobbycraft Artisan Vicky Boyns.
You will need
Subtotal
Is $ 658.00
Subtotal
Is $ 11.00 , was $ 14.00
Subtotal
Is $ 9.49 , was $ 11.00
Subtotal
Is $ 11.00 , was $ 14.00
Subtotal
Is $ 5.49
How to make
You will also need:
*Basic Cricut tools
*A paintbrush
*Cricut Design Space app installed on a laptop, PC, Tablet or mobile device
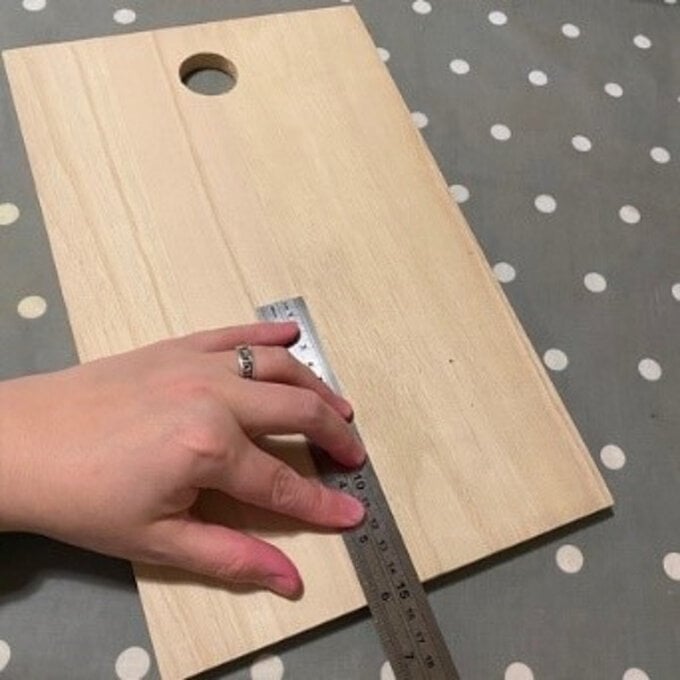
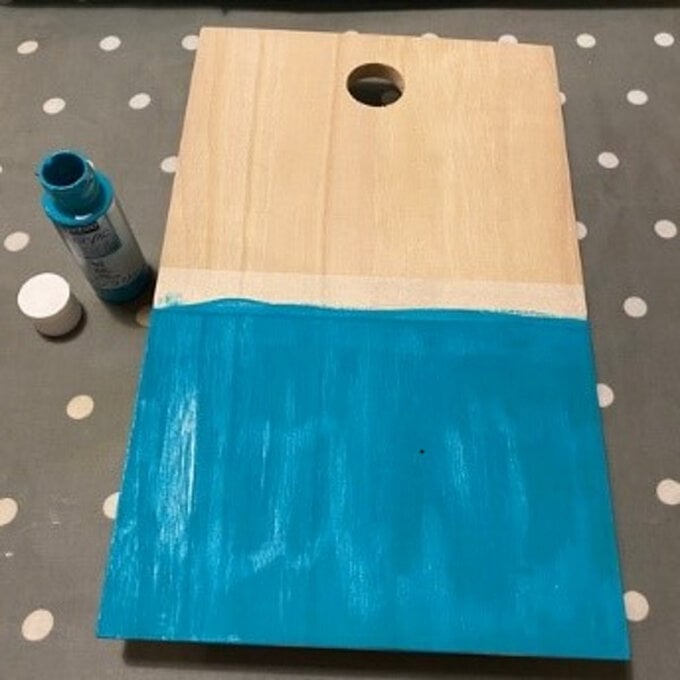
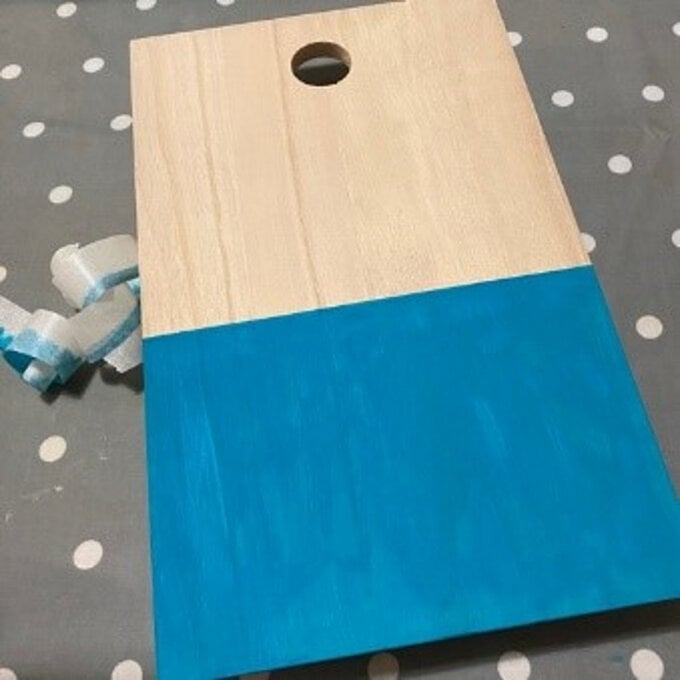
First, Prepare your chopping board by using masking tape to mark 6 inches from the bottom of the board. Paint up to the taped line all the way around the board. Leave to one side to dry.
A second coat is advisable.
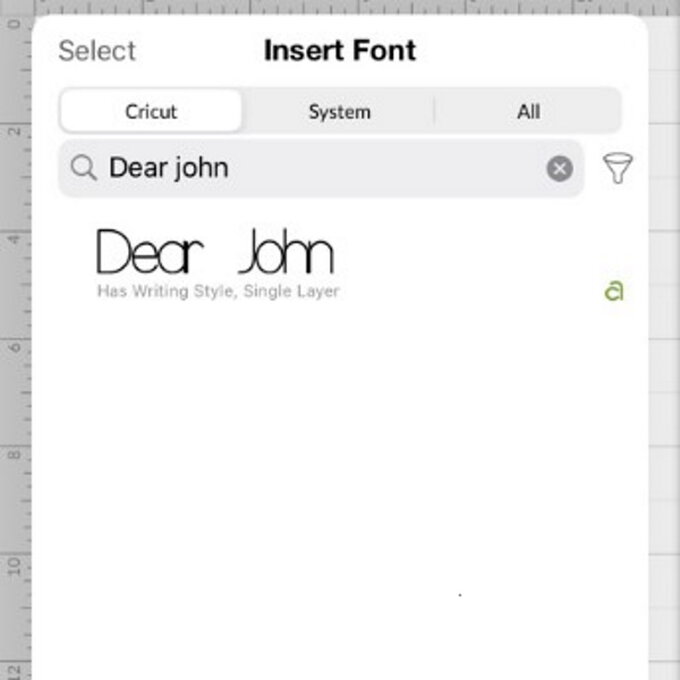
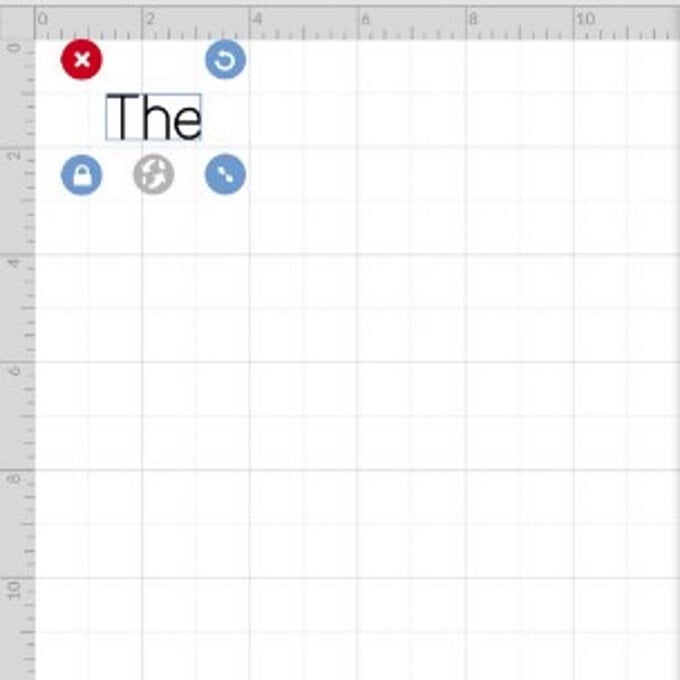
Open a new project in design space and choose the 'Dear John' font from the text menu at the bottom of the screen.
Type the word 'The' into the text box that appeaers on screen.
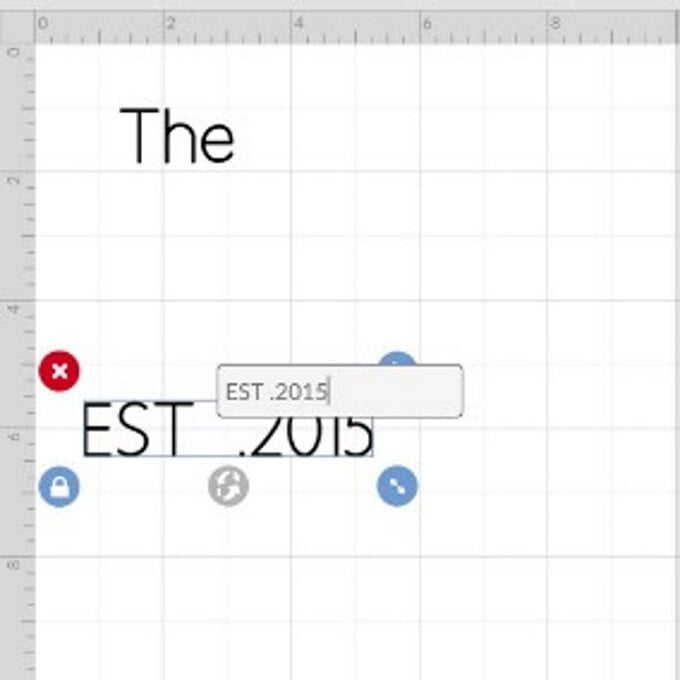
Choose the 'Dear John' font again and type in 'EST.' followed by your chosen date.
Choose the 'Emma Rae' font and type your surname
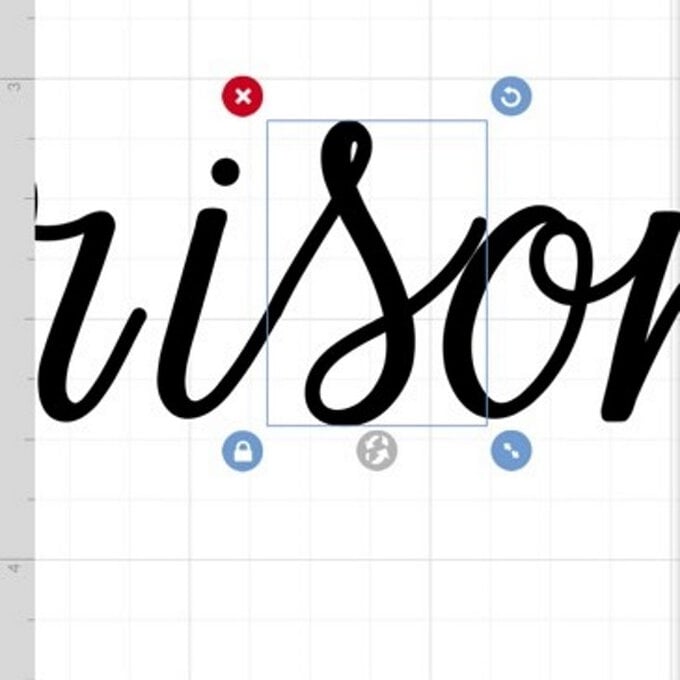
You will need to click the 'edit' icon and reduce the 'letter space' so that the letters become joined up. If you need to you can 'ungroup' (found in 'actions' icon) the letters and move them closer individually.
When you are happy that the lettering is joined nicely, highlight the whole word and click the 'actions' icon and click 'weld' , this will join the letters to be cut altogether.
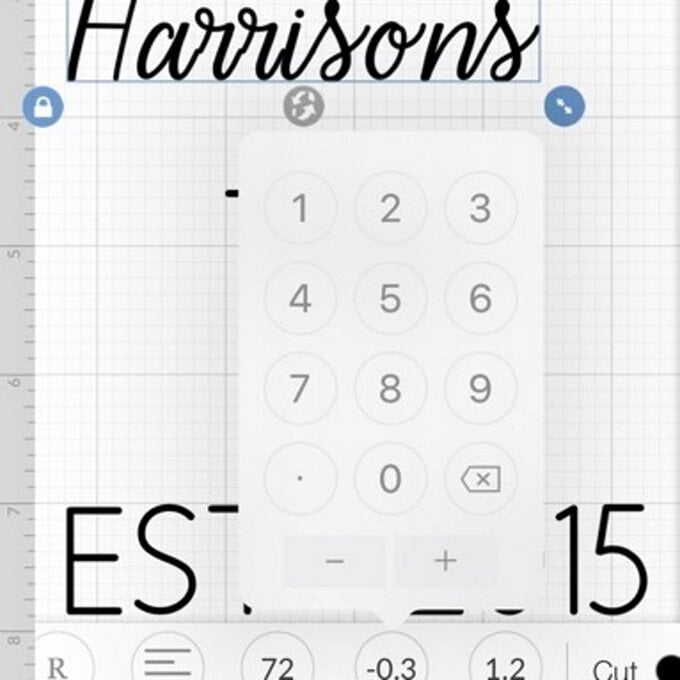
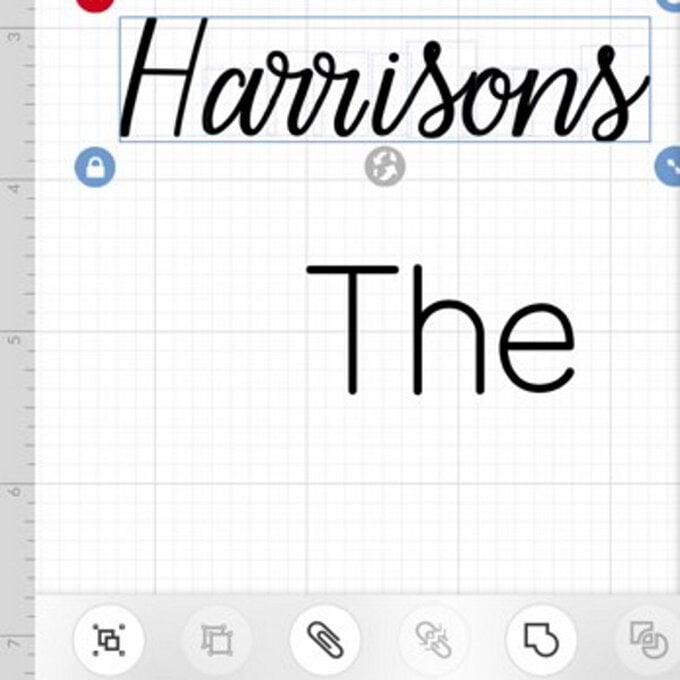
Highlight the words 'The' and 'your name' and click the 'edit' icon and alter font size to 50.
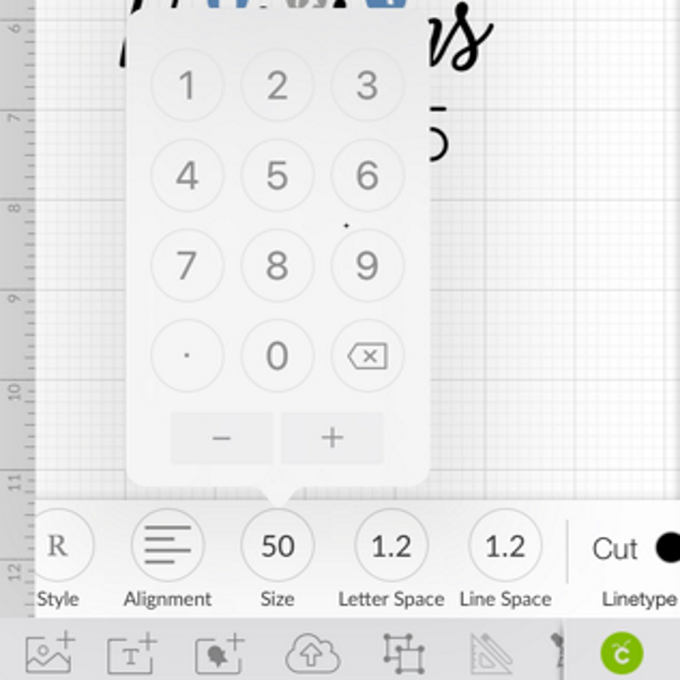
Highlight 'EST.' and alter the font size to 30.

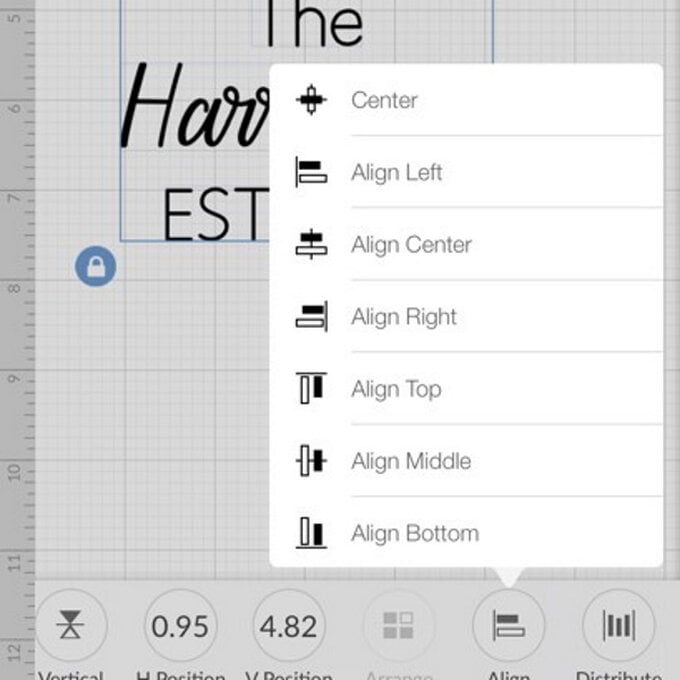
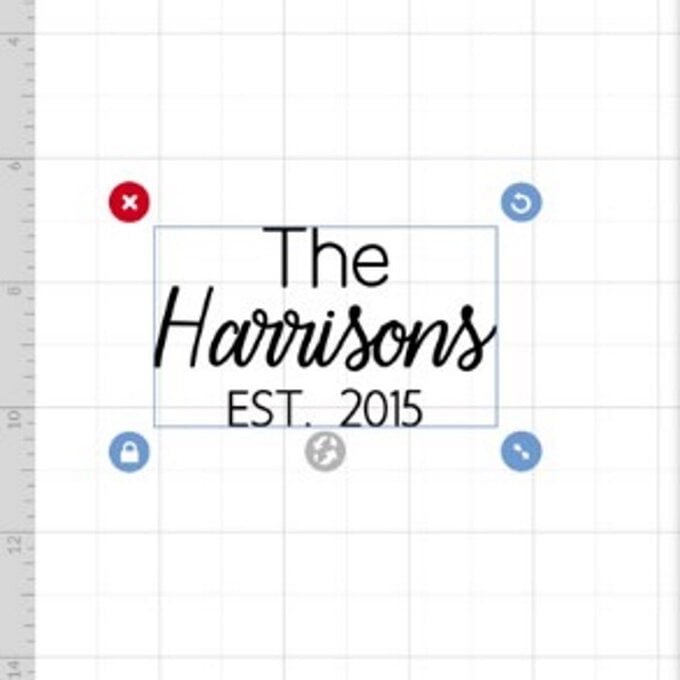
Place lines as pictured below, to do this highlight all three lines, click the 'edit' icon and click 'alignment' and 'centre align', this will ensure all lines are all centre aligned together.
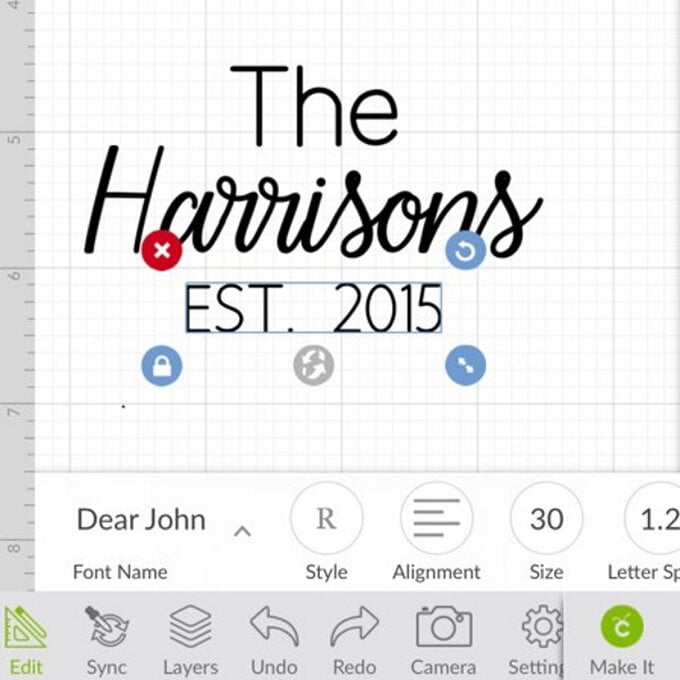
You can now highlight all of the lines of text and "Weld" them together.
Once the image is welded, resize the image by highlighting it and clicking the 'edit' icon, the image needs to be 6 inches wide - the height will adjust in proportion automatically.
Click 'make it' once happy with the design.
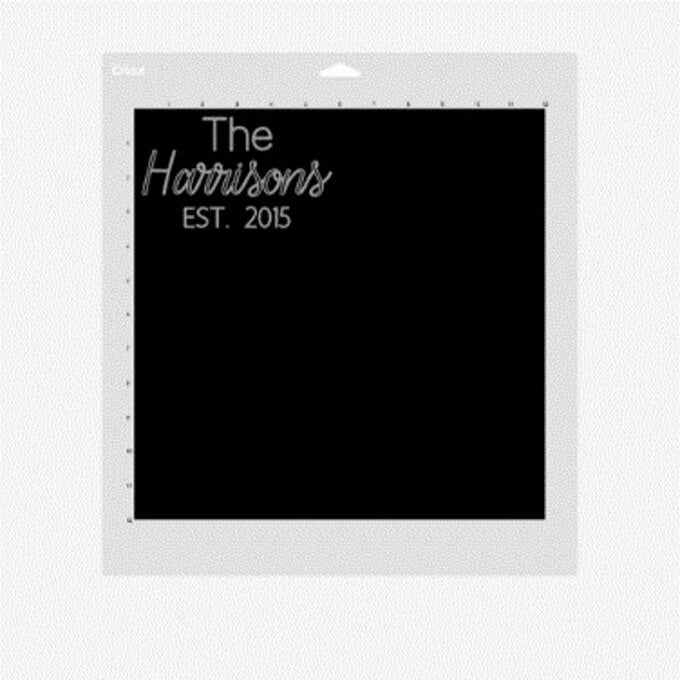
You'll then be taken to the mat preview screen, check the image is as you want it and click 'continue' button.
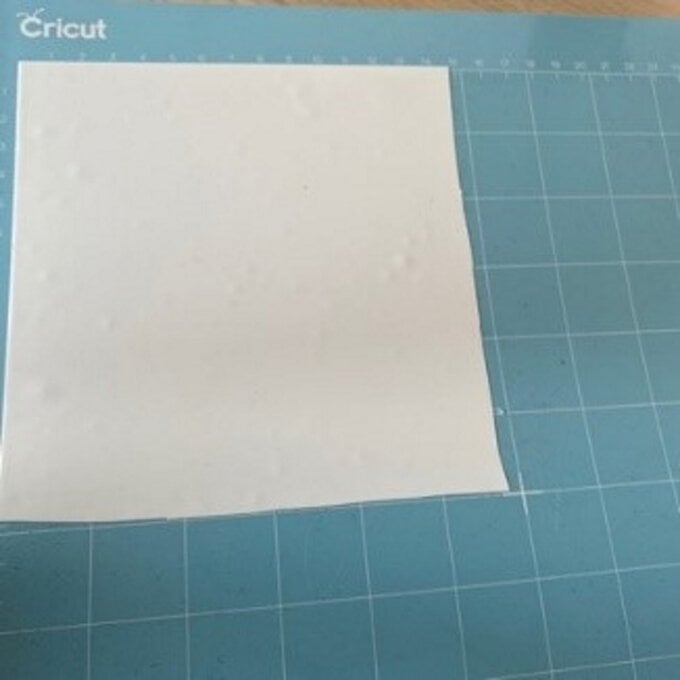
Cut a piece of white Cricut premium vinyl to 6”x 6” and place it in the top corner of your LightGrip Cricut Cutting Mat using a scraper tool or the Cricut Brayer.
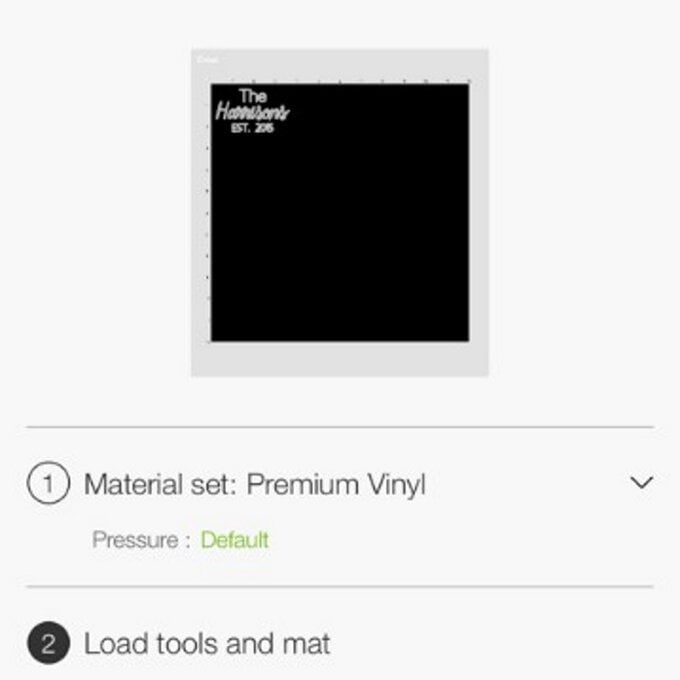
Once through to the machine set up screen, select 'Premium Vinyl' from 'All Materials'.
If you are using an Explore Air 2 you can either use the Smart Dial on the machine turned to 'vinyl' or alternarively twist the dial to "Custom" and choose the "Premium Vinyl" setting in the same way you would when using the Maker.
Once the material is set, you'll then be prompted to load the mat into the machine, and the arrow button will begin to flash. Press the Cricut button to start the cut.
Once the cut is complete, remove the mat from the machine by pressing the arrow button.
Turn the mat over and gently peel it away from the vinyl.
Using your weeding tool, weed the image and cut a piece of transfer tape to the same size.
Top Tip: It often helps to use a piece of clothing to place the tape on to in the first instance, so you remove the some of the stickiness before use.
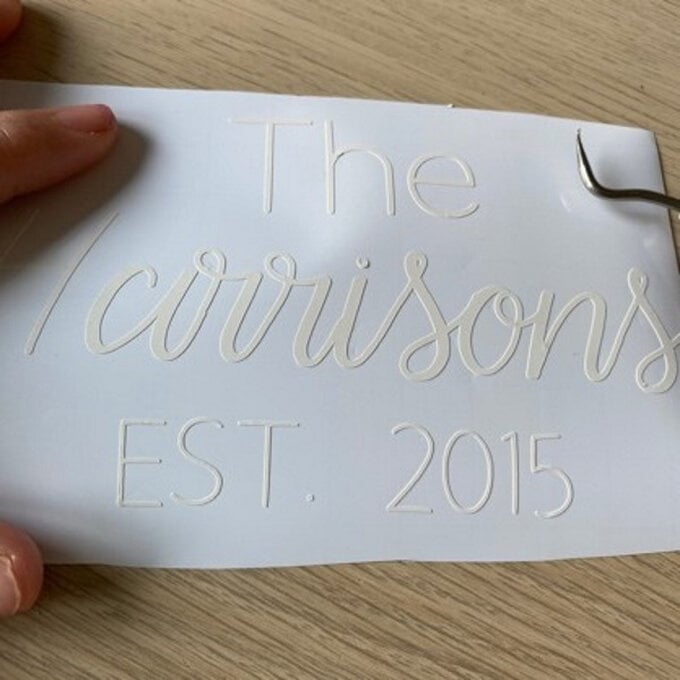
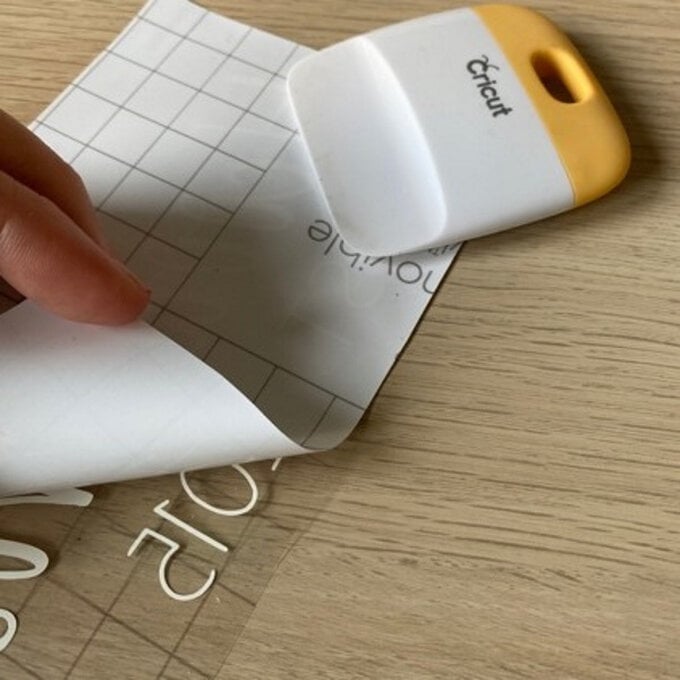
Place the transfer tape over the image and use the scrapper tool to help the tape adhere to your image.
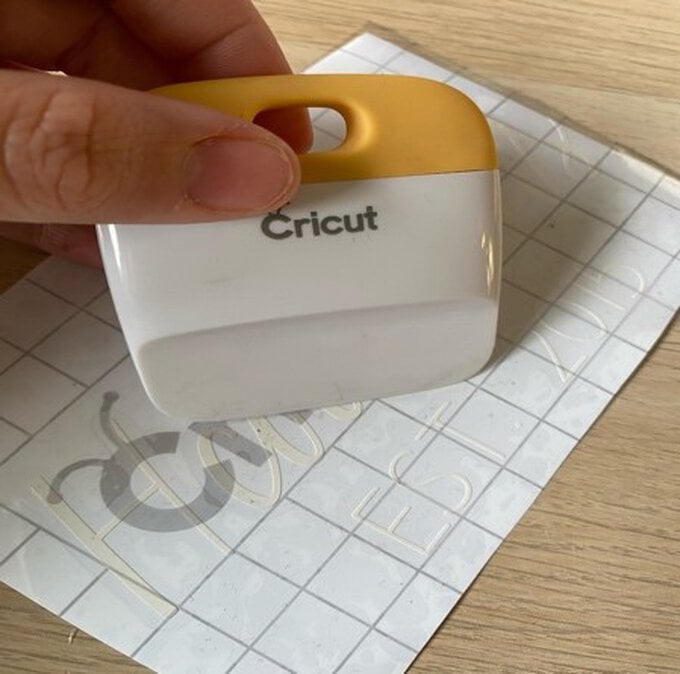
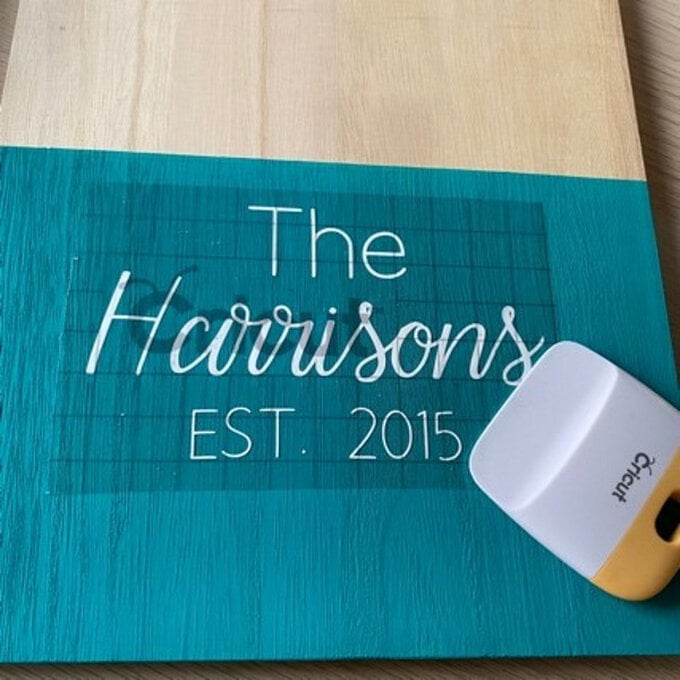
Lift the transfer tape with image adhered and place on the chopping board.
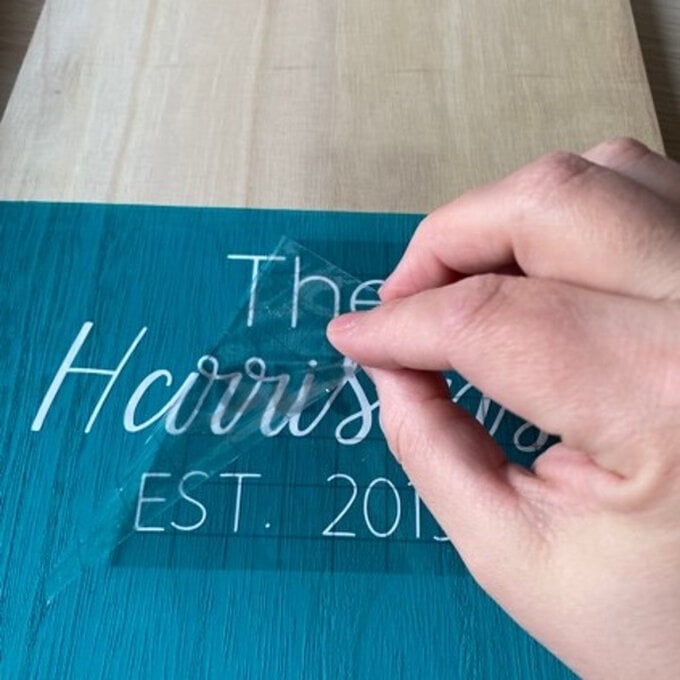
Carefully rub the scrapper tool over the image to help it stick to the board, then gently peel away the Transfer Tape to reveal the design.
