Cricut: How to Make Infusible Ink Mugs
Creating Infusible Ink mugs is super-simple and they make the perfect gift. This 'Sweater Weather' design is wonderfully fitting for the upcoming change in season.
Infusible Ink mugs come in a range of sizes. This design has been created on a 340ml mug, but if you love snuggling down with an even bigger cup of hot chocolate, the design can also be recreated on the larger 425ml mugs. Make sure to resize the design using the height of the mug as a guide.
Project and instructions by Aisha Cluitt
Cricut Design Space Project Link: Sweater Weather Mug
Please note: This project contains paid-for content from the Cricut Design Space app. Screen reference images are taken from the desktop version of Design Space. This project has been created using the Cricut Joy; however, it can be recreated on any of the Cricut digital cutting machines.
You will need
Subtotal
Is $ 11.00 , was $ 14.00
Subtotal
Is $ 8.49 , was $ 11.00
Subtotal
Is $ 219.00
Subtotal
Is $ 234.00 , was $ 248.00
How to make
* Cricut Joy
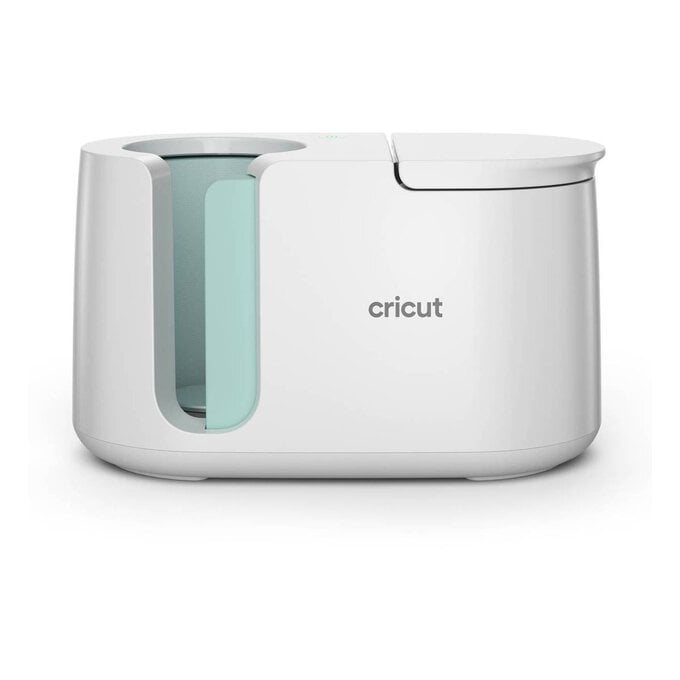
* Cricut Mug Press
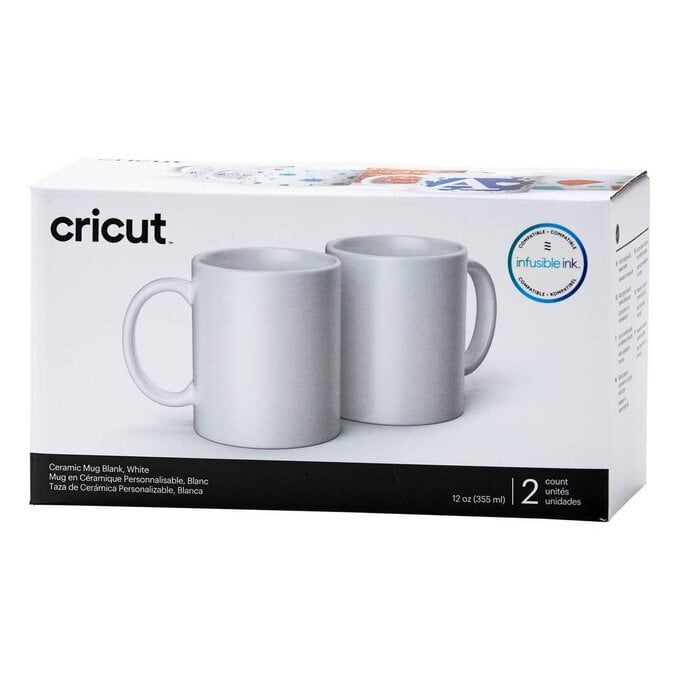
* Cricut Ceramic Mug Blanks
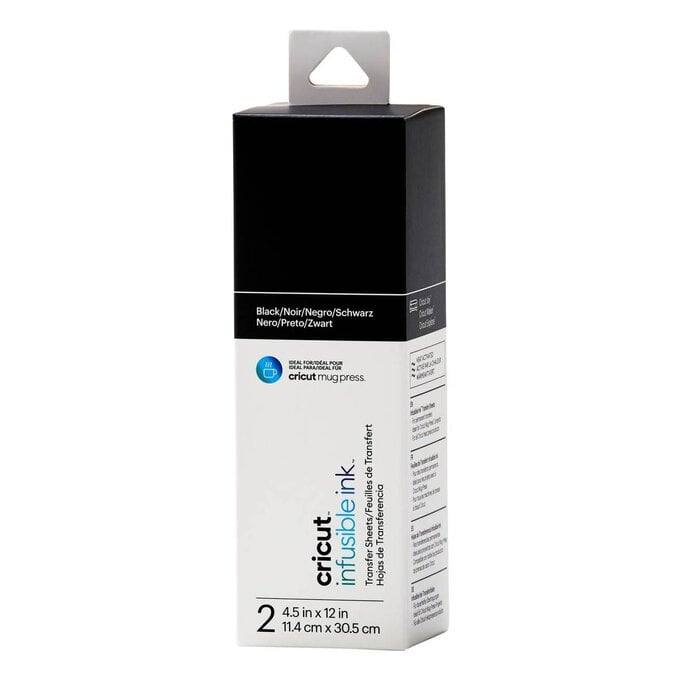
* Cricut Infusible Ink Black Mug Press Transfer Sheets
* Cricut Design Space app installed on a laptop, PC, Tablet or mobile device
* Cricut Basic Tool Set
* Cricut Heat Resistant Tape
* Cricut Heat Resistant Mat

Start by opening the project in the Cricut Design Space app using the project link at the top of this post, or alternatively use this link - https://design.cricut.com/landing/project-detail/6317bd0c0b5ce12584109e89
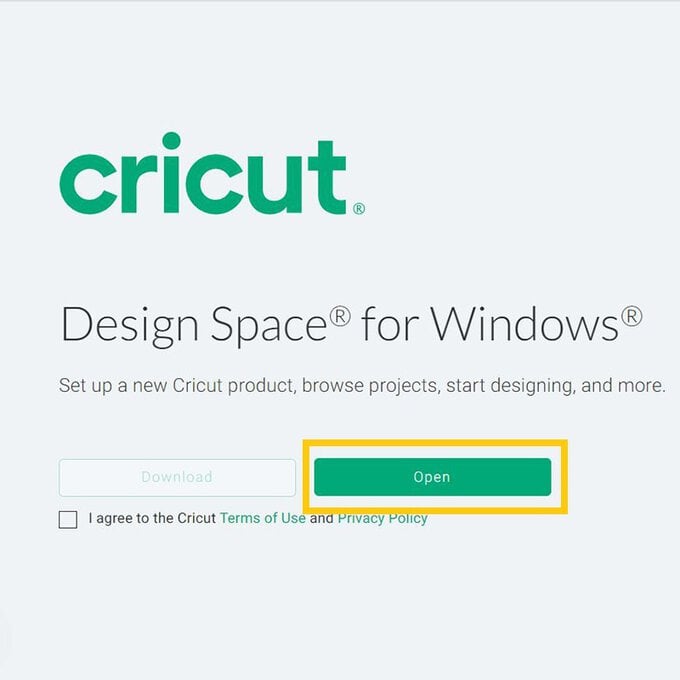
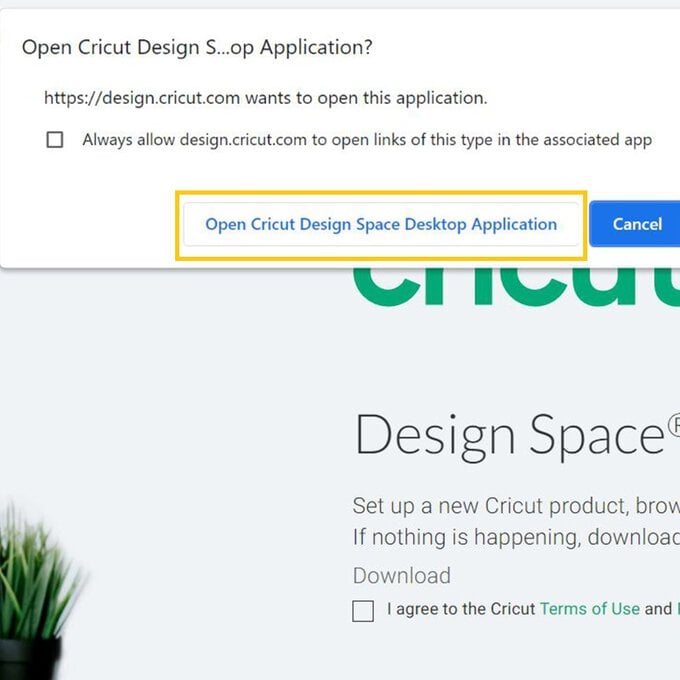
To access the project, copy and paste the link into your browser, you will be directed to a Cricut landing page, select 'Open' followed by 'Open Cricut Design Space Application'.
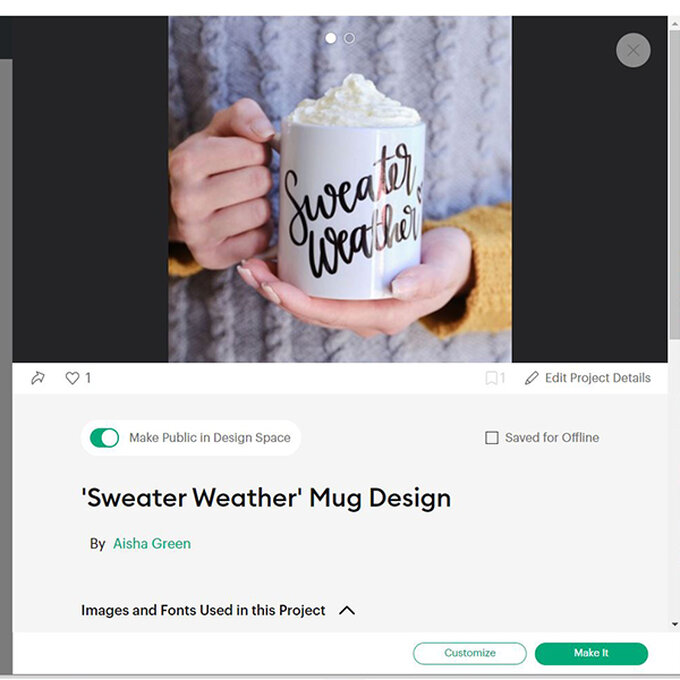
The app will open (you may be prompted to log in) and the project overview screen will appear.
Select 'Customise'
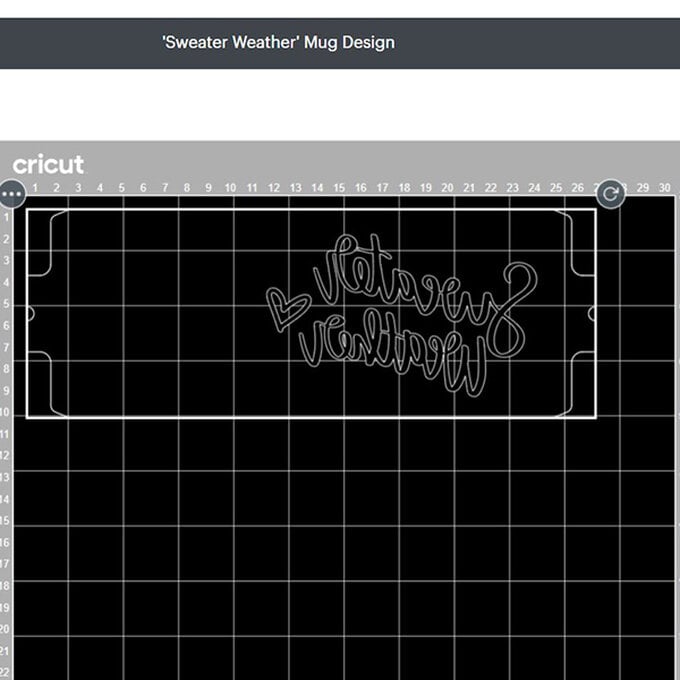
Once through to the Canvas screen, re-size the components as desired, using the mug positioning guide located along the top of the design.
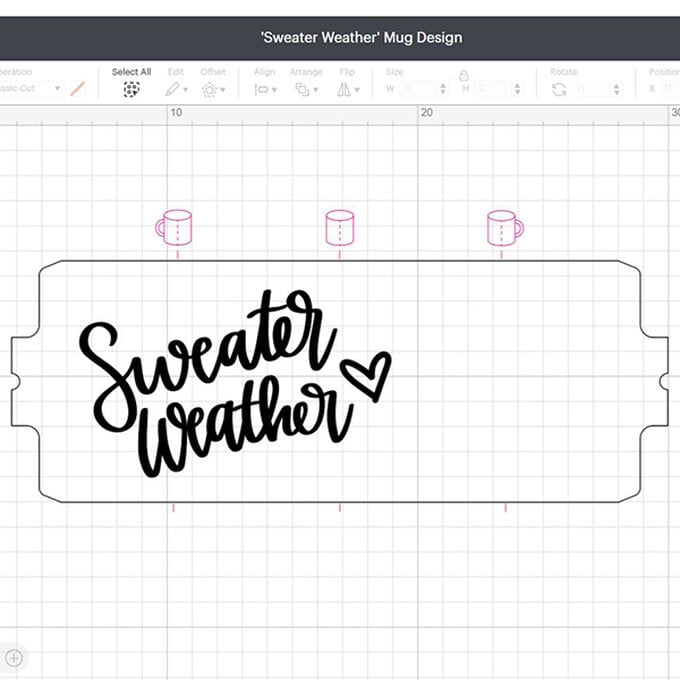
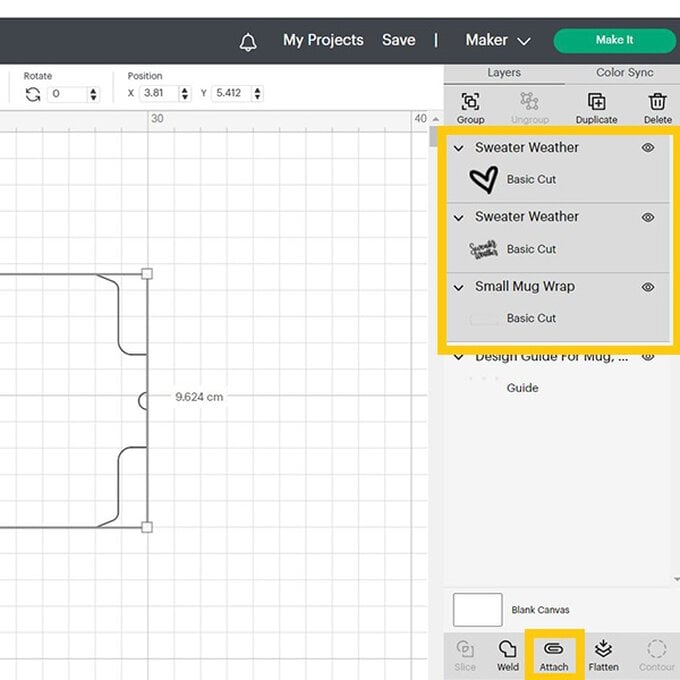
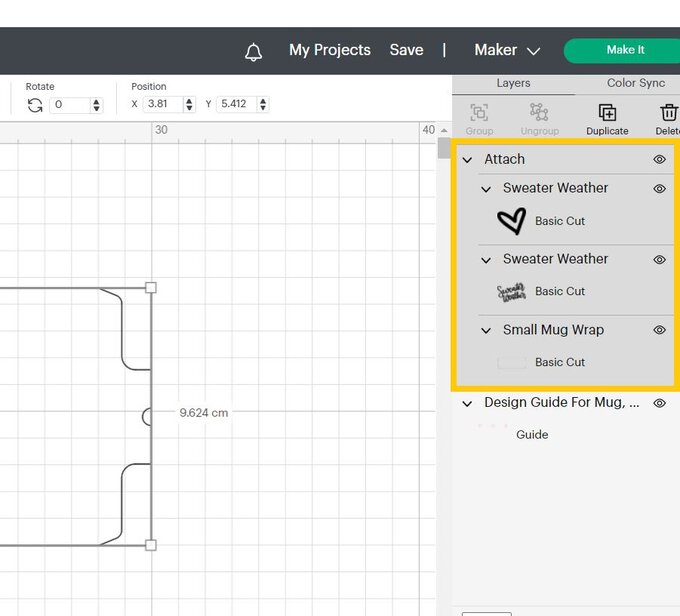
Once happy select all the design components in the layers tab, including the 'Small Mug Wrap' and 'Attach' the elements.
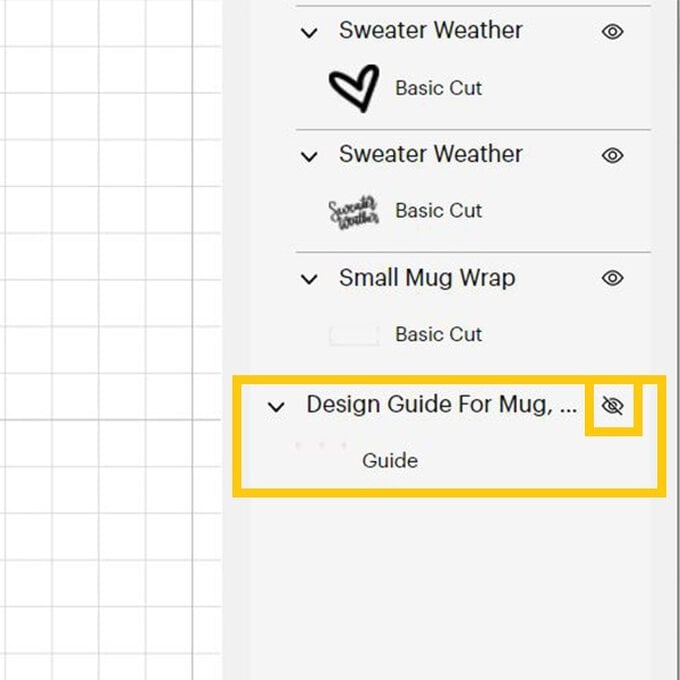
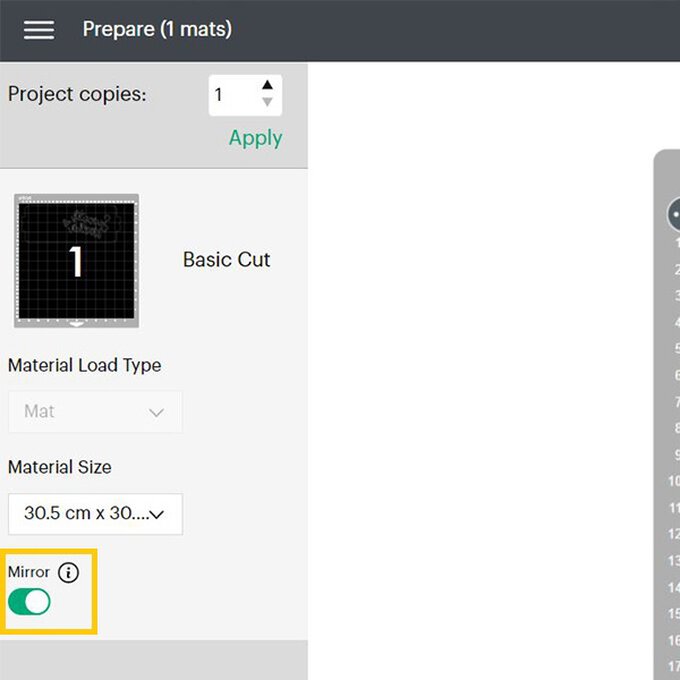
Once through to the mat preview screen, ensure everything is present and correct and that the mirror function is enabled; this will ensure the text reads from left to right once it is pressed and infused onto the mug.
Click 'Continue'.
Use a weeder tool to remove any elements of the design you do not wish to transfer to the mug.
Top Tip: Be extra careful not to touch the Infusible Ink sheet with your fingers, as finger prints can sometimes be left behind
Use a lint cloth to remove any dust that may be on the mug, then wrap the design around the mug. Secure a small piece of heat resistant tape where the Infusible Ink carrier sheet meets at the handle.
Once the Mug Press has heated up (the power button will turn green), place the mug into the press, and push down on the lever to secure the heat plates around the mug.
The design will then begin infusing into the mug.
When the timer sounds, release the leaver and carefully remove the mug from the press and place onto a heat resistant mat to cool.
Top Tip: The mug will be incredibly hot when removed from the press, make sure to take extra care!
Once the mug has completely cooled the Infusible Ink carrier sheet can then be removed.
Your mug is then ready to be used as soon as it's been washed.

