Cricut: How to Make a Sweet Dreams Glass Block
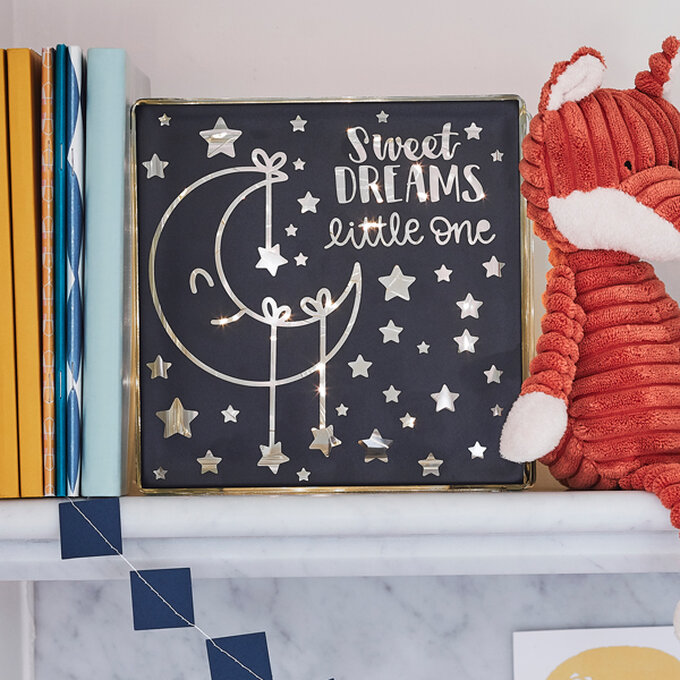
Brighten up your child's nursery or bedroom at night with this moon and stars design! Use it like a night light to set a magical scene at bedtime. The use of vinyl creates a pretty silhouette for the warming wired lights glow to peek through, scaring away those naughty night monsters.
The Cricut Maker machine was used to create this project, however this project can also be made using an Cricut Explore.
Project and instructions by Hobbycrafter Joey Daley.
You will need
Subtotal
Is $ 658.00
Subtotal
Is $ 24.00
Out of stock
Subtotal
Is $ 11.00 , was $ 14.00
Subtotal
Is $ 9.49 , was $ 11.00
Subtotal
Is $ 21.00
Subtotal
Is $ 33.00 , was $ 41.00
Subtotal
Is $ 11.00 , was $ 14.00
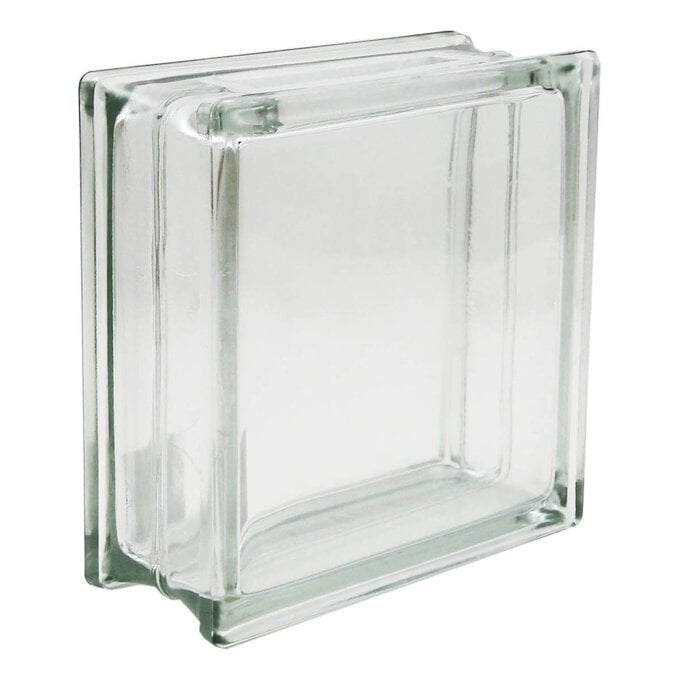
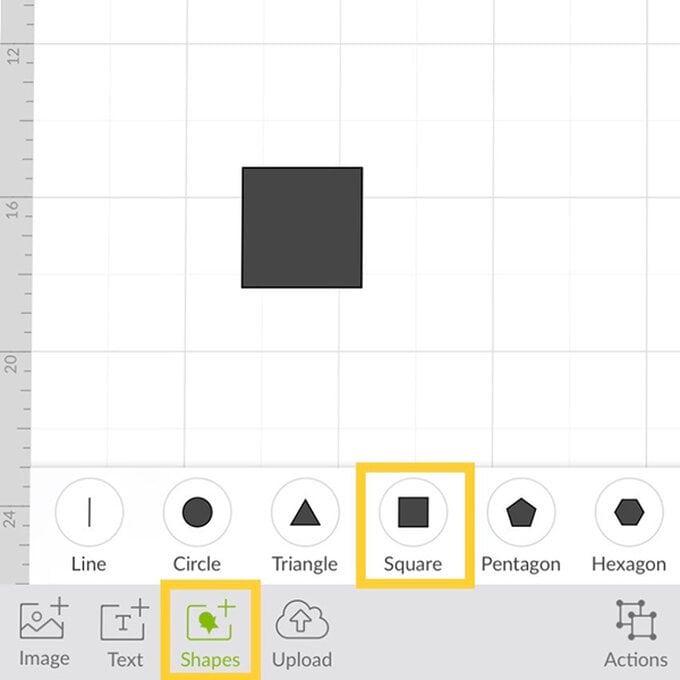
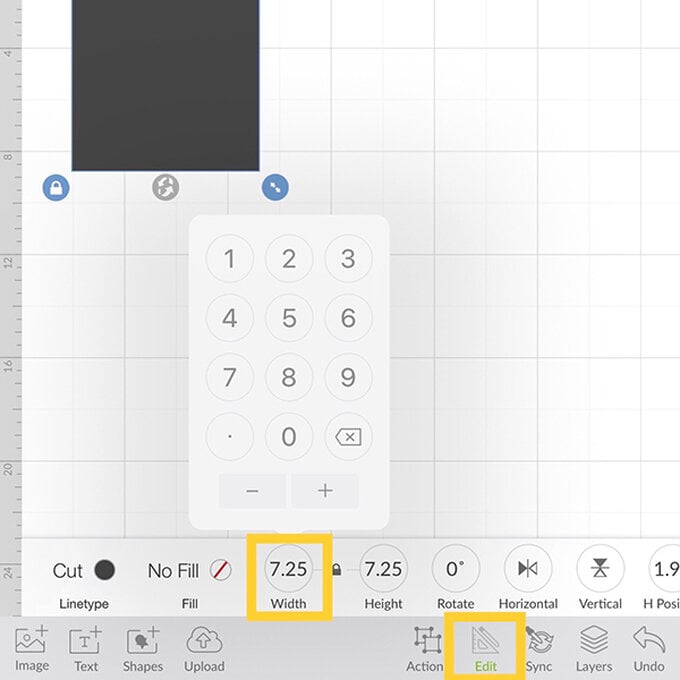
Open the Cricut Design Space app. Start a new project and using the Shape library insert a square. In the Edit menu, resize the square to 7.25”. Please note that you may need to measure your block, due to the nature of the glass each block may vary slightly.
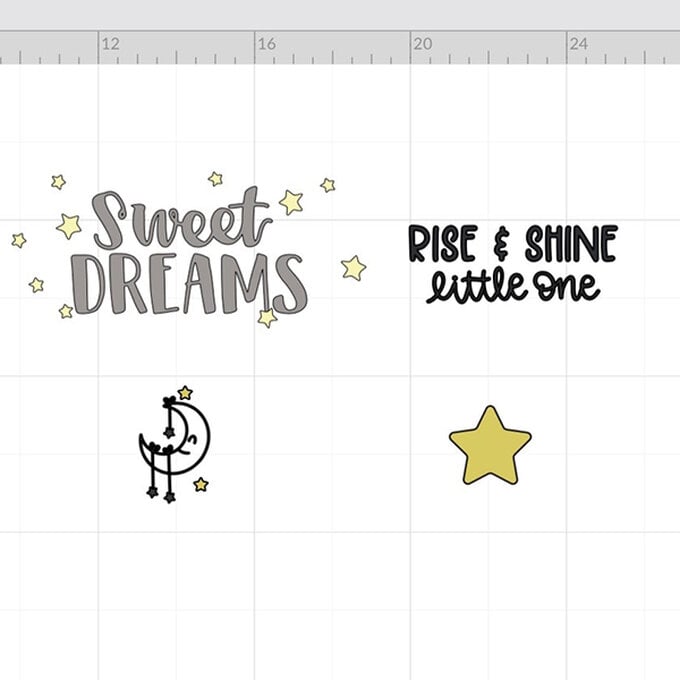
Using the image library, search for the following images with the image code and insert onto the canvas:
Moon and stars: #MB02E8BF
Sweet dreams: #M6F73295
Rise and Shine Little One: #MBE19343
Star: #M8B6659E
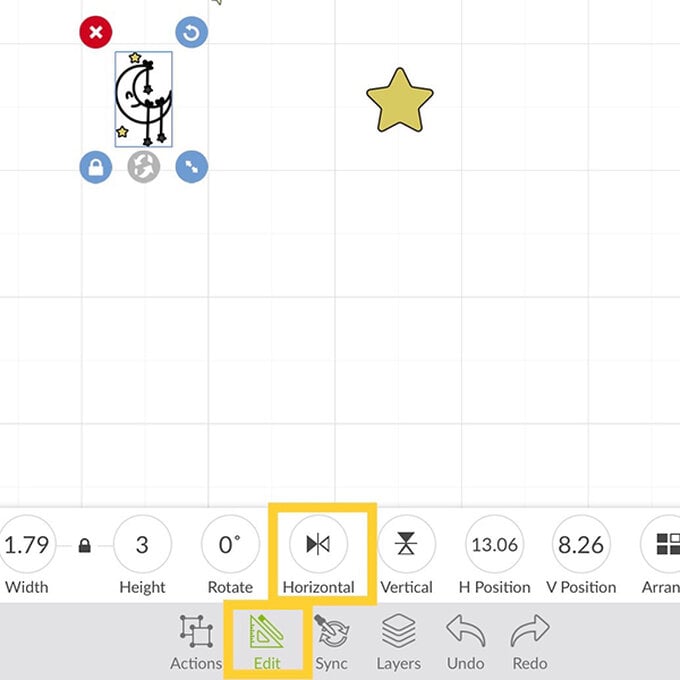
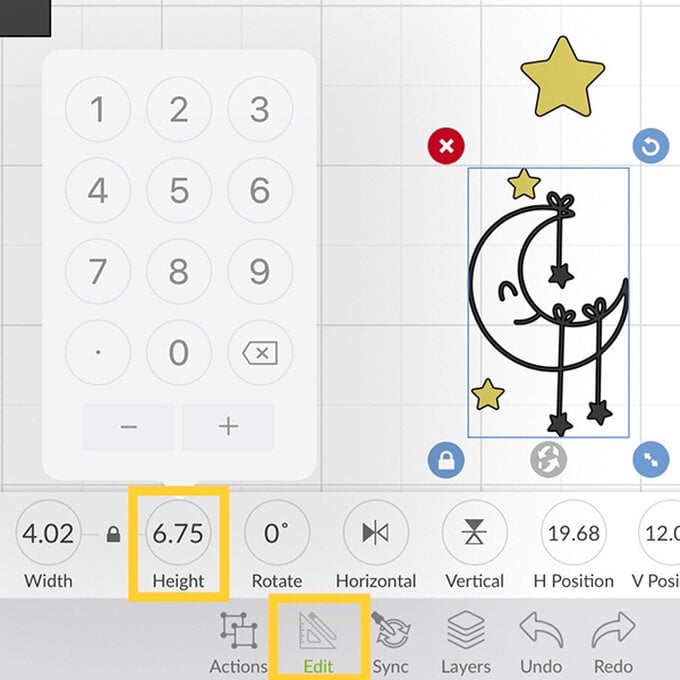
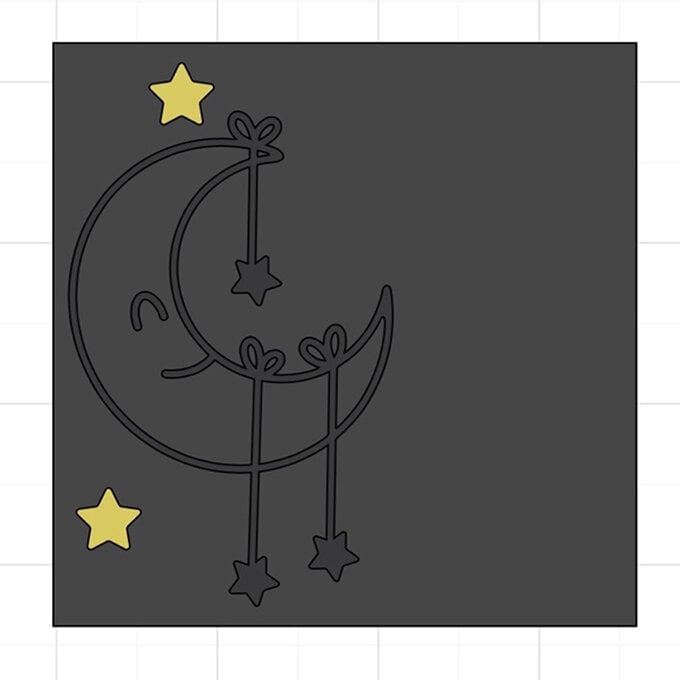
Select the 'moon and stars' image and using the Edit menu flip the image horizontally and resize to 6.75” in height. Position onto the left of the square.
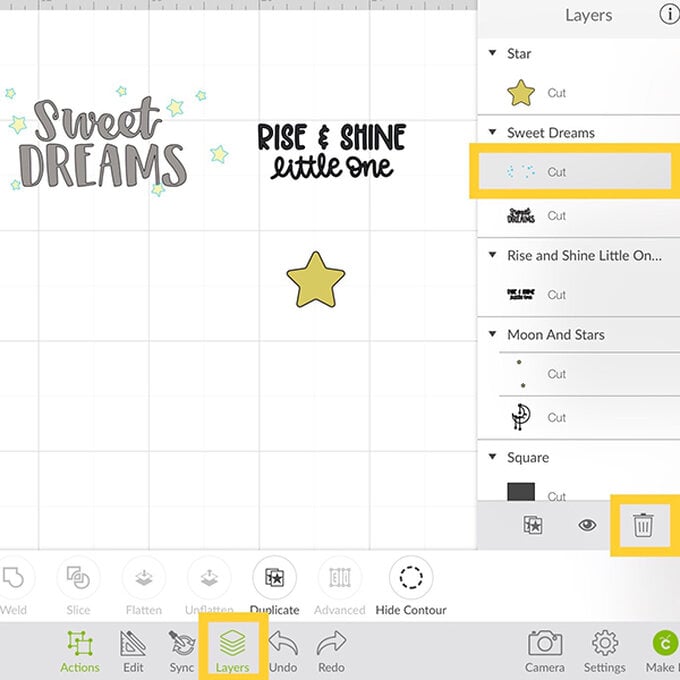
Select the 'Sweet Dreams' image and using the Layers Panel highlight the stars, delete this layer. Resize the remaining layer in the Edit menu to 2.80” wide and position into place.
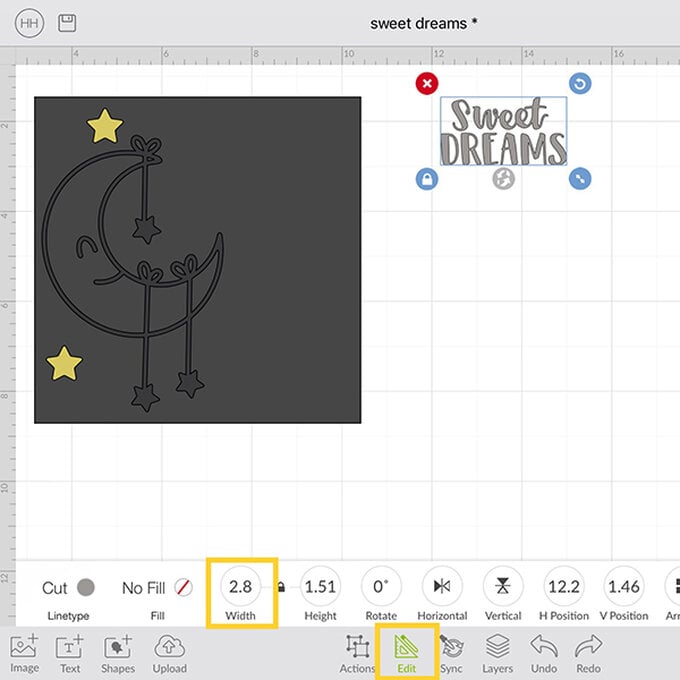
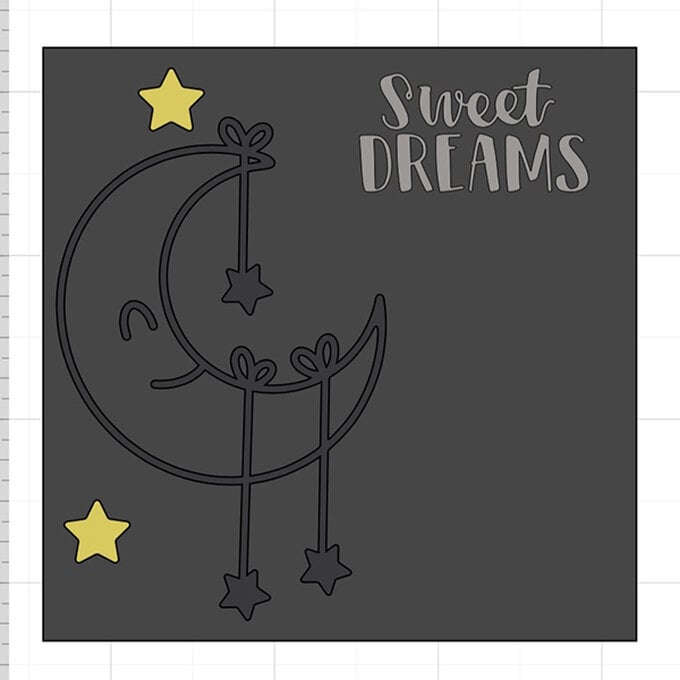
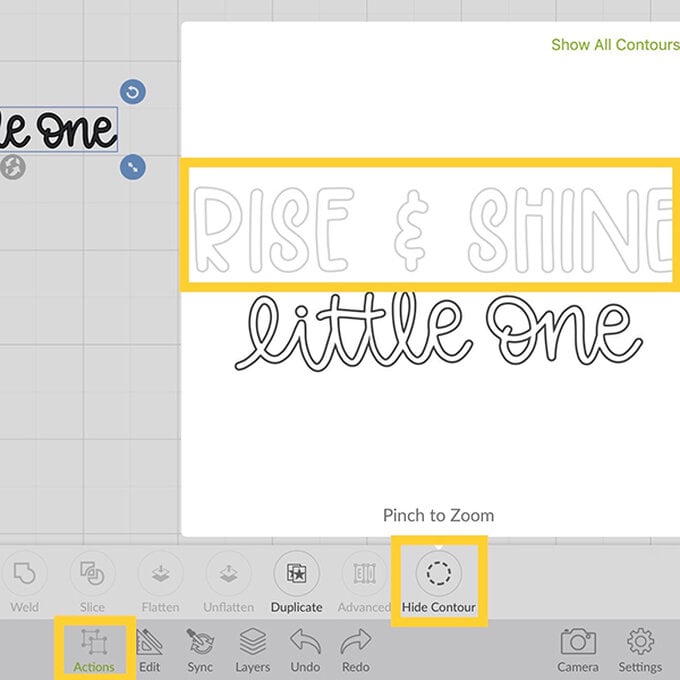
Select the 'Rise and Shine Little One' image and in the Action menu use Hide Contour to hide the 'Rise and Shine'. When greyed out these parts will become invisible. Resize to 3.25” in the Edit menu and place onto the square under 'sweet dreams'. Tip: An alternative to this step is to create 'little one' text in a selected font.
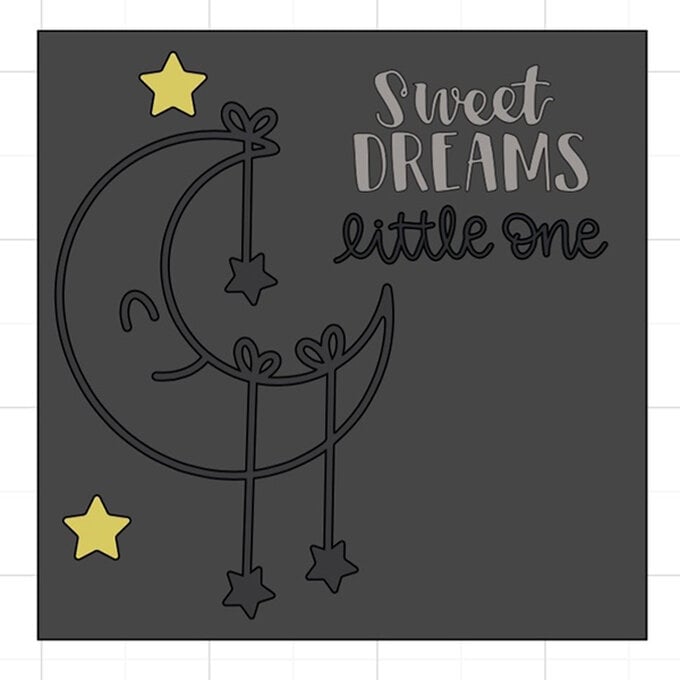
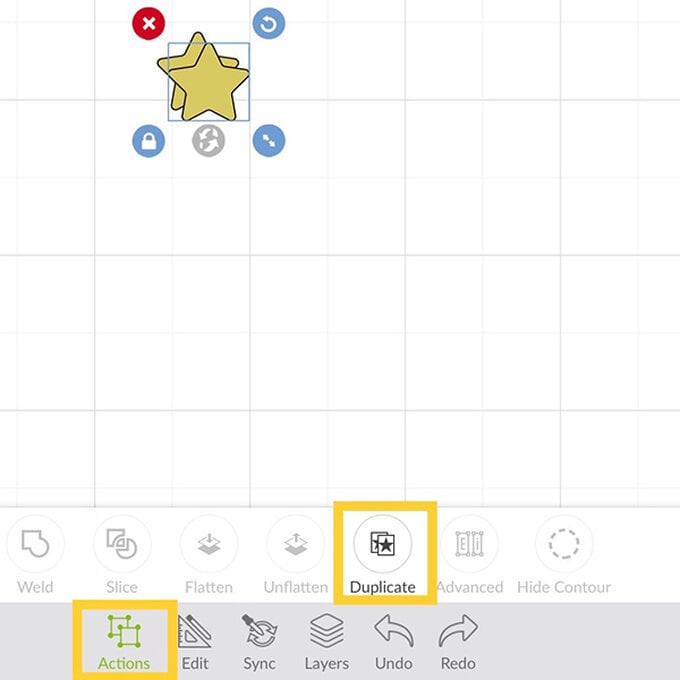
Select the Star image and using the Action menu Duplicate the star are many times as you would like. Resize the stars randomly and scatter into the remaining spaces on the square. The resize tool on the image itself, when selected, maybe easier and quicker to resize randomly.
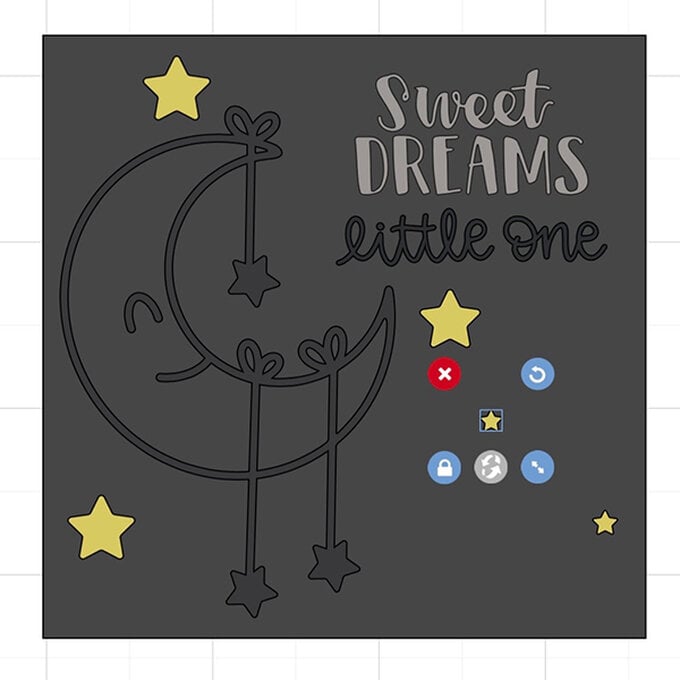
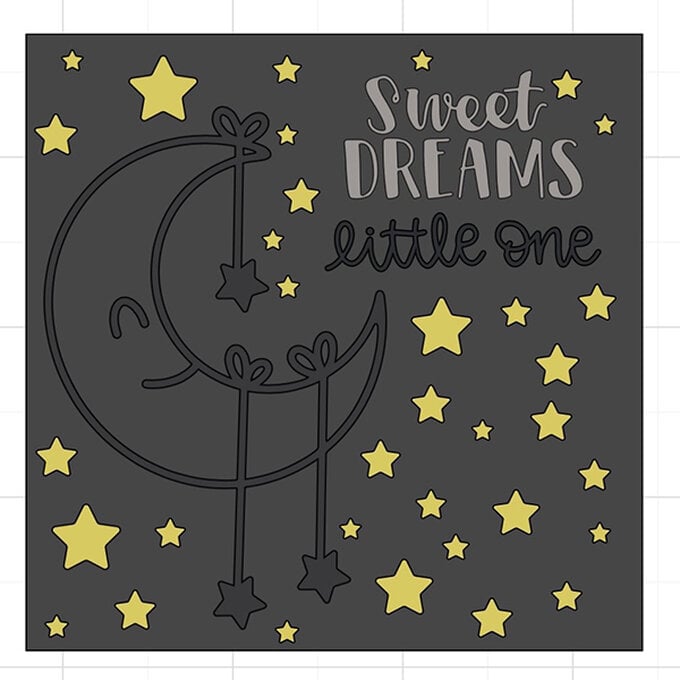
Select the square and using the Layer Panel temporarily Hide the shape.
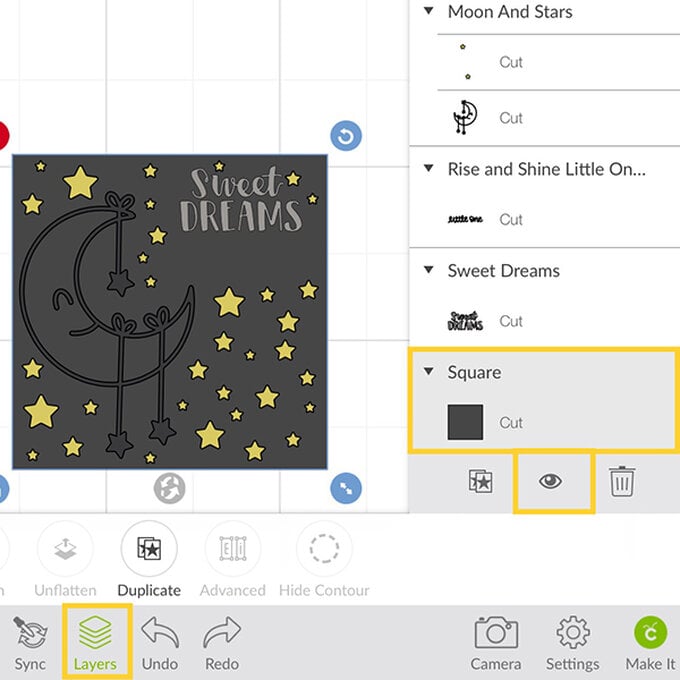
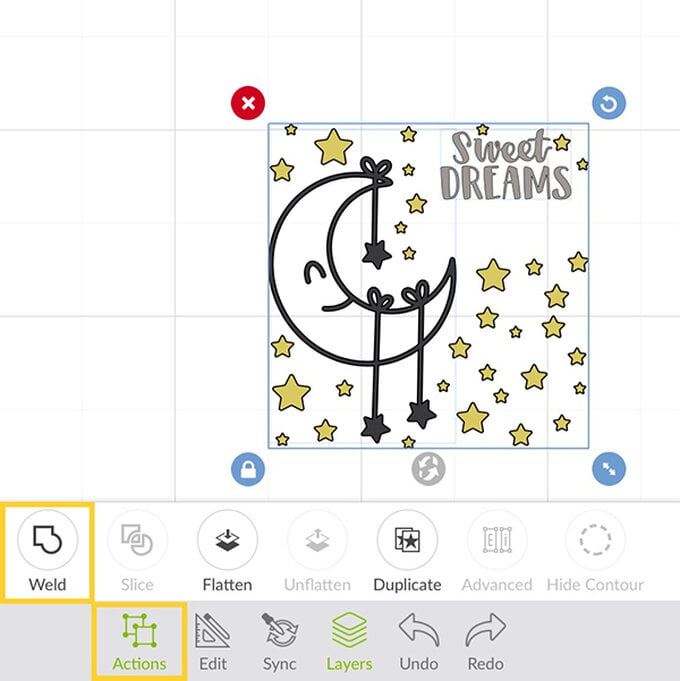
Select every image that is remaining. In the Actions menu hit the Weld button, this will weld all the images into one. As a result it will change the image to all one colour.

Bring the Square shape back, with the help of the layers panel.
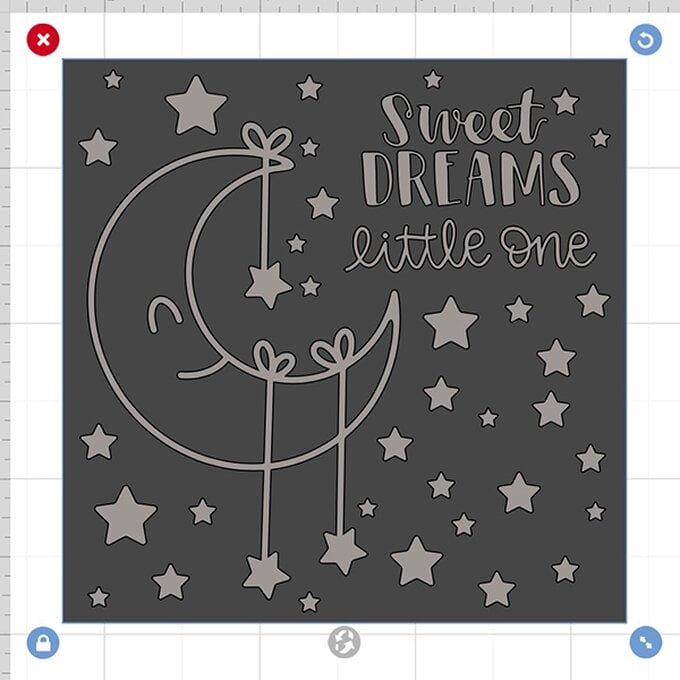
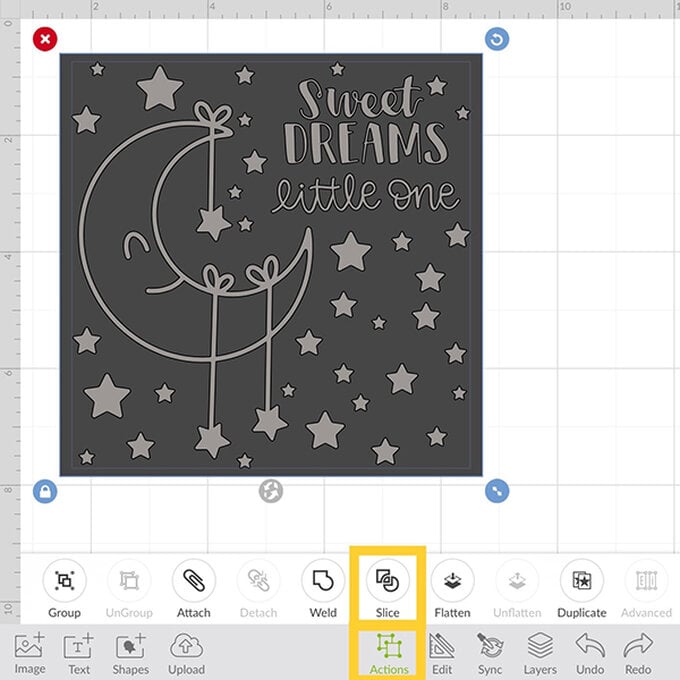
Select the two images and using the Action menu press Slice. This will slice the welded image out of the square. Move the two sliced pieces away to reveal the finished design. You can delete these two pieces.
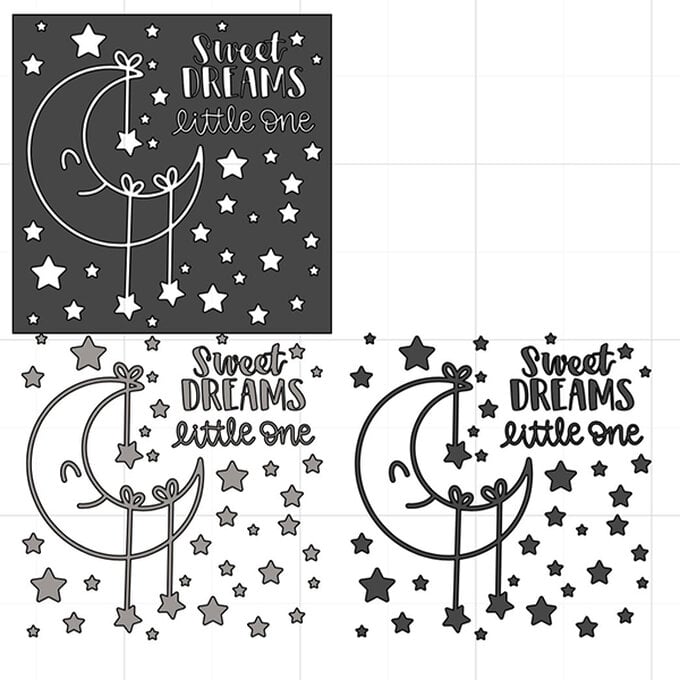
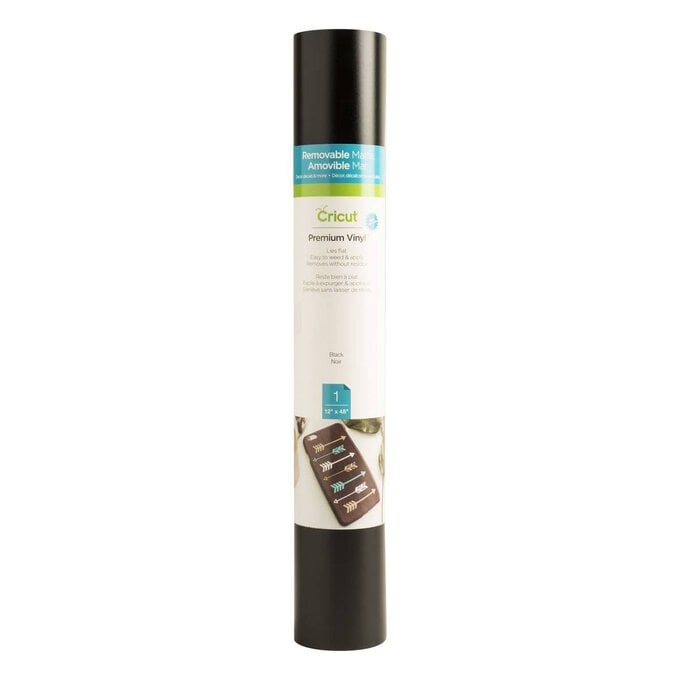
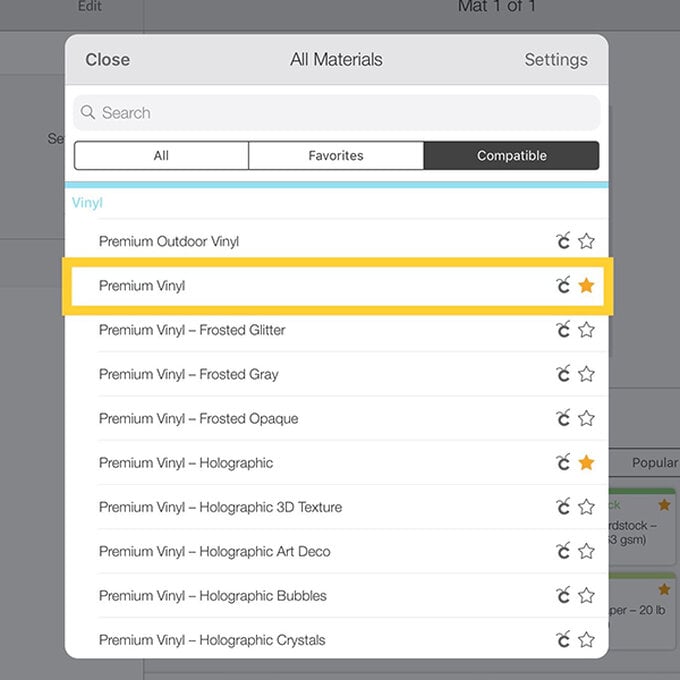
Press the Make It button in the bottom left of the app, sending your project to the pre-view screen. Press continue and follow the on-screen instructions to select your material and cut your design. Tip: you may wish to trim you vinyl down to reduce waste. We have used Cricut Removable Vinyl which requires the Premium Vinyl setting.
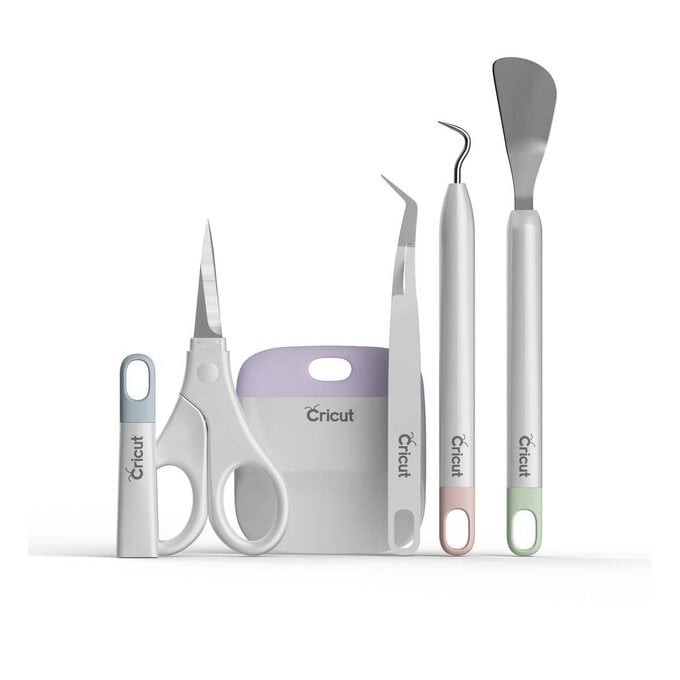
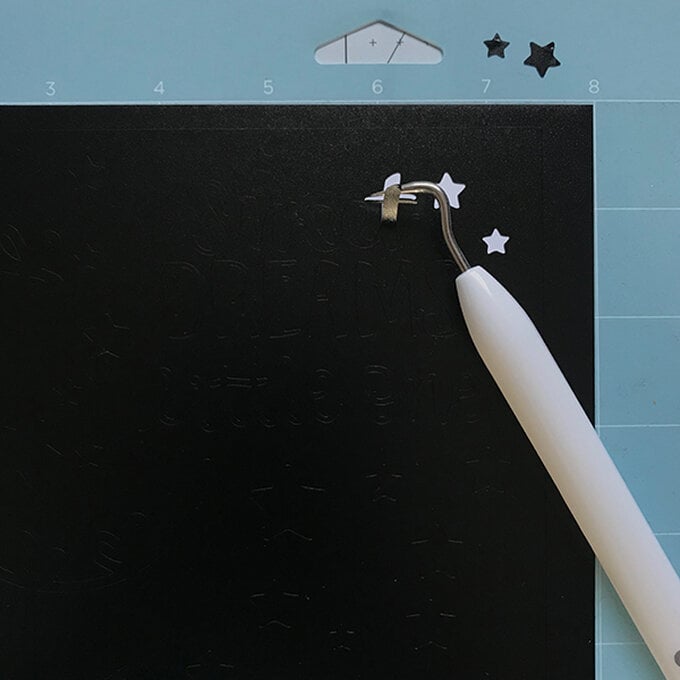
Once cut, leave the design on the cutting mat and weed the excess vinyl. Be careful to leave the inner parts of the lettering.
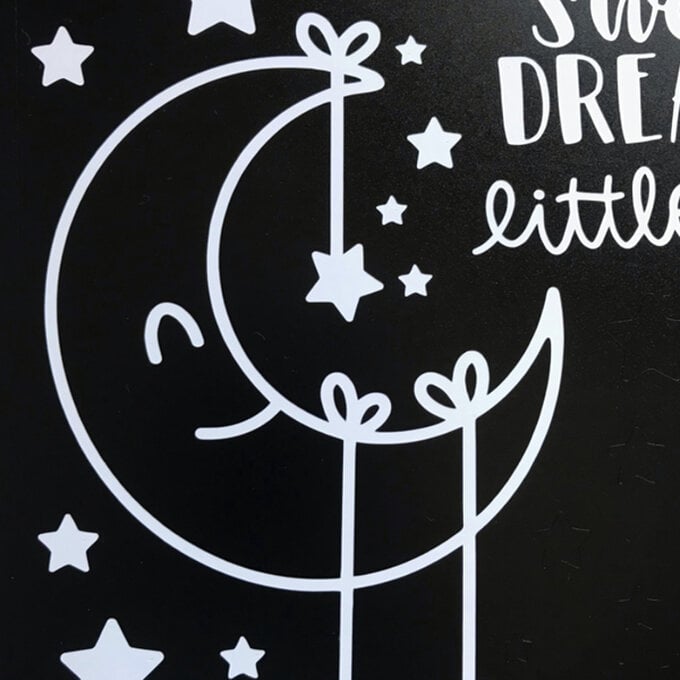
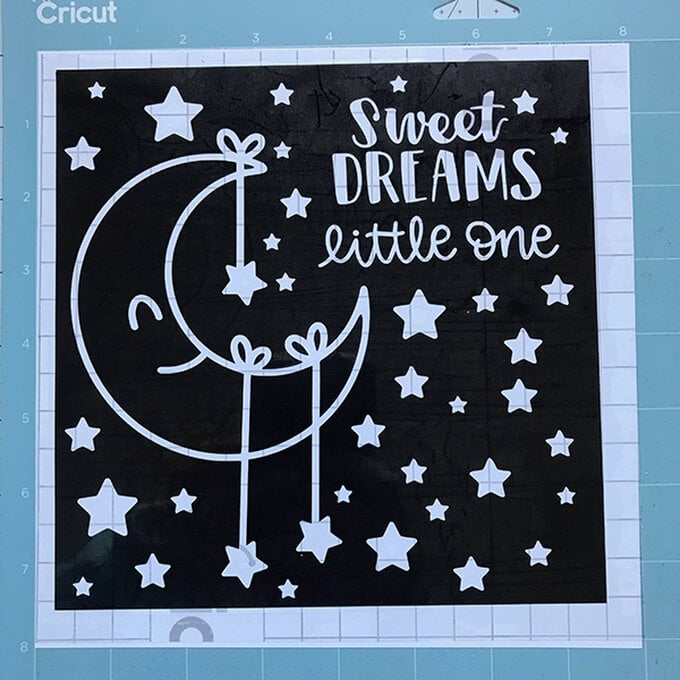
Cut a piece of transfer tape slightly bigger than the designs and apply slowly over the top, burnishing as you go.
Flip the mat over and peel off the design with the transfer tape included, this will ensure your design stays flat and crease free.
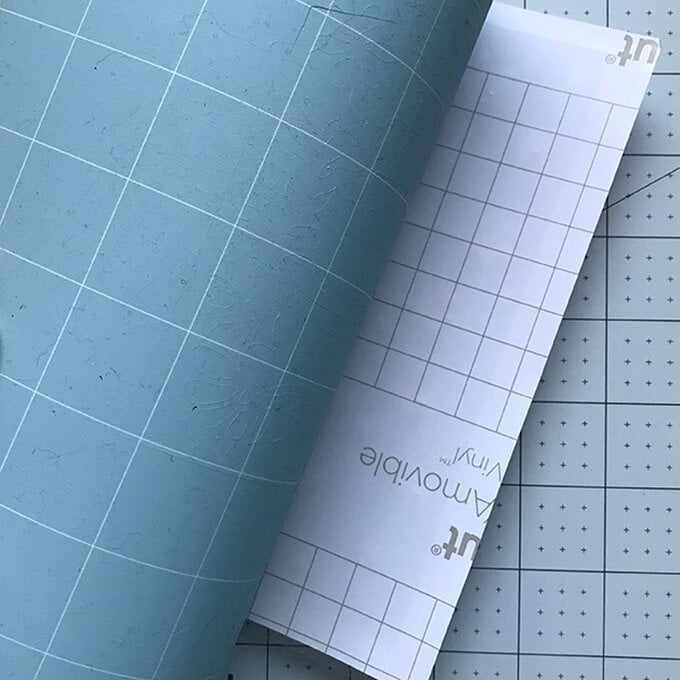
Keeping the design face down peel of the backing paper off, ensuring every small piece hs adhered to the transfer tape.
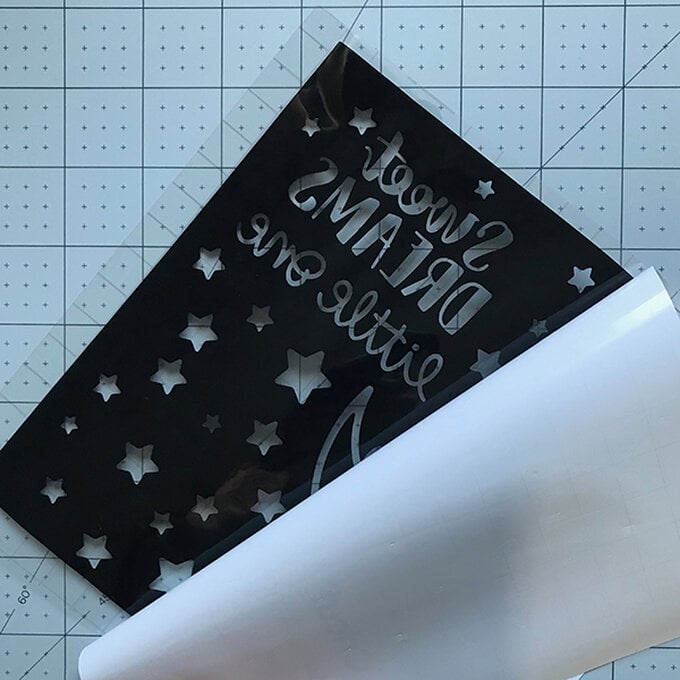
Replace the backing paper temporarily, leaving the top of the vinyl exposed and line up with the top of the glass block. Slowly adhere the vinyl down the block, peeling away the backing paper as you go. Tip: make sure you clean and completely dry the surface of the block to avoid debris under the vinyl. The opening for the glass block should sit at the bottom.
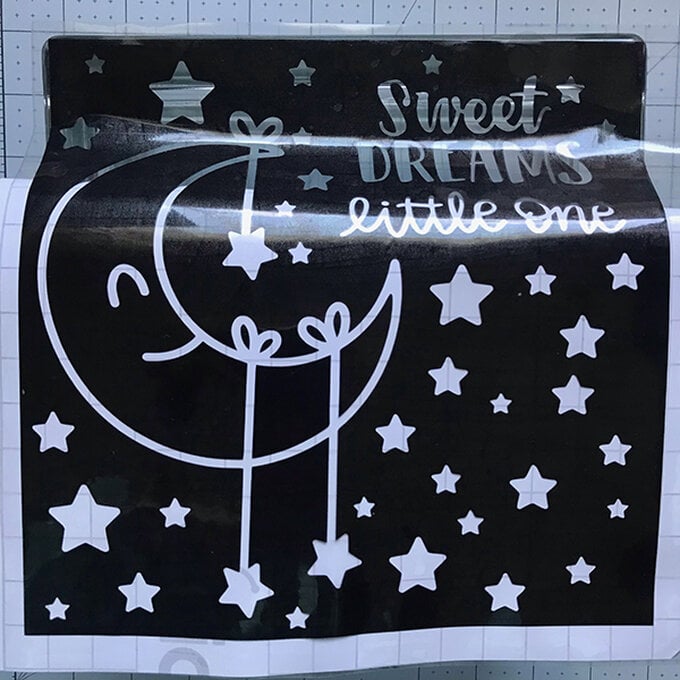
Once the vinyl is stuck down slowly peel away the transfer tape, making sure all pieces are stuck to the glass. Tip: if any air bubbles are revealed use the scraper tool to burnish or tricky to reach spots may require a small pin piercing a hole then burnishing the air out.
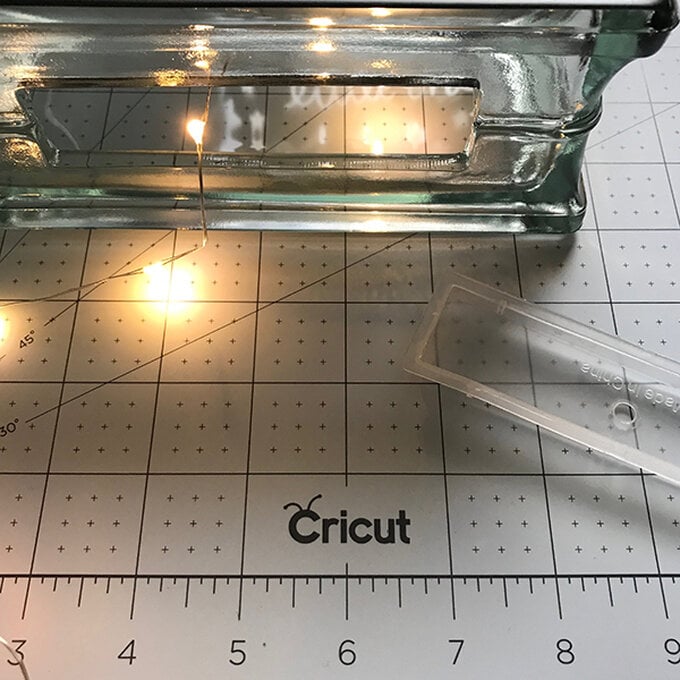
Insert batteries as required into the wire lights and slot into the glass block.
