Cricut: How to Make a Thank You Teacher Gift
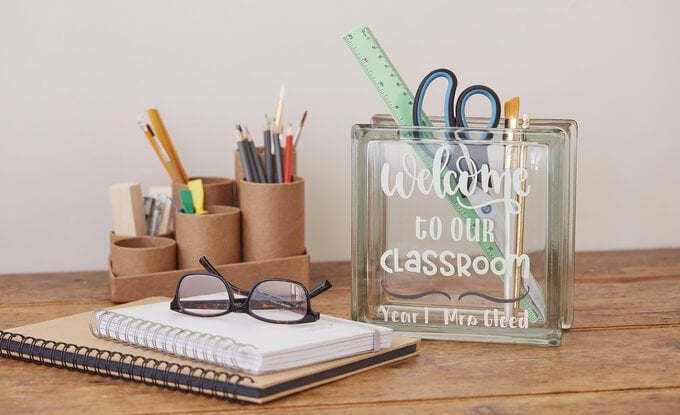
If you're looking for teacher gift ideas, look no further! This personalised glass block project is the perfect way to thank a wonderful teacher for being truly amazing.
There are plenty of Cricut adhesive vinyl colours to choose from to make sure your gift is completely one-of-a-kind and tailor-made for the lucky recipient. Follow our easy how-to guide to get started!
Project and instructions by Hobbycraft Artisan Joey Daley.
Please note: This project contains paid-for content from Cricut's Design Space app. Screen reference images are taken from the desktop version of Design Space. The Cricut Maker was used to create this project, however this project can also be created using a Cricut Explore .
Due to the nature of the glass block, surfaces and sizes may vary slightly.
You will need
Subtotal
Is $ 592.00
Subtotal
Is $ 11.00 , was $ 14.00
Subtotal
Is $ 34.00 , was $ 42.00
Subtotal
Is $ 24.00
Out of stock
Subtotal
Is $ 11.00 , was $ 14.00
How to make
You will also need:
* Cricut Design Space app installed on a laptop, PC, Tablet or mobile device
Open the Cricut Design Space app and start a new project, opening a blank canvas.
Click the image menu from the menu toolbar on the left-hand side of the screen, then search for the following images
Welcome: #M8A1DAA3
Classroom: #M9D63572
Flourish: #M2396B08E
Once the images have been selected, click 'Insert'.
Top Tip: When searching for image numbers you must use uppercase and include the #.
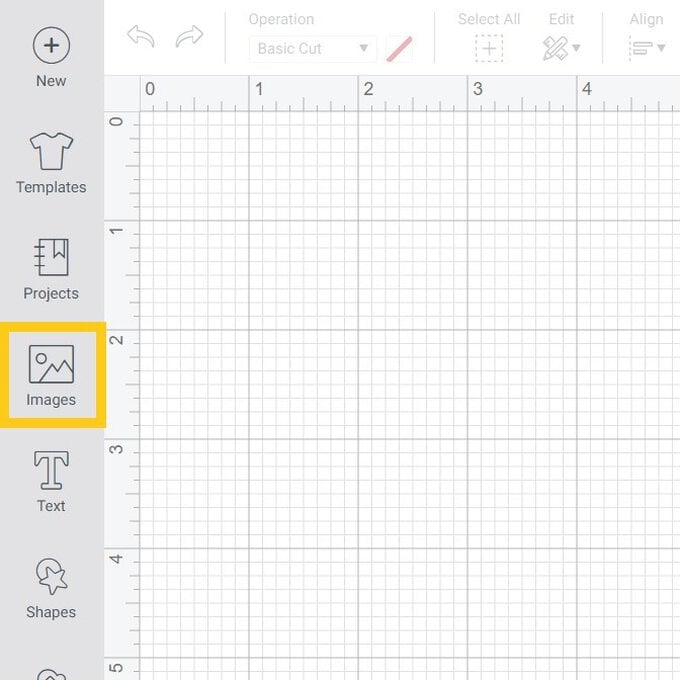
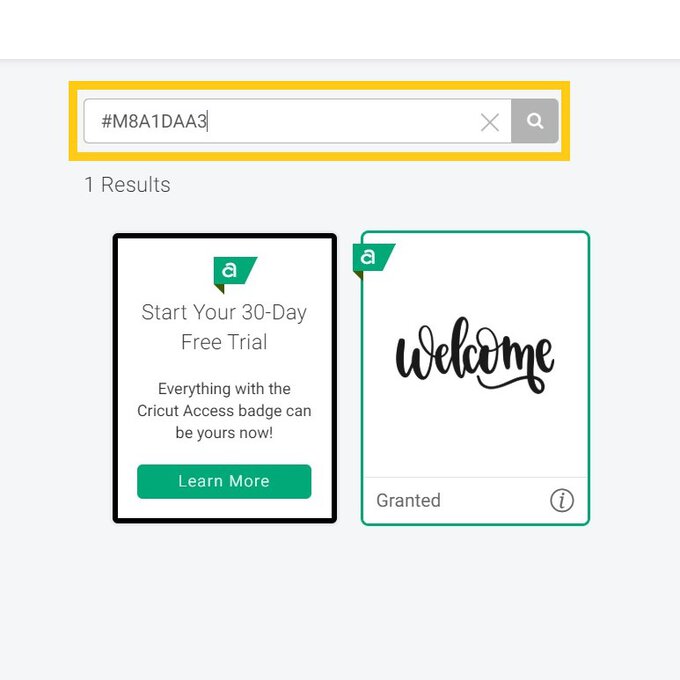
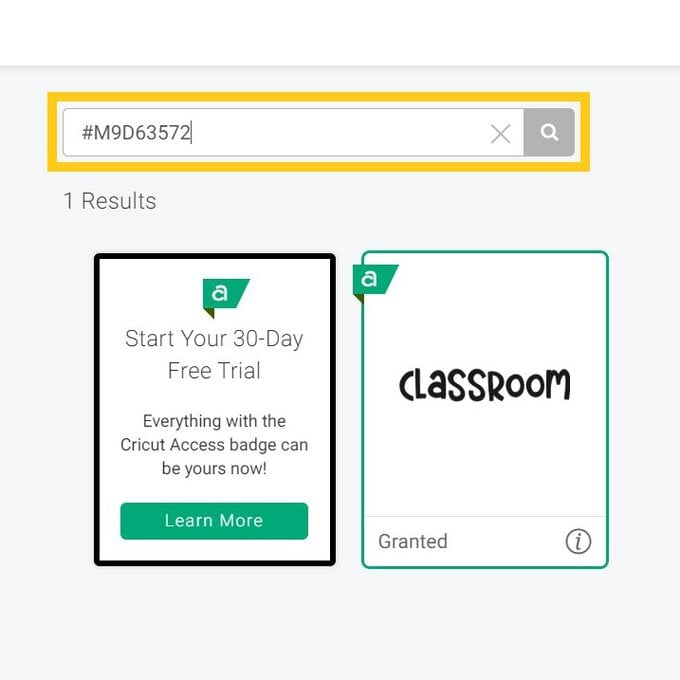
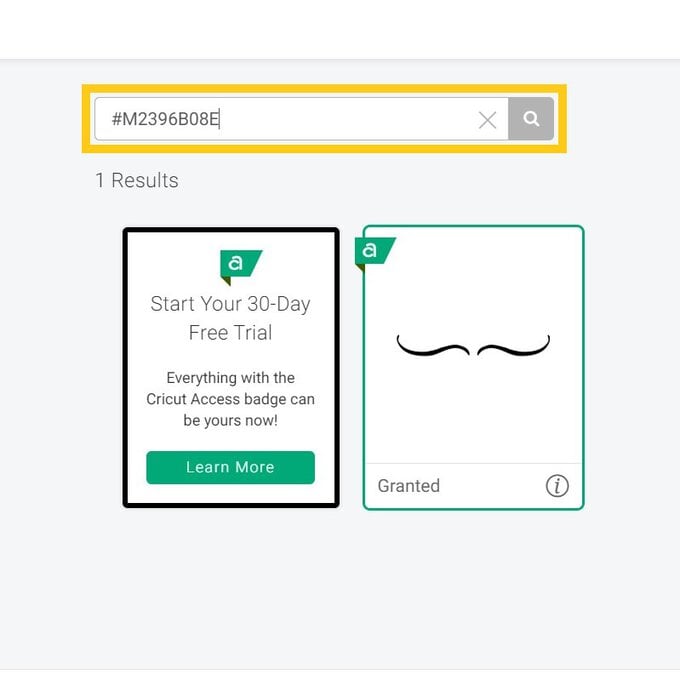
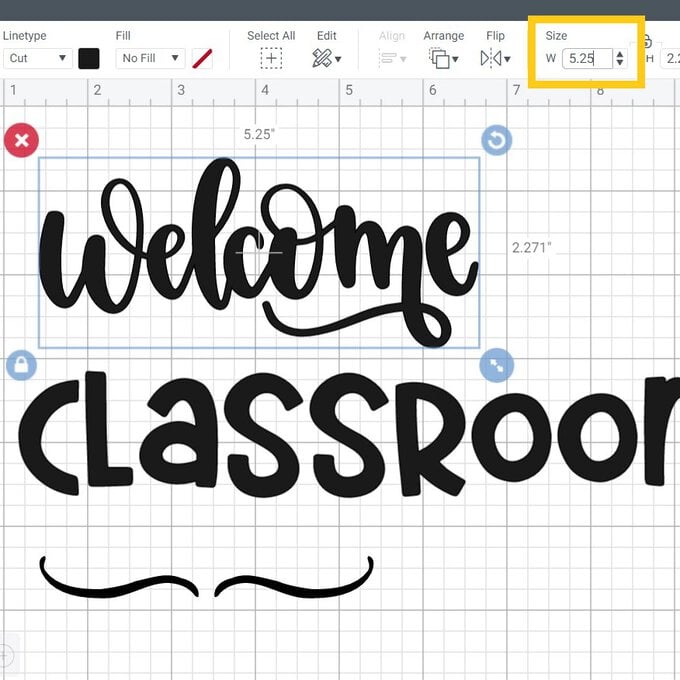
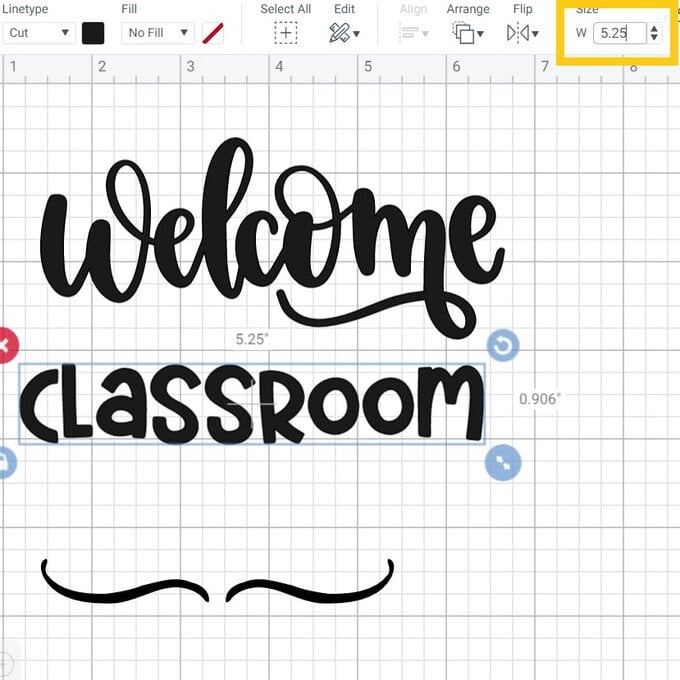
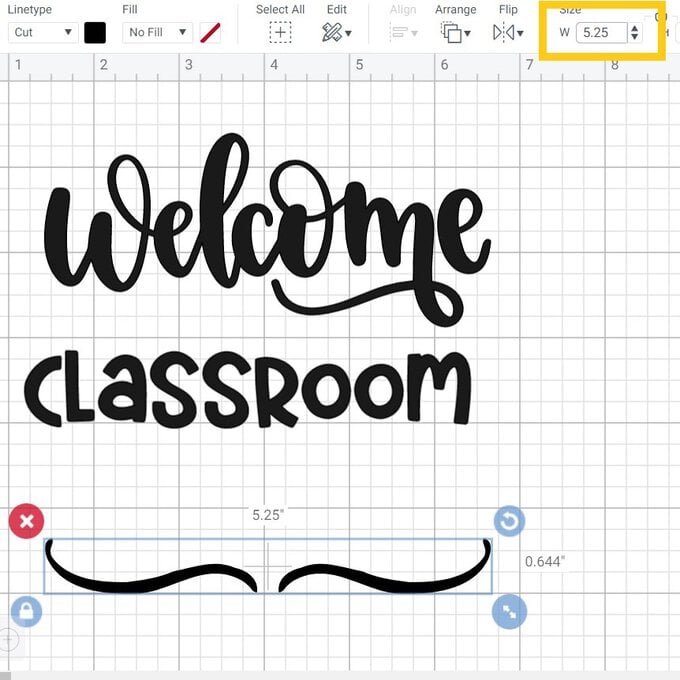
On the canvas, select each image and resize to 5.25” in width.
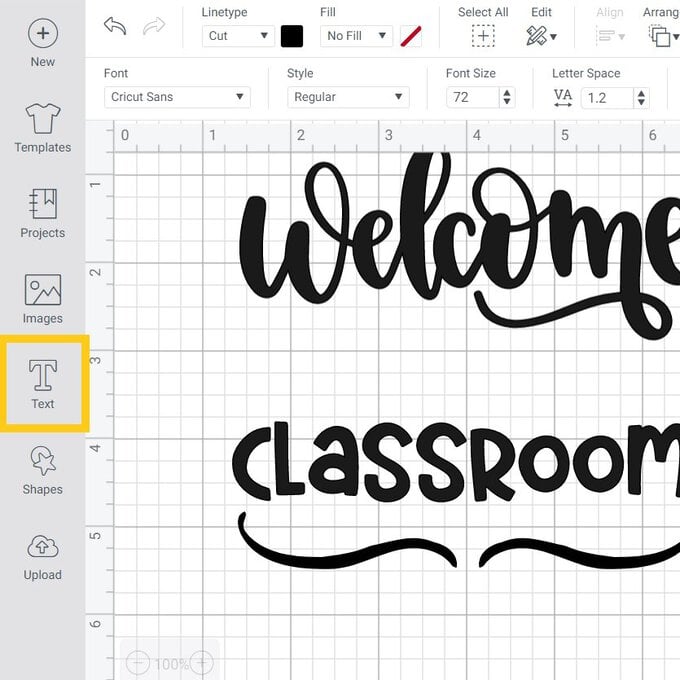
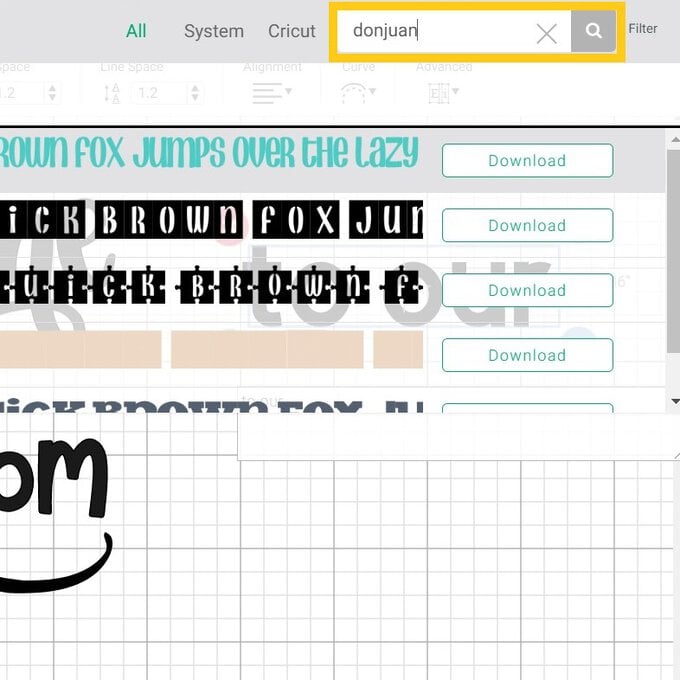
Using the "Text" library, type the words "to our", change the font to a style you like, here “DonJuan” has been used. You can search the font name in the search bar.
Once the font has been chosen resize the word to 2.75” wide.
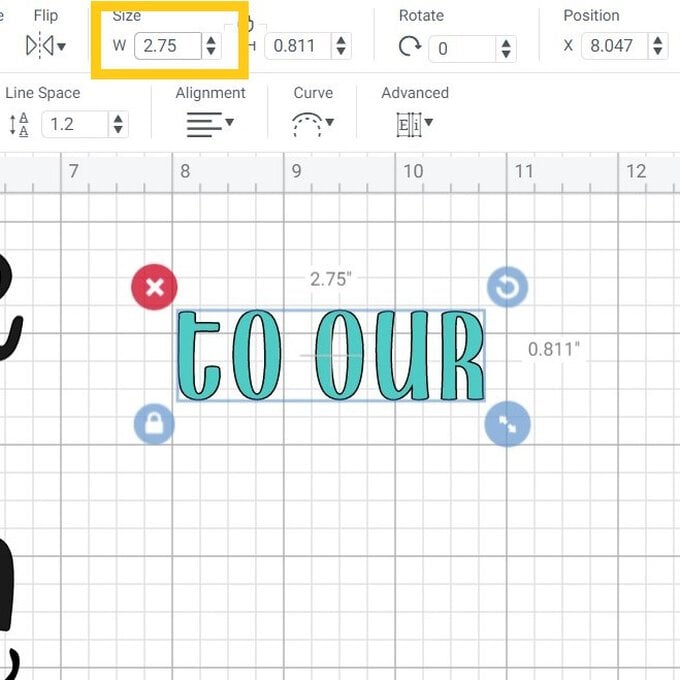
Using the "Text" library again, type your chosen name and year group and change the font, here “Karley” has been used.
Resize the name to 5.25”.
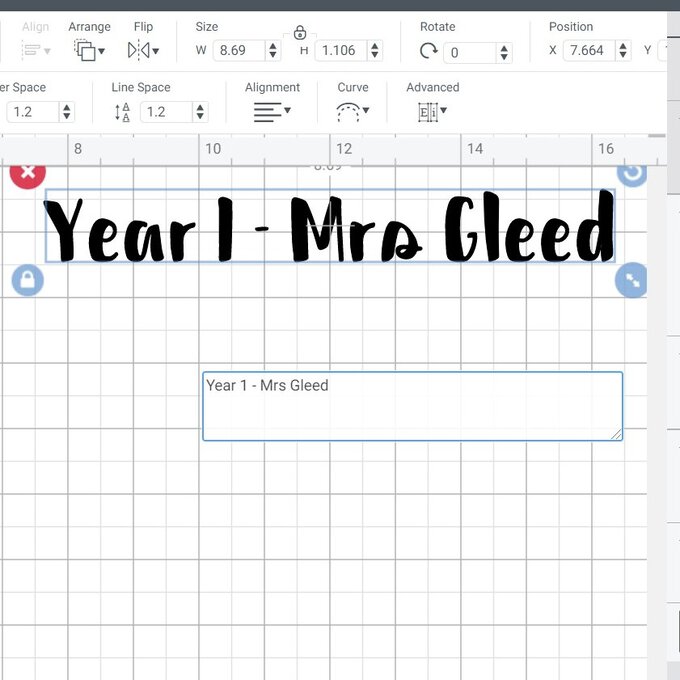
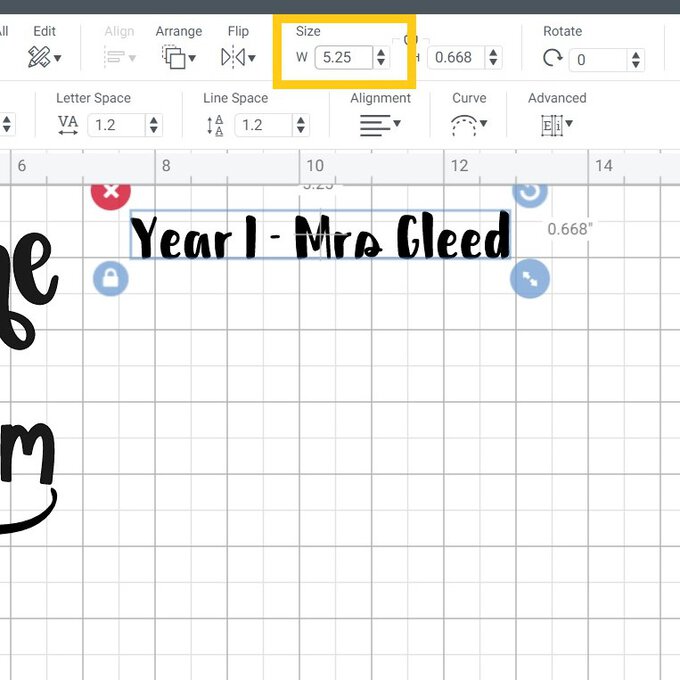
Reposition the element into formation. Select all images and "Align" to "Center Horizontal".
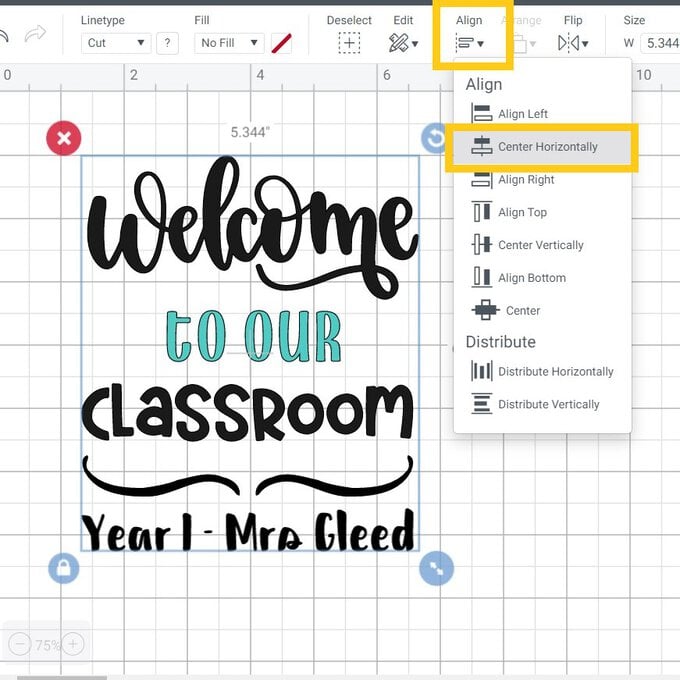
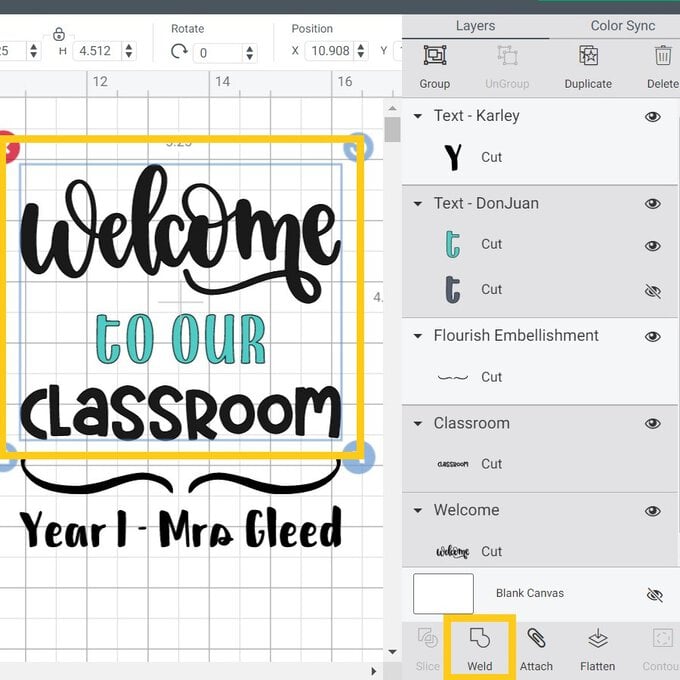
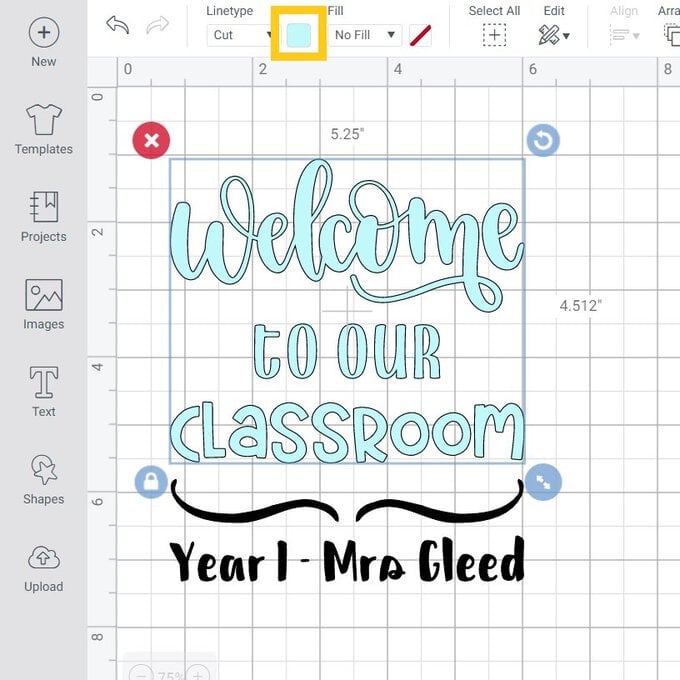
Now aligned, select the "Welcome", "to our" and "Classroom" and “Weld” them together. This will change all three words to one single image, ensuring they cut together and can be edited as one image.
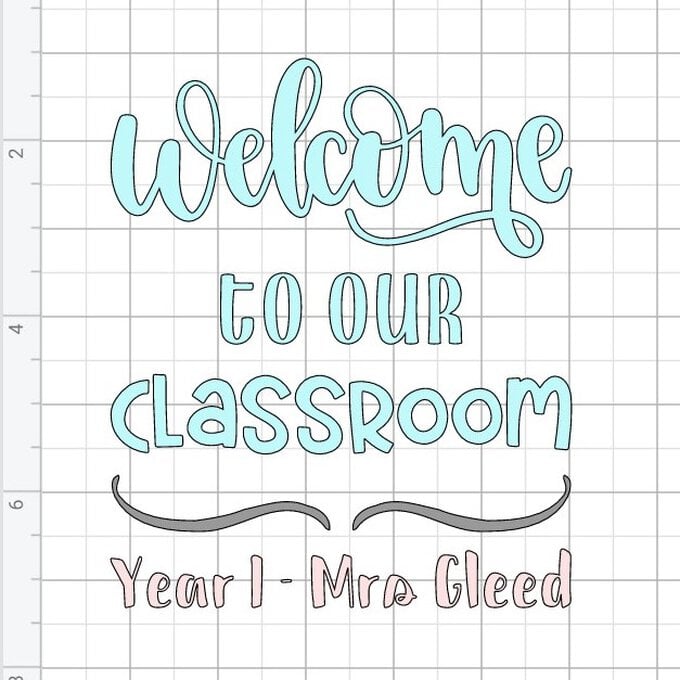
You can also change the colour in the "Operation" section to match your vinyl selection.
Repeat this process for the other two elements of the design.
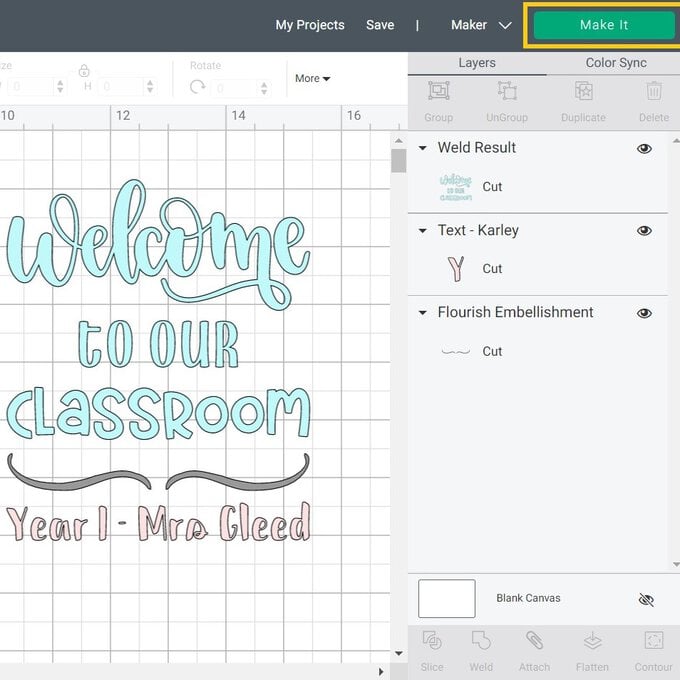
Once designed, press the "Make it" Button and then "Continue" on the mat preview screen.
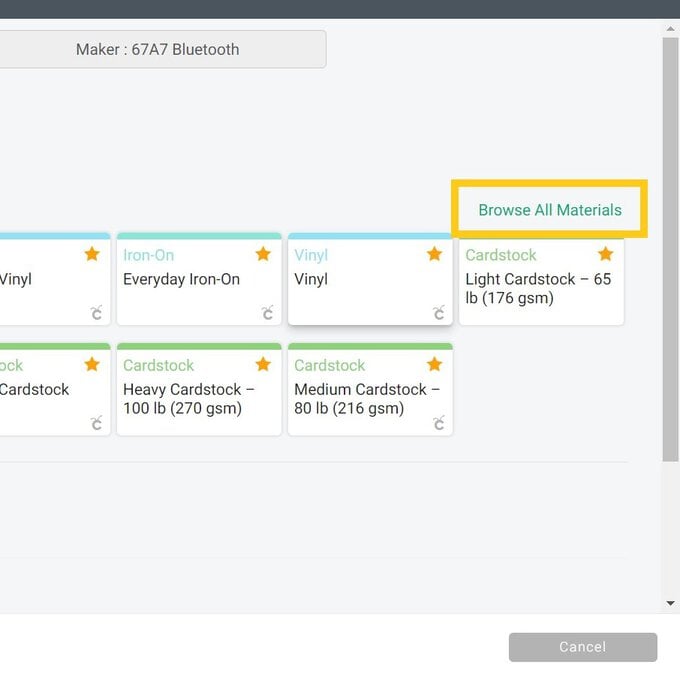
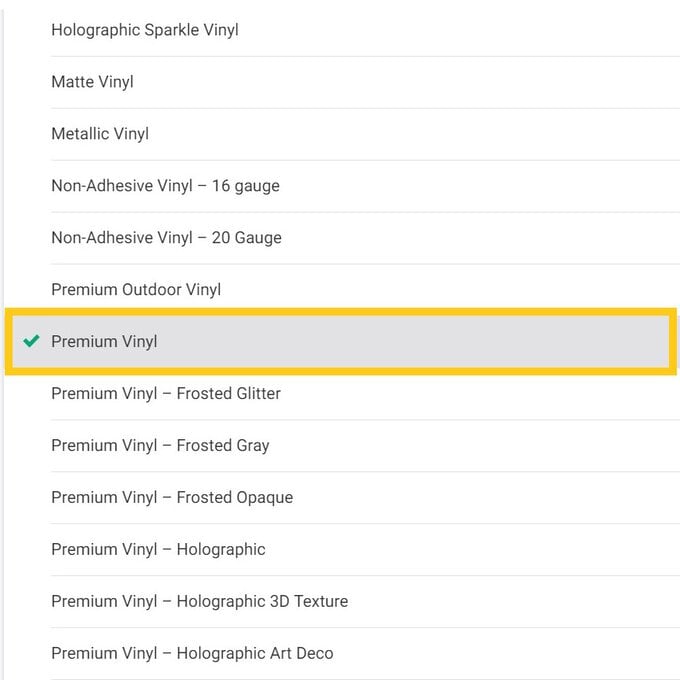
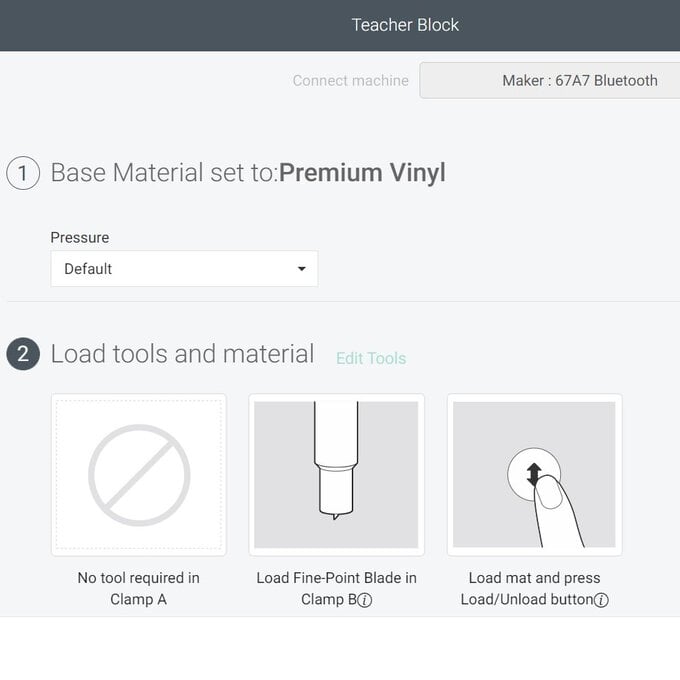
Select the material setting for the vinyl you have selected, using "Browse all materials" if necessary, here we have used Premium Removable Vinyl.
Follow the on-screen instructions to cut out the vinyl design.
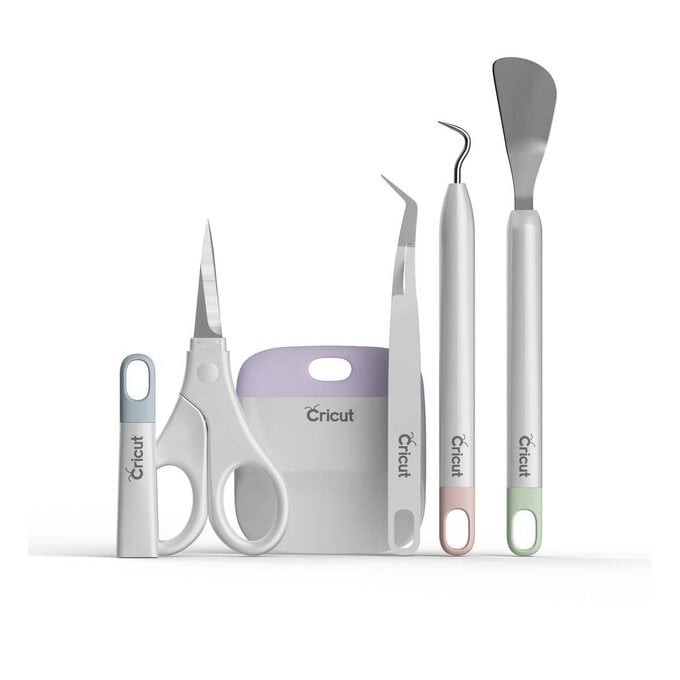
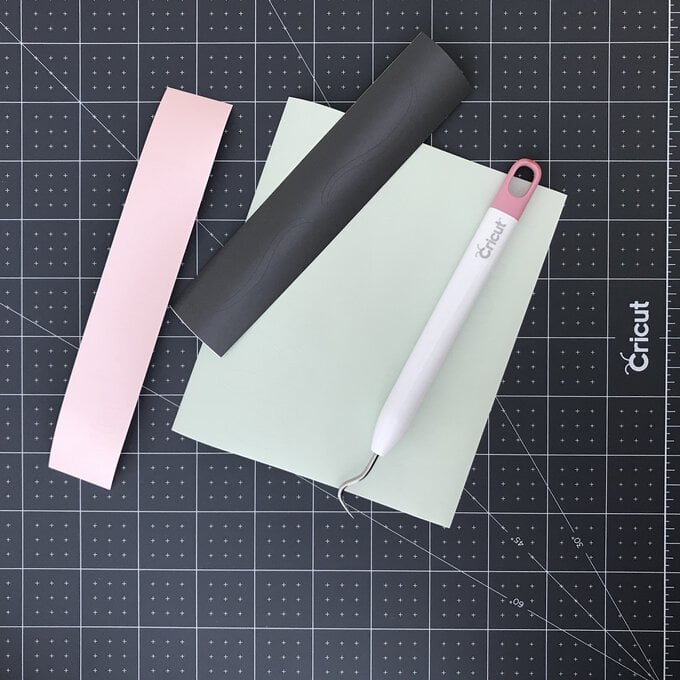
Weed your cut vinyl, using the weeding tool to help you.
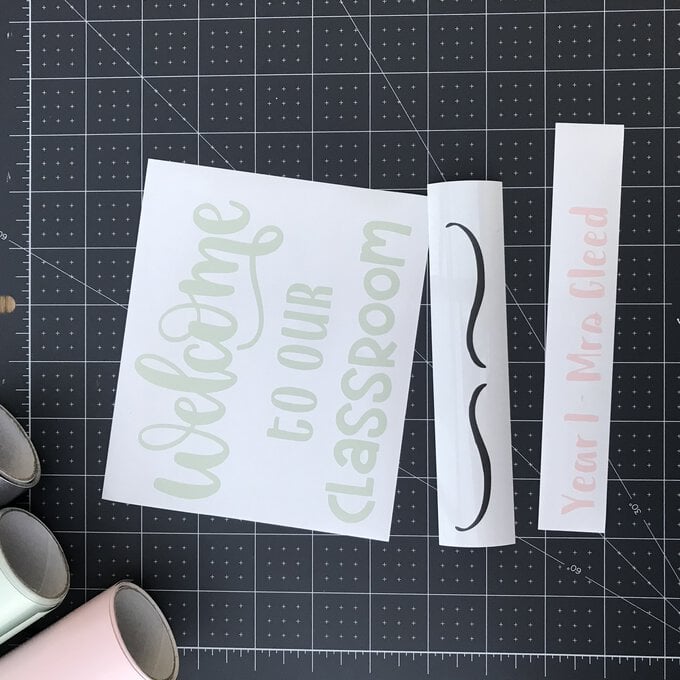
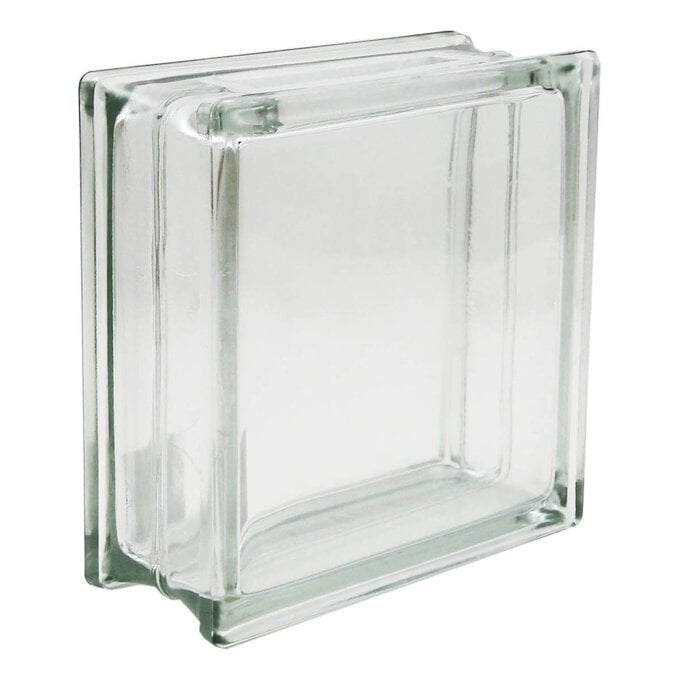
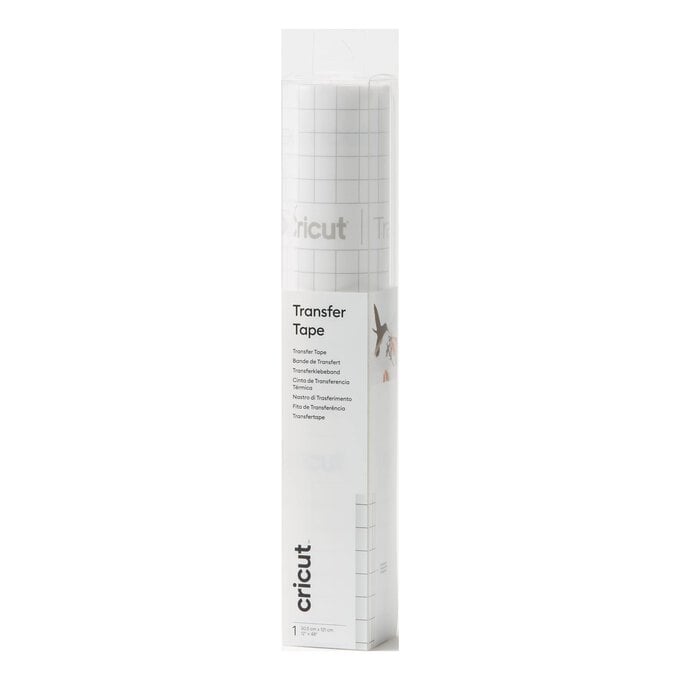
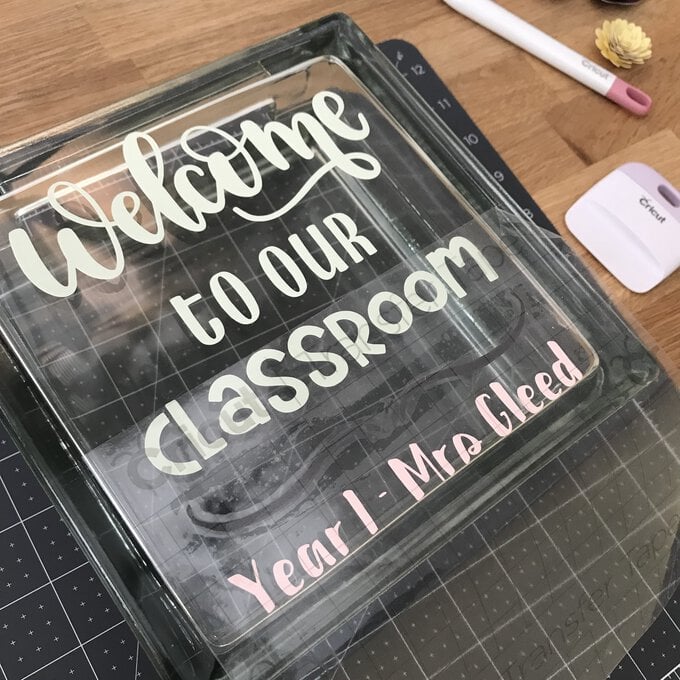
Using Transfer Tape, cut a piece slightly bigger than your design, lift the "Welcome to our Classroom" element from the backing paper and transfer to the glass block. Place this part of the design near to the top.
Top Tip: Make sure the glass surface is clean and dust free for the best application. Use the scraper tool to burnish the vinyl onto the Glass surface.
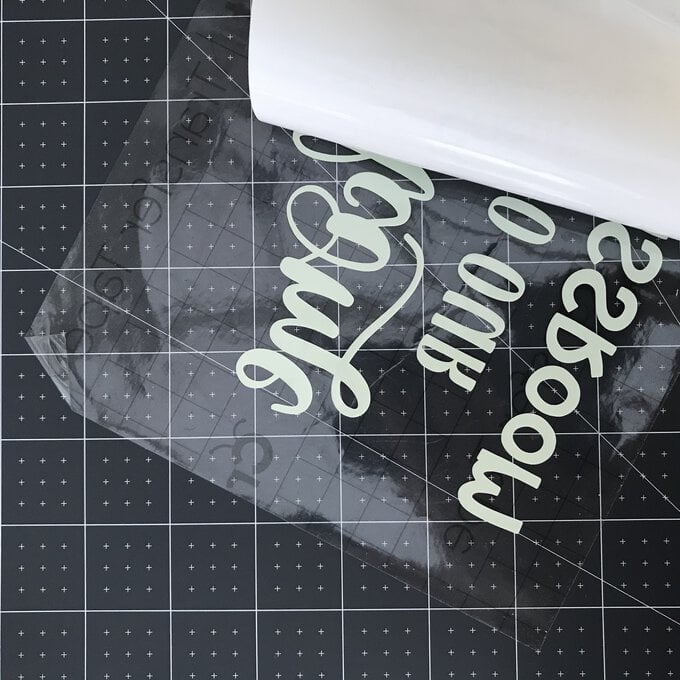
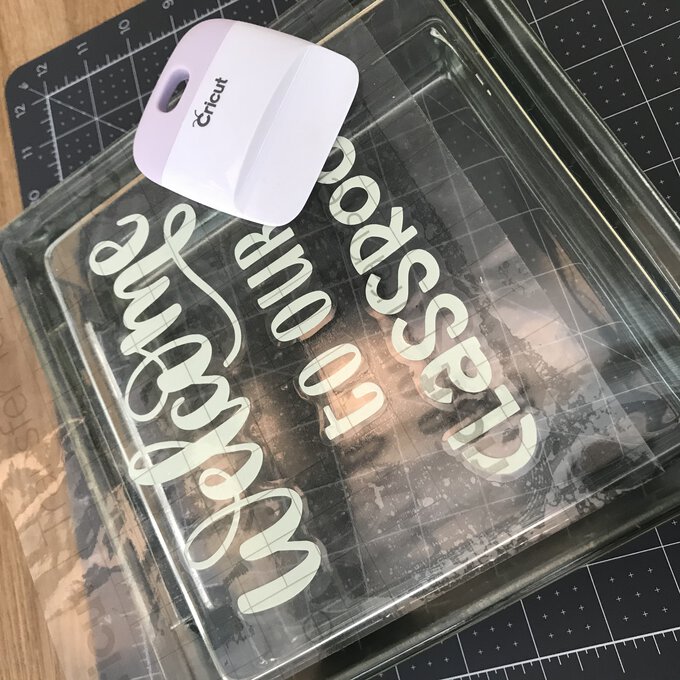
Repeat step 9 with the remaining cut elements. Start with the name and place this near the bottom of the glass brick. To finish place the flourish image centrally in between the already placed vinyl.
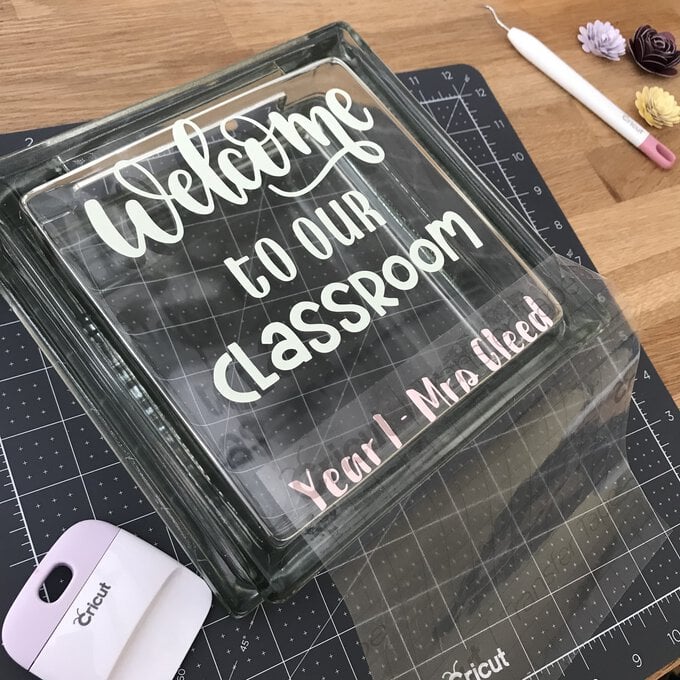
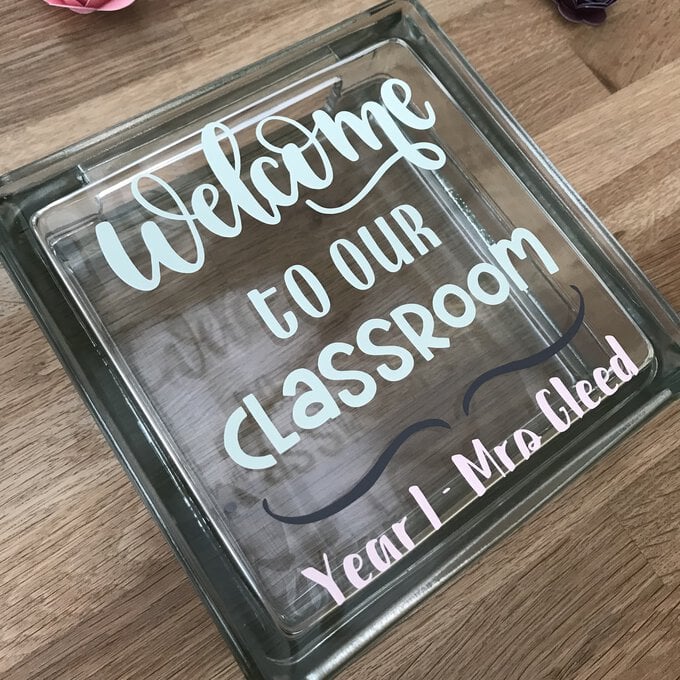
Remove the plastic cover from the top of the glass brick so that it can be filled.
