Cricut: How to Make Garden Party Place Cards
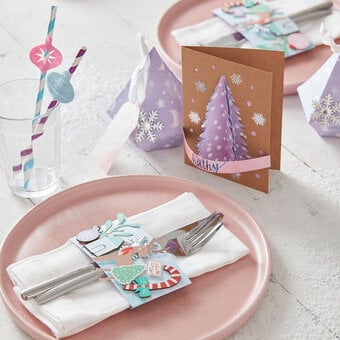
Add a personal touch to your outdoor gatherings with these personalised name cards. This simple project will make your guests feel extra special when they see their name at the table.
Whether you're celebrating an occasion or just making the most of being able to spend time with friends, these Cricut place cards will add charming detail to your table décor. It's an easy way to arrange the seating and make sure everyone feels included.
Project and instructions by Nerrisa Pratt.
Please note: This project contains paid-for content from Cricut's Design Space app. Screen reference images are taken from the desktop version of Design Space. The Cricut Maker was used to create this project; however, this project can also be created using a Cricut Explore.
You will need
Subtotal
Is $ 11.00 , was $ 14.00
Subtotal
Is $ 34.00 , was $ 42.00
Subtotal
Is $ 11.00 , was $ 14.00
Subtotal
Is $ 590.00
How to make
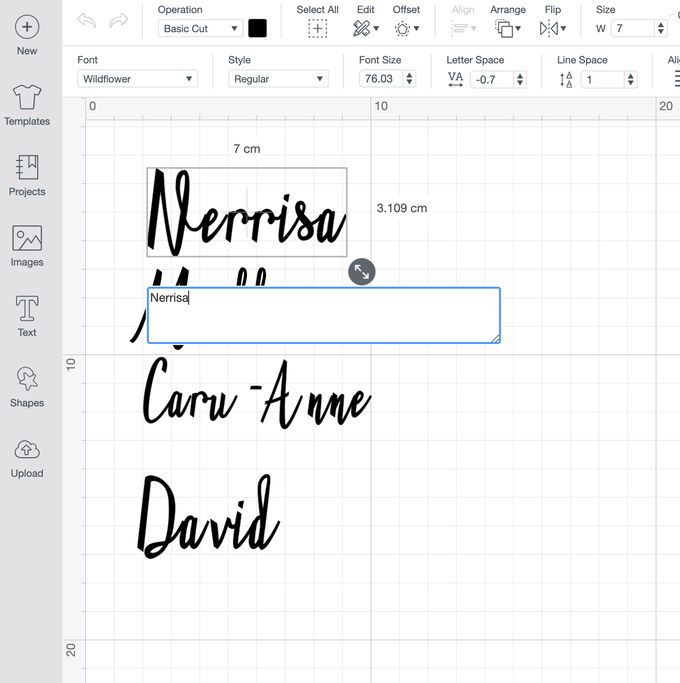
Open Design Space and enter your chosen names and font – for this project we've used 'Wildflower'
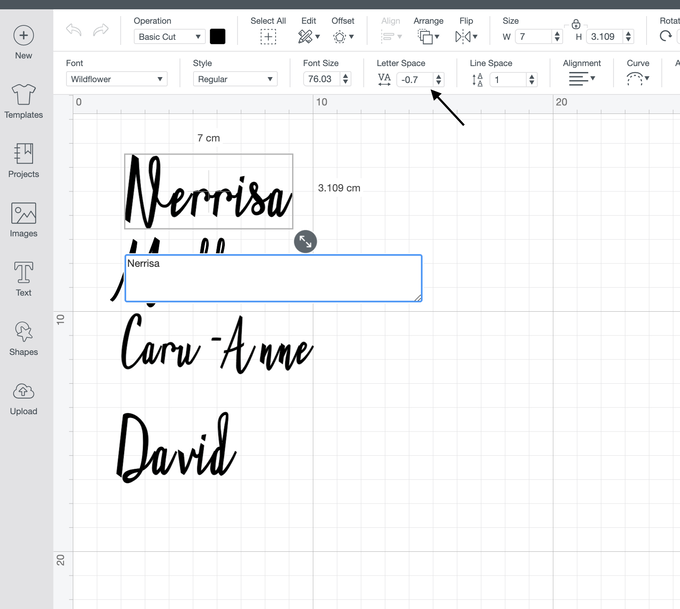
If you want the font to have a more 'joined up' look, use the 'Letter space' tool in the toolbar to push them closer together
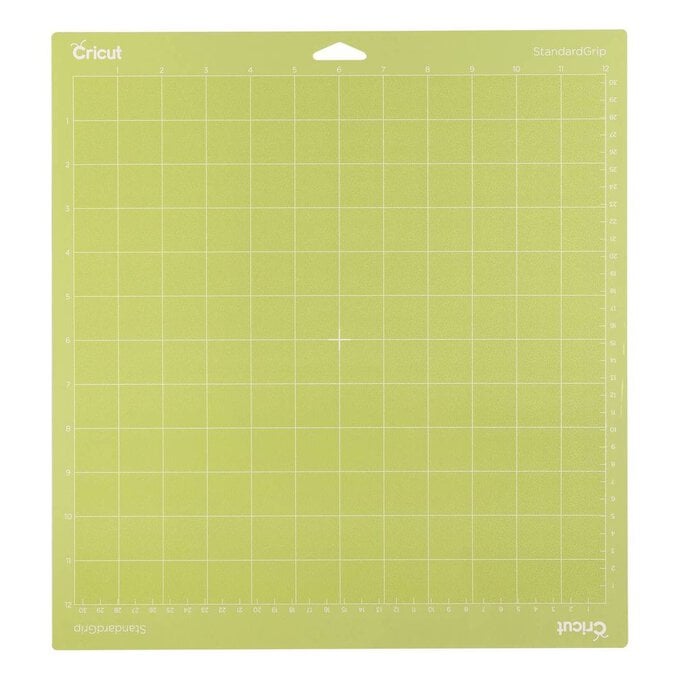
Once you're happy with your words, set your mat up with your vinyl, making sure the shiny material is face up – no need to mirror for this project
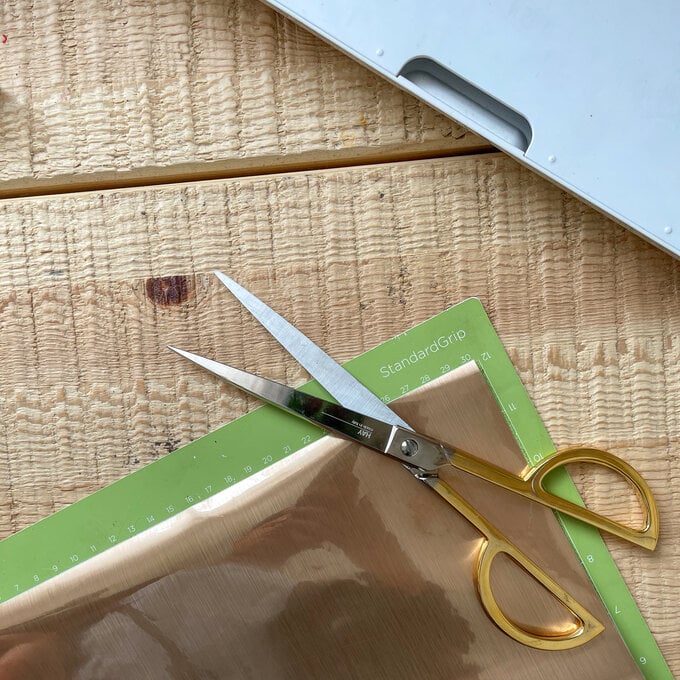
When the cut is finished, carefully weed the design, taking extra care to make sure all of your letters are there, occasionally, they can get stuck on the main material, so be sure you don't throw any of them away!
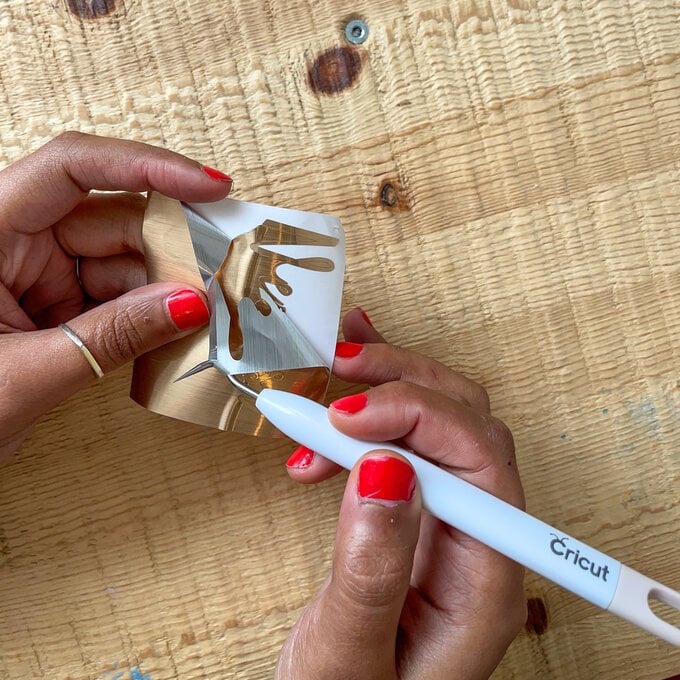
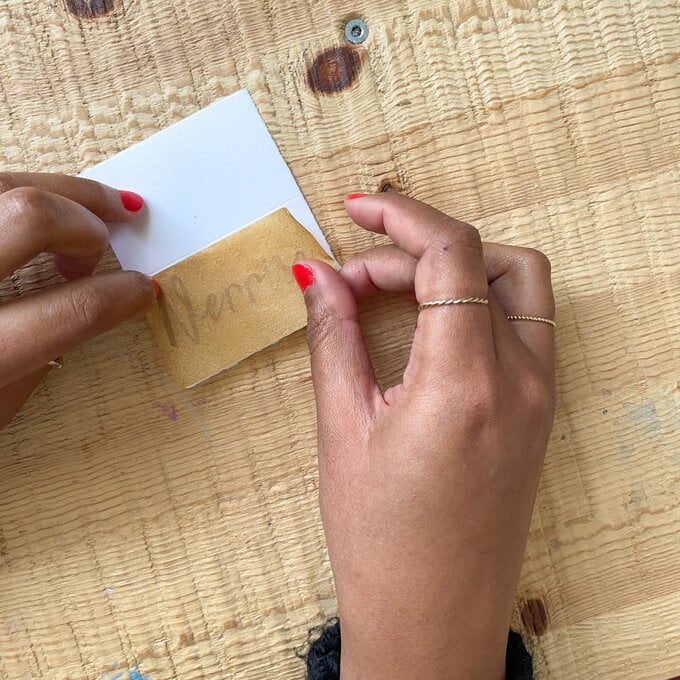
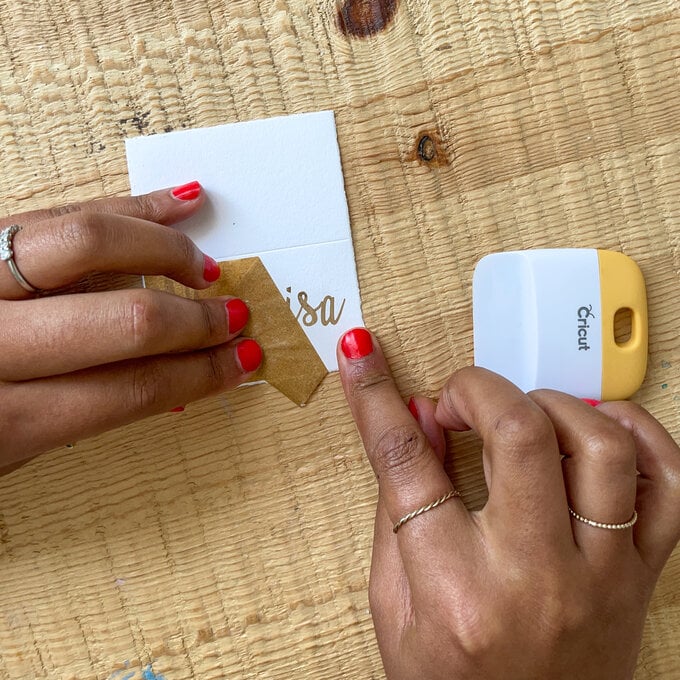
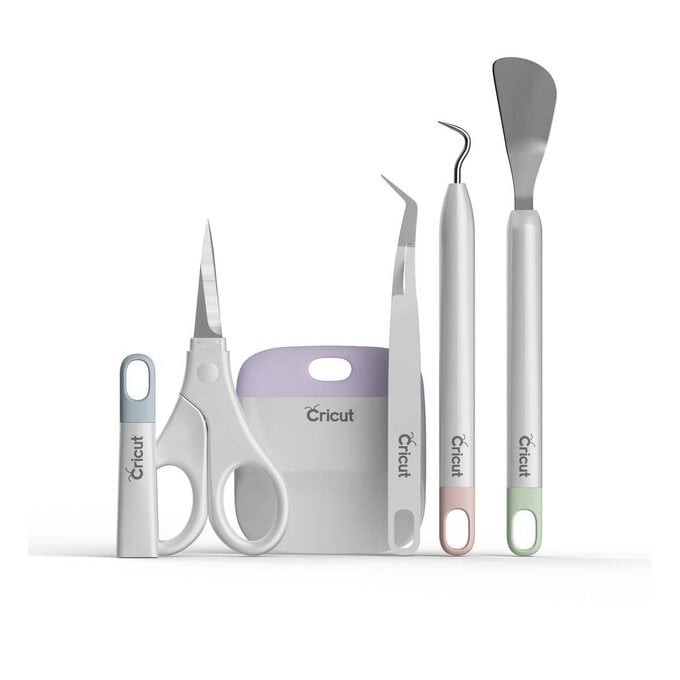
Using masking tape instead of transfer tape, place the tape over the design and using the scraper tool, make sure the letters are picked up – using masking tape will stop the paper ripping as you remove the tape from the place card
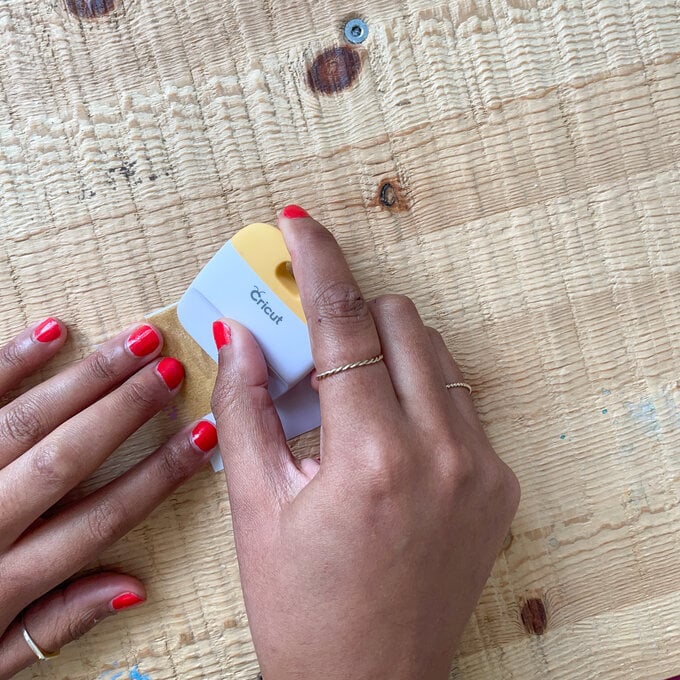
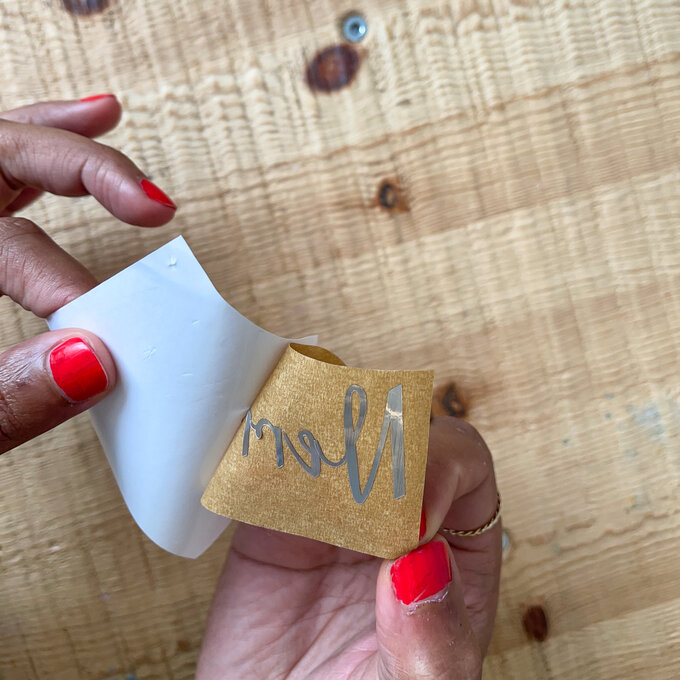
Carefully line up your name on the place card and using the scraper tool, transfer the letters onto the paper, removing the masking tape carefully
