Cricut Joy: How to Make a Card
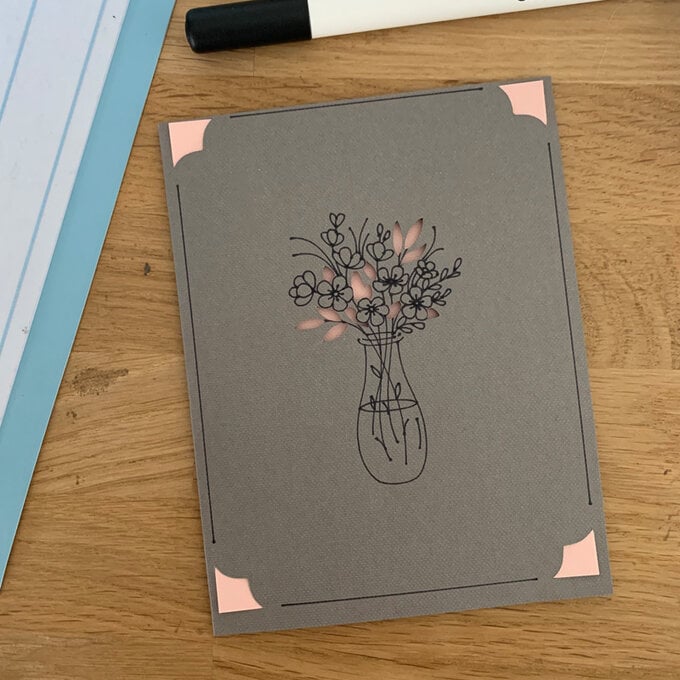
Creating professional-looking cards has never been easier thanks to the Cricut Joy and the nifty Cricut CardMat! Create personal one-of-a-kind cards in minutes, simply pick your design and then let the Cricut Joy do the rest - what could be easier!?
Reference screen images included within this how-to are from the iOS mobile version of the Design Space app
Project by Aisha Cluitt
This project contains paid for content from Cricut's Design Space app
You will need
Subtotal
Is $ 20.00 , was $ 25.00
Subtotal
Is $ 9.49 , was $ 12.00
Subtotal
Is $ 232.00 , was $ 246.00
How to make
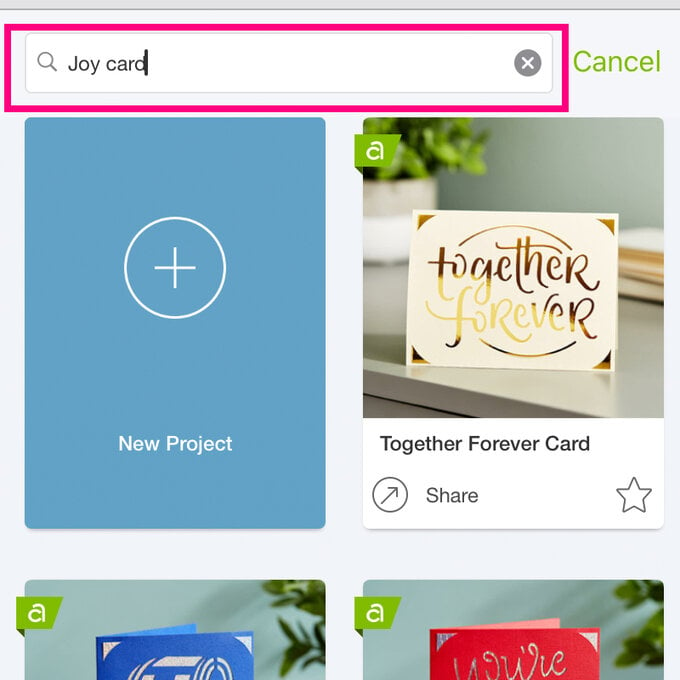
Log onto the Design Space app, and type "Joy Card" into the search bar at the top of the screen, then click the "Search" button.
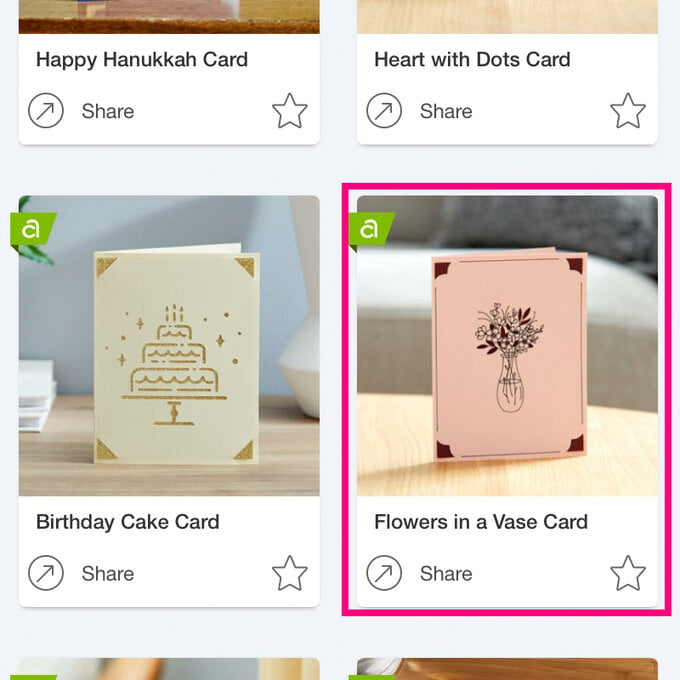
Select the "Flower in a Vase Card" project, a pop-up will then appear on screen, click "Make It".
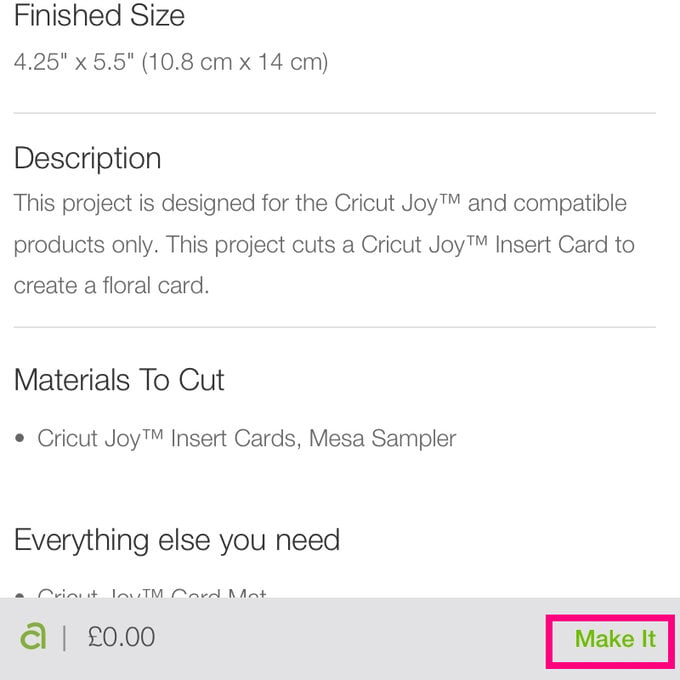
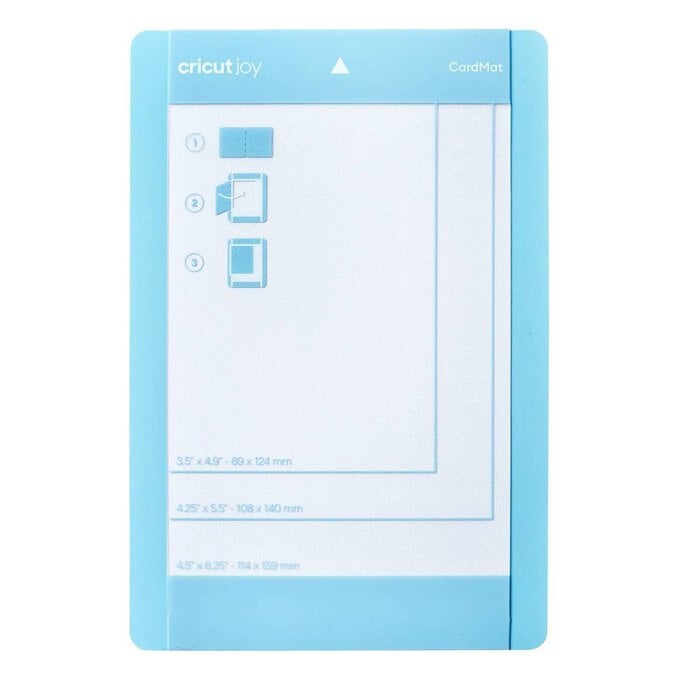
You will then be taken through to the mat preview screen, ensure the card mat option is selected under "Material Load Type".
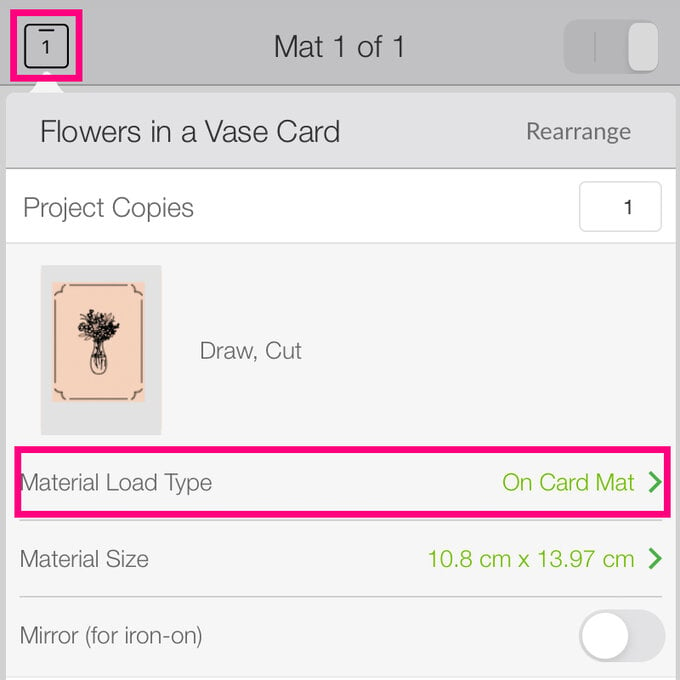
Once happy with the settings, click the mat icon in the top left-hand corner of the screen to exit the menu, you'll then see a mat preview appear on screen. Check everything is correct before clicking the "Continue" button in the bottom right-hand corner of the screen.
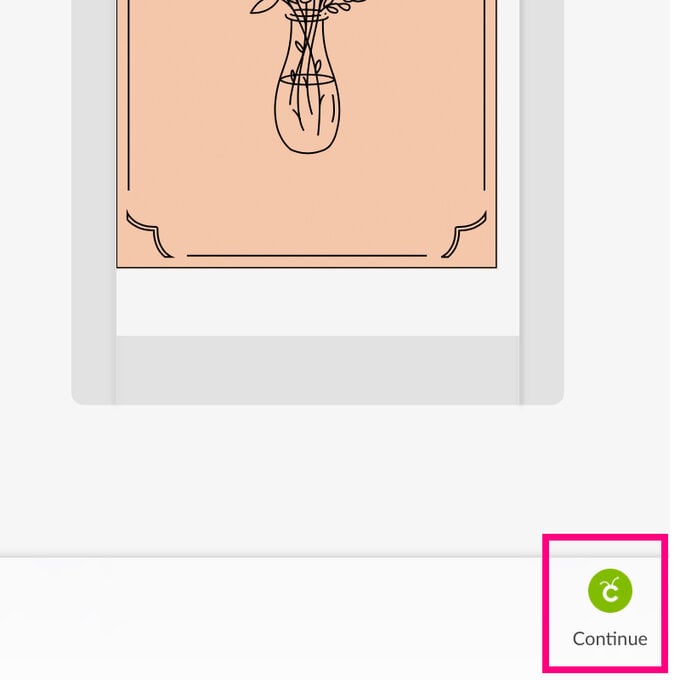
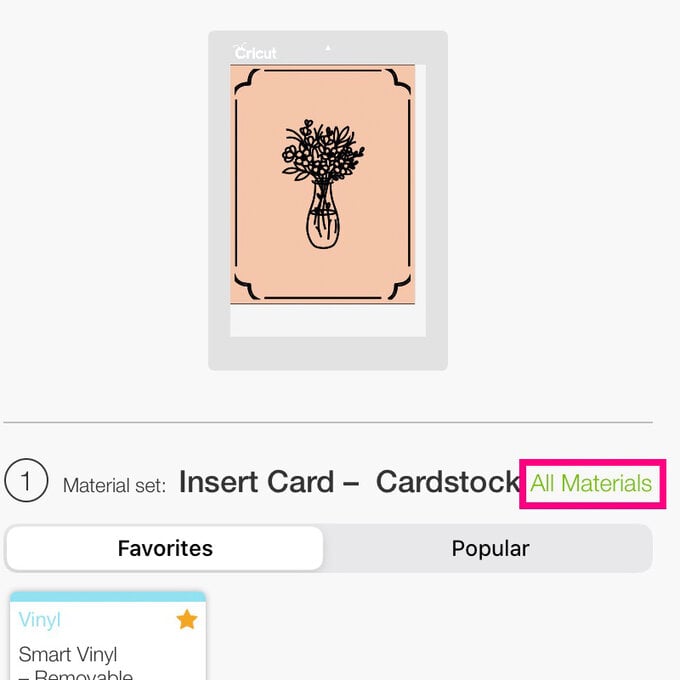
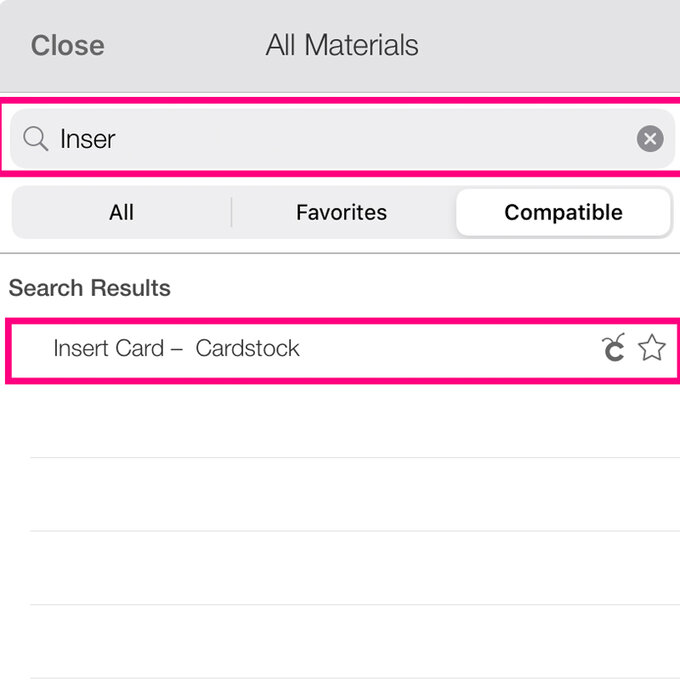
Once through to the machine set up screen, click on the "All Materials" button and start to type "Insert" into the search bar at the top of the screen.
Select the "Insert Cards" option.
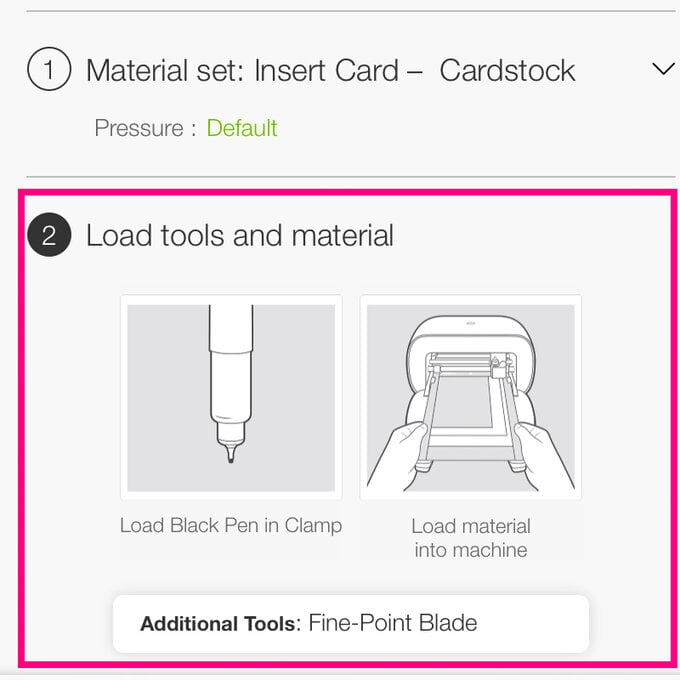
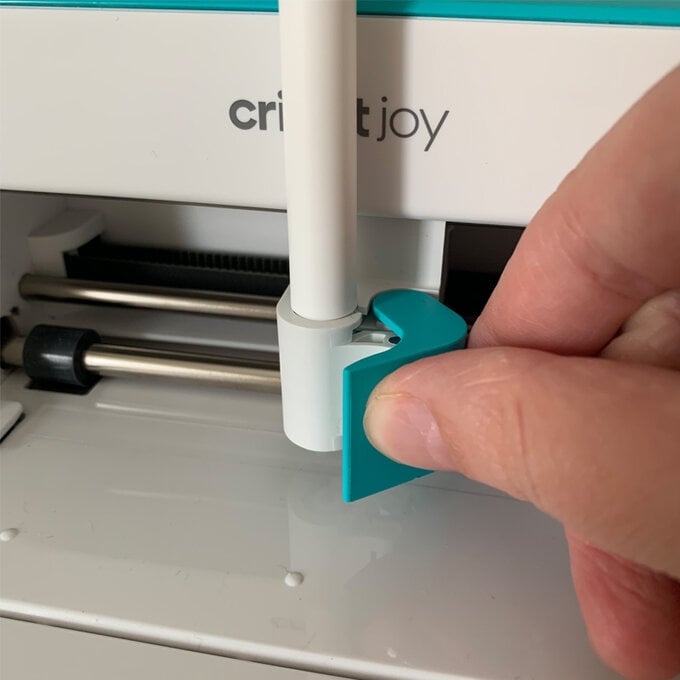
Insert the pen into the Cricut Joy by opening the blue clamp, removing the blade, adding in the pen (minus the lid) and then closing the clamp.
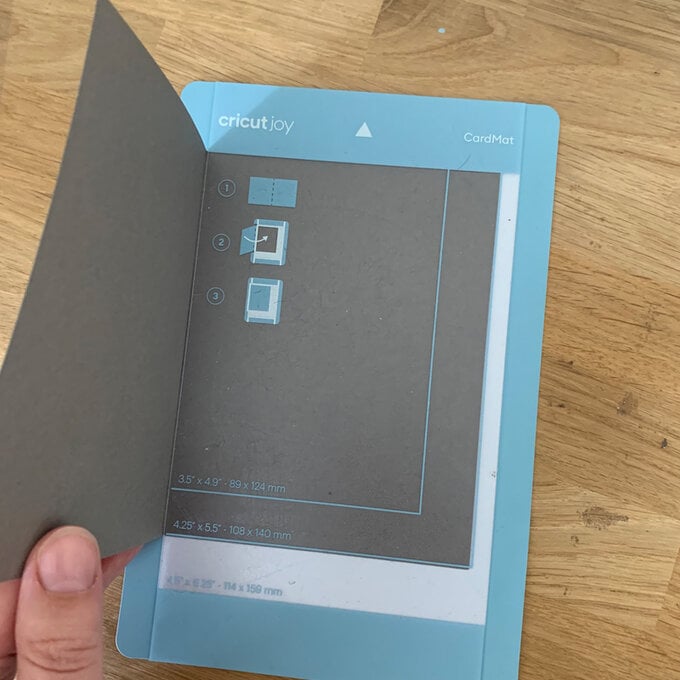
Place the card blank onto the CardMat. To do this, open up the card blank and slide the back of the card underneth the clear plastic layer, then secure the inside front of the card blank to the adhesive section of the mat .
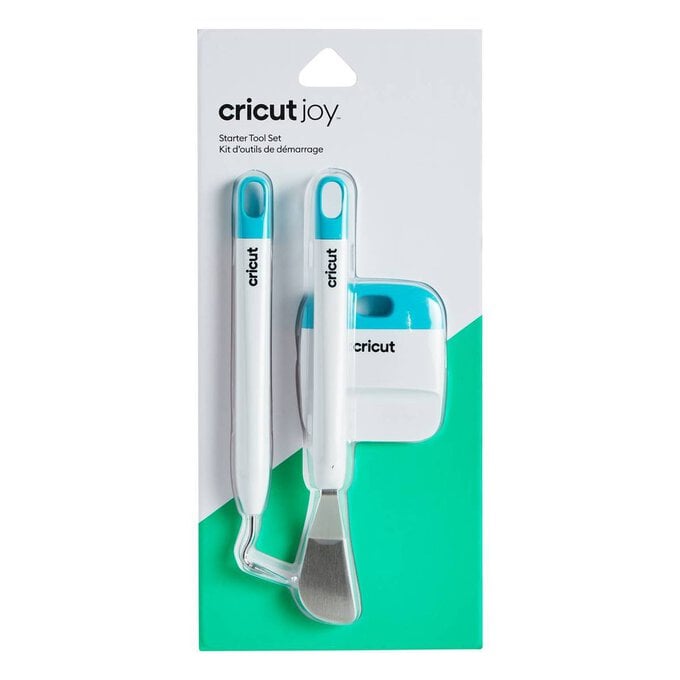
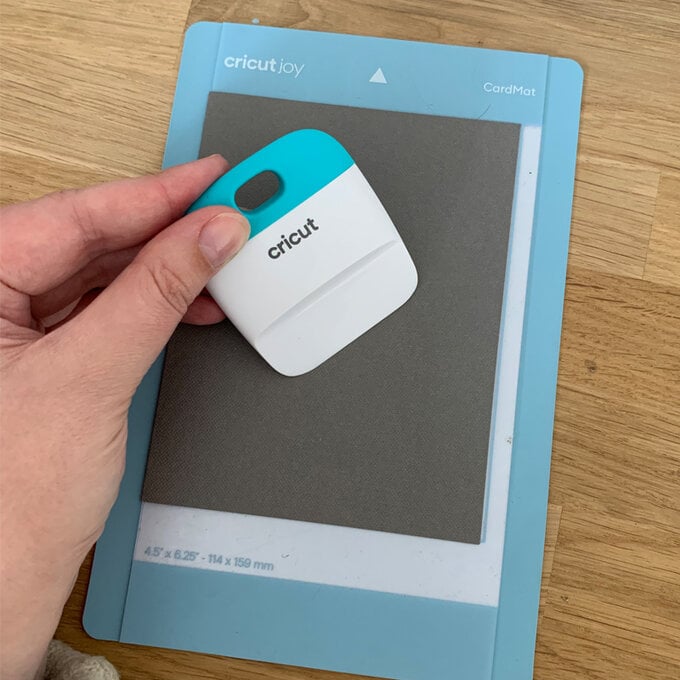
To ensure good contact between the mat and card blank, lighty smooth over the blank with the Cricut scraper tool.
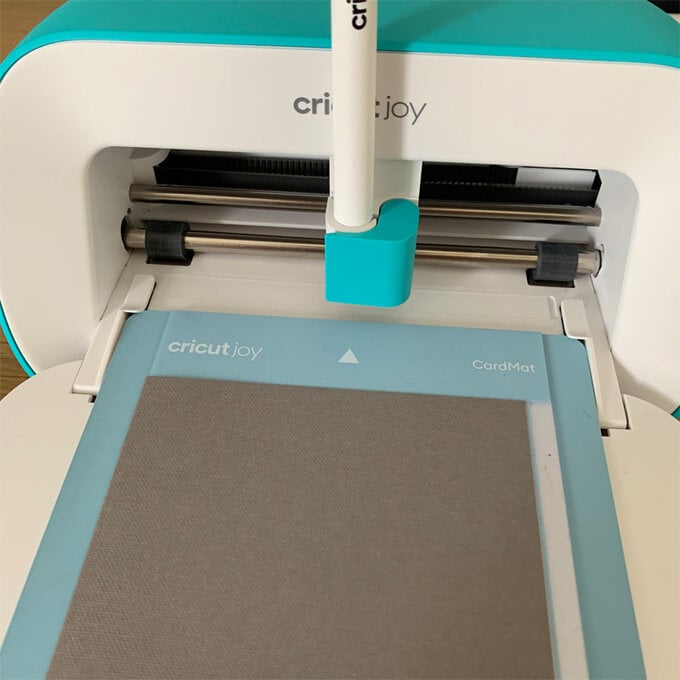
Load the mat into the Cricut Joy by placing it underneth the guides on the left and right-hand side of the machine; as the mat makes it's way into the machine the rollers wil activate and the machine will begin to draw the mat through.
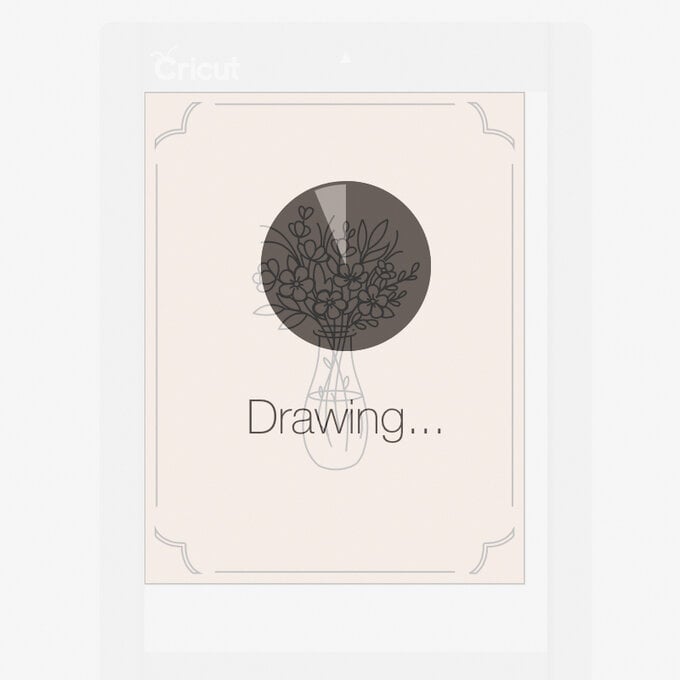
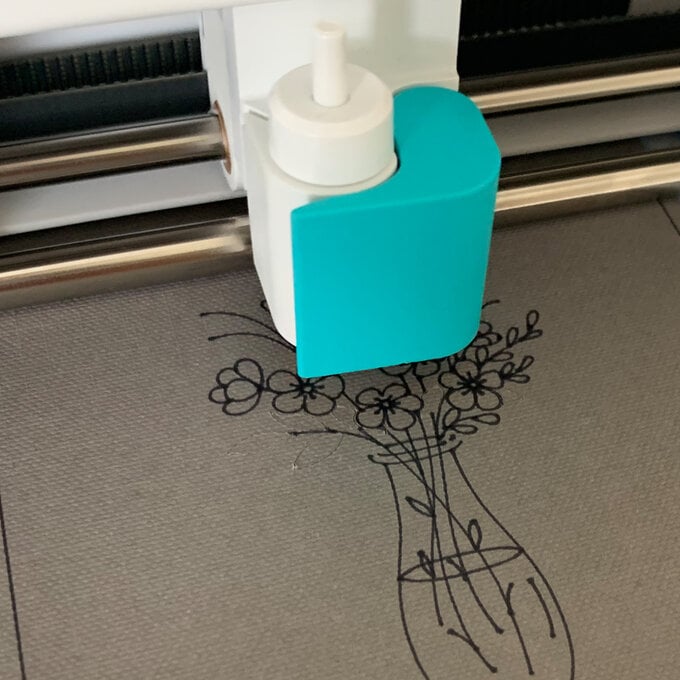
As the machine draws the design a progress wheel will appear on screen.
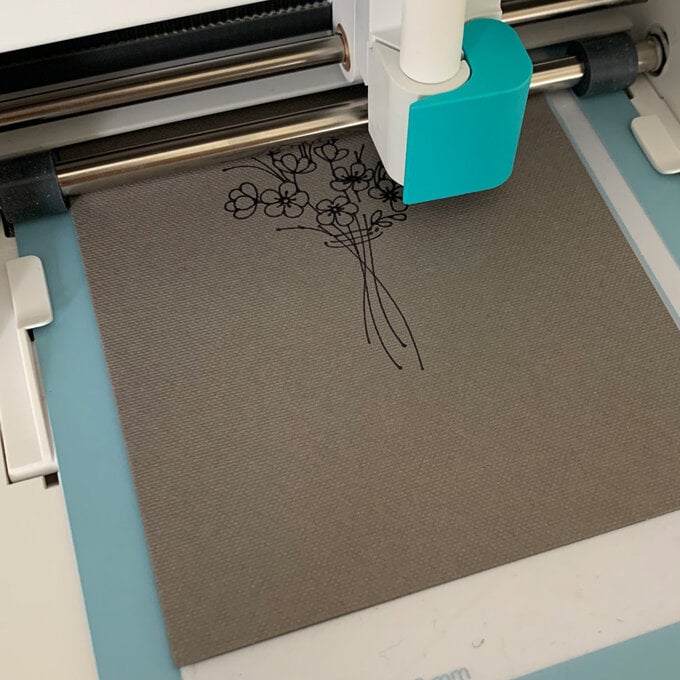
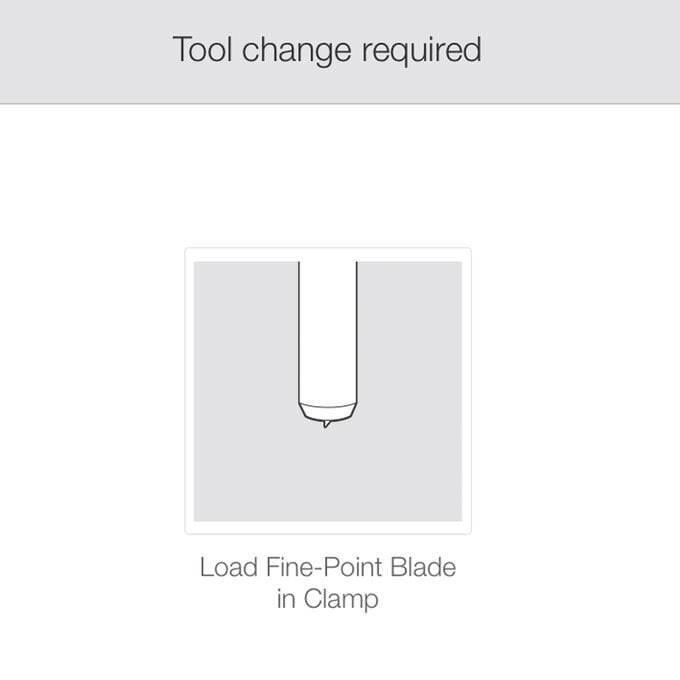
Once the drawn part of the design is compete, a pop-up will appear on screen telling you to remove the pen from the Cricut Joy and add in the blade so that cutting can begin. Add in the blade in the same way that you added the pen into the machine.
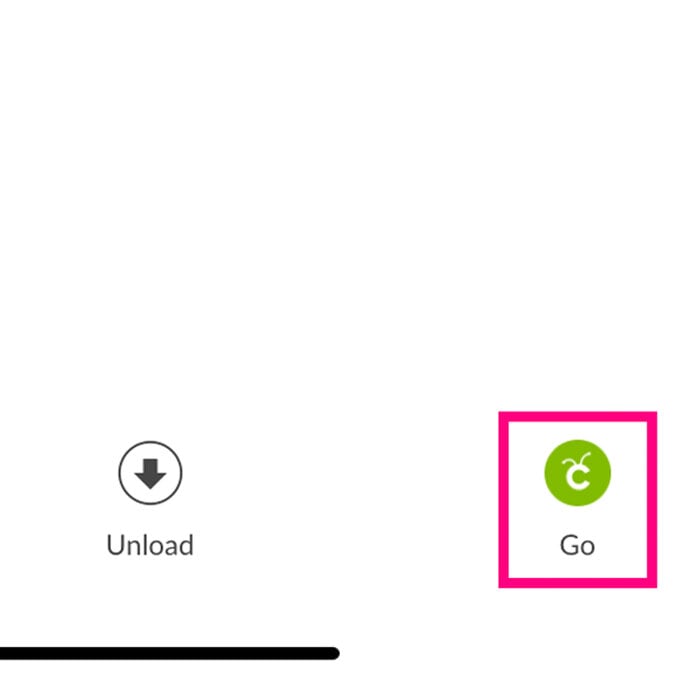
Once the blade has been inserted, click "Go".
Another progress wheel will then appear on screen as the Cricut Joy carries out the cut.
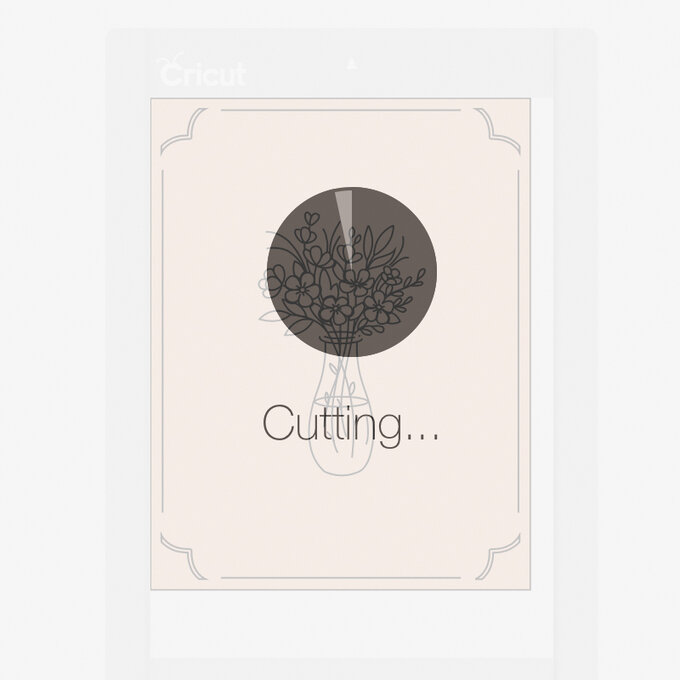
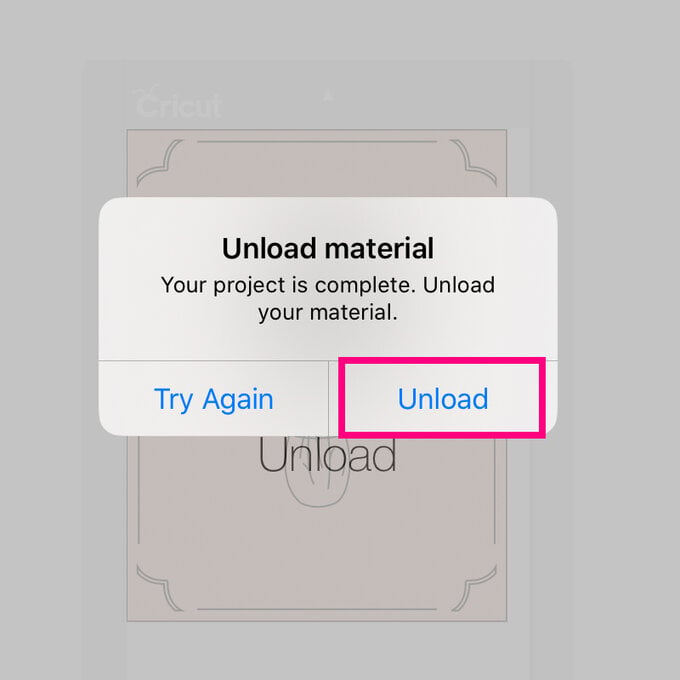
Once the cut is complete, click the "Unload" button that appears on screen.
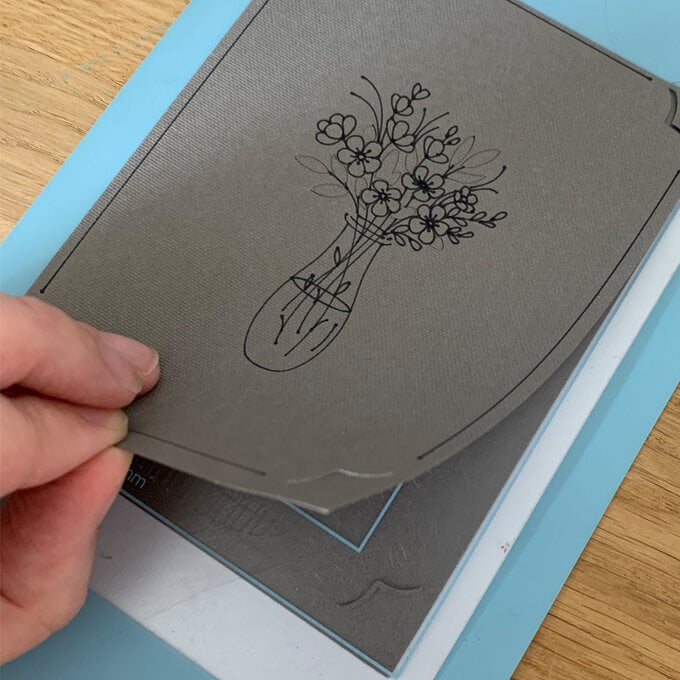
Carefully peel the card bank away from the mat.
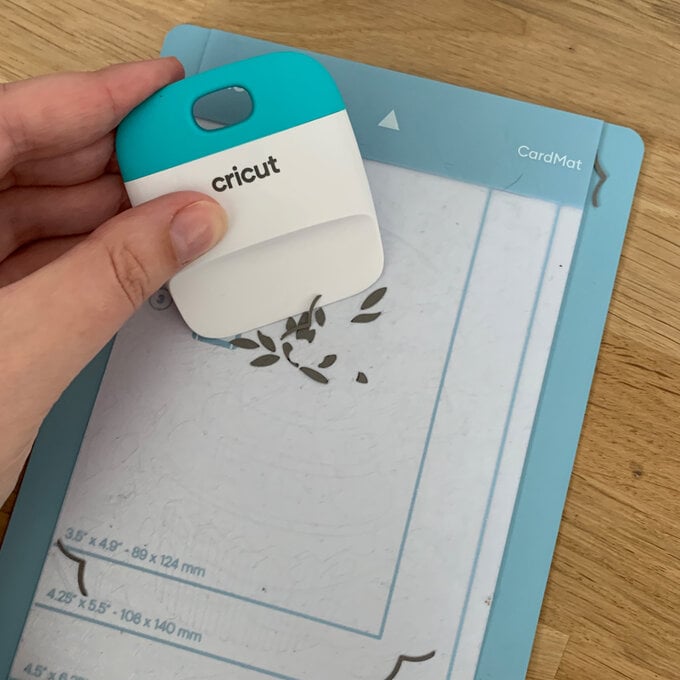
Use the Cricut scraper tool to remove the cut elements left on the mat.
Add the insert into the card to complete the card design.
