Cricut: How to Make Reusable Fruit and Veg Bags
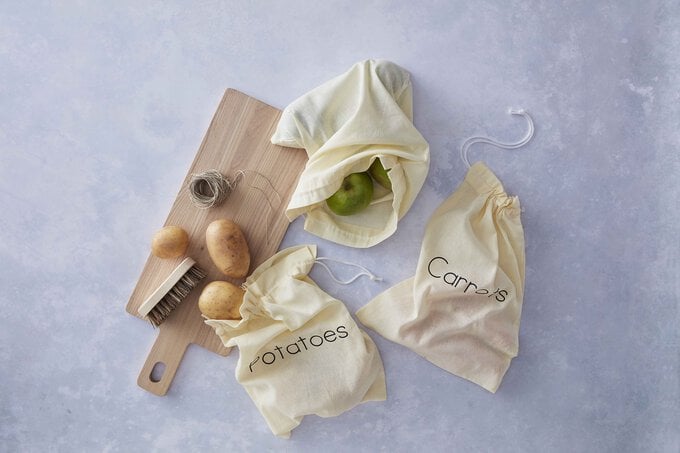
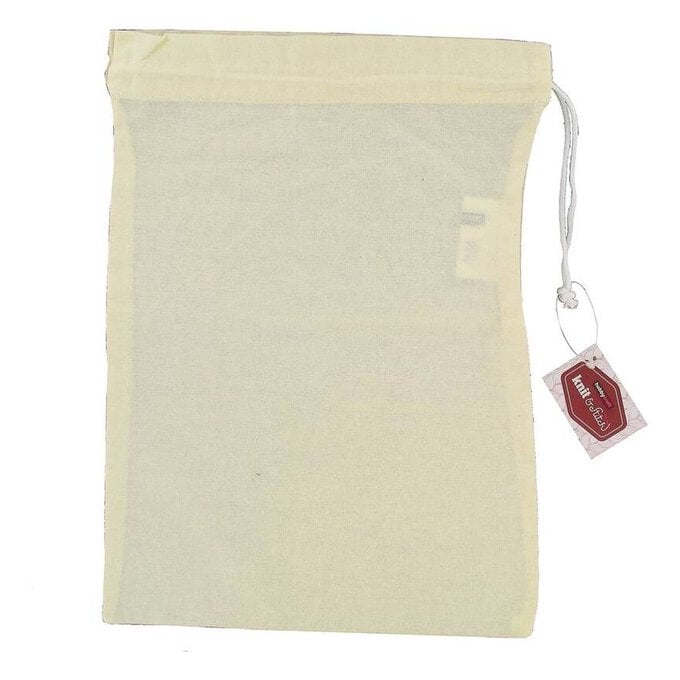
Plain cotton drawstring bags make the perfect carrier for fruit and vegetables on your weekly shop. Use Cricut's Design Space app to create your design, and then either the Cricut Explore or Maker to cut out your project from iron-on vinyl. The EasyPress 2 makes sure your design stays firmly in place ensuring the bag can be used for years to come!
Project by Hobbycraft Artisan Vicky Boyns
This project contains paid for content from Cricut's Design Space app
Screengrab references images are taken from the iPad version of Design Space
You will need
Subtotal
Is $ 461.00
Subtotal
Is $ 11.00 , was $ 14.00
Subtotal
Is $ 33.00 , was $ 41.00
Subtotal
Is $ 33.00 , was $ 41.00
Subtotal
Is $ 1.49
Out of stock
Subtotal
Is $ 13.00 , was $ 16.00
How to make
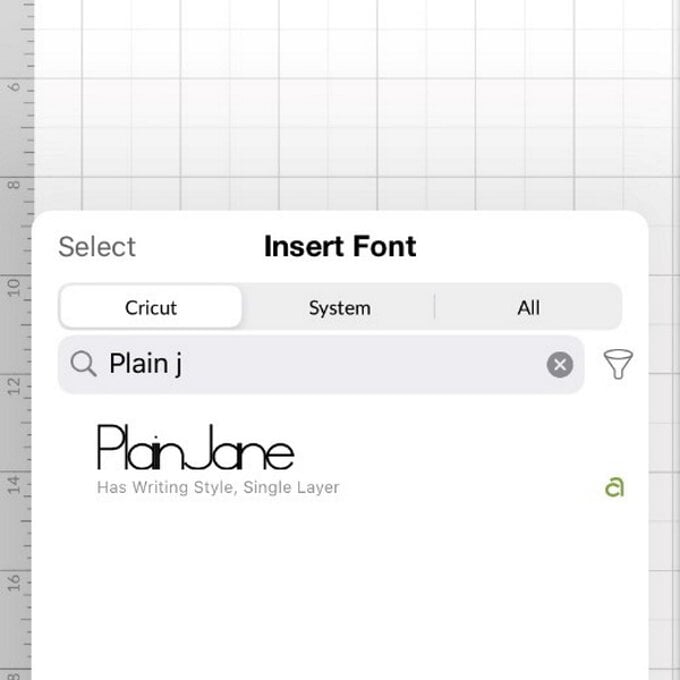
Open a new project on the Design Space app and click the 'text' tab then search for the 'Plain Jane' font.
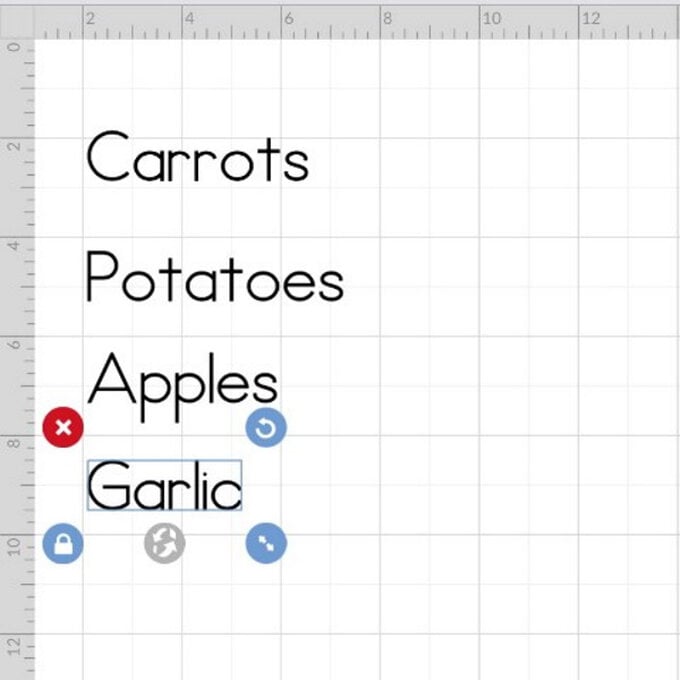
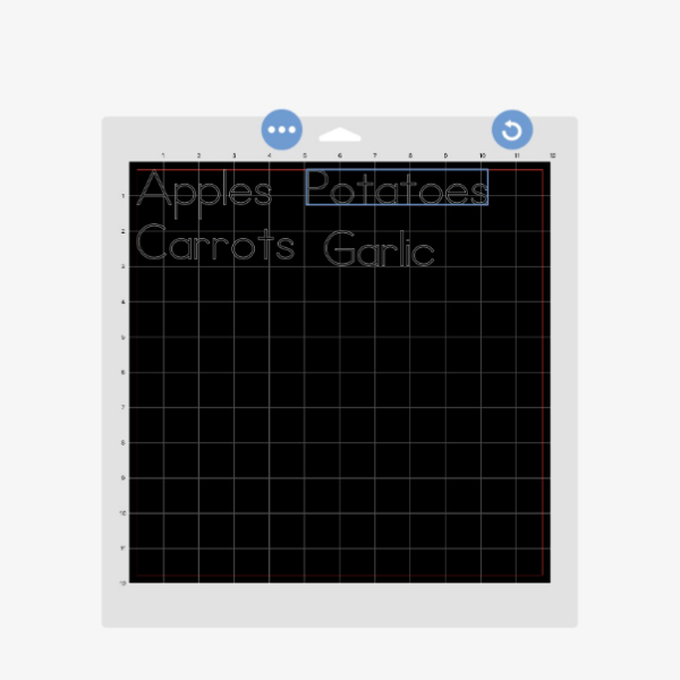
Write out the fruit and vegetable names and adjust the size to suit.
To resize, ensure the word is selected, then drag in/out the corner arrow icon or open the 'edit' tab and adjust the width/height dimensions ensuring that the padlock icon is locked so that the word resizes proportionately.
Once happy with the size of each word hit the green "Make it" button.
You'll then be taken through to the mat preview screen, ensure the words sit comfortably on the mat so they can be weeded easily - I made the gaps between each of the words on my mat preview slightly larger.
Once the "MIrror for Iron-on" function has been selected, click the green "Continue" button in the bottom right-hand corner of the screen.
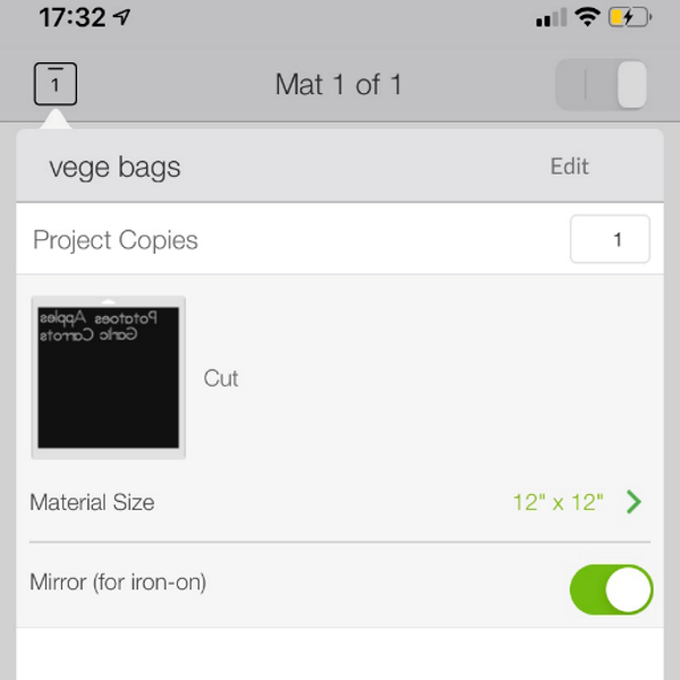
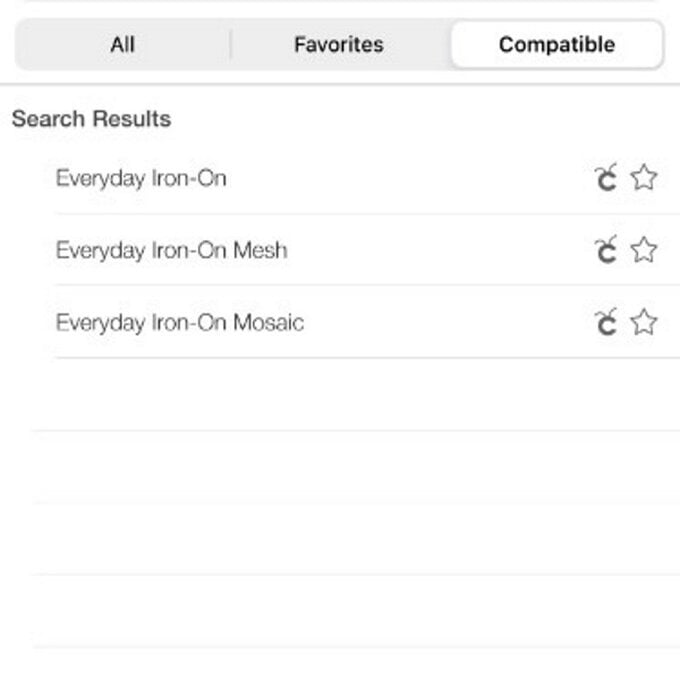
You'll then be taken through to the machine set up screen where you'll need to tell your machine what type of material you'll be cutting, click the "All Materials" button and select 'Everyday Iron-on' as your material.
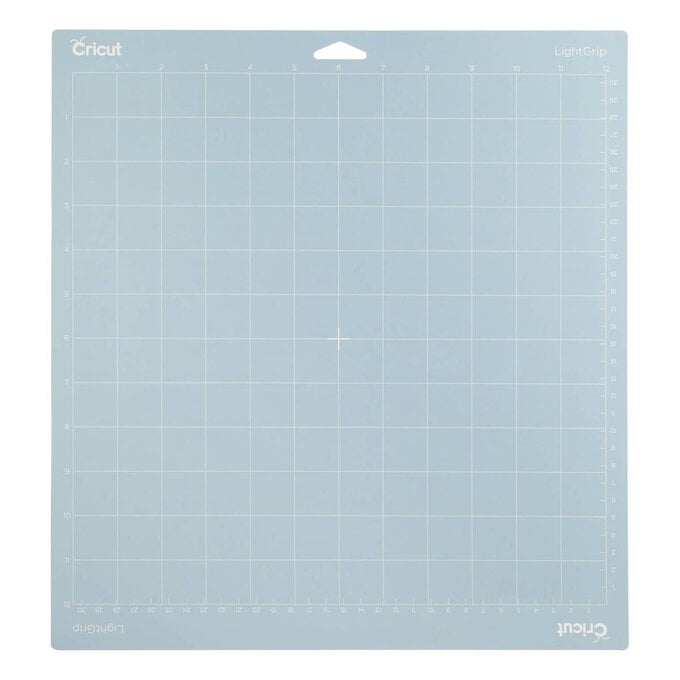
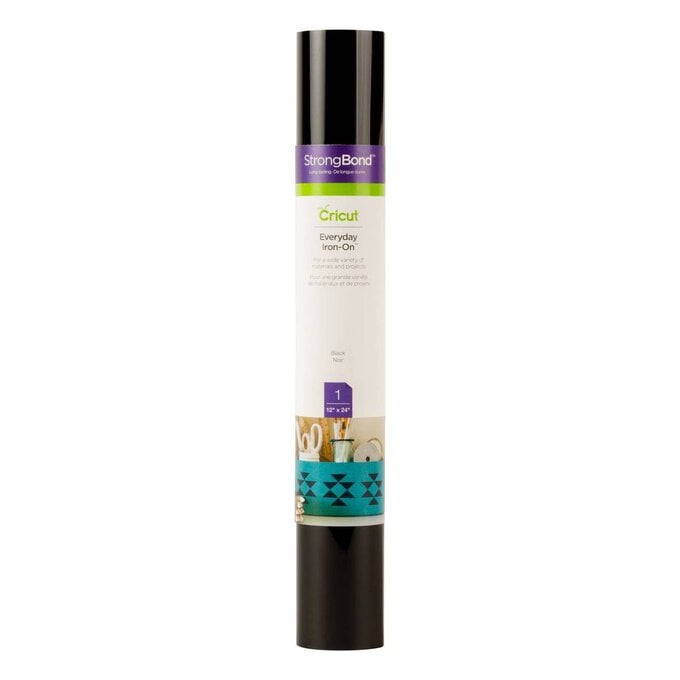
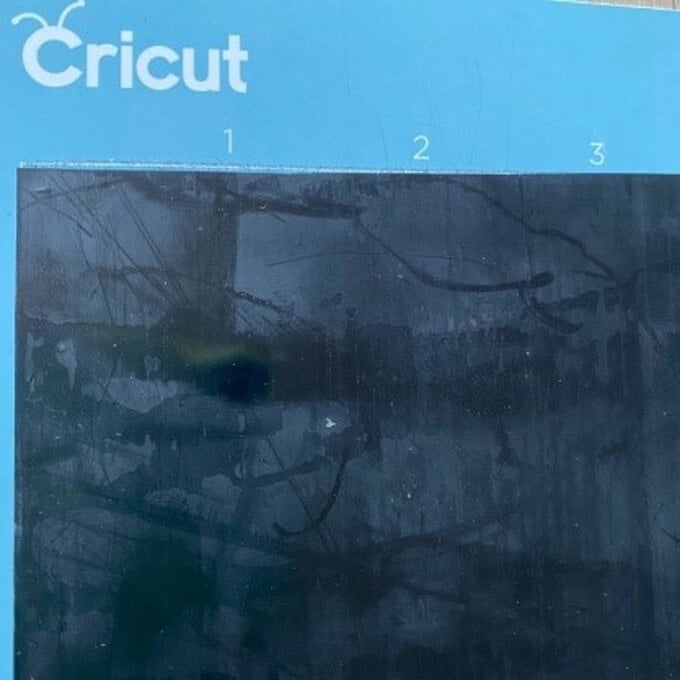
Place the Everyday Iron-on Vinyl shiny side down on to the mat. You want the cricut to cut the dull side.
Load the mat into your machine by pressing the flashing arrow button, then press the flashing Cricut icon to begin the cut.
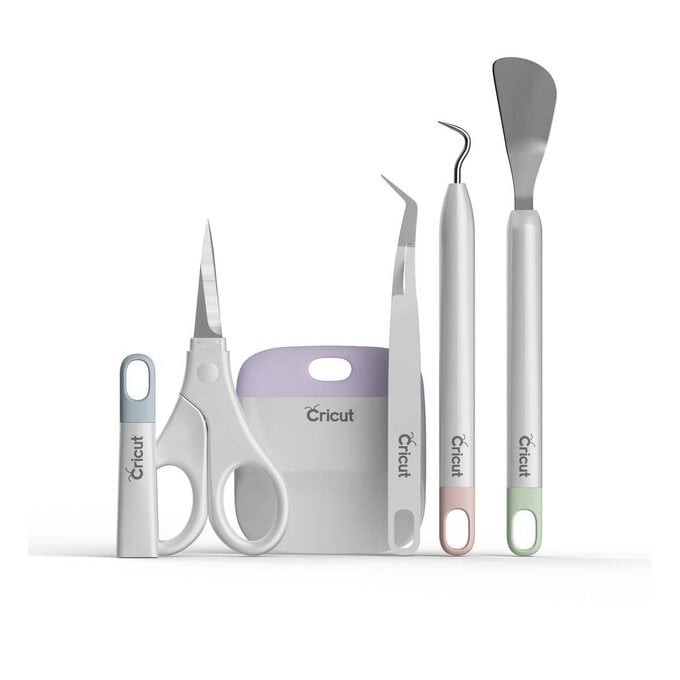
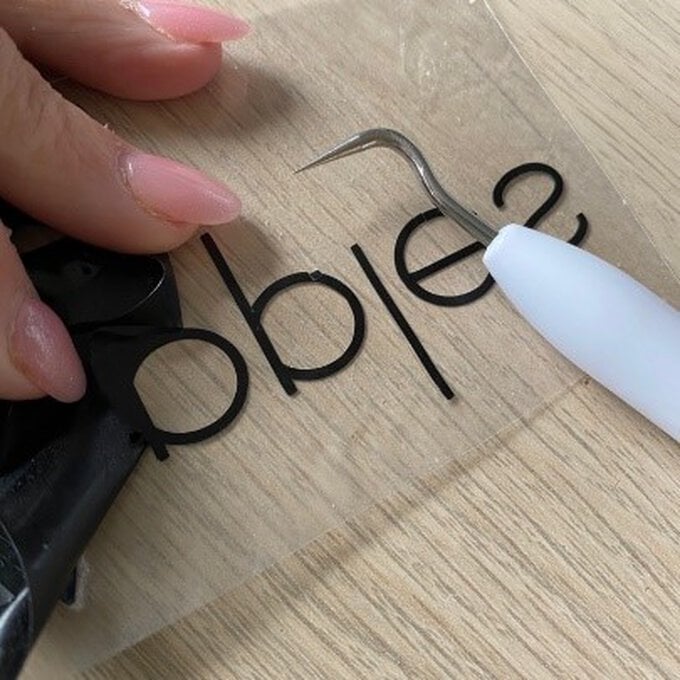
Once the cut is complete, unload the cutting mat from the machine and then use the Cricut weeder tool to remove areas that you do not want to transfer to your project.
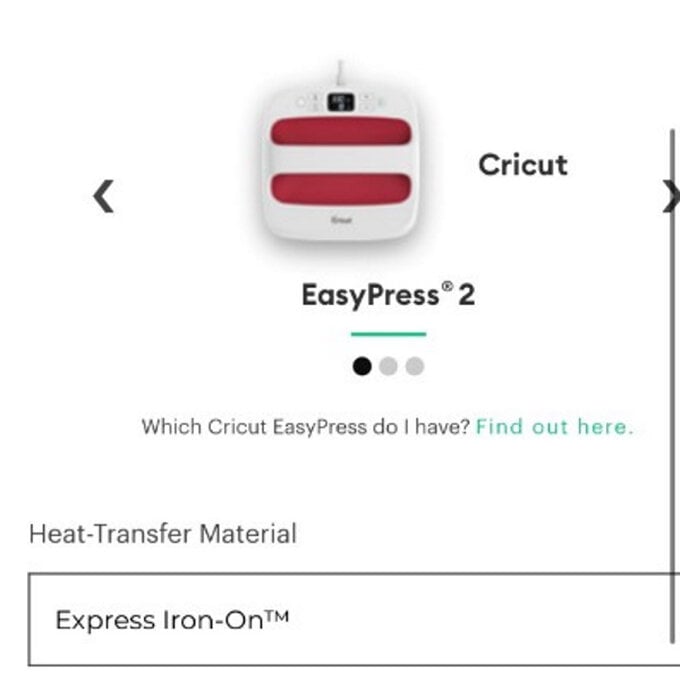
Use Cricut's online interactive Heat Guide for the EasyPress to check the temperature and time you need to set your machine to for Everyday Iron-on vinyl.
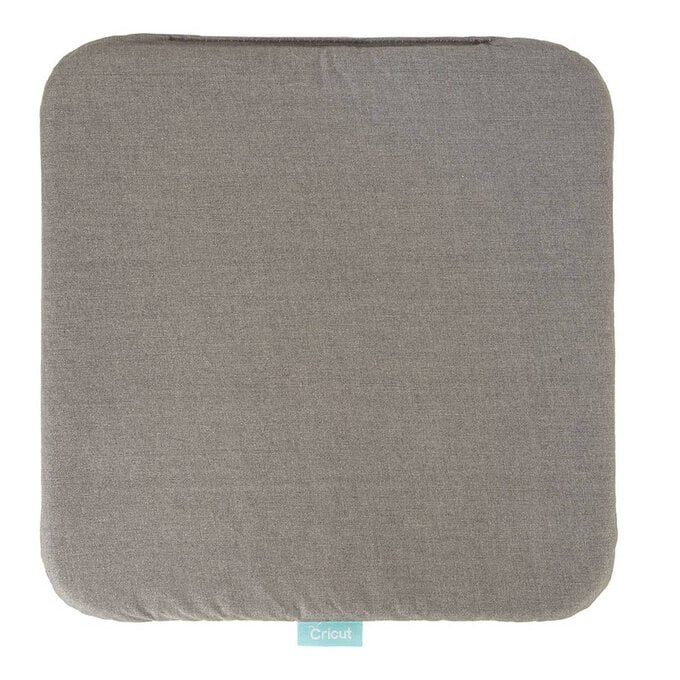
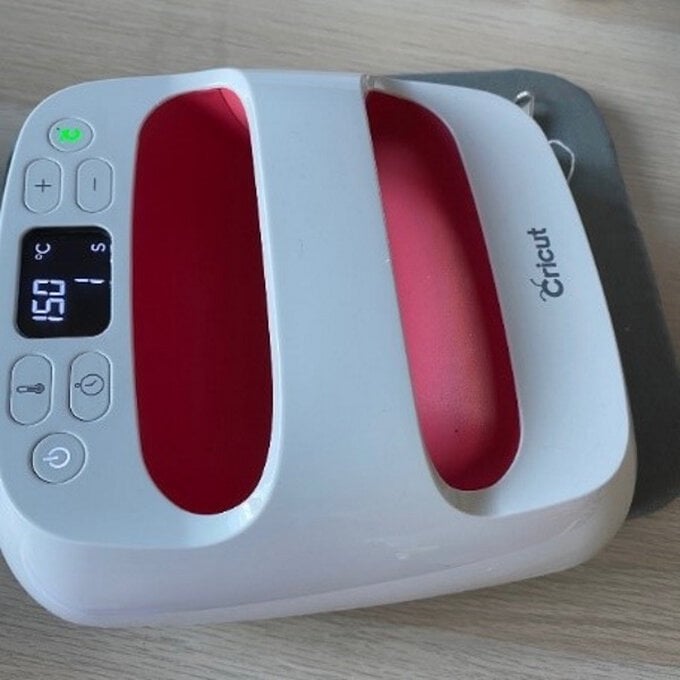
Begin by carefully pre-heating your fabric, then add the word to the bag and apply the EasyPress on top, activate the machine timer.
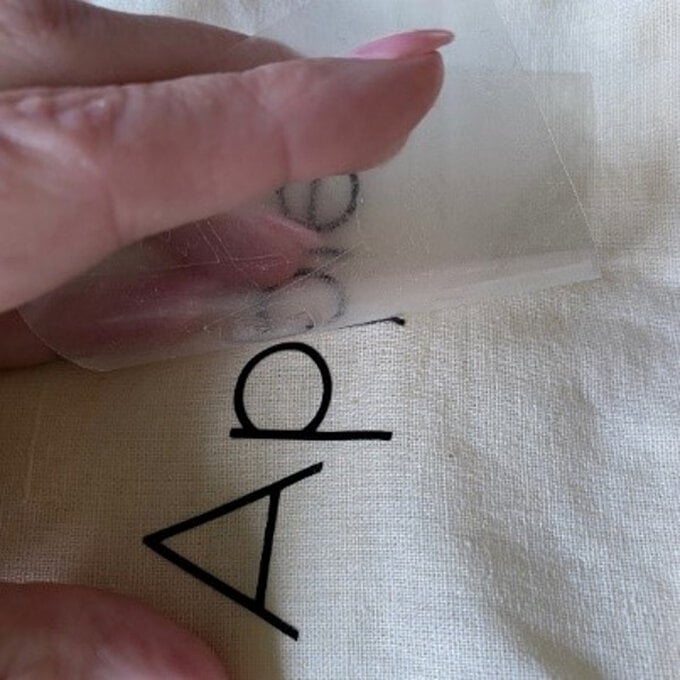
Once the iron-on vinly has cooled, carefully and slowly peel away the vinyl carrier sheet.
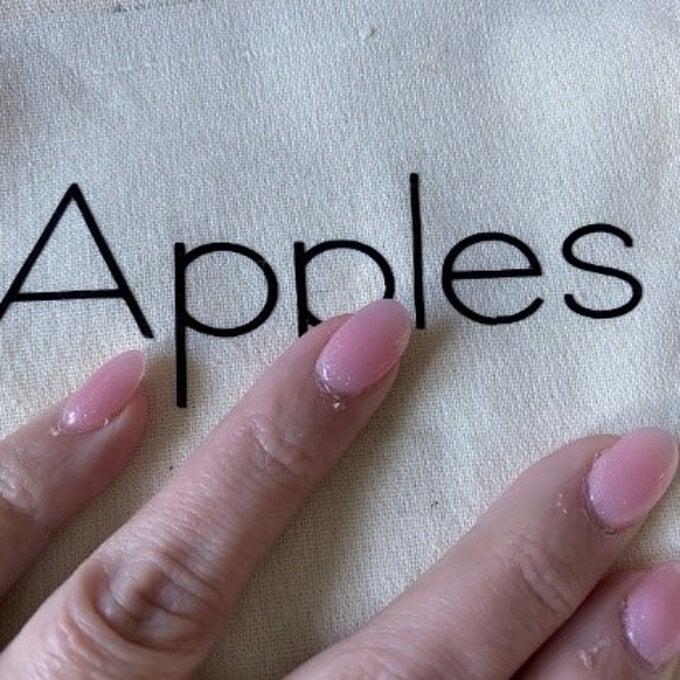
Repeat steps eight to nine on the remaining fruit and veg bags.
