Skip to Content (Press Enter) Skip to Footer (Press Enter)

Cricut: How to Personalise a Trolley for Kitchen Storage

Level
Beginner
Time
1 hour
Budget
30+

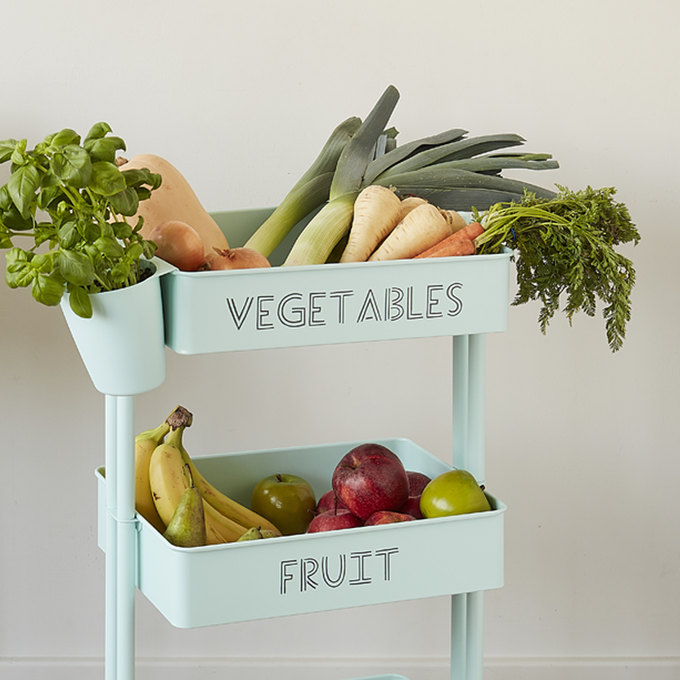
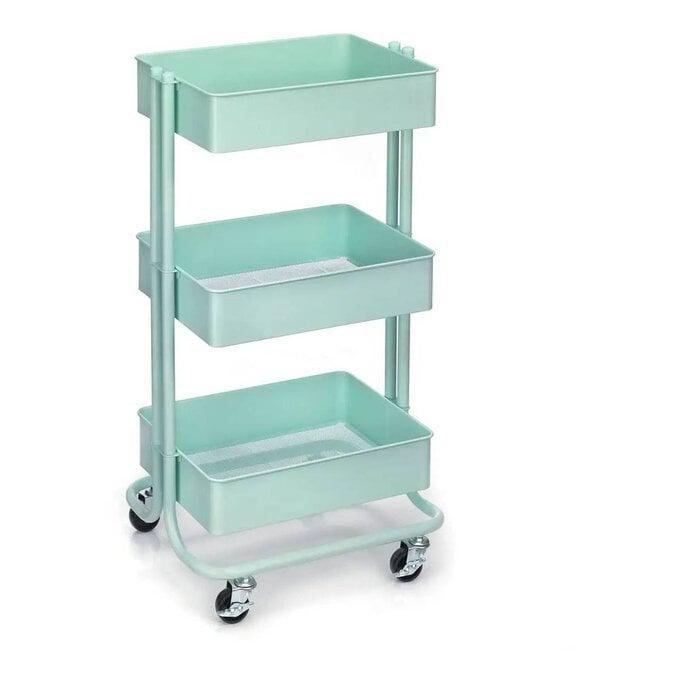
Enjoy extra organisation to your kitchen storage or pantry by adding stylish label details to one of our three tier trolleys. Store fruit and veg easily and conveniently, with a tray for each one – or adapt the label lettering to suit your requirements.

It's easy to use your Cricut machine to create vinyl lettering to decorate your food storage!

Project and instructions by Hobbycraft Artisan Chrissie Ellson.

Discover more Cricut ideas here andgt;

Please note: This project contains paid-for content from Cricut's Design Space app. Screen reference images are taken from the desktop version of Design Space. The Cricut Maker was used to create this project; however, this project can also be created using a Cricut Explore Air 2.

You will need

Is $ 30.00

3 for 2 on Cricut consumables and accessories
Quantity: 1

Subtotal

Is $ 30.00

Is $ 13.00

3 for 2 on Cricut consumables and accessories
Quantity: 1

Subtotal

Is $ 13.00

Is $ 13.00

3 for 2 on Cricut consumables and accessories
Quantity: 1

Subtotal

Is $ 13.00

Is $ 29.00 , was $ 43.00

Quantity: 1

Subtotal

Is $ 29.00 , was $ 43.00

Is $ 13.00

3 for 2 on Cricut consumables and accessories
Quantity: 1

Subtotal

Is $ 13.00

Is $ 569.00

Quantity: 1

Subtotal

Is $ 569.00

Is $ 10.00

3 for 2 on Cricut consumables and accessories
Quantity: 1

Subtotal

Is $ 10.00

You’ve viewed 2 of 7 products

You’ve viewed 4 of 7 products

Total:

How to make

You will also need Cricut Design Space app installed on a laptop, PC, Tablet or mobile device

Step 1

Open Design Space and click “New Project”
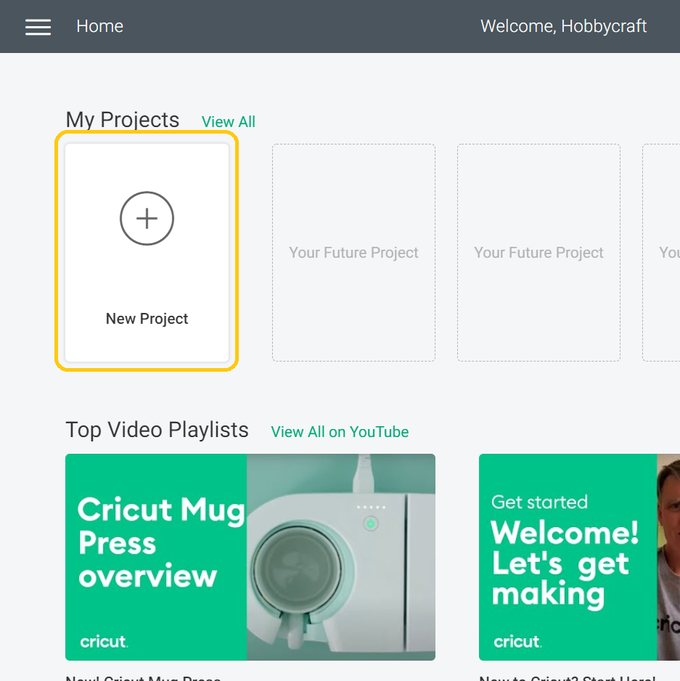
how-to-personalise-a-trolley-for-the-kitchen-with-cricut---picture-1.png?sw=680&q=85
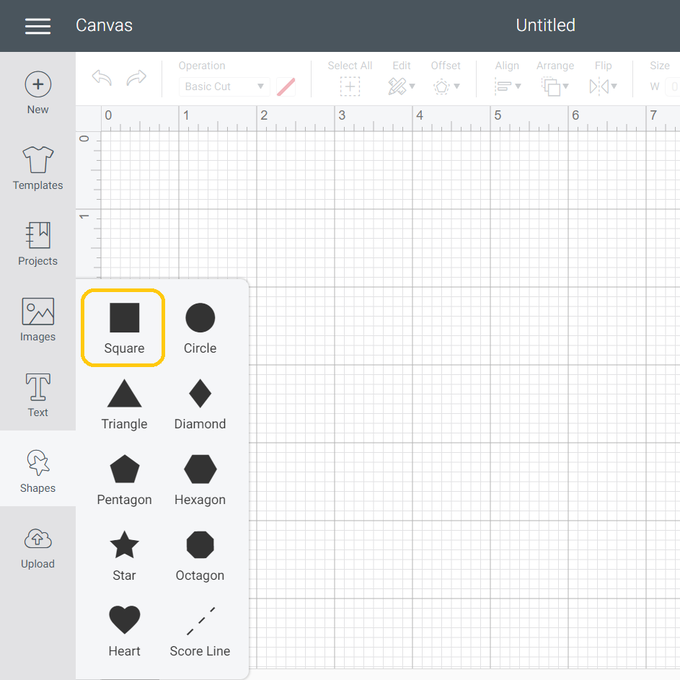
Step 2

Once in a new blank canvas click on “Shapes”
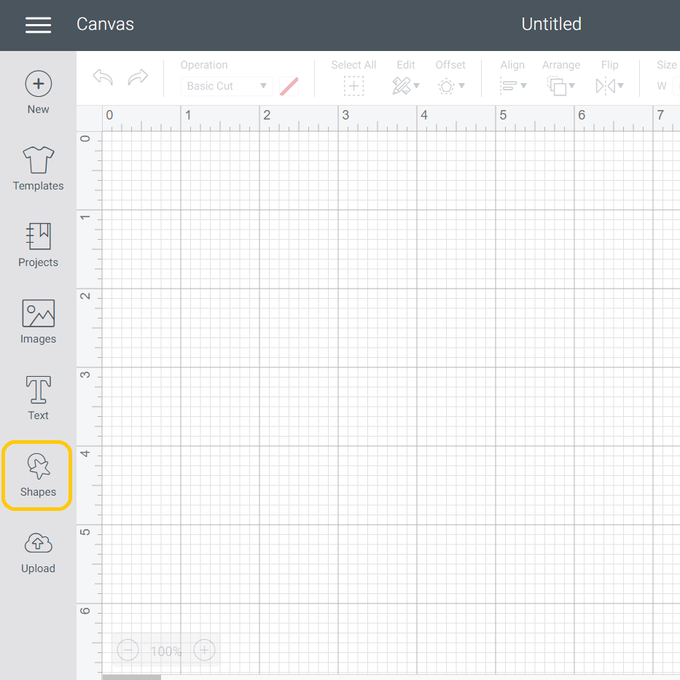
how-to-personalise-a-trolley-for-the-kitchen-with-cricut---picture-2.png?sw=680&q=85
Step 3

Select a square

how-to-personalise-a-trolley-for-the-kitchen-with-cricut---picture-3.png?sw=680&q=85
Step 4

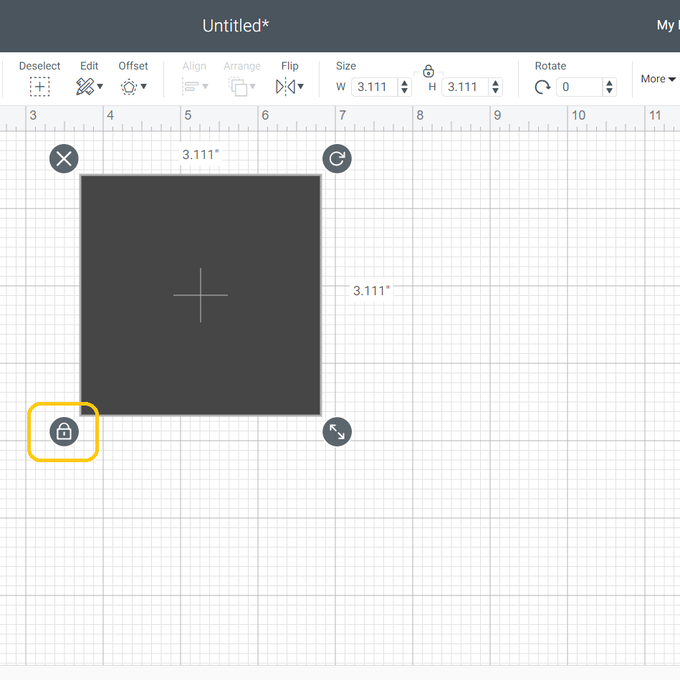
To resize your square to a rectangle the size of the side of your trolley first click open the “Padlock” icon
how-to-personalise-a-trolley-for-the-kitchen-with-cricut---picture-4.png?sw=680&q=85
Step 5

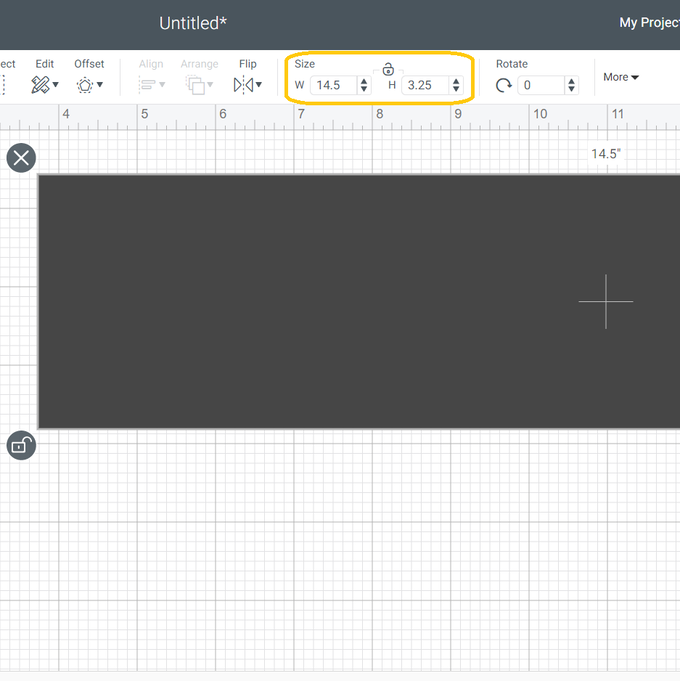
In the size section alter your measurements to 14.5” x 3.25” (or 36.8 x 8.25 cm if you are working metric. You will not be cutting this rectangle. It is just as a visual aid for resizing of your required design
how-to-personalise-a-trolley-for-the-kitchen-with-cricut---picture-5.png?sw=680&q=85
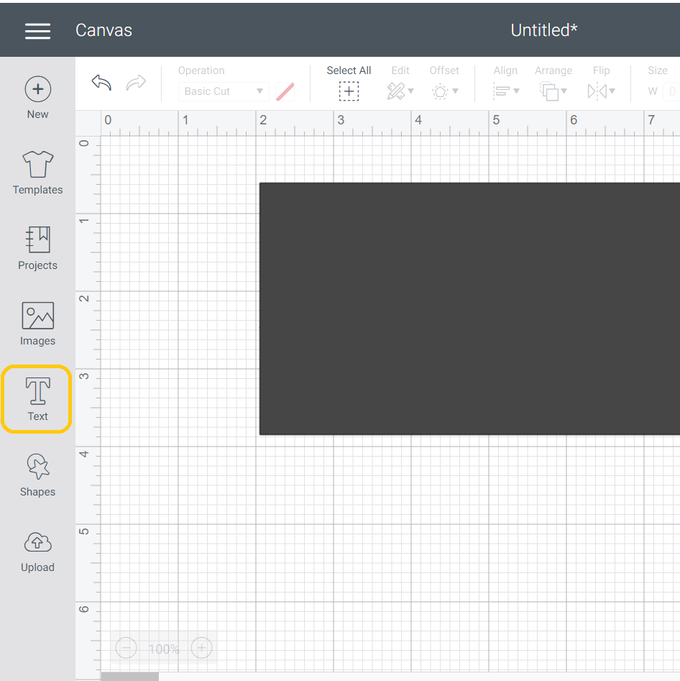
Step 6

To insert your text click “Text”

how-to-personalise-a-trolley-for-the-kitchen-with-cricut---picture-6.png?sw=680&q=85
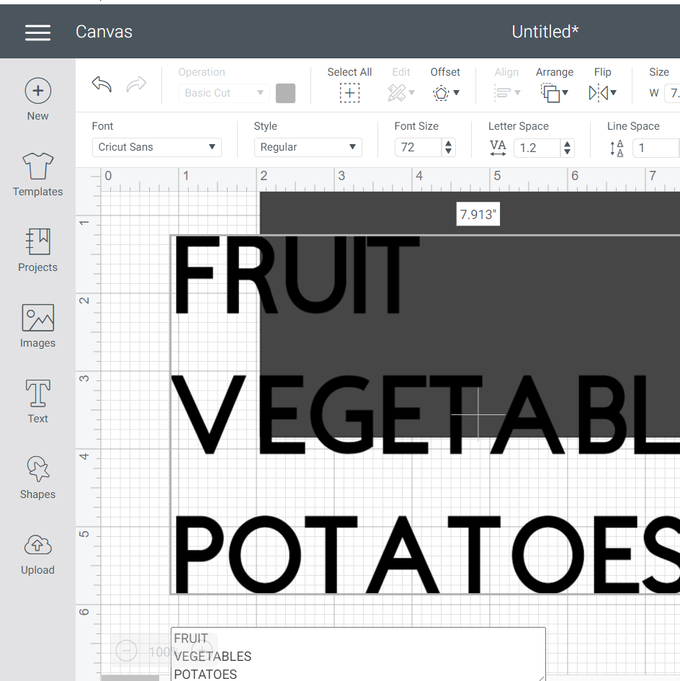
Step 7

Type your words

how-to-personalise-a-trolley-for-the-kitchen-with-cricut---picture-7.png?sw=680&q=85
Step 8

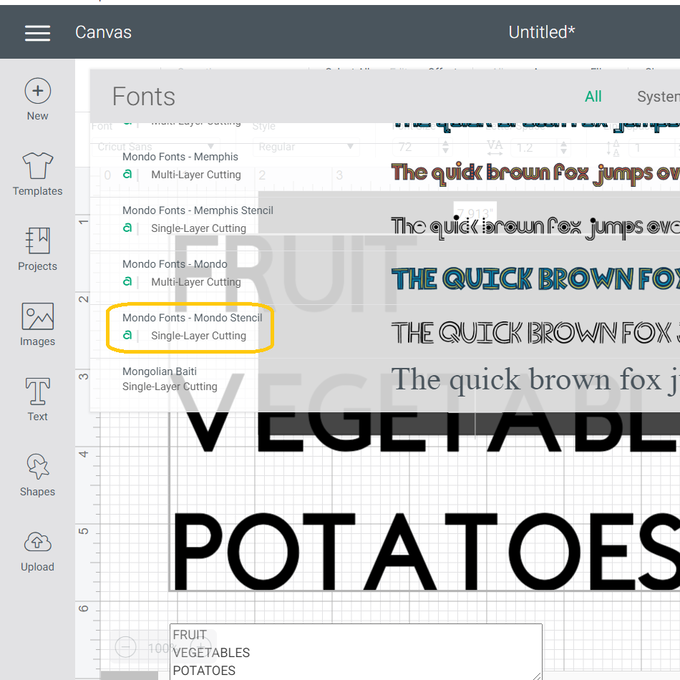
To change your font click the arrow in the font section and chose your font. I have used “Mondo Fonts – Mondo Stencil”
how-to-personalise-a-trolley-for-the-kitchen-with-cricut---picture-8.png?sw=680&q=85
Step 9

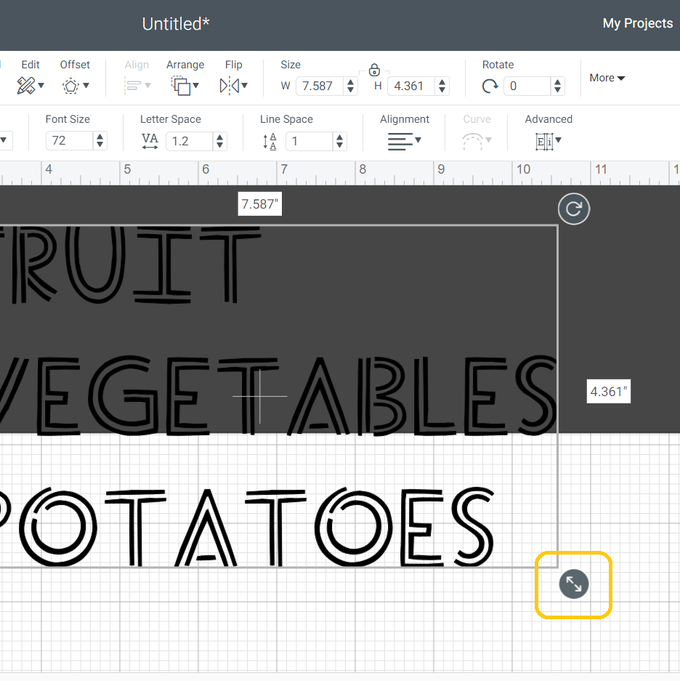
To resize your wording click on the double arrows and drag the text to your required size using your rectangle as a guide
how-to-personalise-a-trolley-for-the-kitchen-with-cricut---picture-9.png?sw=680&q=85
Step 10

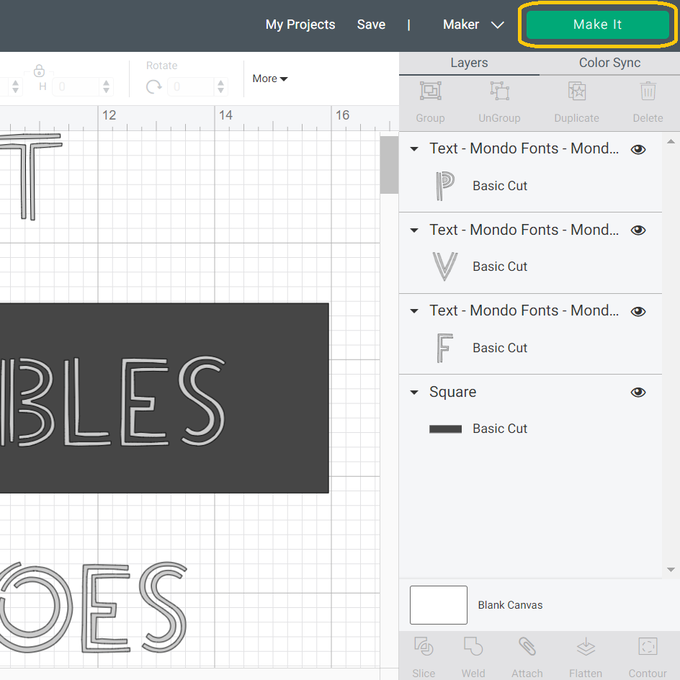
When everything is set how you want it click “Make It”
how-to-personalise-a-trolley-for-the-kitchen-with-cricut---picture-10.png?sw=680&q=85
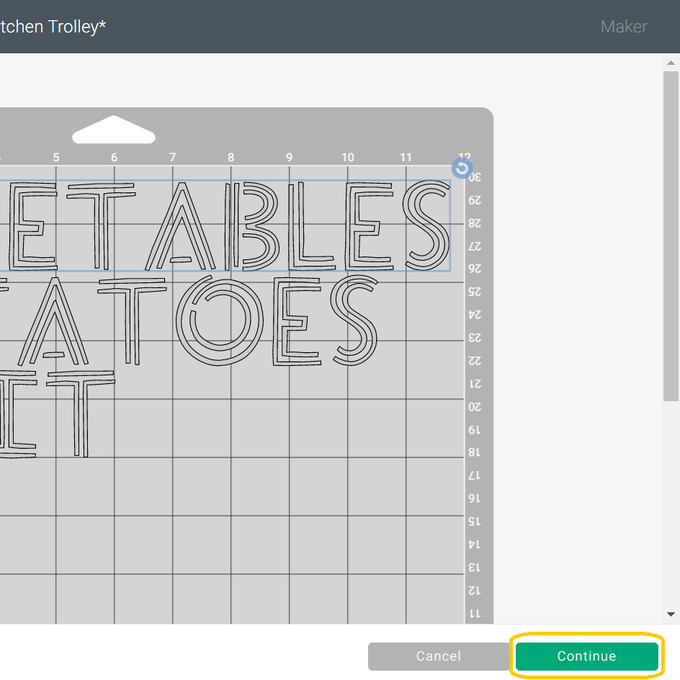
Step 11

Click “Continue”

how-to-personalise-a-trolley-for-the-kitchen-with-cricut---picture-11.png?sw=680&q=85
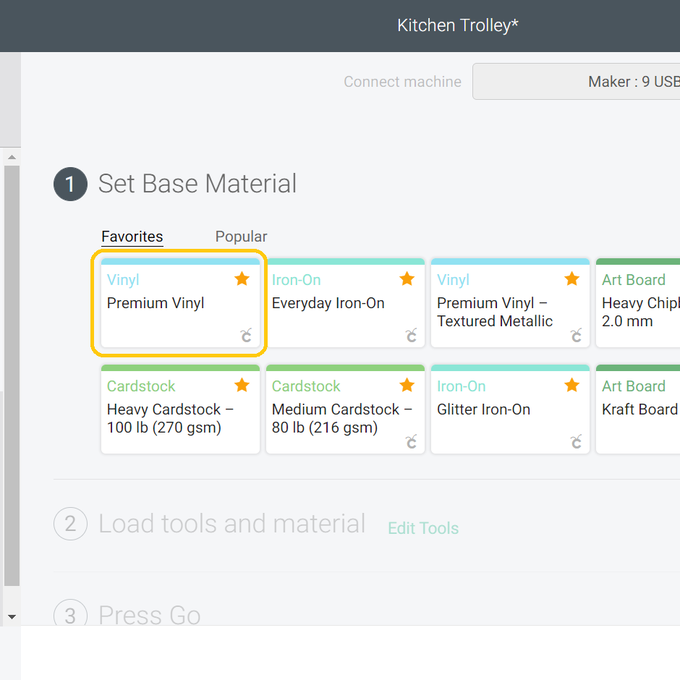
Step 12

Select the correct settings for your chosen material. I'm using Premium Vinyl
how-to-personalise-a-trolley-for-the-kitchen-with-cricut---picture-12.png?sw=680&q=85
Step 13

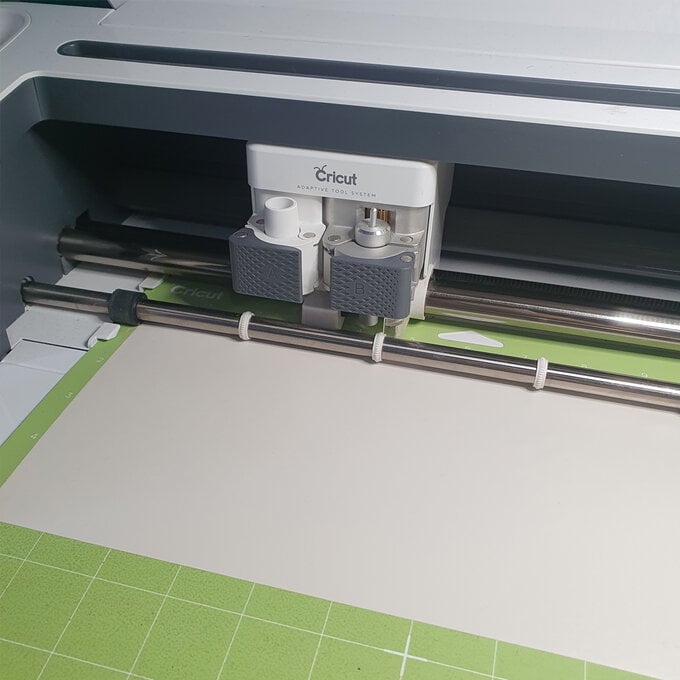
Cut your vinyl

how-to-personalise-a-trolley-for-the-kitchen-with-cricut---picture-13a.jpg?sw=680&q=85
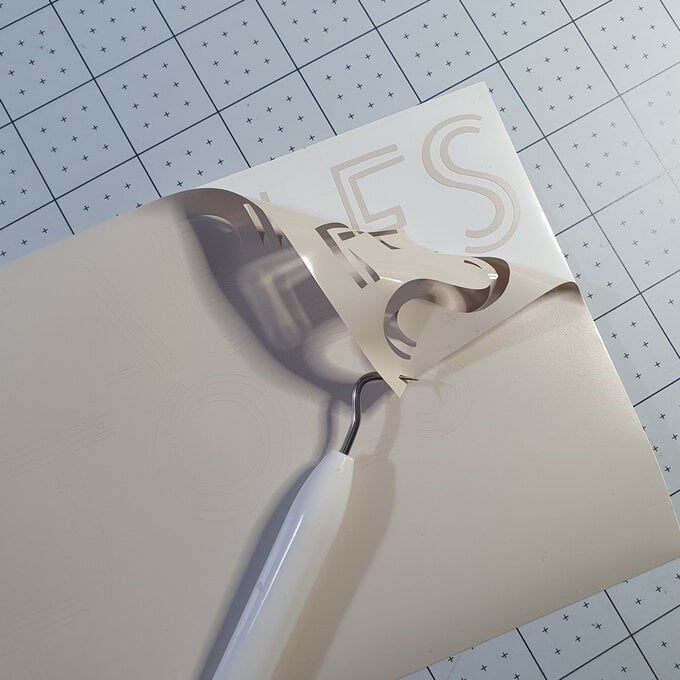
Step 14

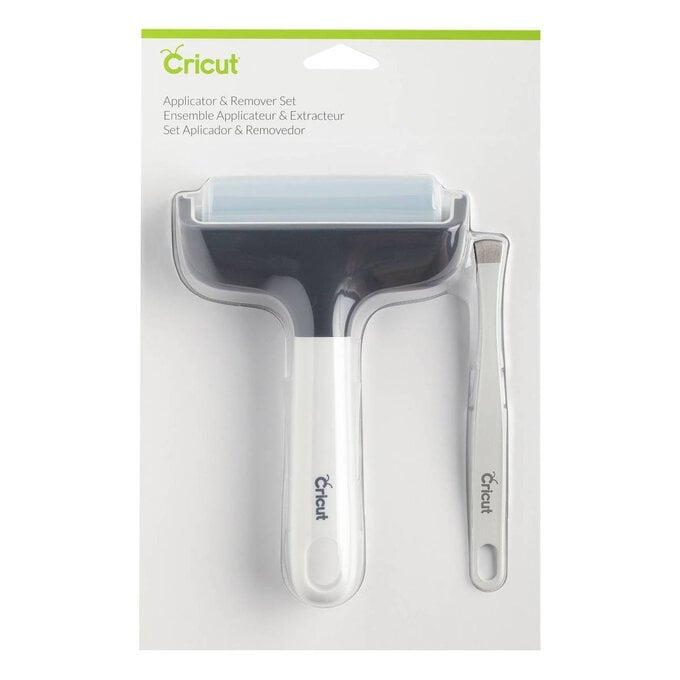
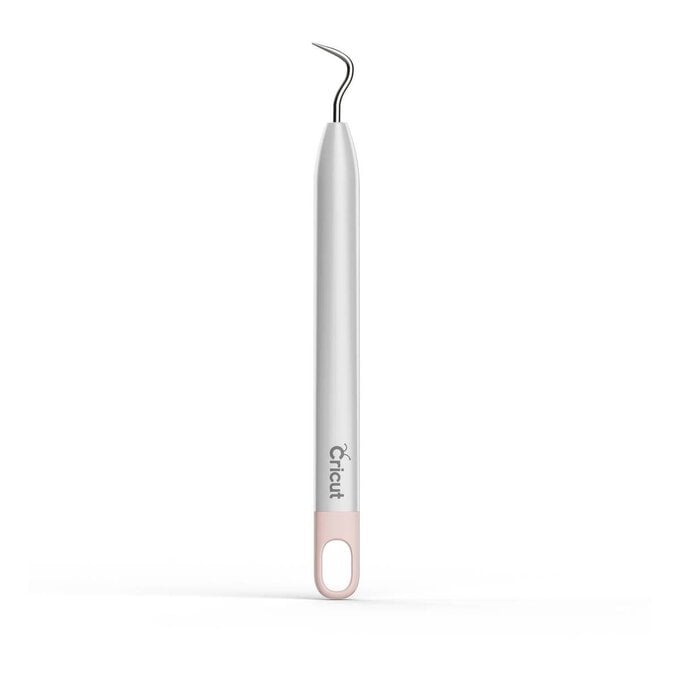
Weed your vinyl and then use transfer tape to transfer your vinyl to your trolley
how-to-personalise-a-trolley-for-the-kitchen-with-cricut---picture-14a.jpg?sw=680&q=85
null
how-to-personalise-a-trolley-for-the-kitchen-with-cricut---final-2.png?sw=680&q=85
  • bvseo_sdk, dw_cartridge, 18.2.0, p_sdk_3.2.0
  • CLOUD, getReviews, 8ms
  • reviews, product
  • bvseo-msg: Unsuccessful GET. status = 'ERROR', msg = 'Not Found.'; Unsuccessful GET. status = 'ERROR', msg = 'Not Found.';

Related Products

Top