Cricut: 5 Ways to Create Personalised Gift Wrap
Make every gift all the more special! Making personalised gift wrap is a great way to using up leftover cardstock and vinyl scraps, and it's something that's made easy with Cricut. Bespoke gift wrap can be done on any of the Cricut machines, though some will require the Explore or the Maker due to size.
All the projects within this tutorial can be completed on the Cricut Maker or Explore.
Projects and instructions by Aisha Cluitt
Please note: This project contains paid-for content from Cricut's Design Space app. Screen reference images are taken from the desktop Windows version of Design Space.
You will need
Subtotal
Is $ 586.00
Subtotal
Is $ 13.00 , was $ 17.00
Subtotal
Is $ 52.00 , was $ 65.00
Subtotal
Is $ 1.49
Subtotal
Is $ 1.49
Subtotal
Is $ 11.00
You Will Need
* Cricut Maker
* Cricut Cutting Mats - LightGrip + FabricGrip
* Cricut Basic Tool Set
* Cricut Brayer and Remover Set
* Cricut Scoring Stylus
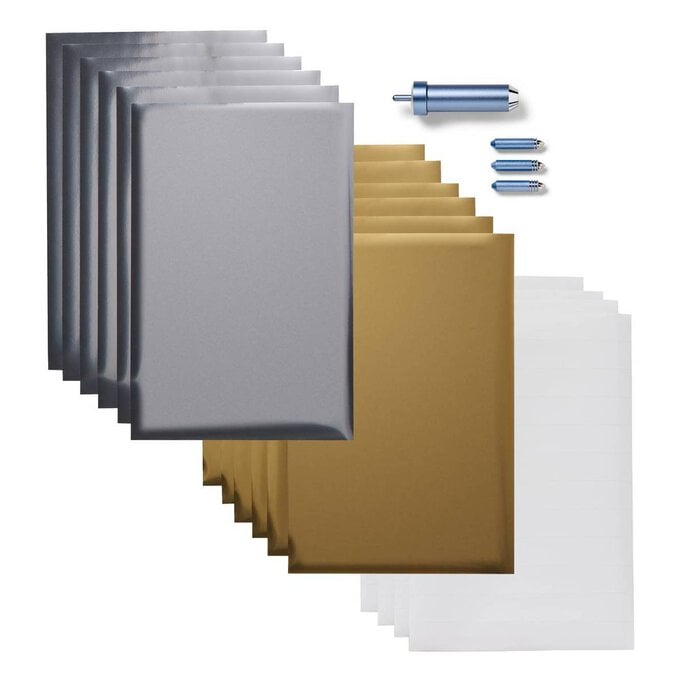
* Cricut Foil Transfer Kit
* A4 Felt Sheet - Mint, Cream
* Tracing Paper
* White A4 Card
* Glue Pen
* Twine
* Hot Melt Glue Gun + Hot Melt Glue Sticks
How to Make
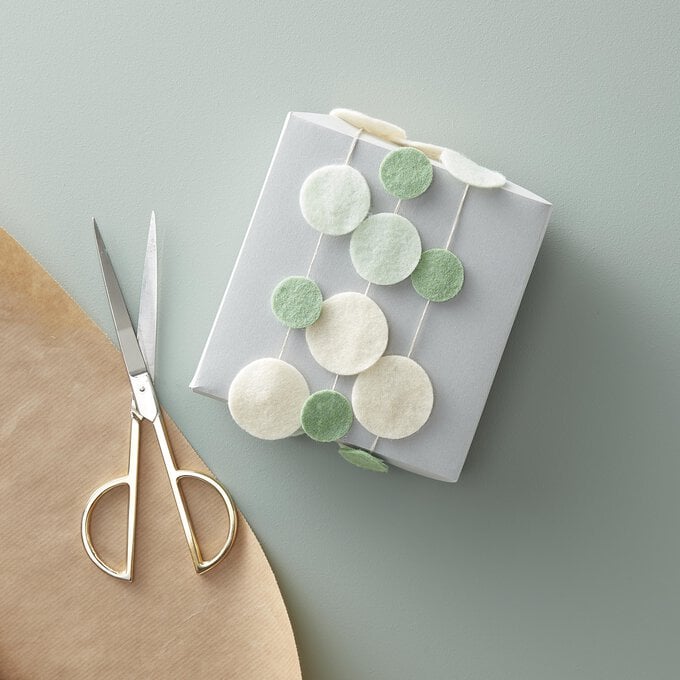
This is a great way of using up felt remnants and can also be created using cardstock or fabric. The garland can also be used after the gift has been unwrapped and displayed in the lucky recipient's home.
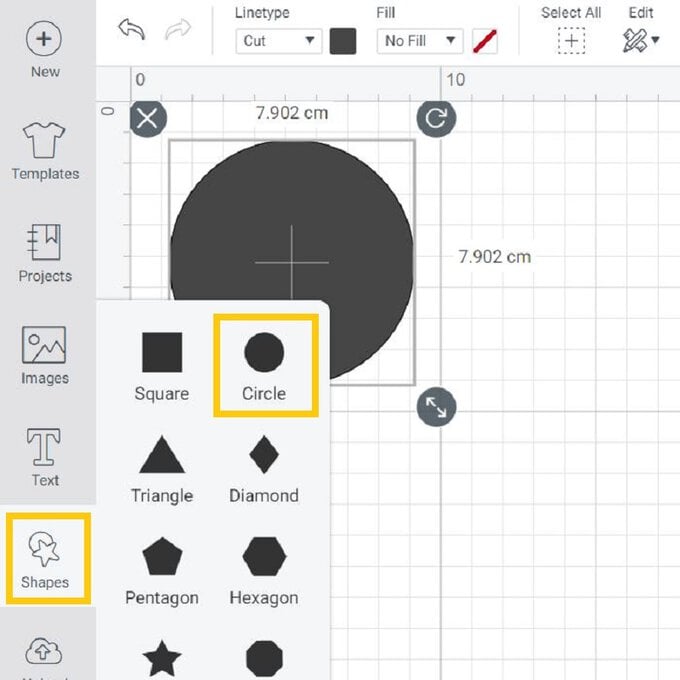
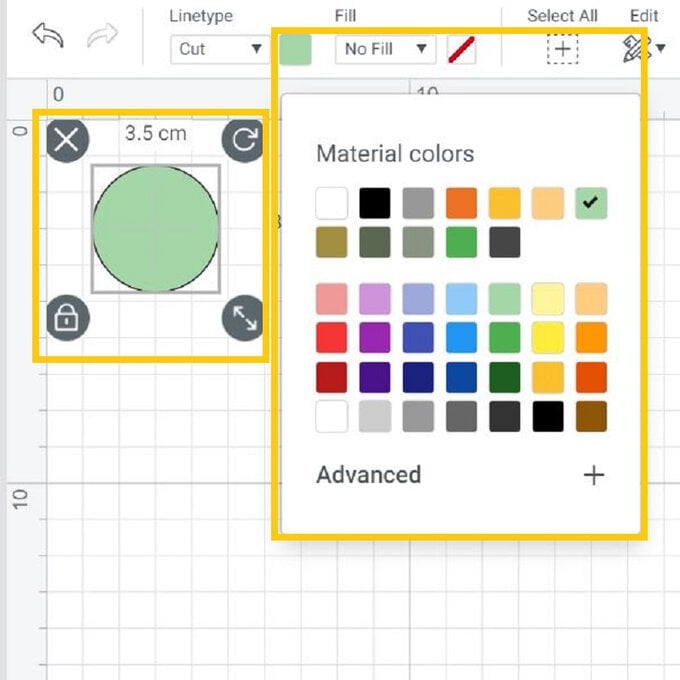
1. Open a new Canvas in Design Space and add three circles. Amend the size and colour of each to suit.
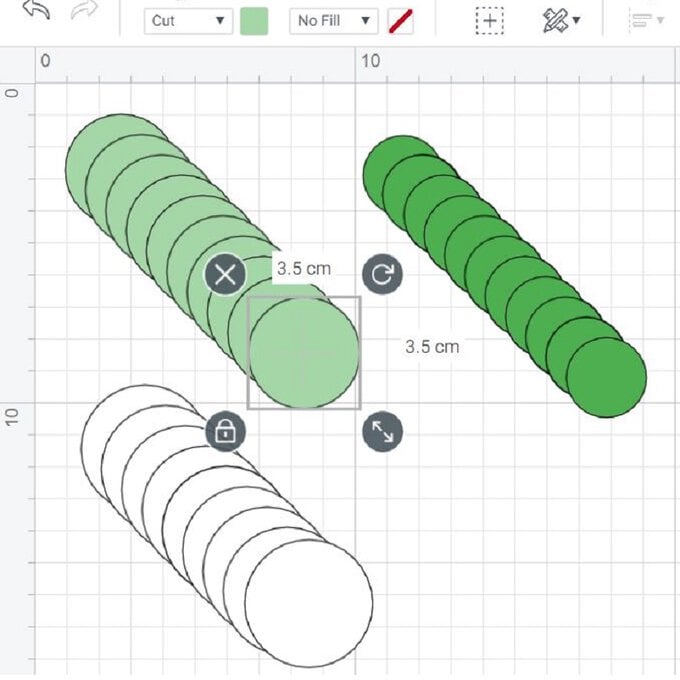
2. Use the “Duplicate” function to create numerous circles. Once happy with the design click the green “Make It” button in the top right-hand corner.
3. Once through to the mat preview screen, double-check everything is correct on each of the mats, before clicking “Continue”. Once through to the machine set up screen, select the felt cut option.
Please note: If completing his project on an Explore Air 2, the SmartDial will need to be turned to “Custom” for the materials setting option to appear on screen. The felt will also need to be bonded prior to cutting.
4. Apply the felt to the FabricGrip cutting mat using a brayer, then load the rotary blade into your machine.
Please note: If using the Explore Air 2 the fabric blade and pick housing will need to be inserted into your machine.
5. Once the machine has completed cutting on all three mats, remove the surplus material followed by the circles.
6. Cut a one metre length of thread and secure the felt circles sporadically along it with a hot melt glue gun. Leave the glue to set before wrapping the garland around the gift.

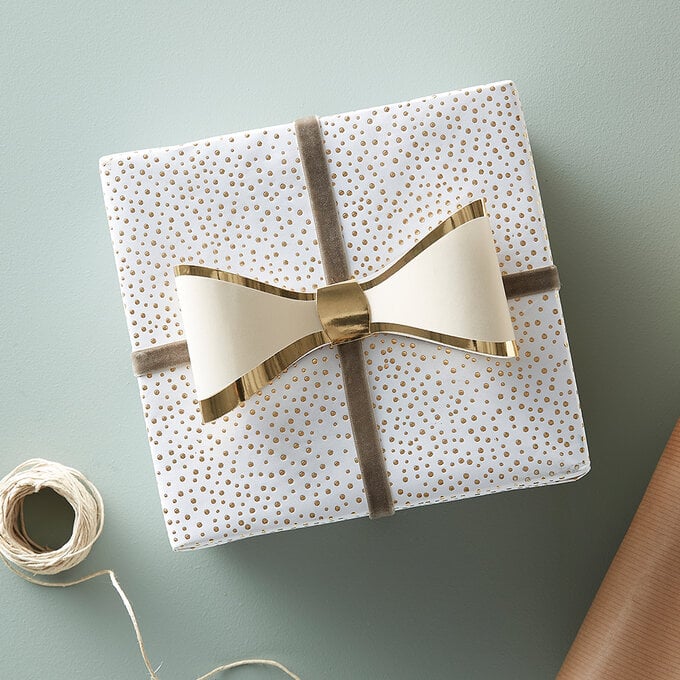
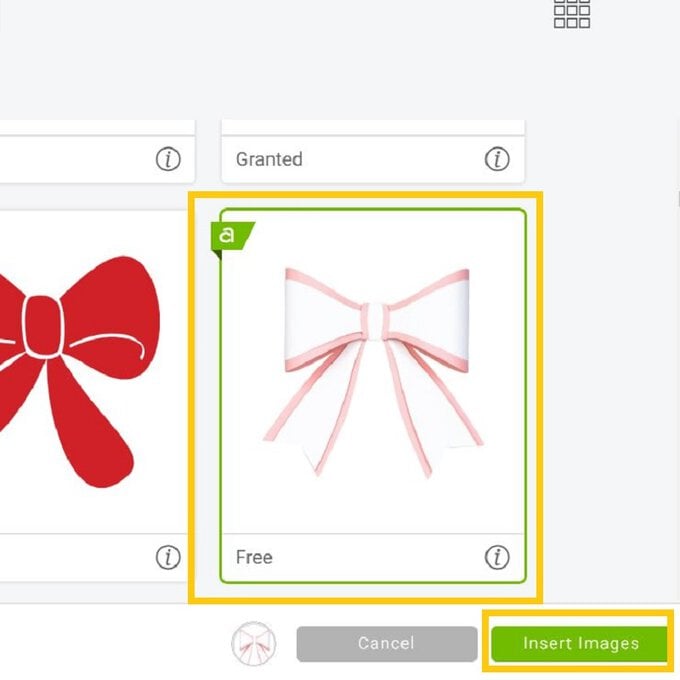
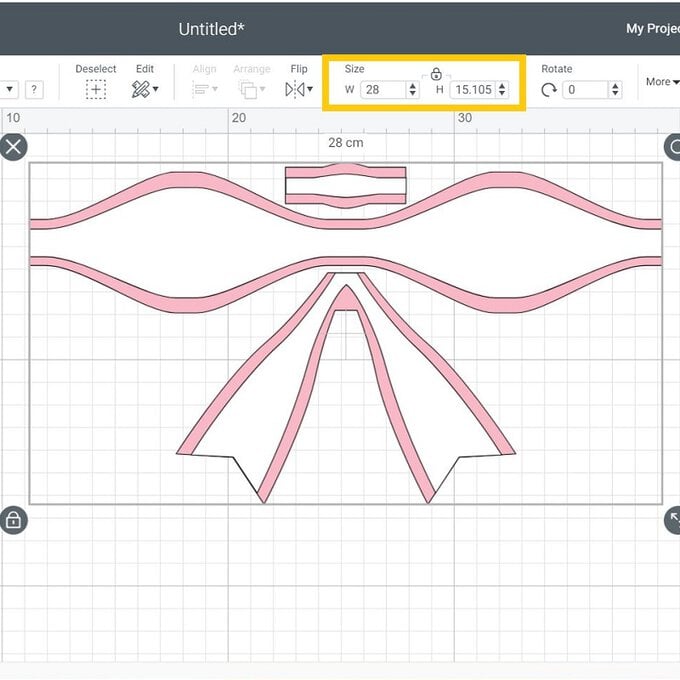
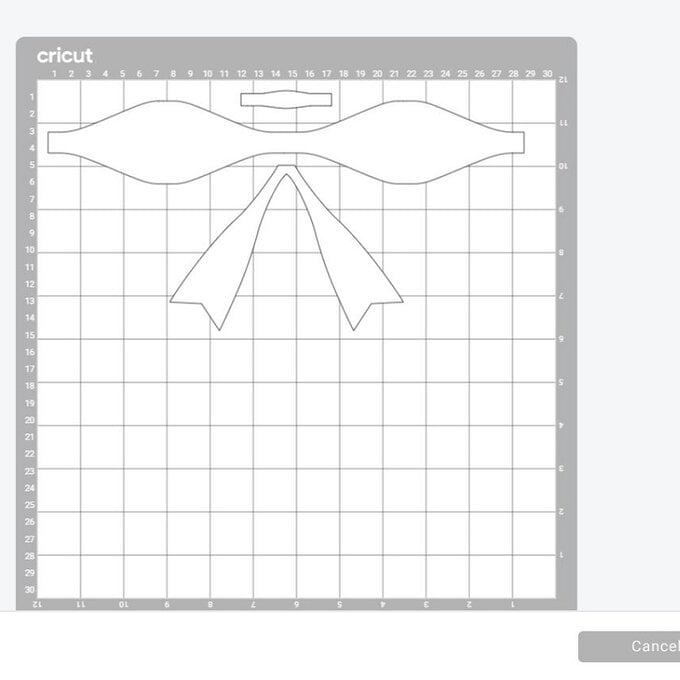
A bow for any wrapped gift is a must, and this paper version can be kept and re-used after the gift has been unwrapped.
Create the bow from any colour of cardstock you like, or if you're feeling adventurous why not try leather or felt?!
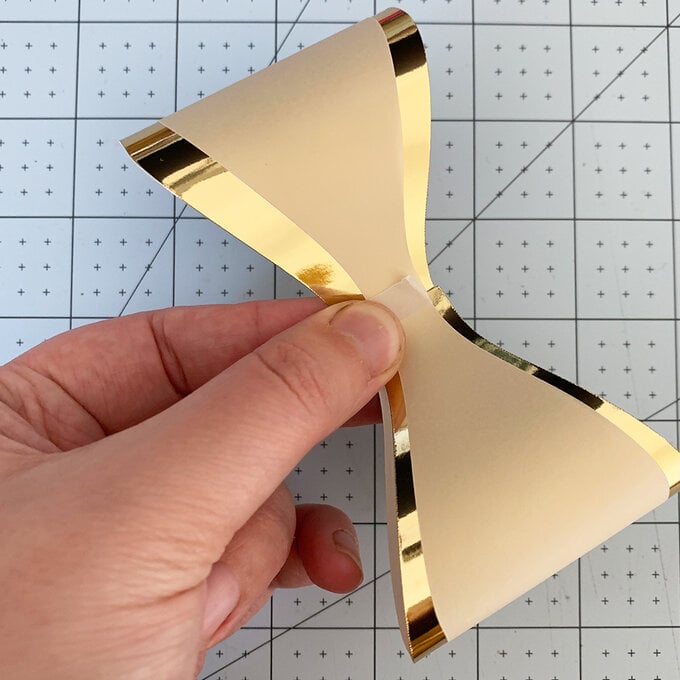
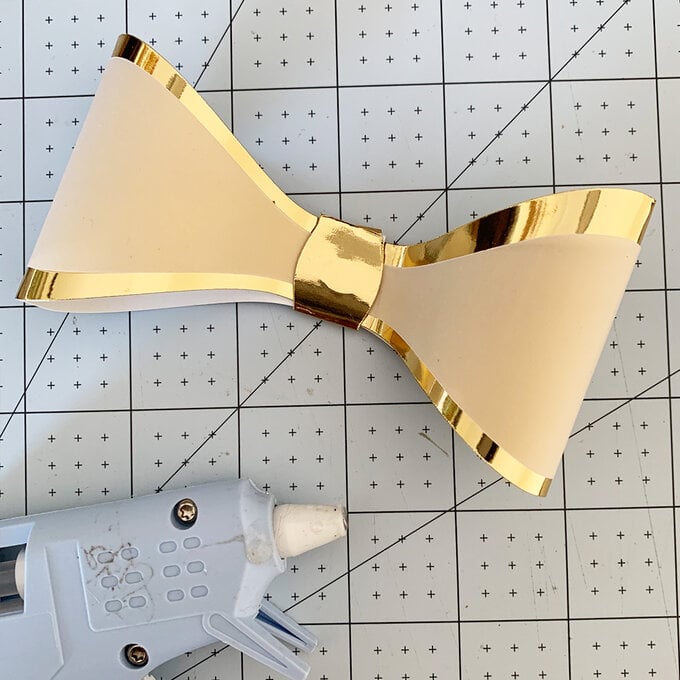

If you love the look of origami but have always been put off by the precise folding needed, this project is a must as the Cricut machine does the cutting and scoring for you, all you need to do is fold!

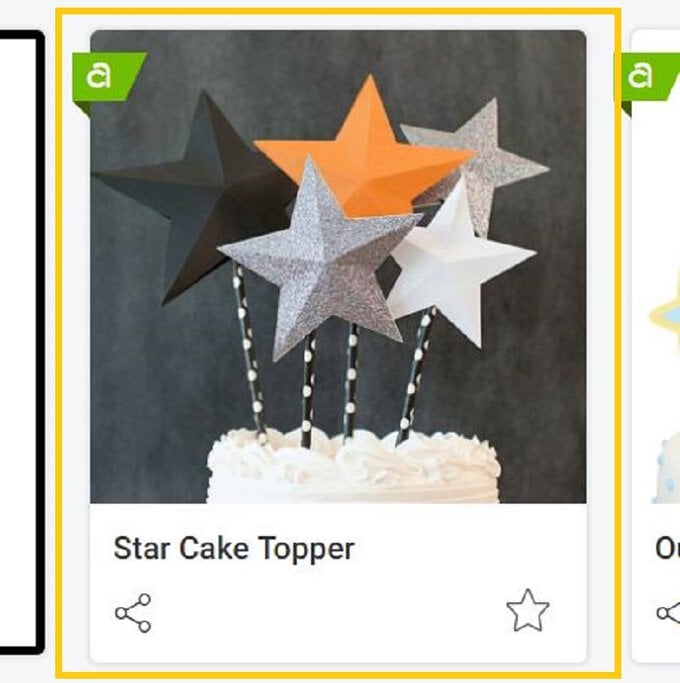
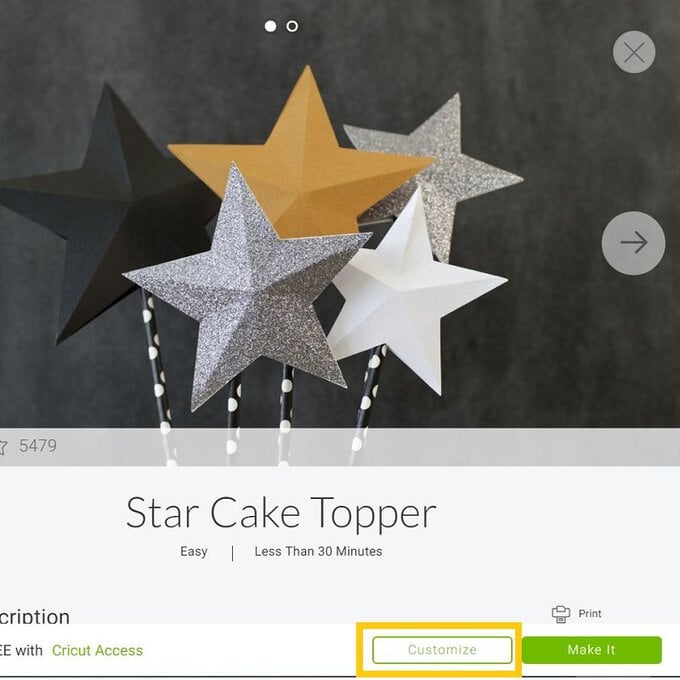
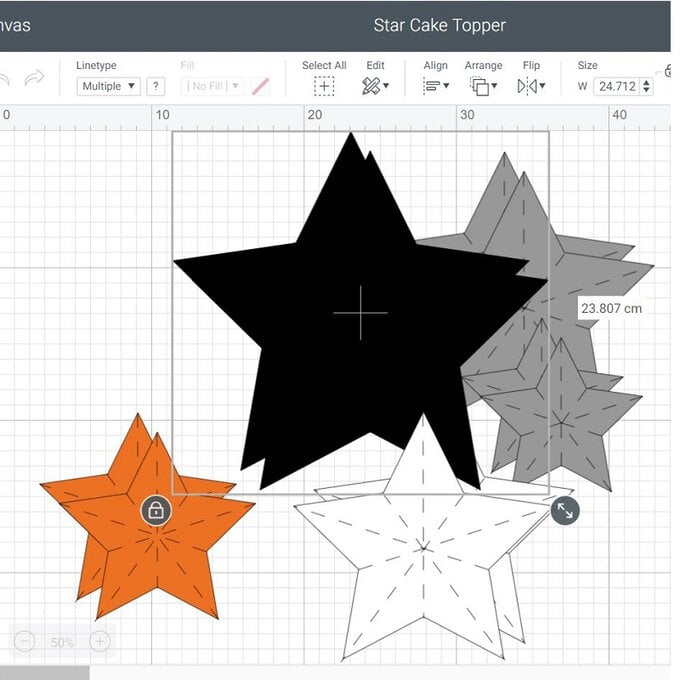
1. Start a new project in Design Space, once through to the Canvas screen select “Projects” from the toolbar on the left-hand side of the screen. Search “Star Cake Topper” and select the black, orange, silver, and white design. Click “Customise” from the on-screen pop-up.
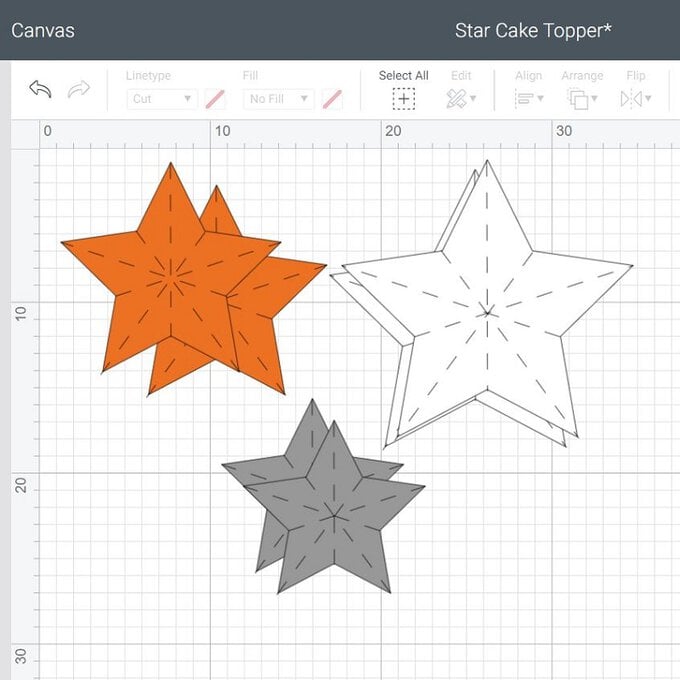
2. Once through to the canvas, delete the two largest sets of stars so that you have three pairs remaining. Re-size as desired, make sure to take into account some of the width and height will be lost as the star will form a 3D shape, therefore allow an extra 5 – 10mm.
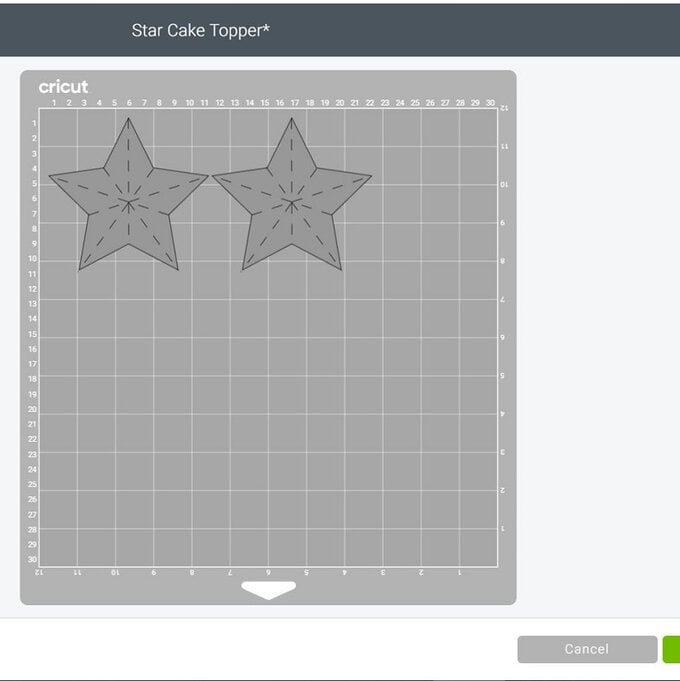
3. Once happy with the size of the stars, click the green “Make it” button in the top right-hand corner. You will then be taken through to the mat preview screen, ensure everything is present and correct before clicking continue.
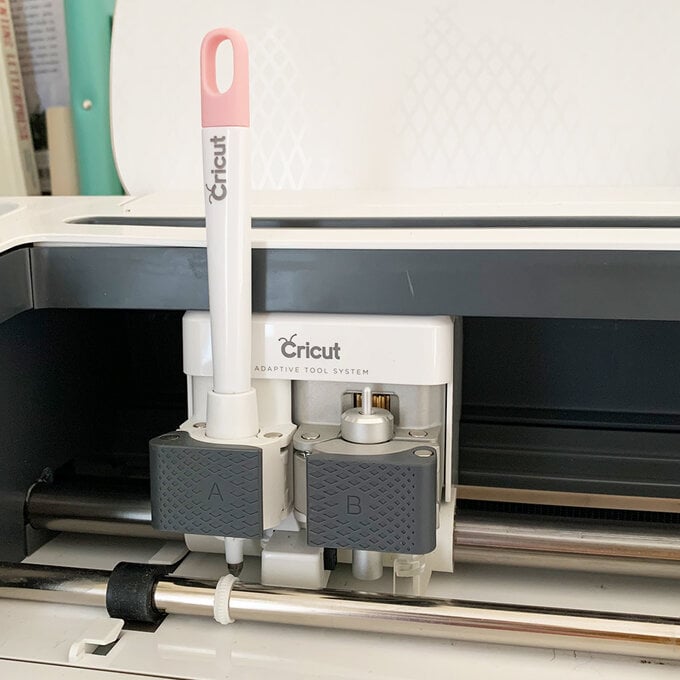
4. Once through to the machine set-up screen select the appropriate cut setting from the list – I went for Medium cardstock for the cardstock I used. You will then be prompted to insert the scoring wheel if using the Maker, or the Scoring Stylus if using the Explore Air2. If you are using the Maker and do not have a scoring wheel, do not fear, simply select “Edit tools” on the "Load tools & material" section of the screen to switch to the Scoring Stylus.
5. Load the mat/s into your machine to begin following the on-screen instructions. The machine will score first then cut.
6. Once complete carefully remove the stars from the cutting and mat, and fold along the score lines to create the 3D star shape.
7. Use a hot melt glue gun to add a length of twine to the back of each (make sure this is long enough to wrap around your gift) and leave the glue to set before wrapping the twine around your gift, staggering the stars just off-centre front.

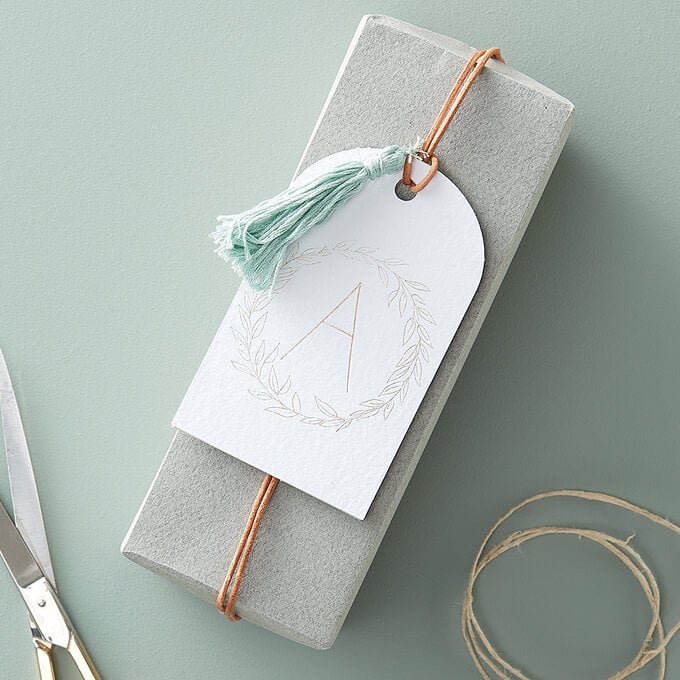
Ever since the foil transfer system launched, I have been obsessed with adding shiny gold accents to lots of my projects – and it is so easy to do! There are lots of different coloured foils available, so you don't have to stick with gold, why not use two different colours!?
Once the gift has been unwrapped by the recipient the personalised tag makes a great bookmark, simply trim the threads to approximately 6cm in length from the hole in the tag.
Please note: at the current time (December 2020) the foil transfer system can only be used on the desktop version of Design Space and is not compatible with the Cricut Joy.
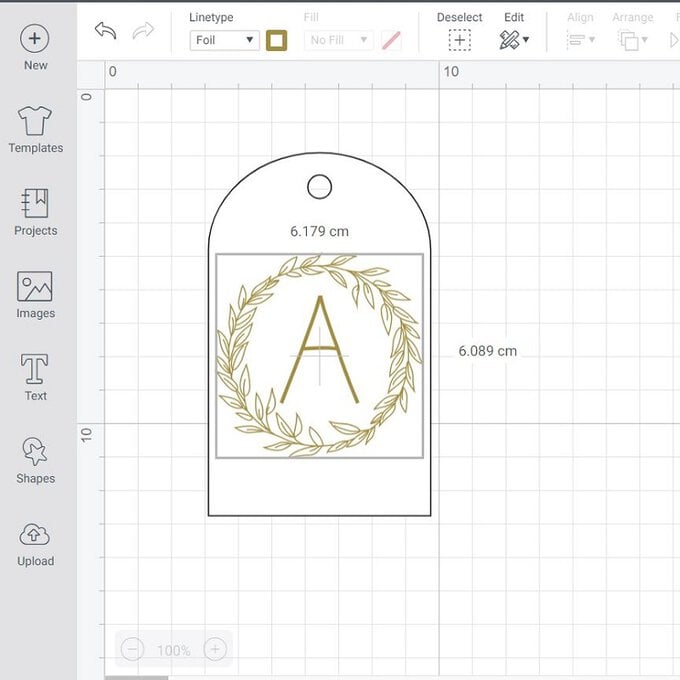
1. Start a new project in Design Space and start to create your personalised design using elements from the Image and Font library. I used the below images and fonts to build my design -
Tag: #M8EEE895
Botanical Wreath: #M1803E8FB
Initial Font: Bicycle for Two
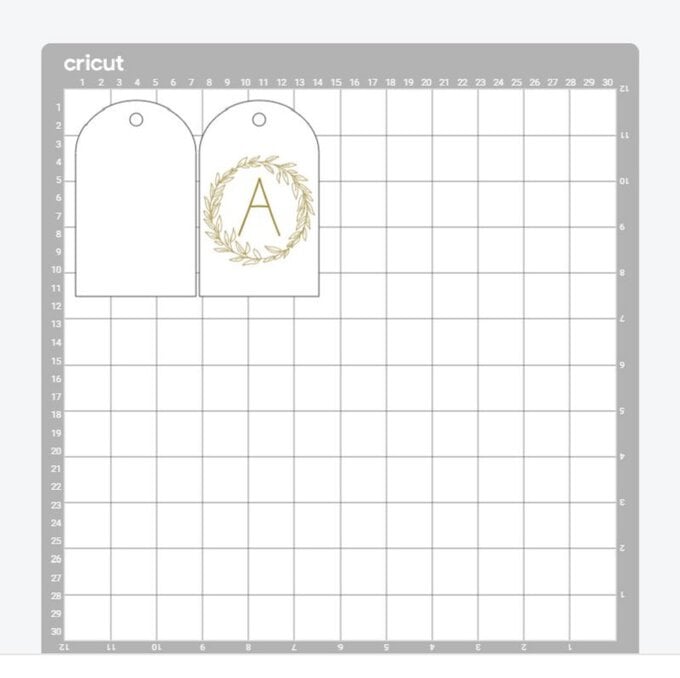
2. Once happy with the design make sure the foiled elements that are positioned on the tag have been attached, to ensure the foiling take place on the tag in the desired location.
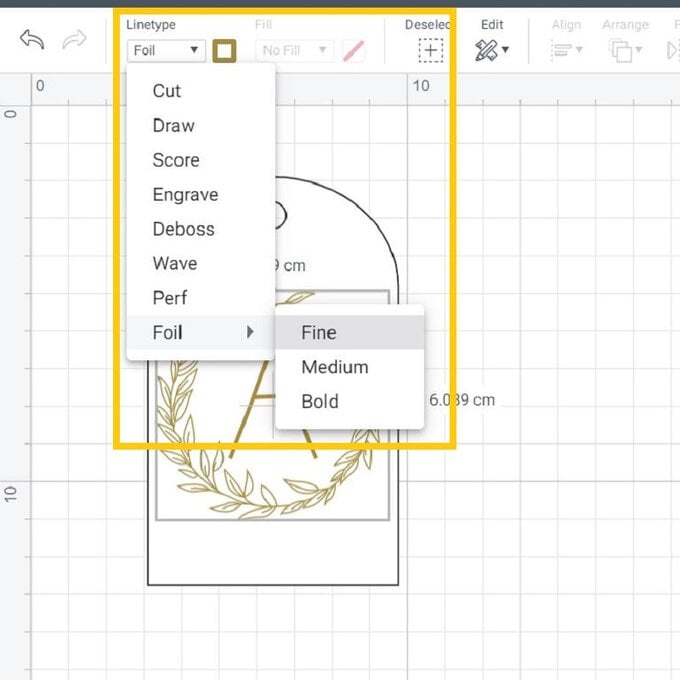
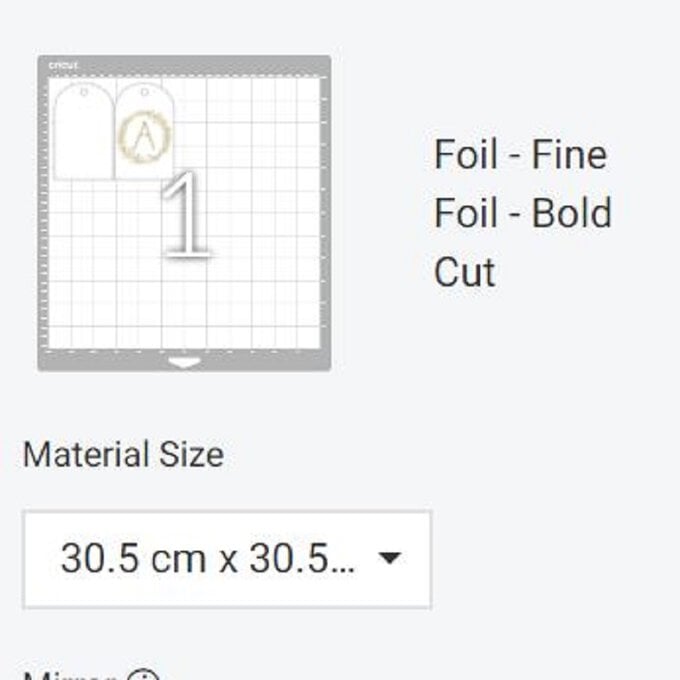
Top Tip: the foiling system comes with three different tips, that create a Fine, Medium and Bold line, the line weights can be mix and matched within your design, just make sure to specific this when design from the drop-down menu.
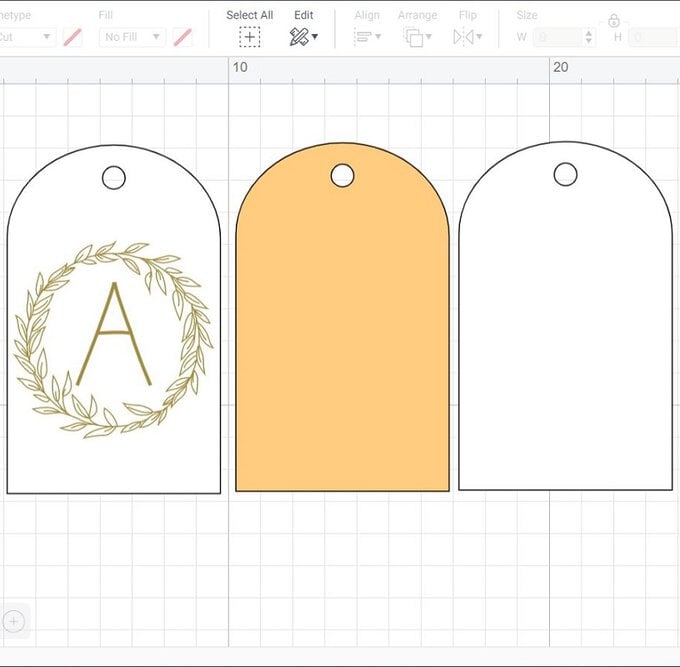
3. If you intend for the tag to be used as a bookmark once the gift has been unwrapped, “Duplicate” the tag twice more, amending the cut colours so that one is the same colour as the front of your tag, and the remaining is different; this tag will need to be cut from a thicker material such as kraft or mount board.
4. Once happy with the design click the green “Make it” button in the top right-hand corner. Check everything is present and correct on the mate preview screen before selecting “Continue”.
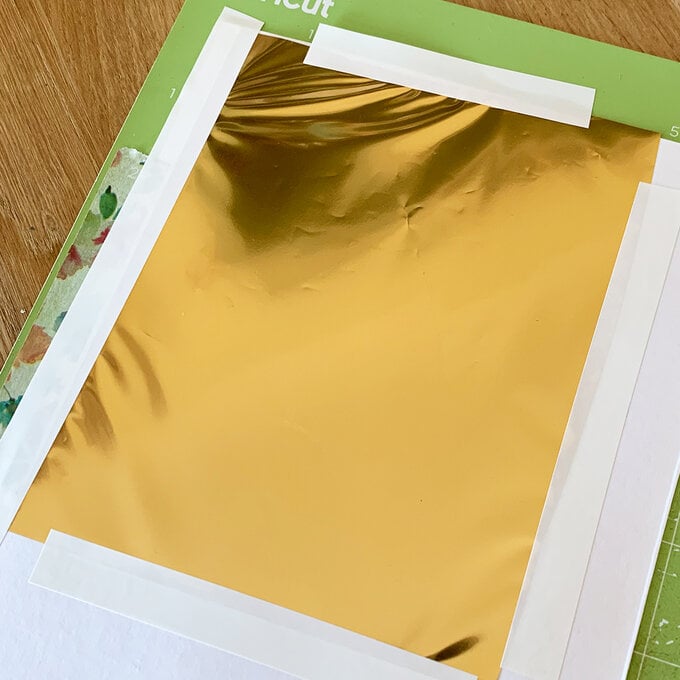
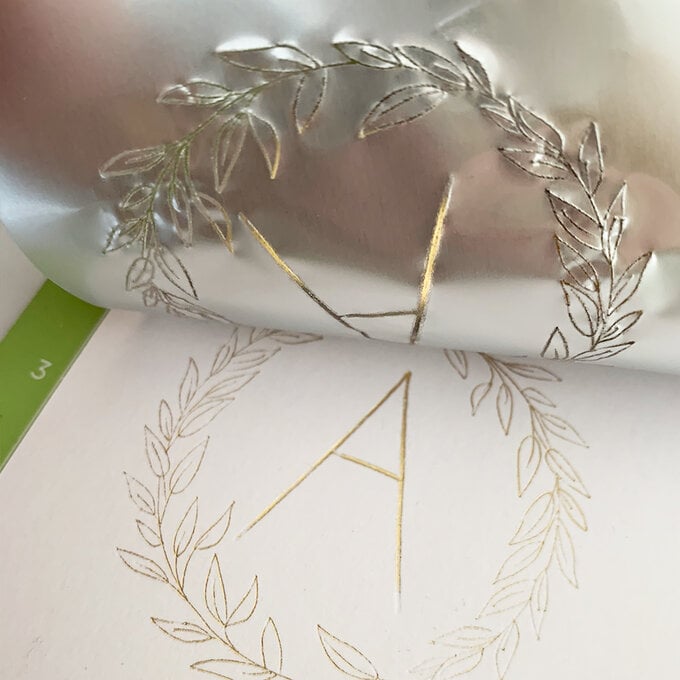
5. Once through to the machine set up screen, follow the on-screen instructions to complete the foil and cut, paying particular attention when it comes to switching out the foil tip and housing to the cutting blade, making sure not to unload the mat when removing the foil.
6. Once all the elements have been cut, carefully remove them from the mat and use a glue pen or double-sided tape to secure them all together. Thread a loop of twine through the hole at the top of the tag and wrap around your gift.

I love creating paper wreaths at Christmas and I always end up cutting far too many leaves and ferns, I make sure to keep hold of these as they are great for creating last-minute gift tags; simply cluster together and attach to the top of a tag.
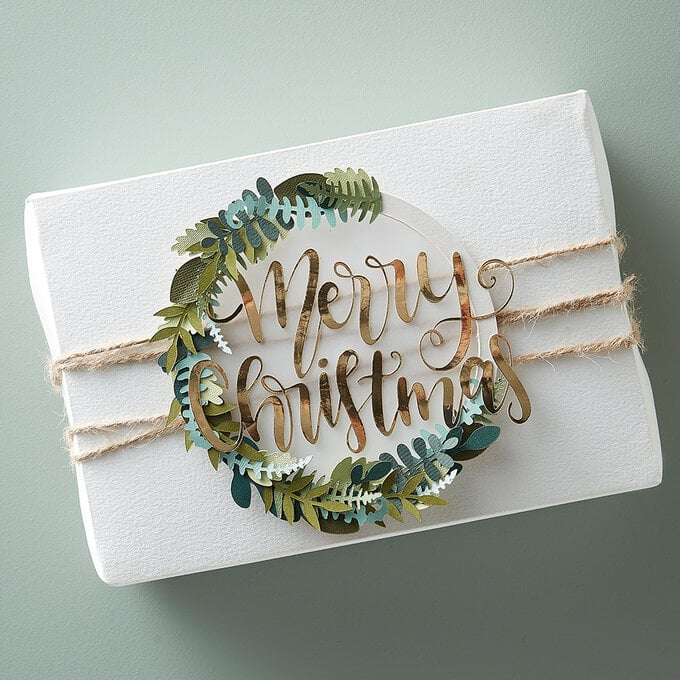
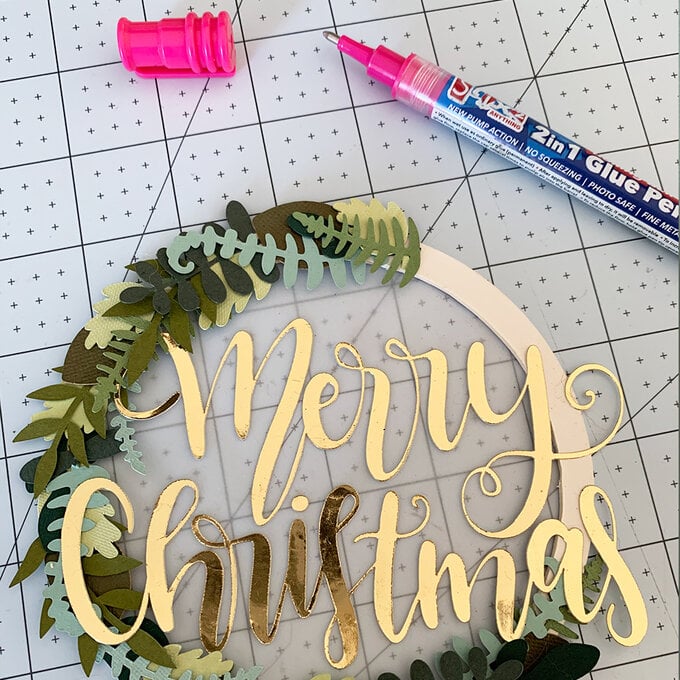
If you have an extra 20 minutes on your hands this beautiful wreath makes a wonderful present topper and can be used as a Christmas tree decoration once the present has been unwrapped.
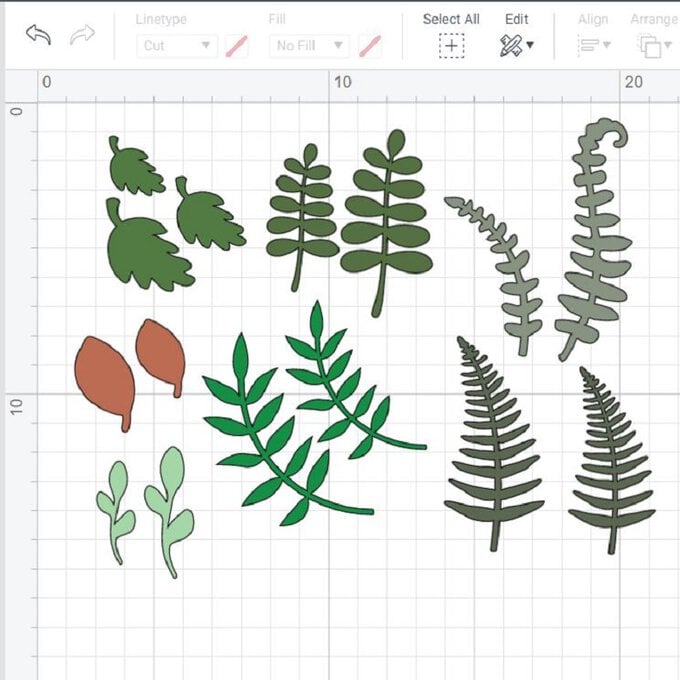
1. If you've not got some already, cut out your favourite foliage elements from the Design Space image library and cut from the desired cardstock. I used the following images: #M4402E, #M8BB5D, #M8A1C895, #M8DB1D24, #M8A1C8F3 and #M8B75B00.
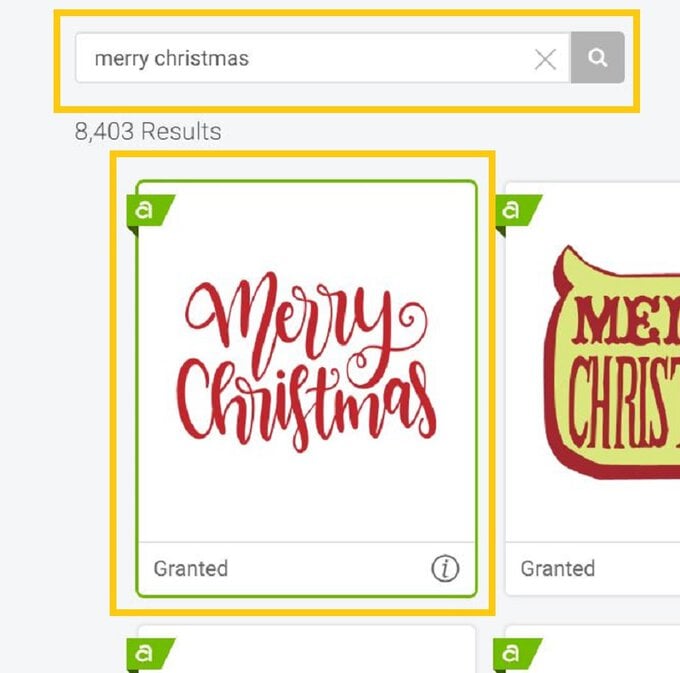
2. Open the image library and search “Merry Christmas”, select the red script deign (#M84888E1) and amend the size as desired.
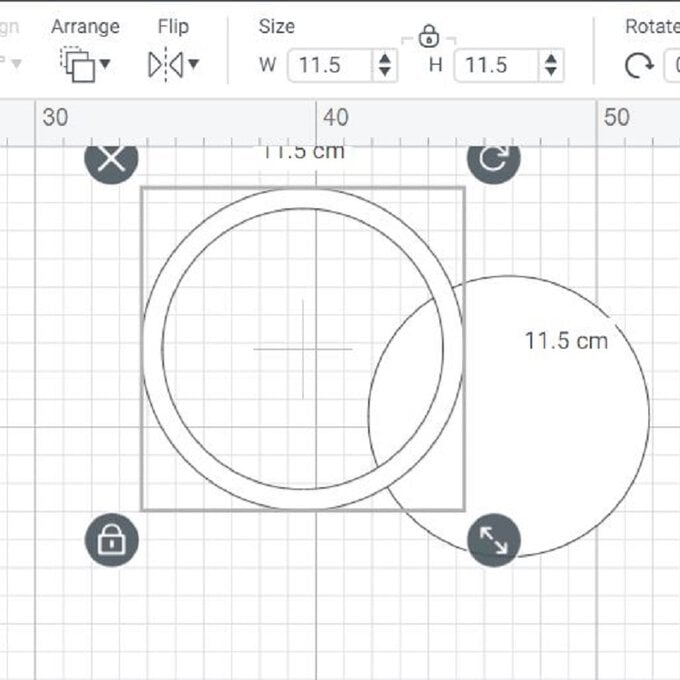
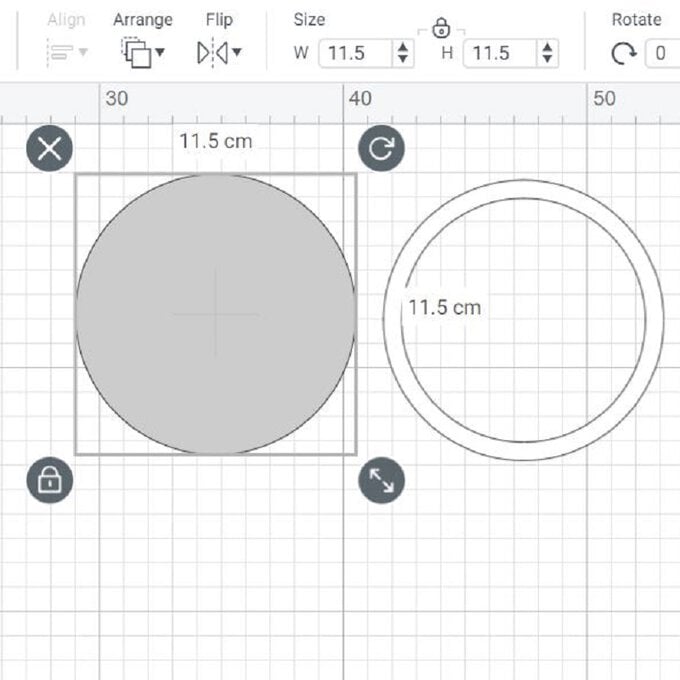
3. Open the “Shapes” menu and insert a circle - this will form the base of the wreath – amend to the desired size, then insert another circle and amend the width measurement to 1.5cm smaller than the previous circle. Overlay both circles so that they are centred and both selected, select the “Slice” function to create the wreath base. Delete the central circles from the design.
4. Add a third and final circle to the canvas and amend the size to match the wreath base. Change the cut colour of this circle so that it is different from the wreath base as this is to be cut from vellum.
5. Once happy with the design click “Make it” in the top right-hand corner of the screen and follow the on-screen instructions to cut out all the components, making sure to amend the material type as needed. I cut the wreath base from mountboard to provide structure to the design.
6. After all the elements have been cut, carefully remove them from the cutting mats and begins constructing the wreath. Start by applying the vellum circle to the back of the wreath base using a glue pen. Leave the glue to dry before applying the foliage elements followed by the “Merry Christmas” sentiment.
7. Finally add a loop of twine to the back of the topper so that it can be used as a tree decoration once the gift has been unwrapped.






.jpg?sw=340&q=85)