Cricut: How to Make Personalised Bee Kind Trainers
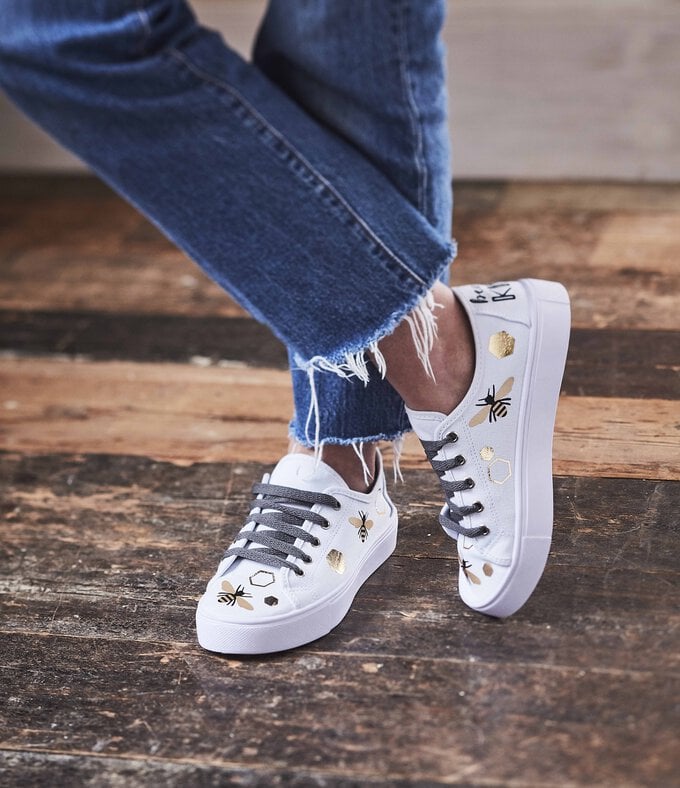
Bring new life to a pair of canvas trainers or shoes using your Cricut machine and iron-on vinyl! This personalised pair are sure to add flair to your style. The Mini EasyPress is ideal for making sure your designs are adhered perfectly every single time.
This project was made with the Cricut Maker, however it can also be created using the Cricut Joy or the Cricut Explore.
Project and instructions by Aisha Cluitt
Please note: This project contains paid-for content from Cricut's Design Space app. Screen reference images are taken from the iOS version of Design Space.
You will need
Subtotal
Is $ 585.00
Subtotal
Is $ 33.00 , was $ 41.00
Subtotal
Is $ 13.00 , was $ 17.00
Subtotal
Is $ 24.00 , was $ 30.00
Subtotal
Is $ 20.00 , was $ 25.00
Subtotal
Is $ 13.00 , was $ 17.00
How to make
You will also need:
* White Canvas Trainers
* Cricut Design Space app installed on a laptop, PC, Tablet or mobile device
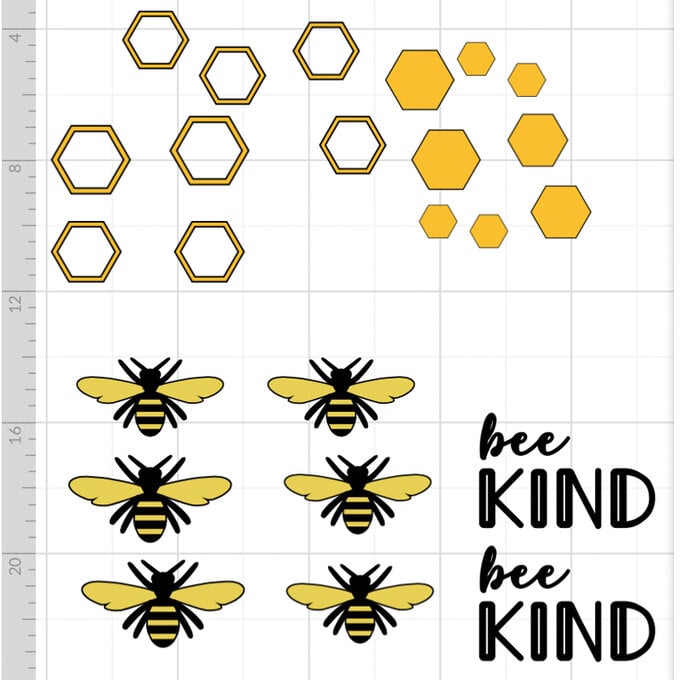
In Cricut Design Space, search in the images library for the Bee Image (#M3838B) and add it to the canvas by clicking the green "Insert" button.
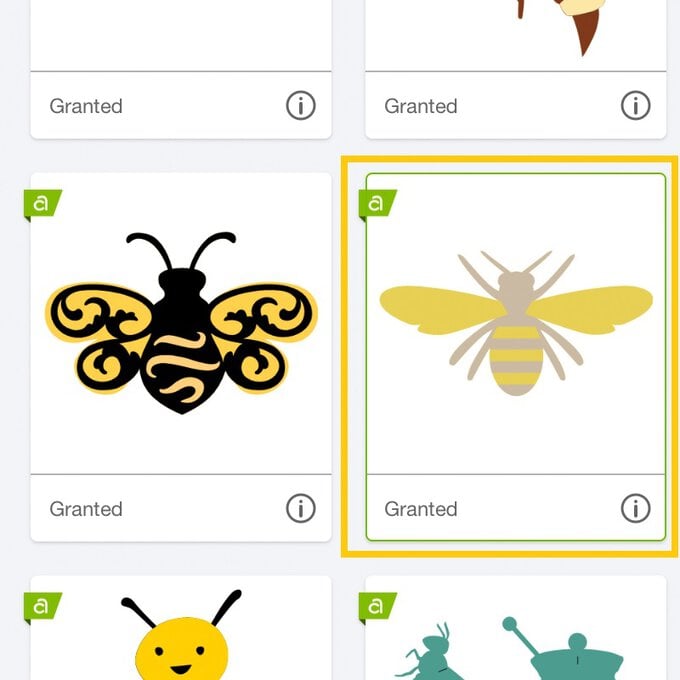
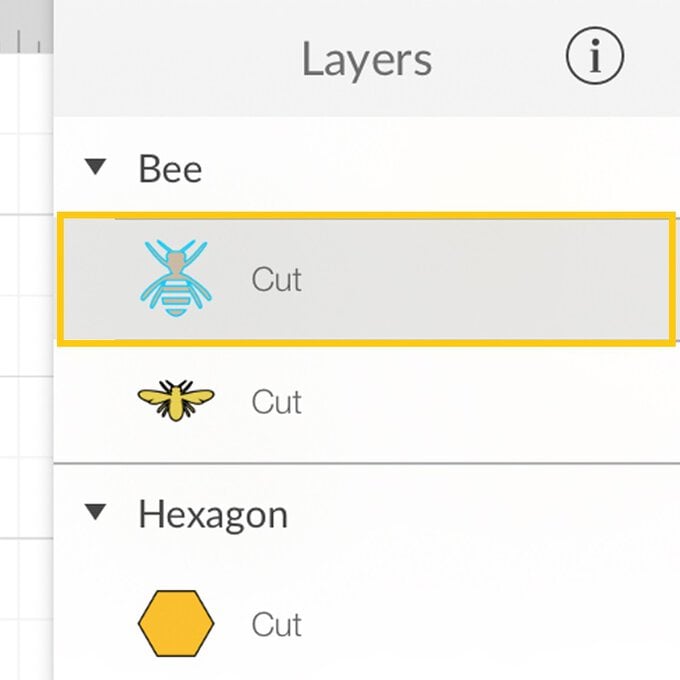
Once back through to the canvas, open the "Layers" menu and select the striped body section of the bee.
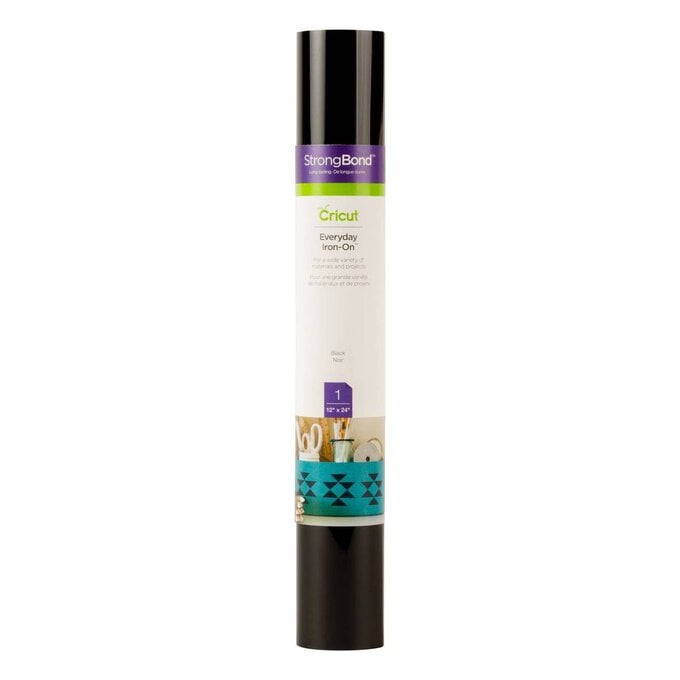
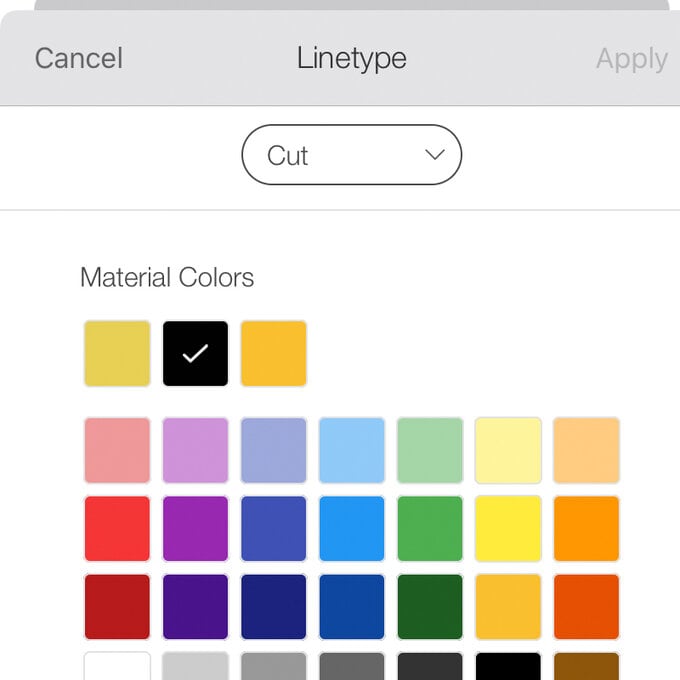
Next, open the "Edit" menu and click on the colour swatch to the right of the word "Cut", amend the colour swatch to black and click apply (this is the colour of iron-on vinyl we'll be cutting this part of the design from).
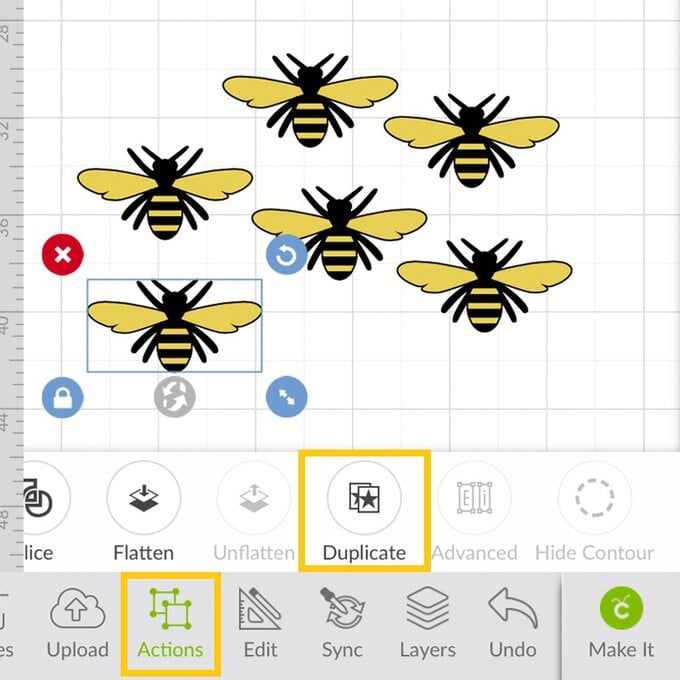
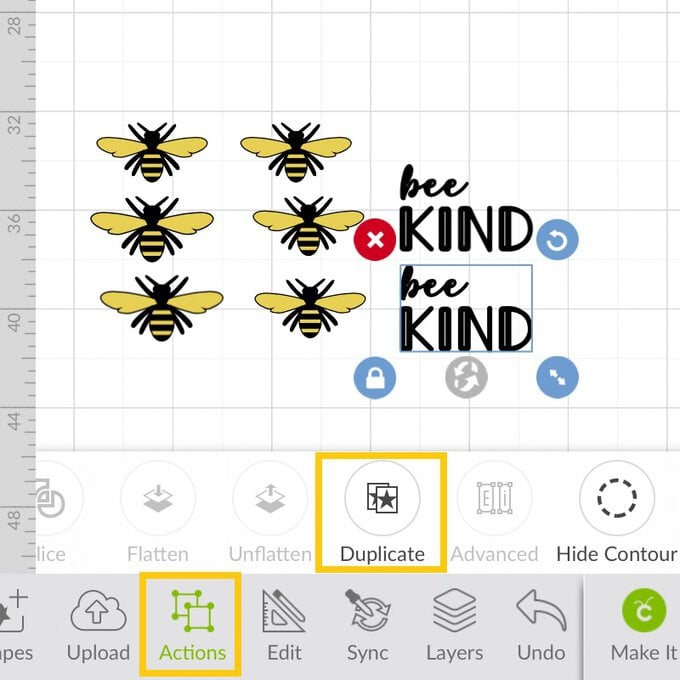
With the entirety of the bee design selected, open the "Actions" menu and use the "Duplicate" function to create as many bees as you would like to add to your shoes. We went for three bees on each shoe.
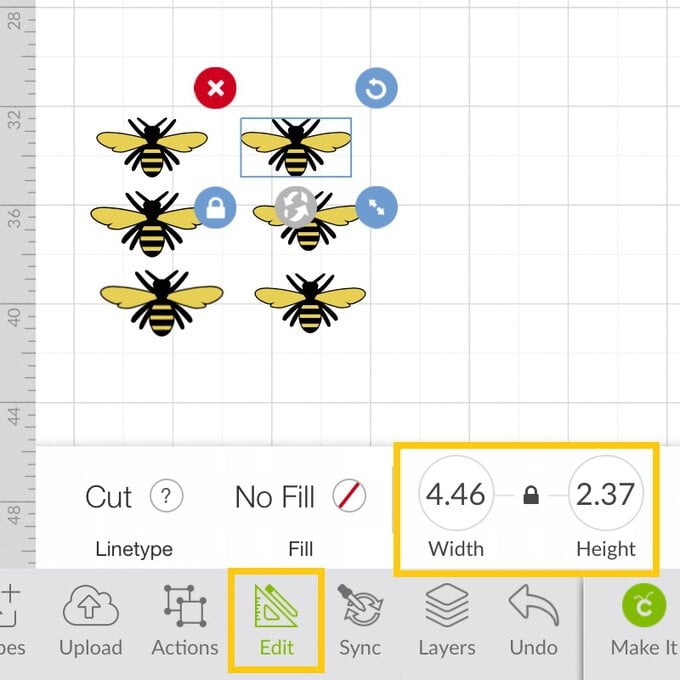
Resize the bees so that you have a variety to use. Make sure to take note of the size of each bee to ensure that it will fit on the desired location on your shoes.
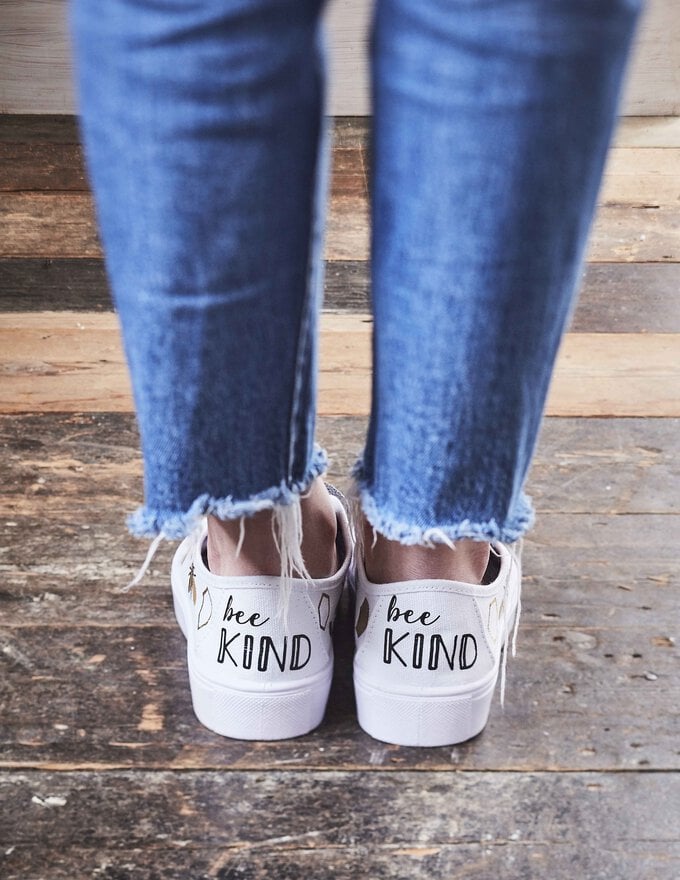
Open the "Images" menu once more, this time searching for "Bee Kind". Select the "Bee Kind with Bumble Bee" image (MF0268D0).
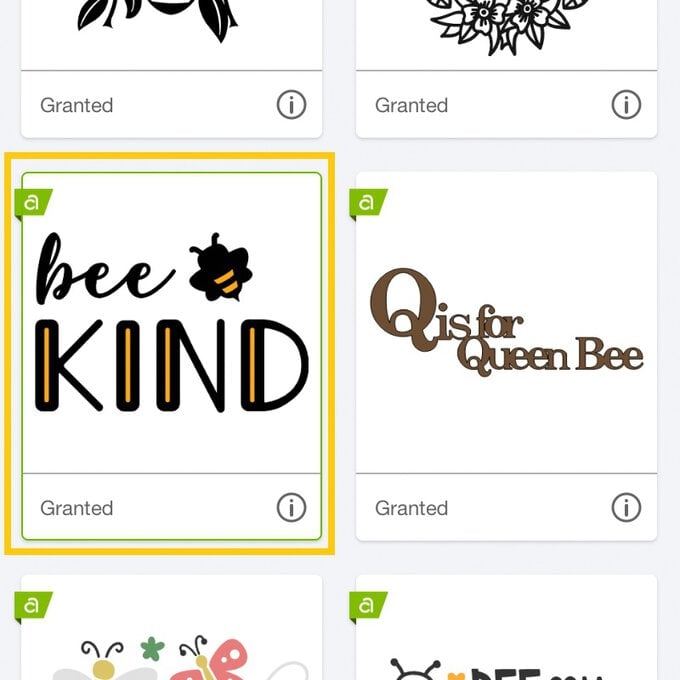
Once back through to the canvas screen, with the Bee Kind image selected, open the "Layers" menu and delete the striped part of the design.
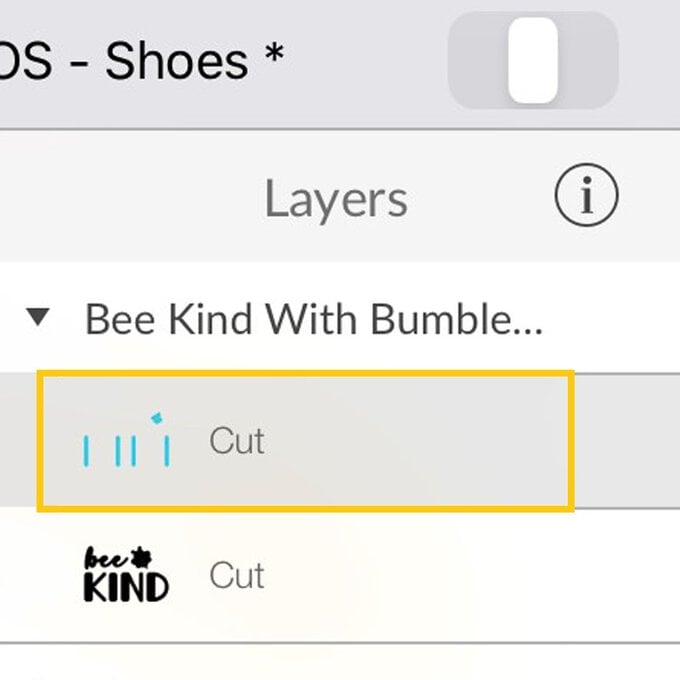
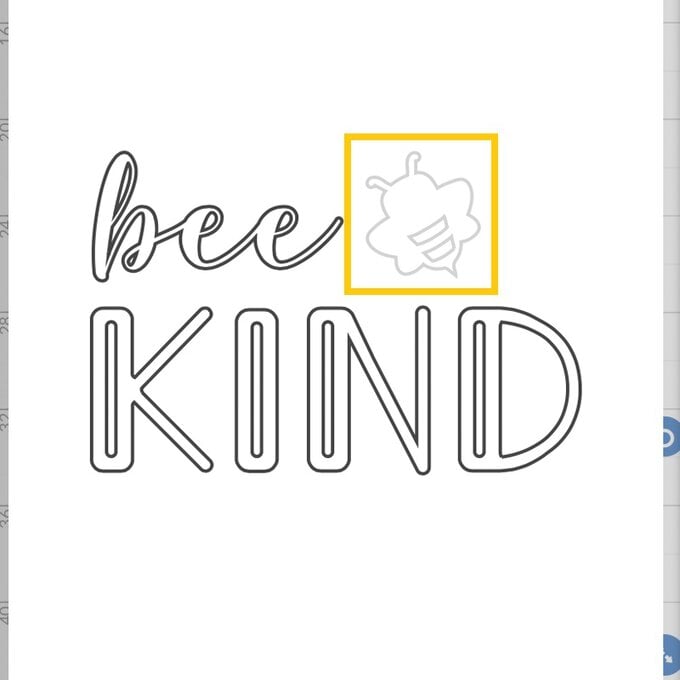
With the remainder of the design highlighted, select the "Hide Contour" function from the "Actions" menu.
Select the bee part of the design to hide it. This part of the image will turn light grey.
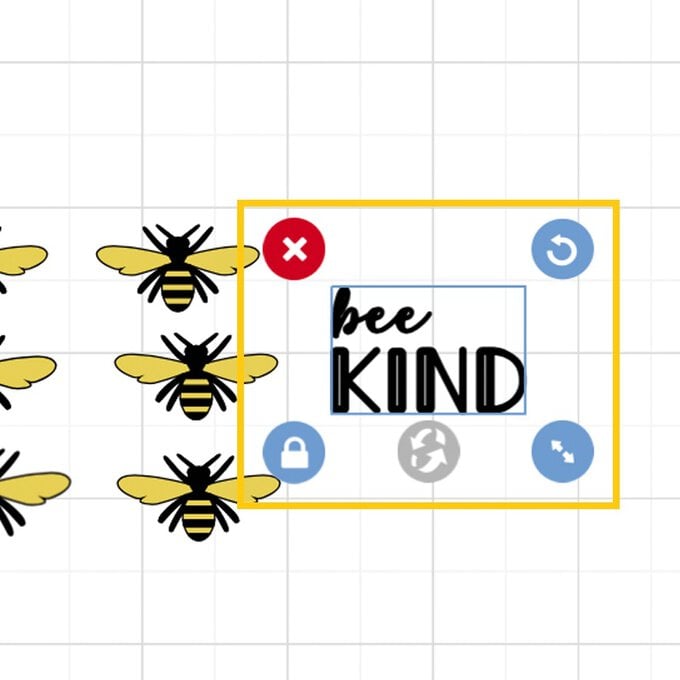
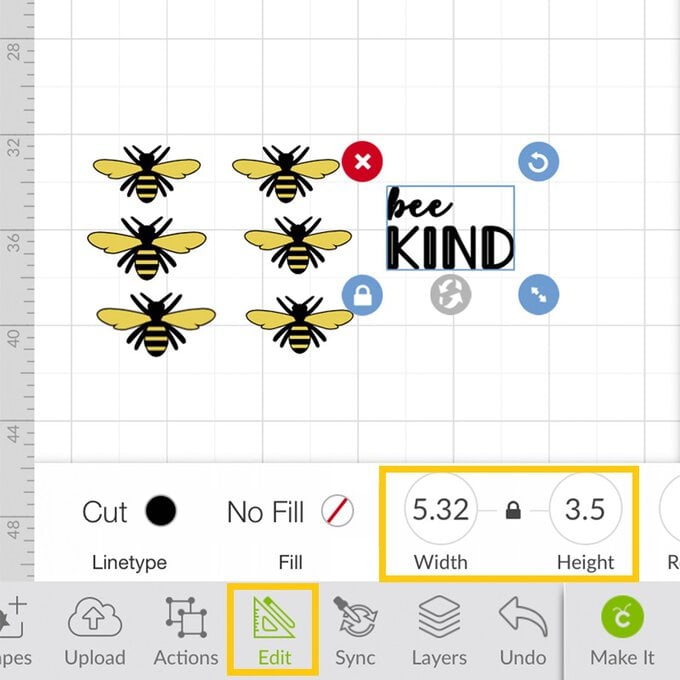
Resize the image to fit comfortably on your shoes and then "Duplicate" the design so that you have two, one for each shoe.
Open the "Shapes" menu and add two hexagons to the canvas.
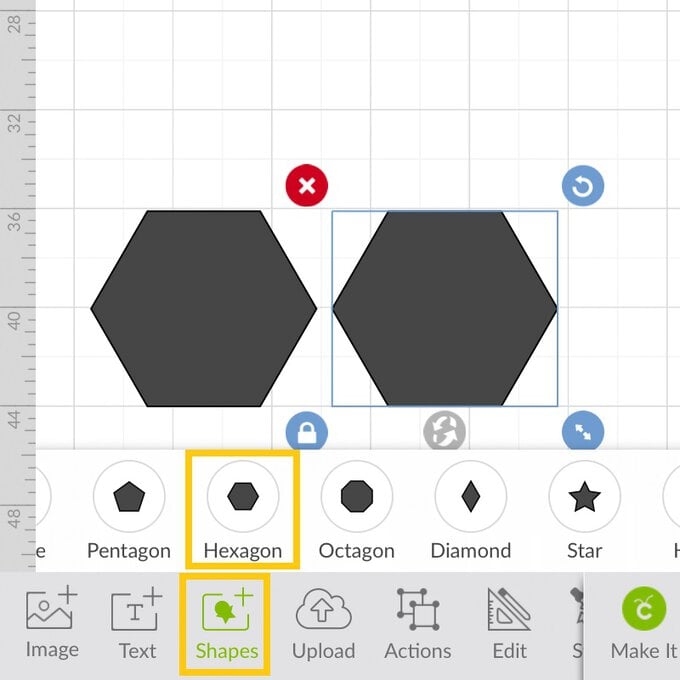
Reduce the size of one of the hexagons slightly and then overlay centrally on top of the larger hexagon.
Select both elements and then click on "Slice" in the "Actions" menu.
Delete both the internal hexagons so that you're left with a hexagon outline.
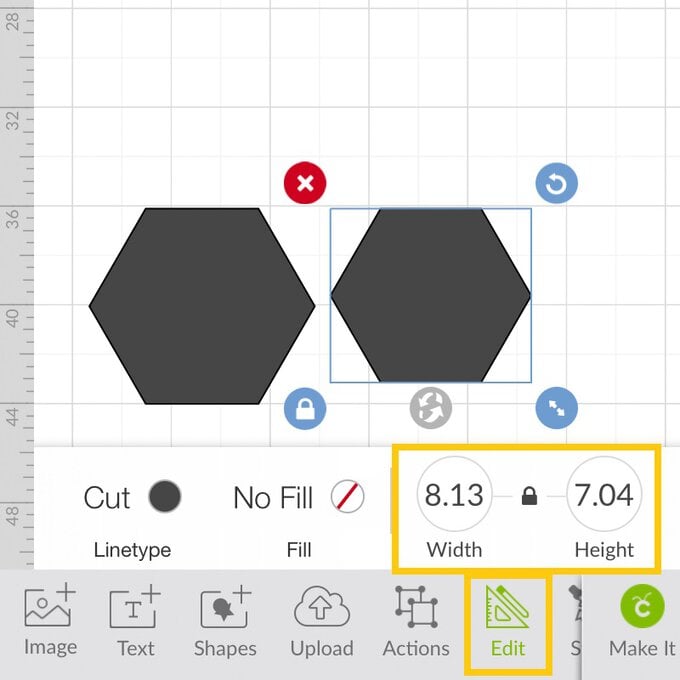
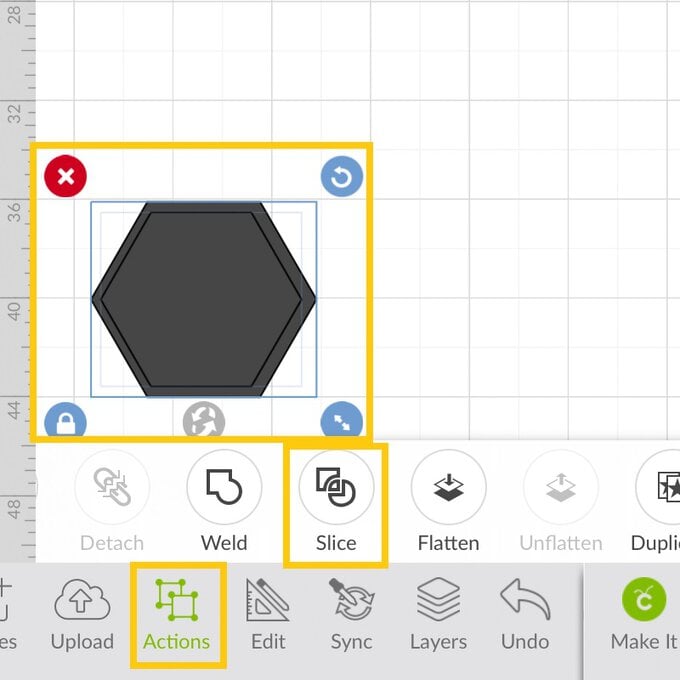
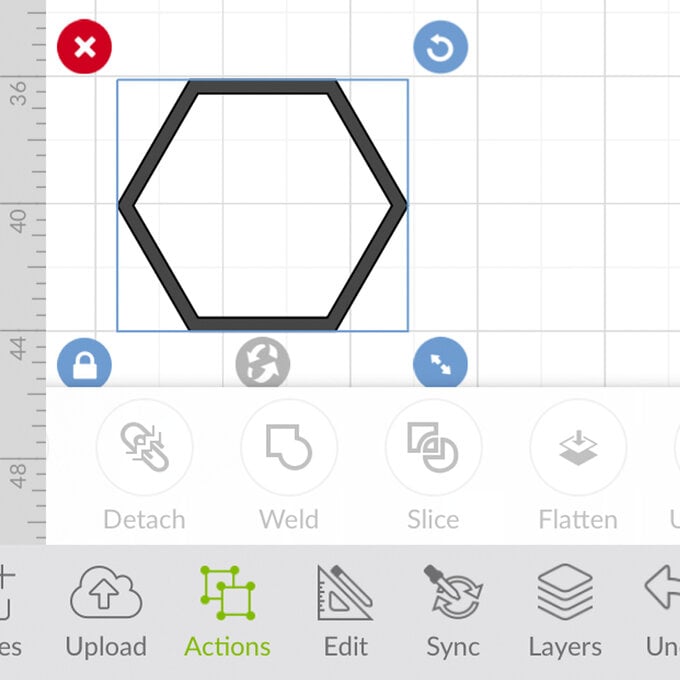
Resize the hexagon as desired and amend the colour of the element to orange/gold (this is the vinyl colour it will be cut from).
"Duplicate" and resize the hexagon outline as many times as desired.

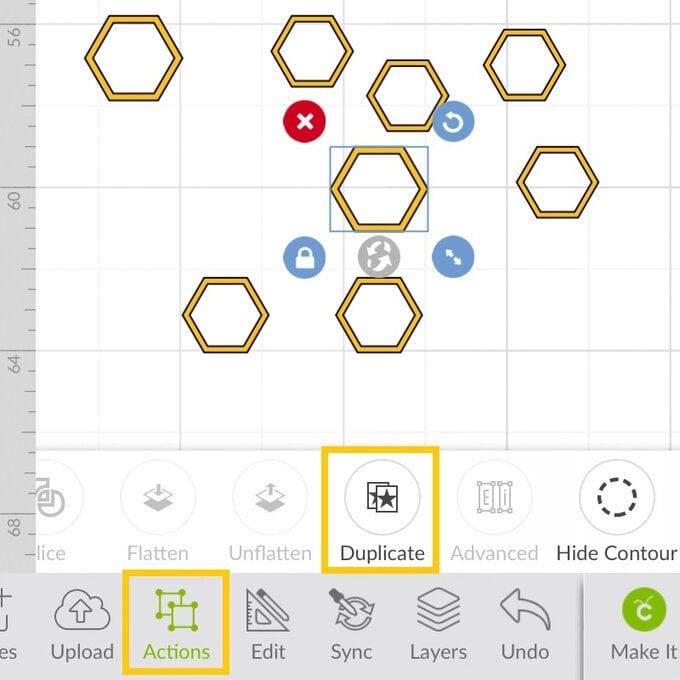
To complete the design, add in some whole hexagons, again resizing and duplicating as desired.
Once happy with each of the elements, click the green "Make It" button.
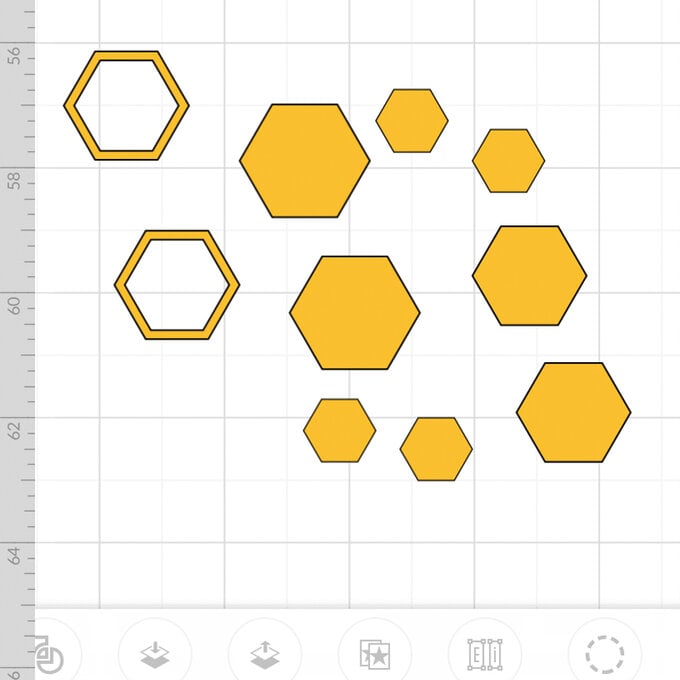
You'll then be taken through to the mat preview screen.
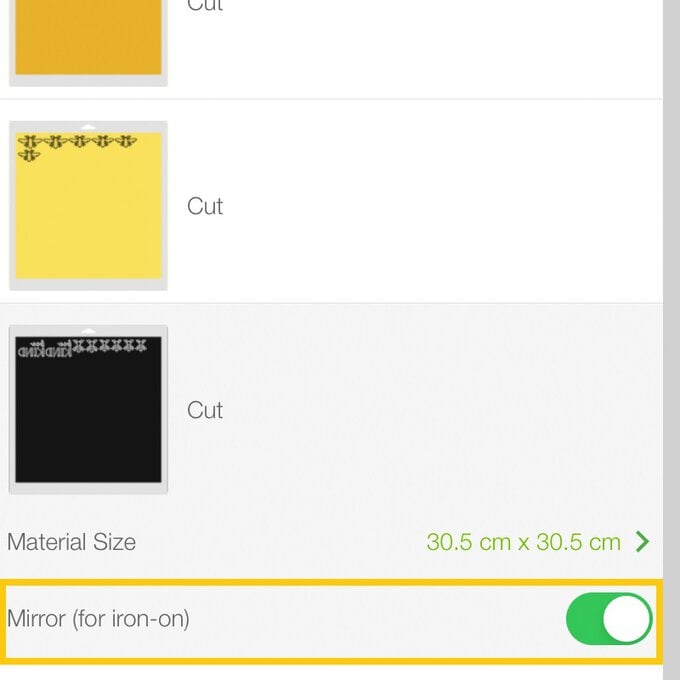
Make sure that the "Mirror (for iron-on)" function is selected for each mat, then click "Continue".
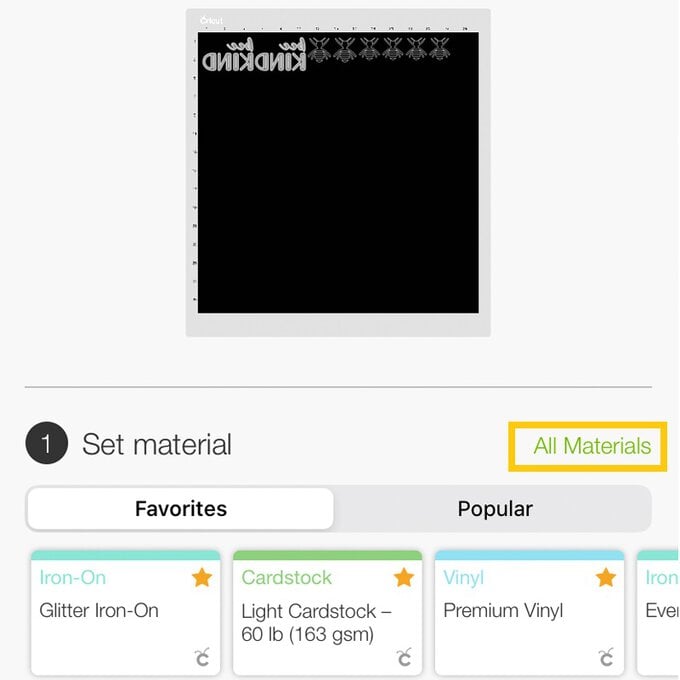
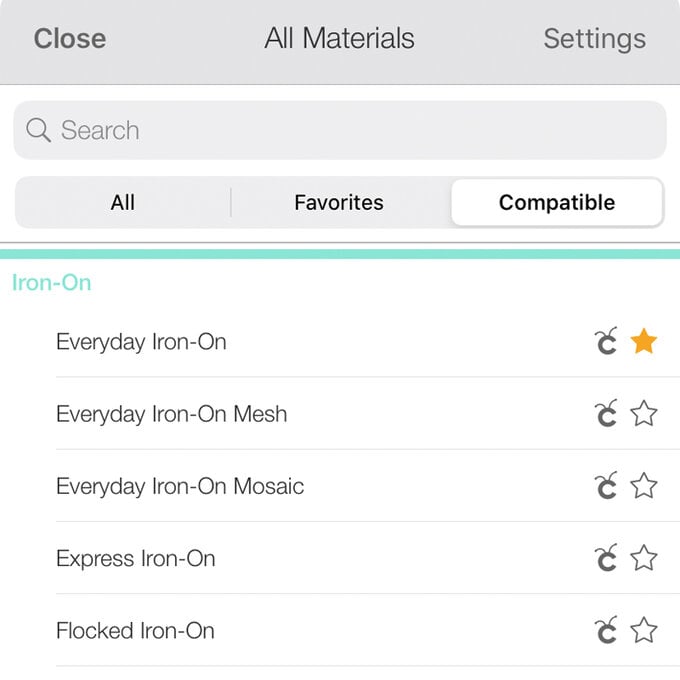
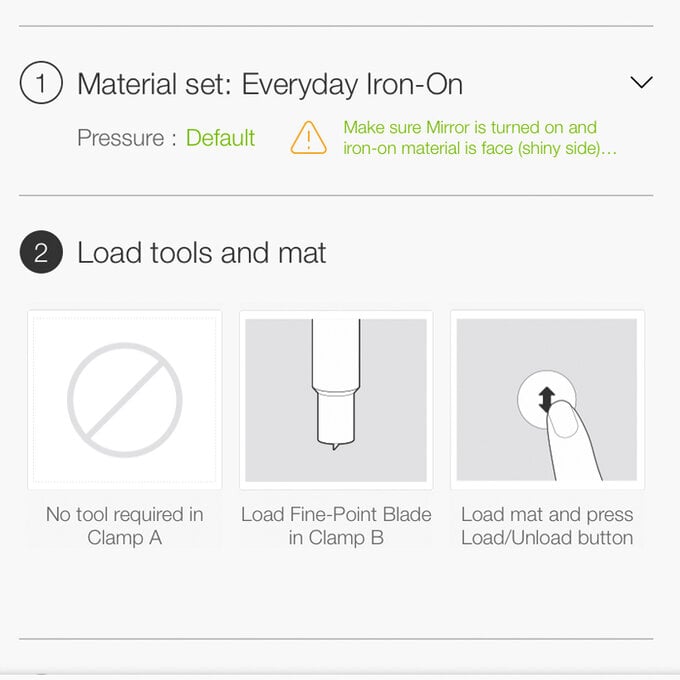
You'll then be taken through to the machine set-up screen, select the desired iron-on matetrial from the "Material Settings" menu and follow the on screen instructions to cut the design.
Top Tip: If you are using different types of iron-on vinyl, for example Foil and Everyday Iron-on, make sure to change the setting before you cut the relevant mat.
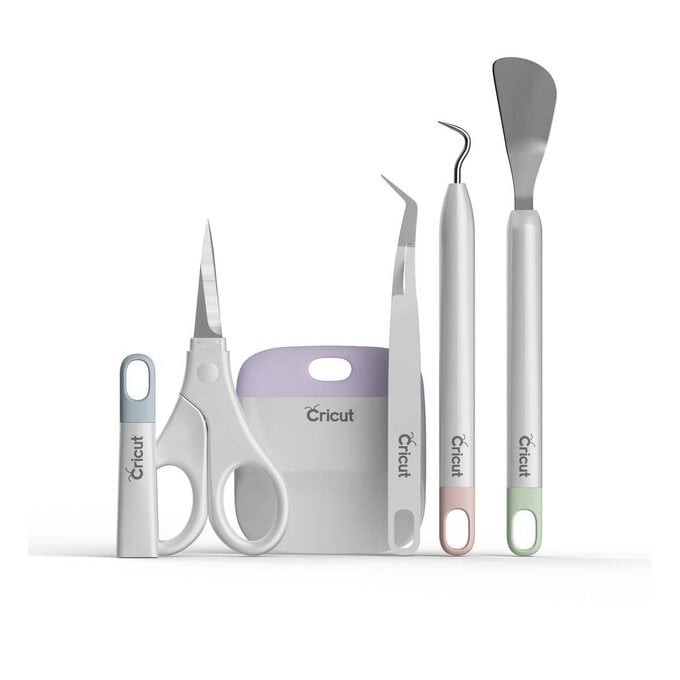
Once all the elements have cut, use your weeding tool to remove the excess iron-on vinyl, leaving only the bees, hexagons and "Bee Kind" text on the carrier sheets.
Carefully cut up each of the carrier sheets, so that all of the images are individual pieces.
Use the Cricut Heat Guide (https://cricut.com/en_us/heatguide) to determine the best settings for the Mini EasyPress and iron-on vinyl you're using.
Adhere each image to the trainer, carefully layering the bee images, keeping the Mini EasyPress moving at all times.
Keep adding the elements until both trainers are covered in your designs.
Top Tip: Be extra-careful to avoid any parts of the shoe, like the sole, that could melt!
