Cricut: How to Personalise a Scrapbook with Adhesive Vinyl
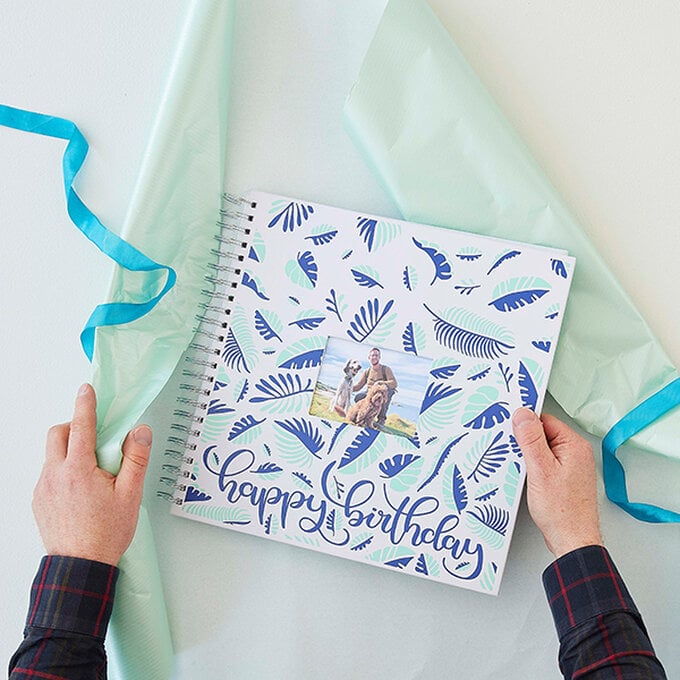
Make your next scrapbook even more personalised, using your Cricut machine and adhesive vinyl to create a cover like no other! It'll be the perfect project if you're prepping a special, heartfelt gift for a loved one in the form of a customised scrapbook filled with memories.
Whatever the occasion, use this Cricut tutorial to create a unique scrapbook in a few easy steps!
Project and instructions by Caroline Shard
Discover more Cricut ideas here >
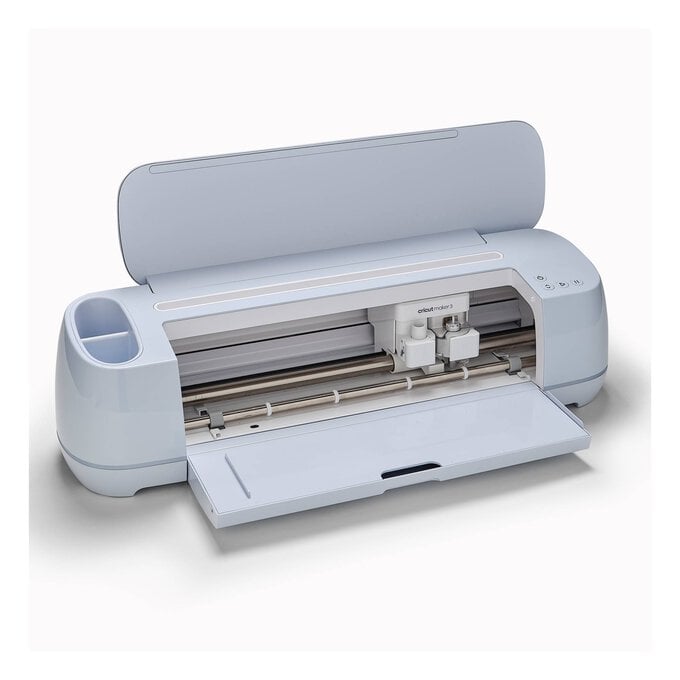
Please note: This project contains paid-for content from Cricut's Design Space app. Screen reference images are taken from the desktop version of Design Space. The Cricut Maker was used to create this project; however, this project can also be created using a Cricut Explore Air 2.
You will need
Subtotal
Is $ 40.00
Subtotal
Is $ 13.00
Subtotal
Is $ 13.00
Subtotal
Is N/A
Out of stock
Subtotal
Is $ 11.00
Subtotal
Is $ 570.00
Out of stock
Subtotal
Is $ 8.49
Out of stock
How to make
Download the template below in preparation for this Cricut project.

Open the Cricut Design Space and create a new project. Download the template SVG file for the project and upload it to the design space. Add the image into your new project. The layers should look like this.
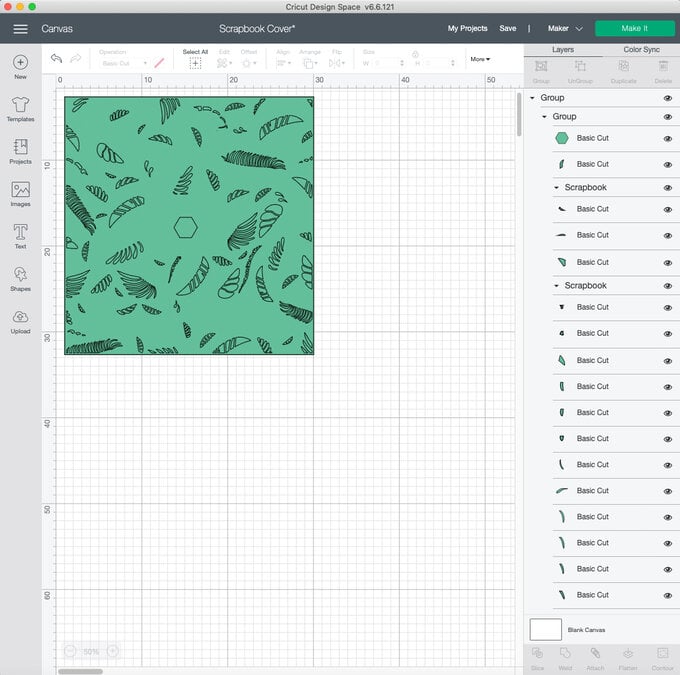
Collapse the two groups so you can see two groups within the top group. Each group is a different colour.
Select the top group and click the ungroup button. This will now show two separate groups.
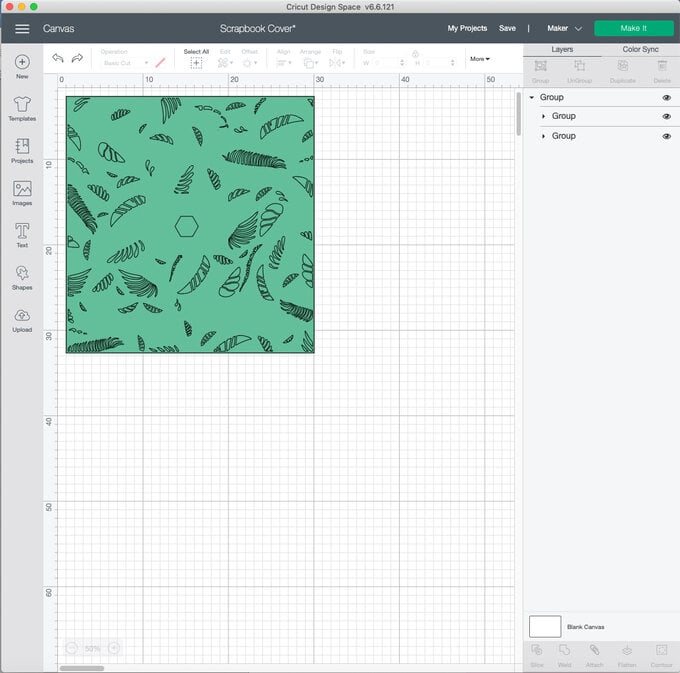
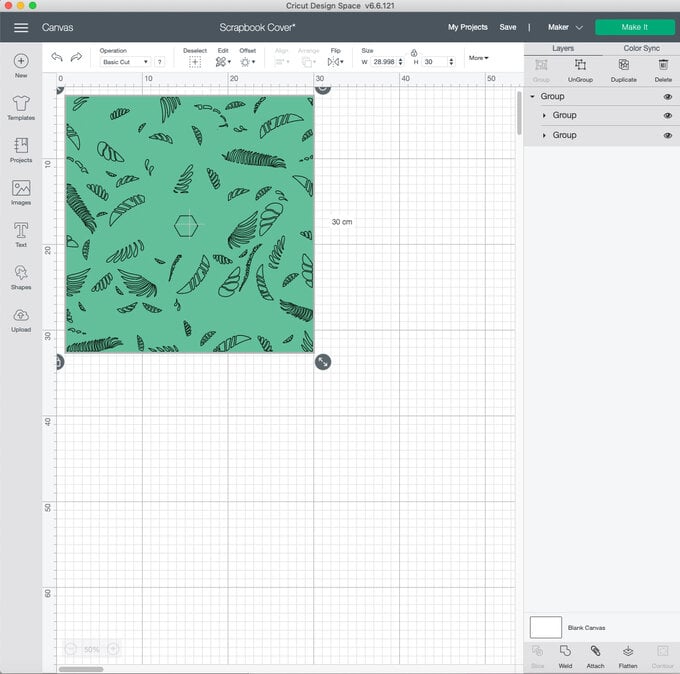
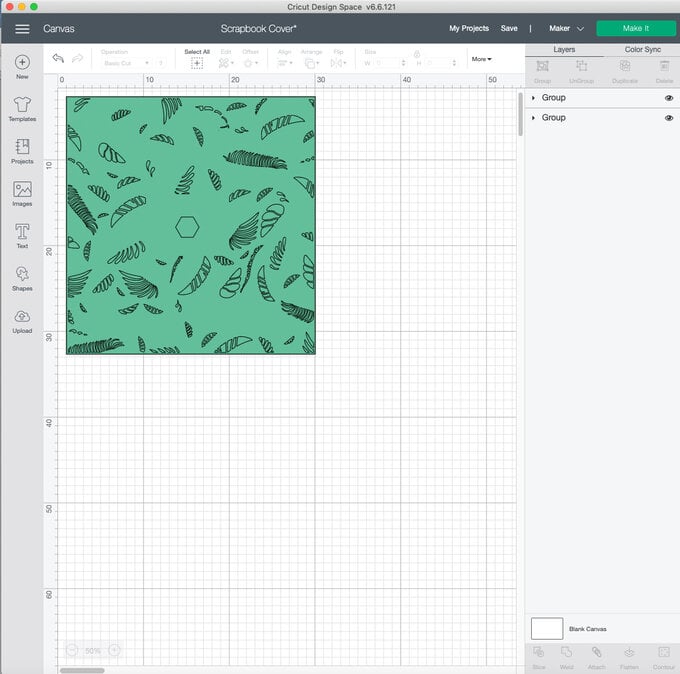
Click on one of the groups and then click the attach button. Then do the same with the other group. Make sure you only have one of the groups selected at a time.
Toggle the visibility (eye) icon next to each layer to make sure each attached group is a separate colour.
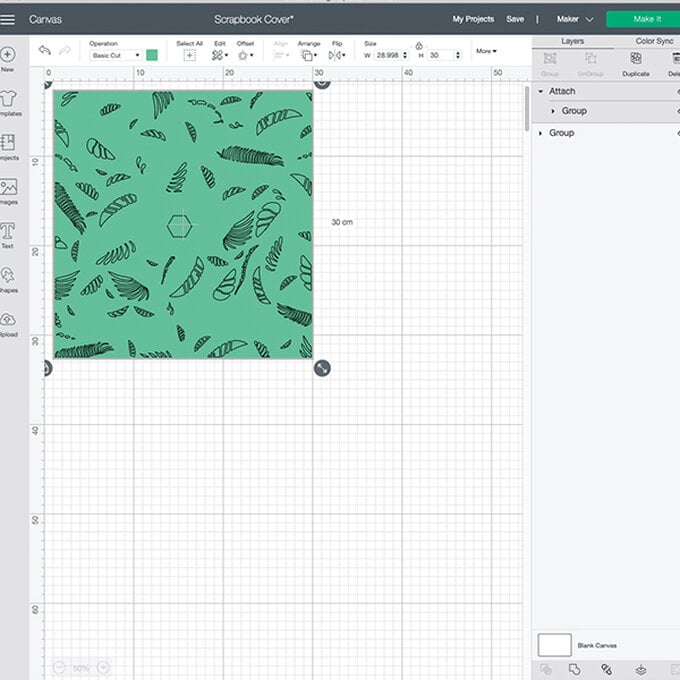
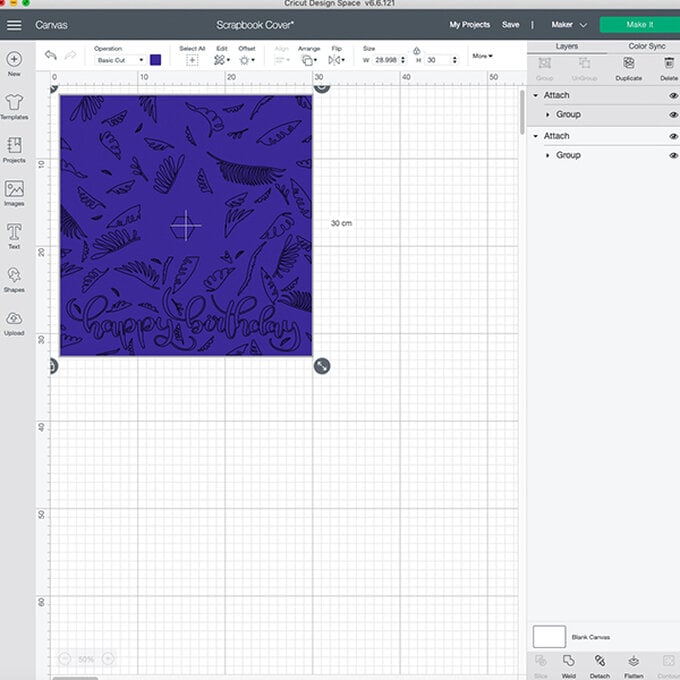
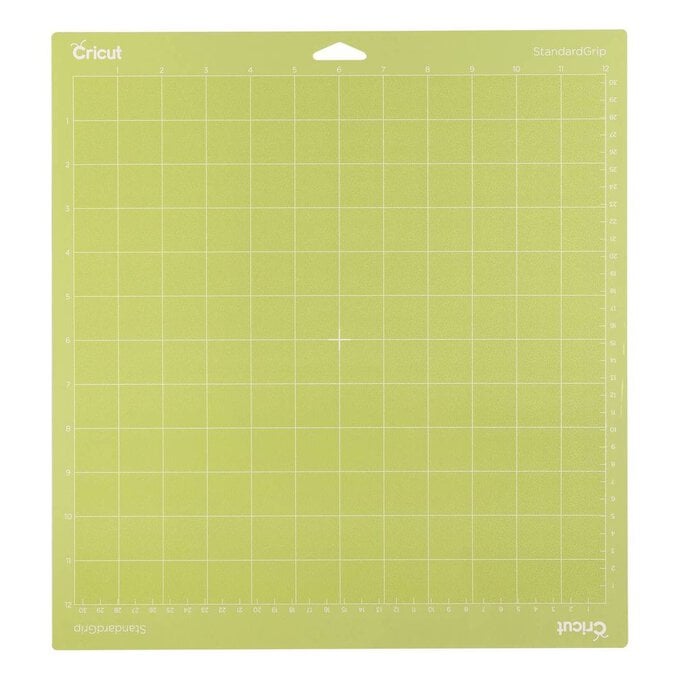
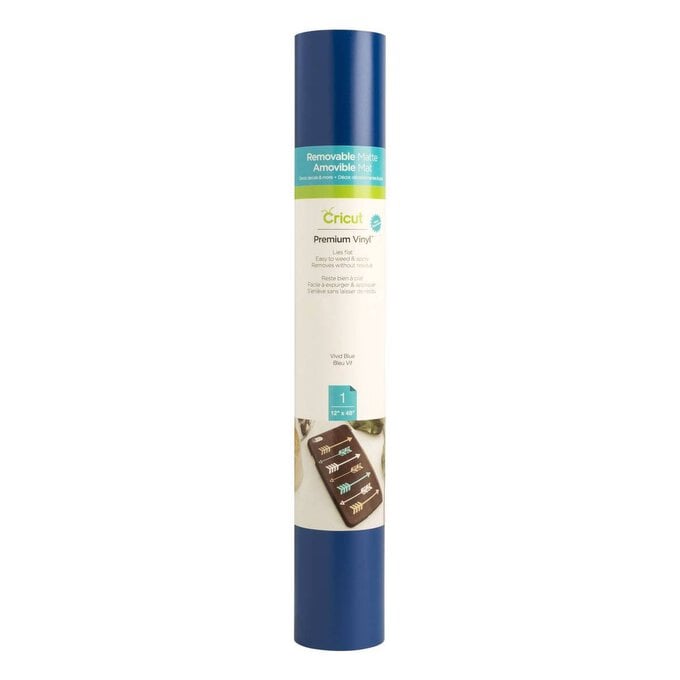
Apply the first colour of vinyl to the mat, load into the cricut machine and complete the first cut.
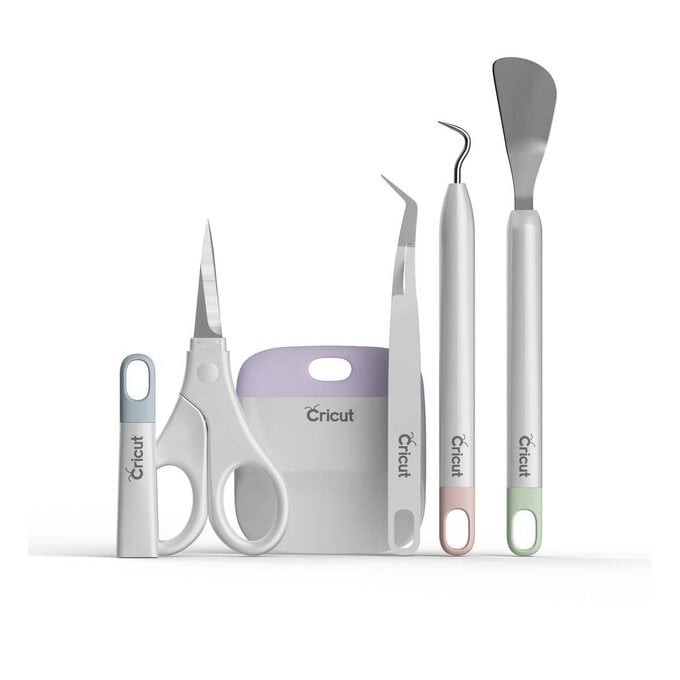
Carefully peel the unwanted vinyl from the backing whilst still stuck on the mat. Use a weeding tool if available.
Additional cut lines have been added to the template file so the excess vinyl can be removed in three sections rather than in one.
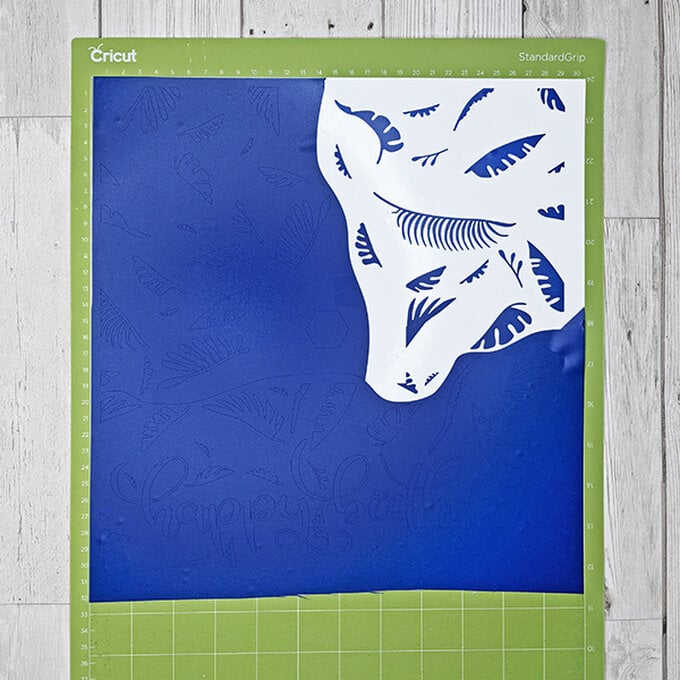
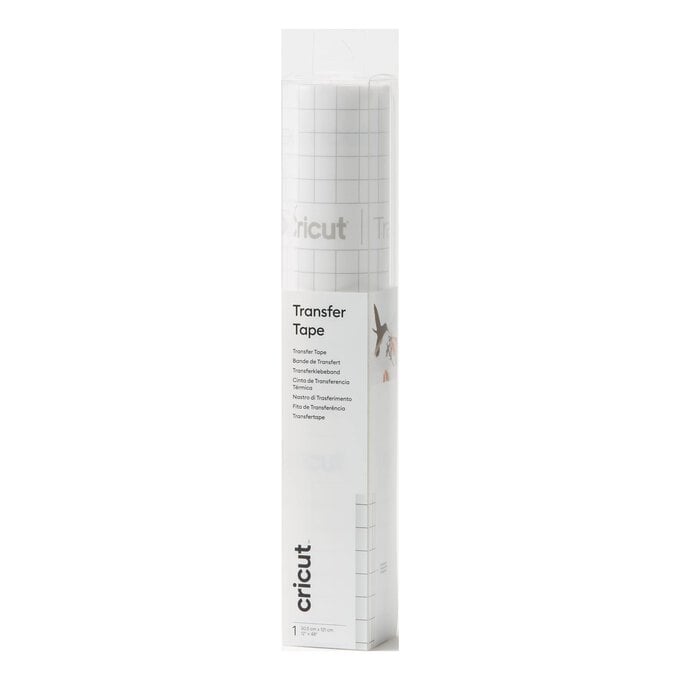
Once all the excess vinyl has been removed, use a piece of transfer tape slightly larger than the design, and carefully smooth down on top of the vinyl avoiding air bubbles.
Burnish or firmly smooth over to help the transfer tape stick to the vinyl design. Remove from the mat and set aside.
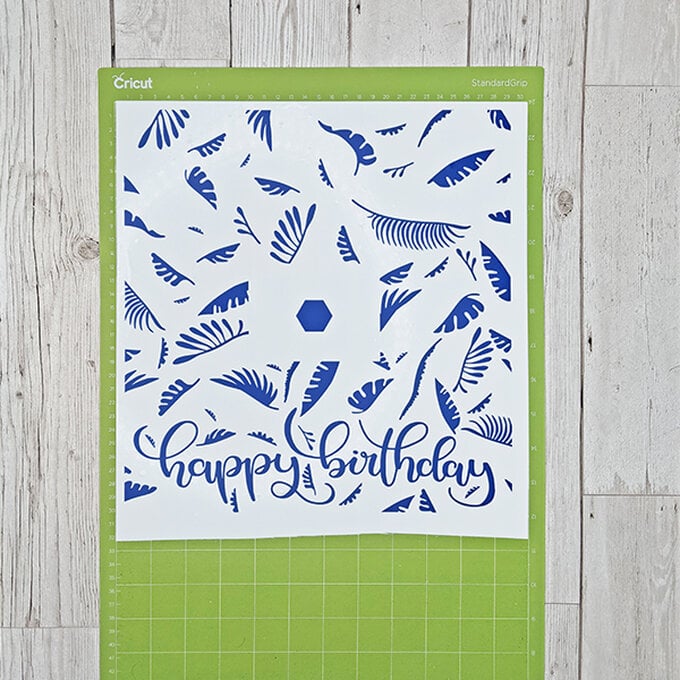
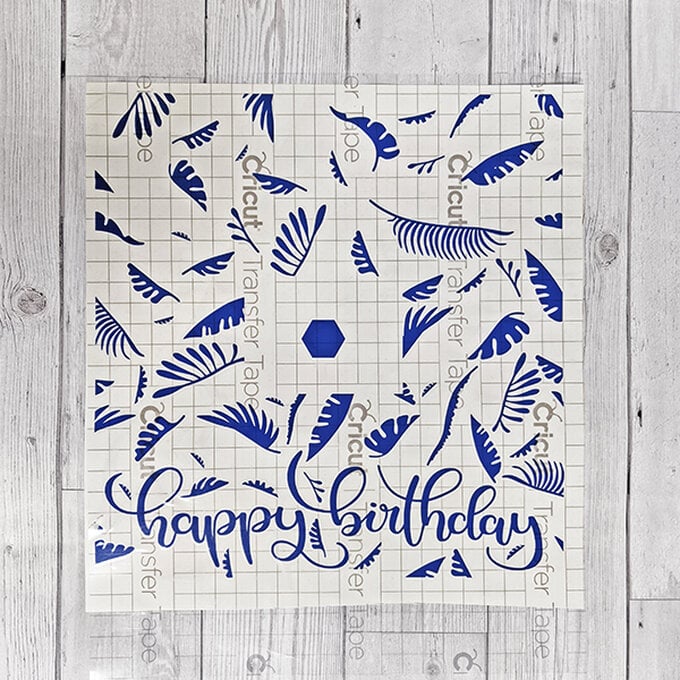
Load, cut and weed the second colour vinyl.
Go back to the first vinyl colour and carefully remove the backing so the vinyl is solely stuck to the transfer tape.
Now carefully hold this over the top of the mat, line up the two hexagons in the centre of the design, and carefully and slowly place down on top of the second colour. Burnish or firmly smooth over the whole of the design.
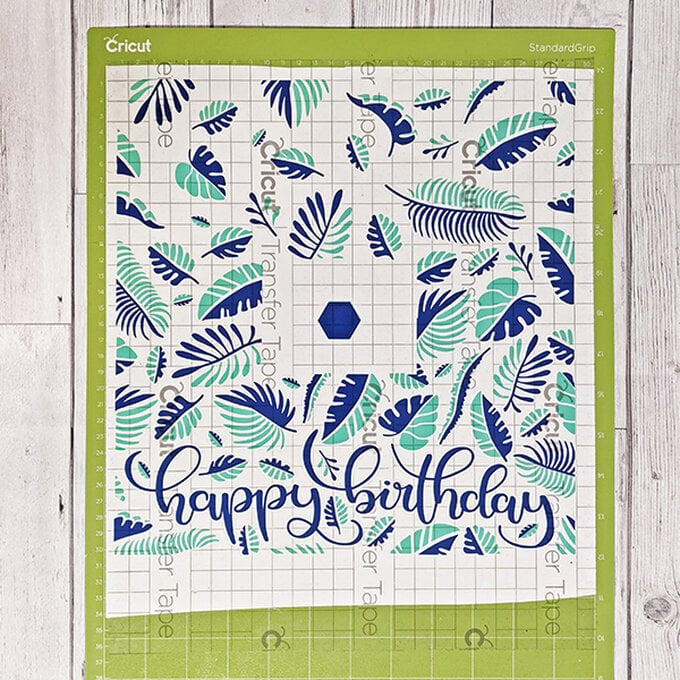
Remove the piece from the mat.
Remove the attached vinyl and transfer tape layers from the backing, then remove the hexagon shape from the centre.
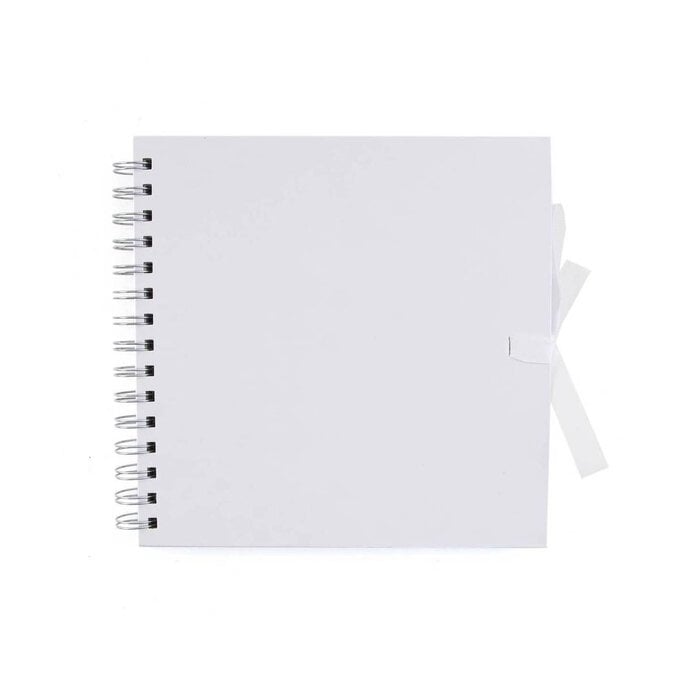
Bring in the scrapbook and line up the vinyl design up with the scrapbook frame and carefully smooth down.
Burnish or firmly smooth over the design to ensure the vinyl it stuck down.
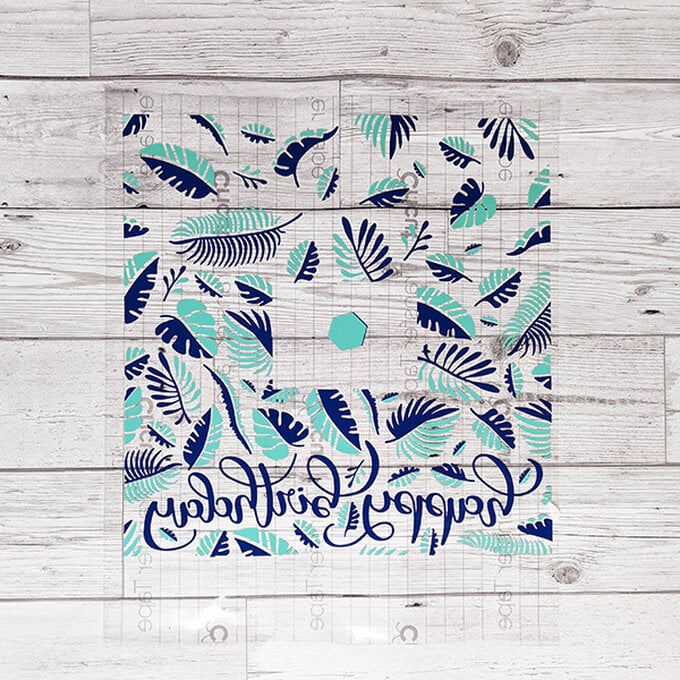
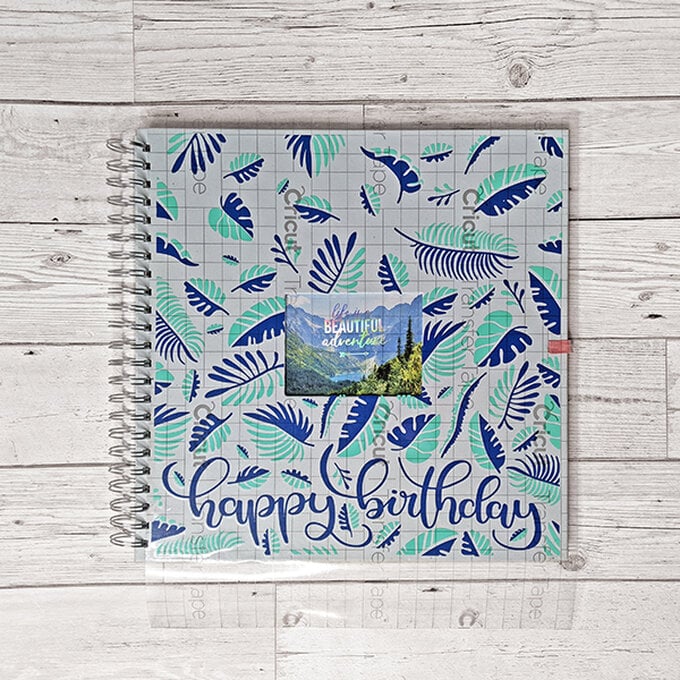
Slowly remove the transfer tape making sure the vinyl is completly stuck to the scrapbook.



.jpg?sw=340&q=85)
