How to Make a Recipe Scrapbook
Need a new way to store all your favourite recipes? Organise recipes or keep your favourites in one tidy place by creating your own recipe scrapbook album.
Record the steps involved in preparing your favourite meals and get creative by adding stickers, quotes and photos throughout the pages to make it more personal to you.
This scrapbook is also the perfect gift idea, allowing you to share your kitchen secrets with your loved ones in stunning detail!
Project and instructions by Sue Smith
You will need
Subtotal
Is $ 9.49
Subtotal
Is $ 2.49 , was $ 3.49
Subtotal
Is $ 7.49
Subtotal
Is $ 4.49
Subtotal
Is $ 7.49
Subtotal
Is $ 13.00
Out of stock
Subtotal
Is $ 4.49
Subtotal
Is $ 6.49
Subtotal
Is $ 12.00
Out of stock
You will also need
*Scissors
*A ruler
*A pencil
*An eraser
*White card
*A printer
*Photograph paper
How to make
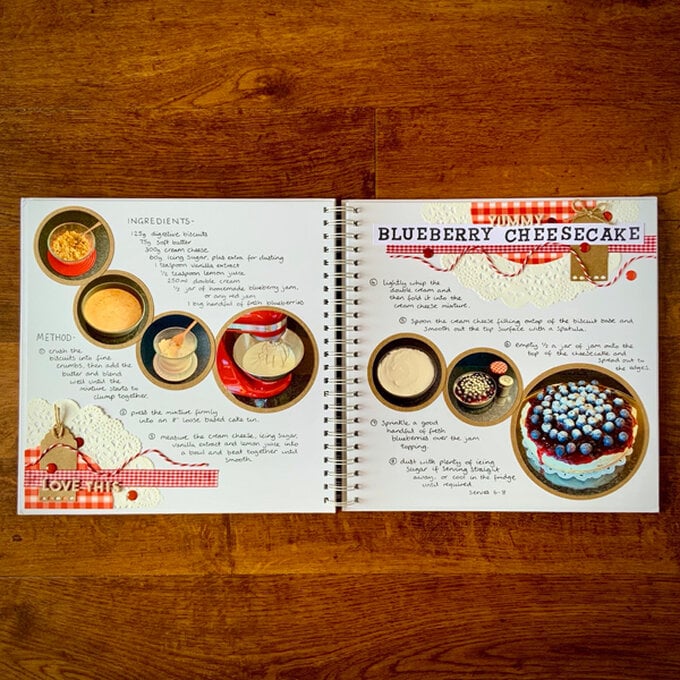
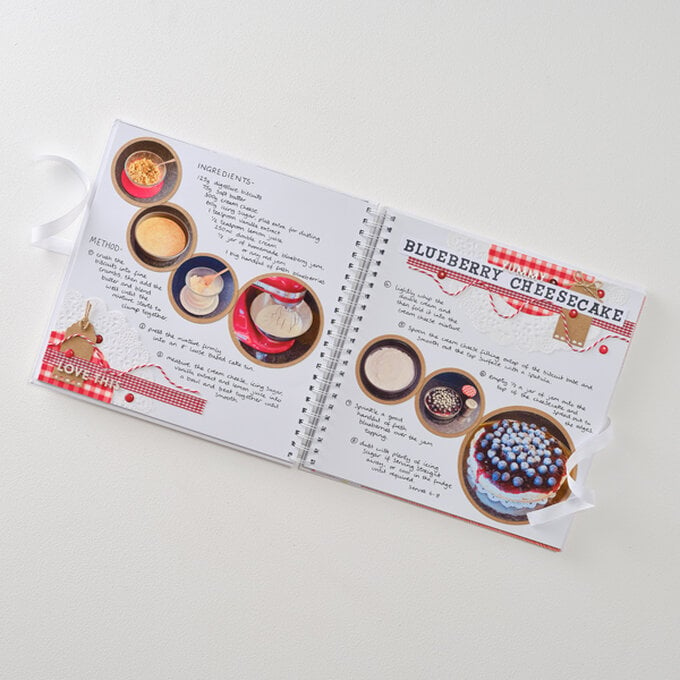
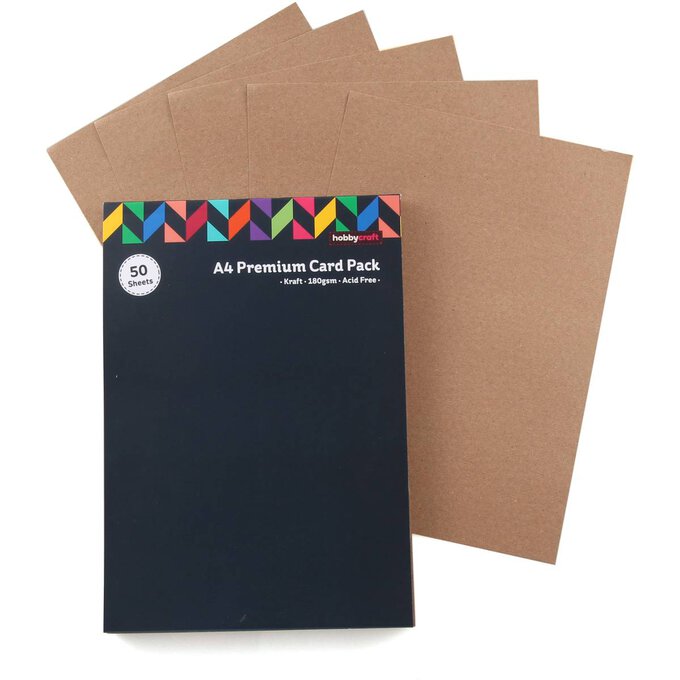
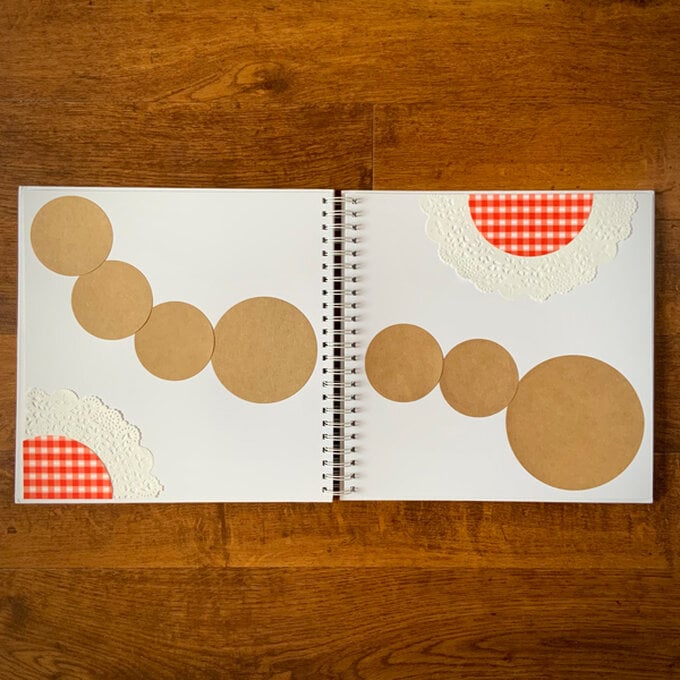
Start by die cutting several circles from kraft card. Die cut one 12cm diameter large circle, one medium 9.5cm diameter circle and five smaller 7cm diameter circles. Place the circles sweeping across both open pages in a white scrapbook album.
Use a glue stick to fix the circles, slightly overlapping each other on each page, creating the illusion of a continuous line of circles.
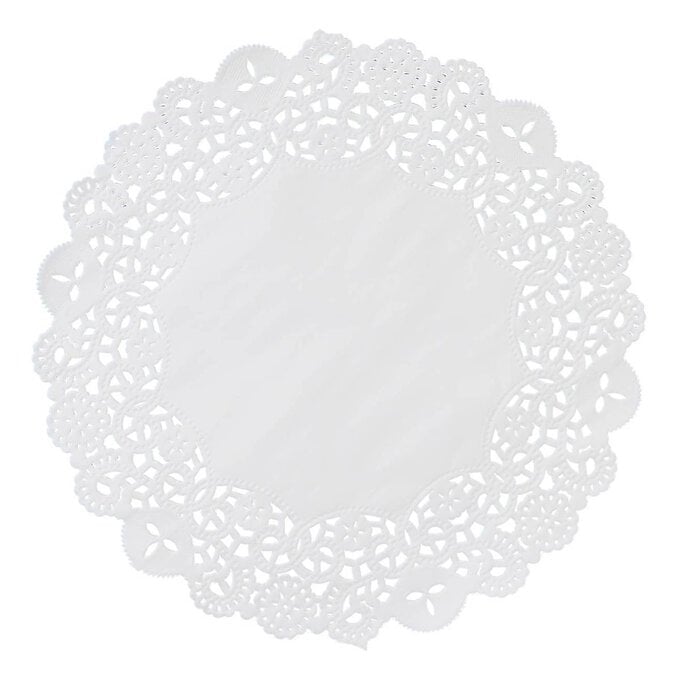
Glue in place half a doily at the top edge of the second page, and fix the other half of the doily to the left hand corner of the first page. Make sure this half is trimmed down to fit nicely in the bottom left hand corner.
Repeat, adding a circle of red gingham fabric on top of the doily decoration.
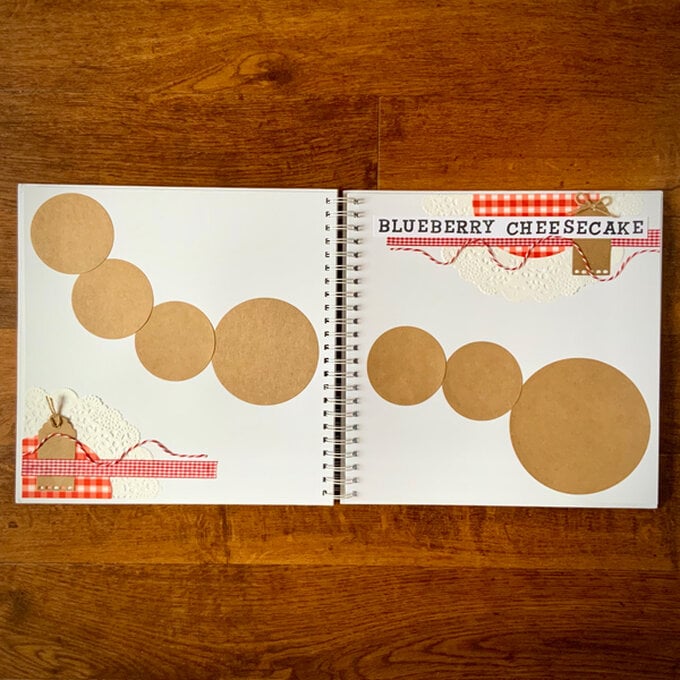
Stamp the recipe title onto spare white card using the bold alphabet stamps and black ink. Trim it down to create a title banner.
Take two tags from the jam jar topper kit, threading string to decorate one tag, and fix a bow to the other tag. Layer these elements down, together with lengths of ribbon and twine, over the gingham fabric.
Fix in place using tacky glue.
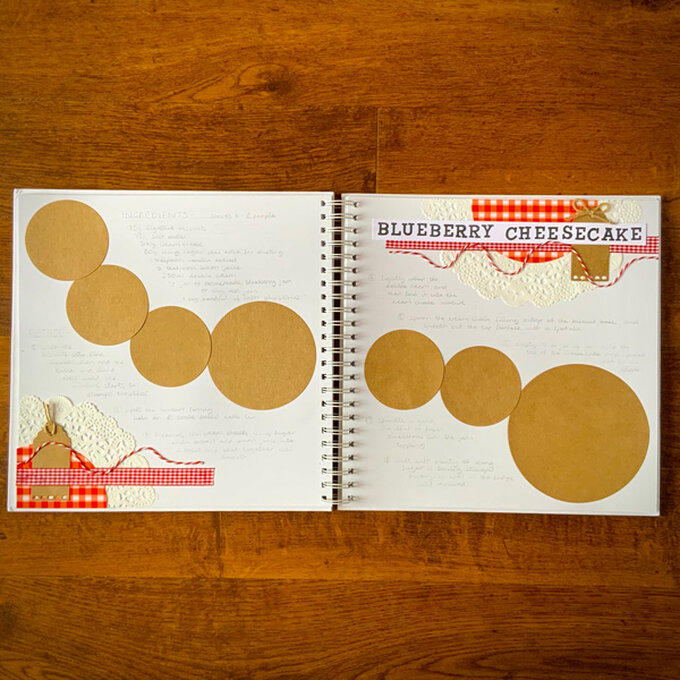
Use a pencil and ruler to plan, and write down the recipe ingredients and method. Then write over using a black fine liner pen.
Once the ink has dried, erase all pencil markings.
Choose a smaller circle nesting die to match each die cut kraft circle. Use these cutting dies to measure, and plan the size of each seven stage recipe photograph.
Print out all seven images and die cut them.
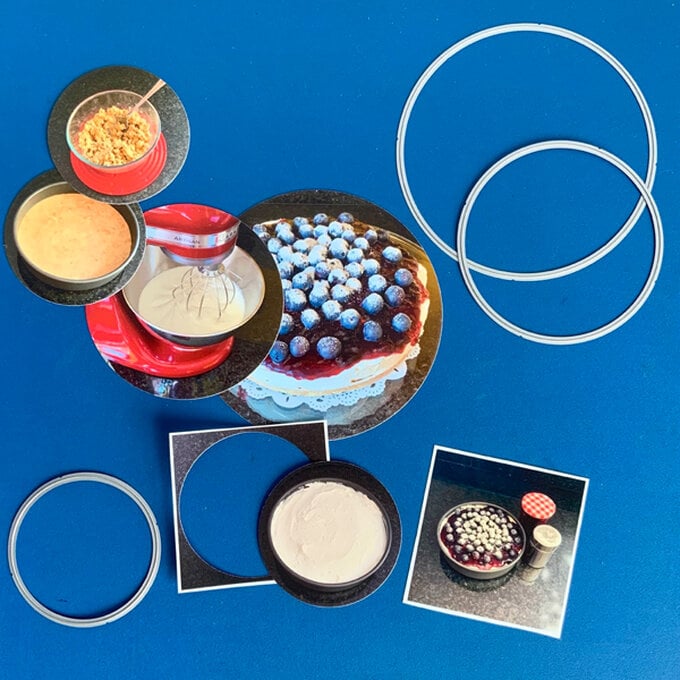
Use a glue stick to fix the photographs onto each kraft circle. Add an extra word above the title using the pearl coloured letter stickers. Use more of the same letter stickers to add a couple of sentimental words to the other decorated area on the first page.
Complete the scrapbook pages by adding a few red gems in and around both decorated areas.
