How to Make Personalised Home Office Decor
Give your home workspace a makeover with a helping hand from our DIY guide by Caroline Shard.
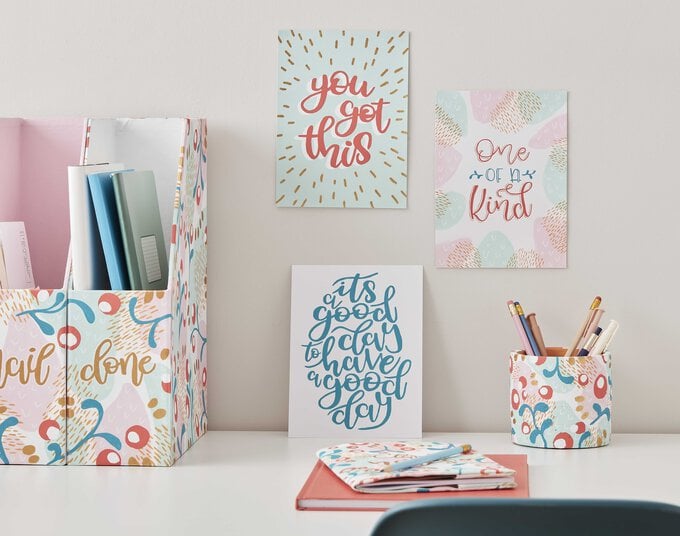
Mark making is a great way to add a splash of colour to brighten up any space, simply pick your colours of acrylic paint and get experimenting! From document files to planters, there's nothing that can't be repurposed or upcycled.
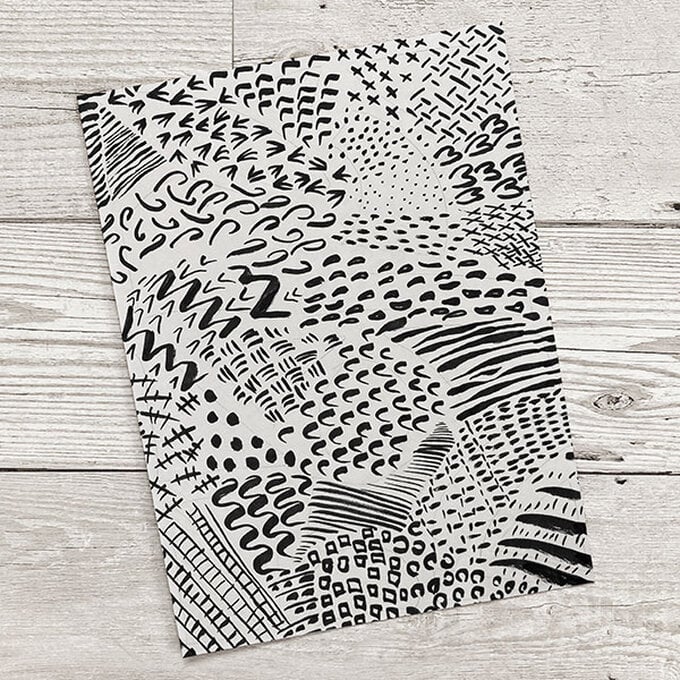
Before getting started, practice the mark-making patterns in this tutorial, or why not have a go at making up your own using different paintbrush sizes and experimenting with dots, lines and shapes? Alternatively, try playing around with different sizes of the same shape or repeating it to make a different pattern. The possibilities are endless...
You will need
Subtotal
Is $ 13.00
Out of stock
Subtotal
Is $ 6.49
Subtotal
Is $ 26.00
Subtotal
Is $ 4.49
Subtotal
Is $ 32.00
Subtotal
Is $ 6.49
Subtotal
Is $ 9.49
Subtotal
Is $ 5.49
Out of stock
Subtotal
Is $ 5.49
Subtotal
Is $ 5.49
Subtotal
Is $ 5.49
Subtotal
Is $ 6.49
Subtotal
Is $ 4.49
Subtotal
Is $ 4.49
Subtotal
Is $ 11.00
How to make
You will also need:
* Iron
* Printer paper
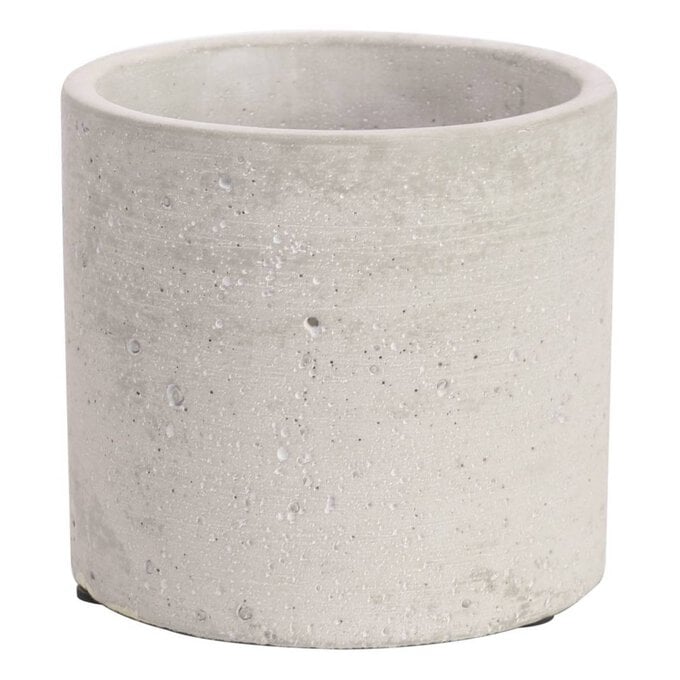
Start by painting over the pot's surface with white paint.
Top Tip: Two coats may be needed to get an even finish.
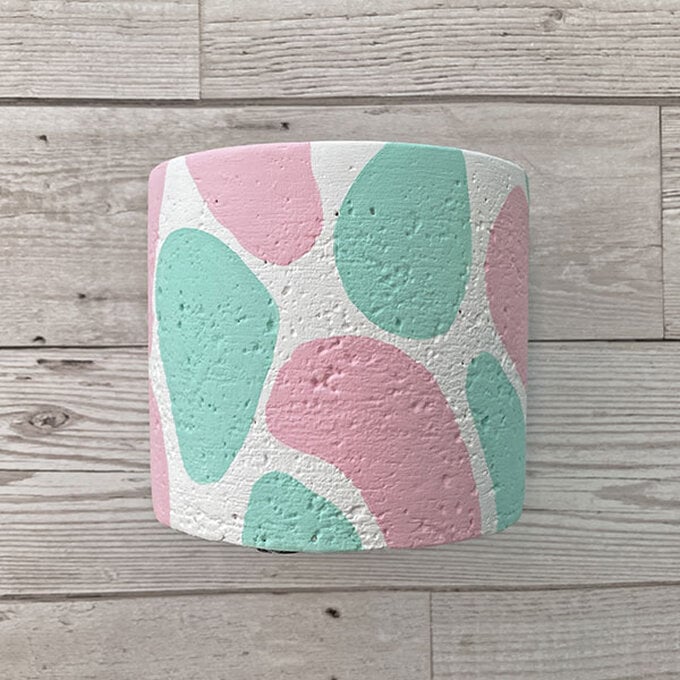
Once the white paint is dry, use a medium-sized paintbrush to create soft round shapes in alternating colours; these don't need to be equal, just space them out over and around the surface.
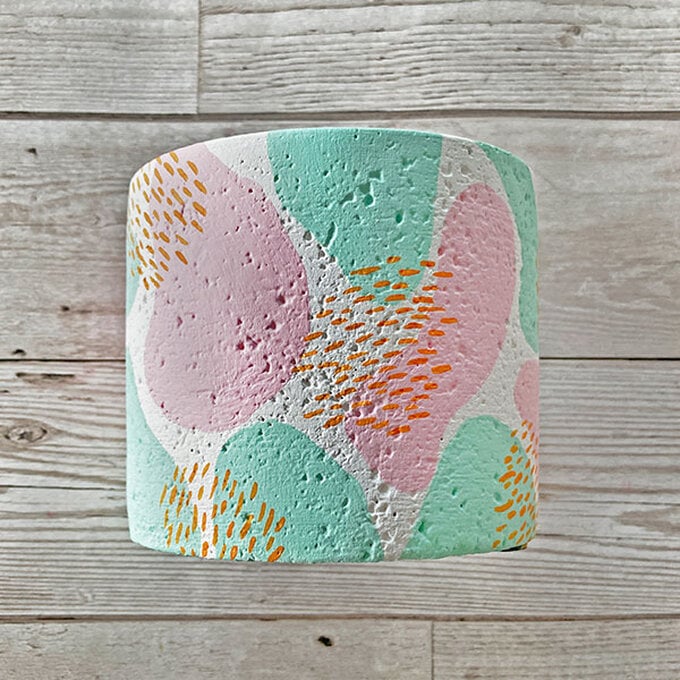
Use a fine/detail paintbrush to add some simple lines or dashes. Try to group these in similar soft shapes.
Using a pencil, lightly draw some rough circle shapes in groups of different sizes, and curved lines either individually or joined up to look like leaves on a branch.
Paint over the pencil marks. Don't worry if they look a little wobbly or uneven.
Once dry, add some small dots to any filled-in circles.
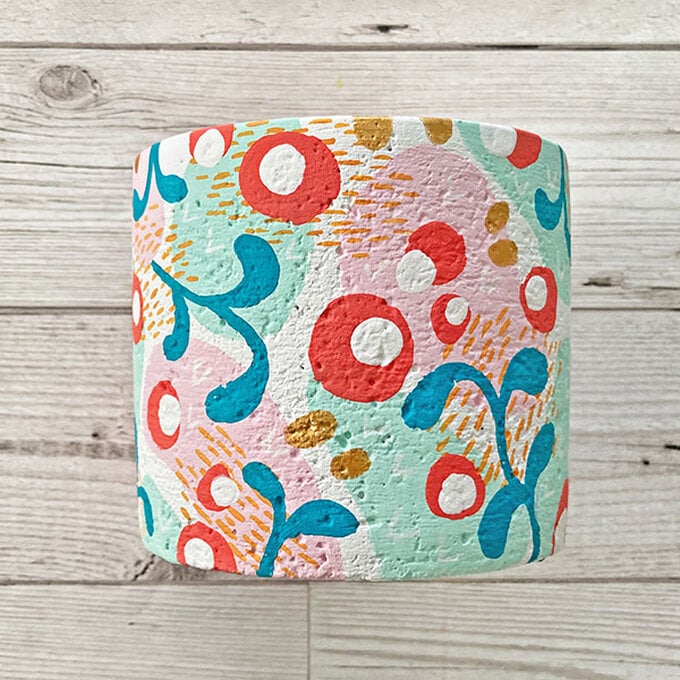
Paint the inside of the stationery pot to neaten up any messy edges.
Once the pot is dry, it's then ready to be filled.
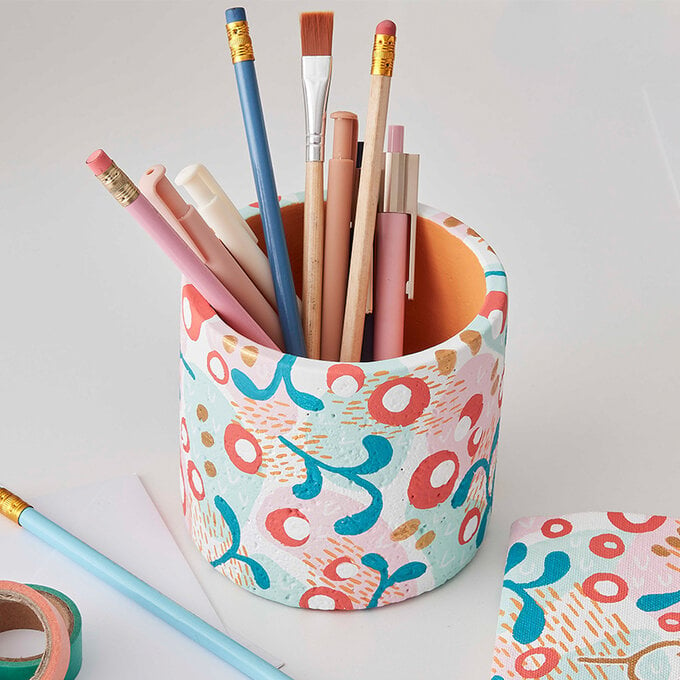
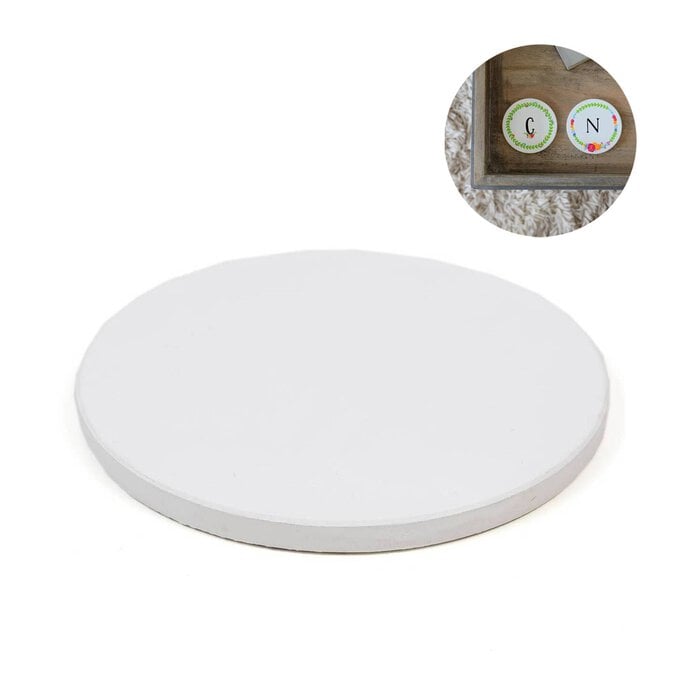
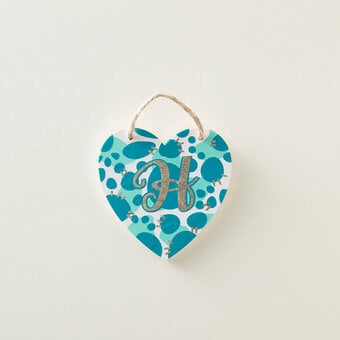
Start by painting over the coaster surface with white paint.
Top Tip: Two coats may be needed to get an even finish.
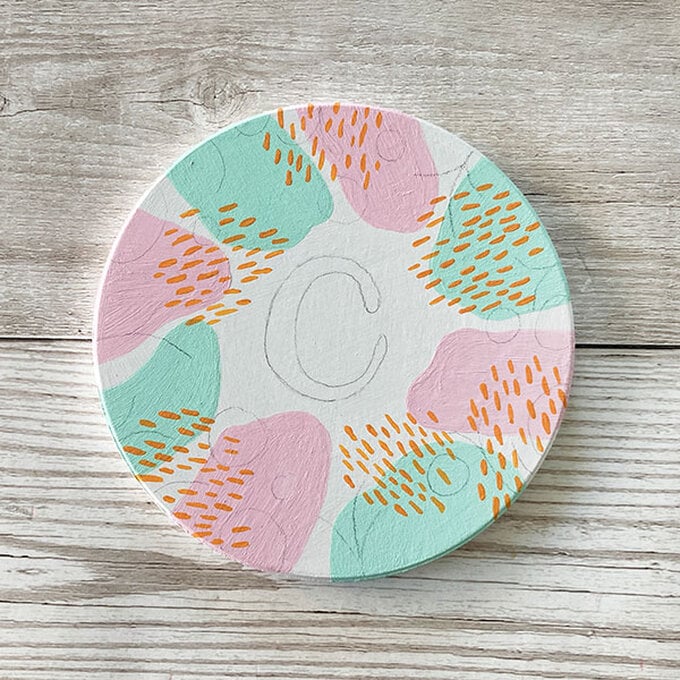
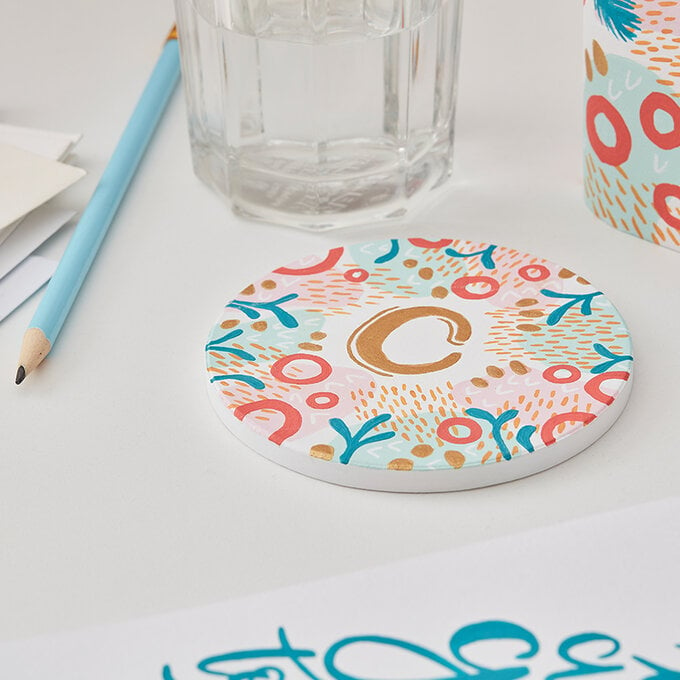
In pencil, lightly add your chosen inital to the centre of the coaster, then draw similar shapes as drawn on the stationery pot.
Paint over the pencil marks, then leave to dry.
Roughly cut a piece of canvas measuring 50 x 30cm.
Paint the background colour, the soft background shapes and then shapes made from the grouped lines, don't worry about going right to the edges of the canvas as it will be cut down.
Leave to dry.
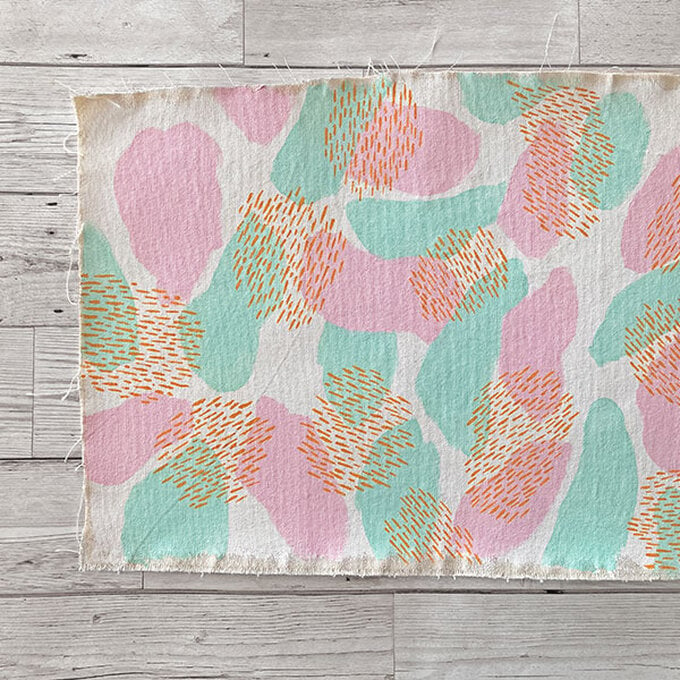
Mark and cut out a 46 x 25cm rectangle.
With the pattern side facing down, fold over a 2cm strip on each of the two shorter edges and iron flat.
Use a sewing machine (or hand stitch) along the folded side edges to keep them in place.
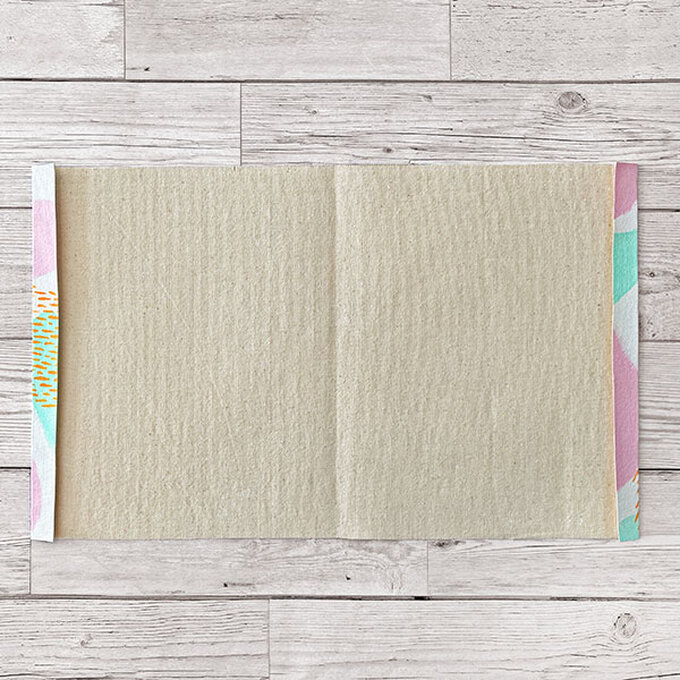
Place the fabric print side up and place your notebook on top.
Fold the shorter sides of the fabric over the cover pages of the front and back for the notebook; you should easily be able to close the notebook and it still have a little room to move.
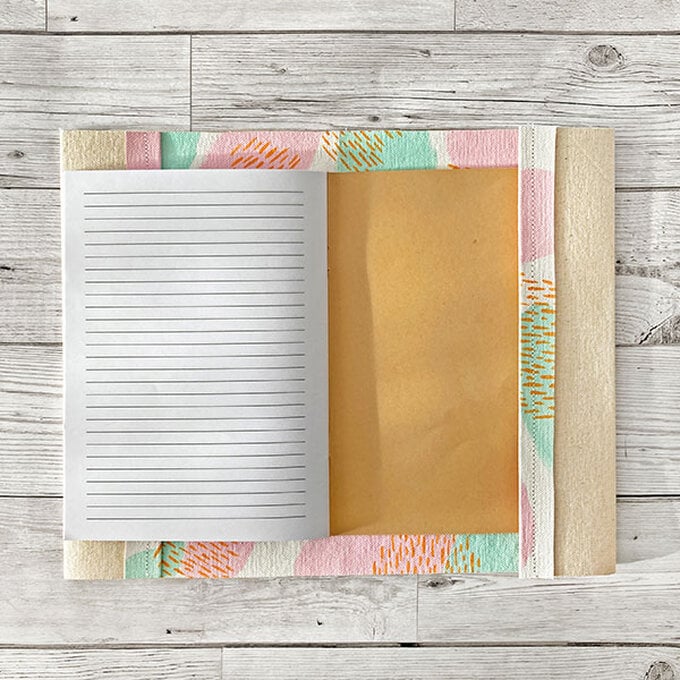
Measure 5mm above the top of the notebook and draw a line on the new folded over section of the fabric.
Repeat this on both sides and at the top and bottom of the notebook edges.
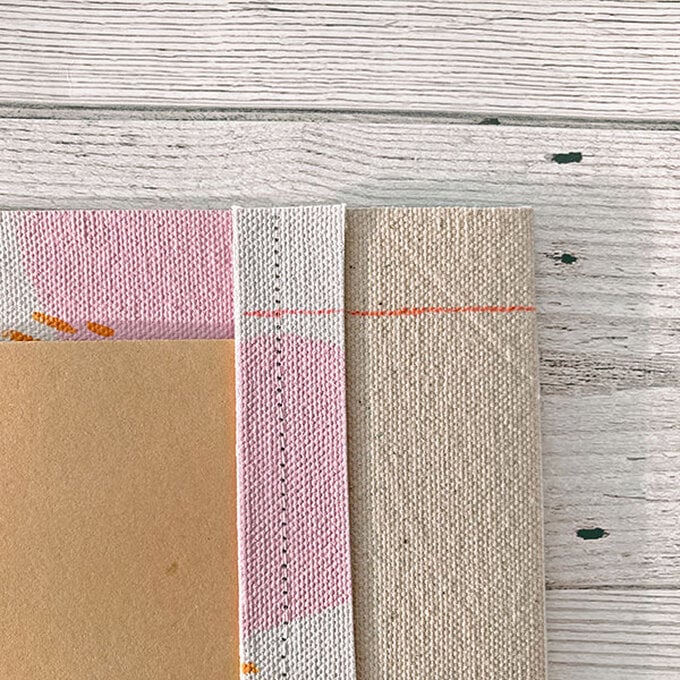
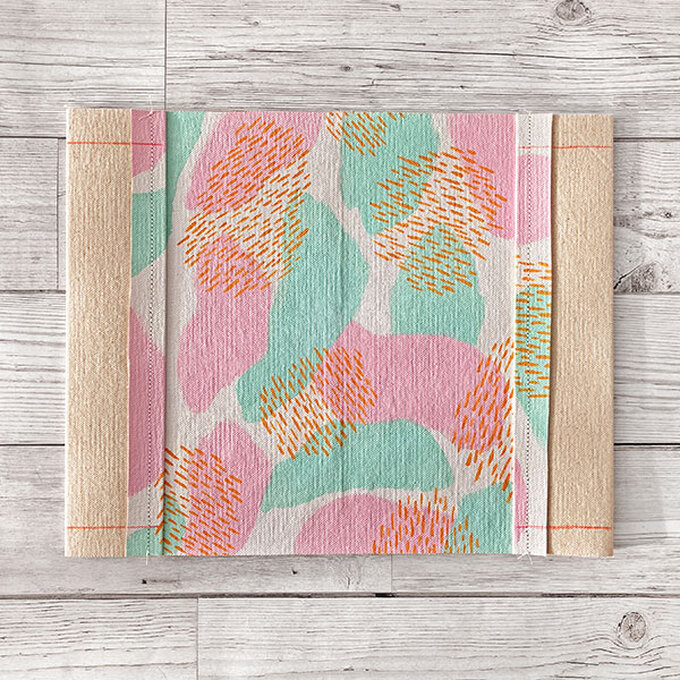
Stitch along each of these lines and cut off any excess thread. Cut each of the fabric corners off at a diagonal angle.
Carefully turn the fabric inside out.
Iron the fabric on a low/medium setting to flatten out the fabric.
Top Tip: Use a sheet of baking paper or parchment to protect the iron and fabric and keep them clean.
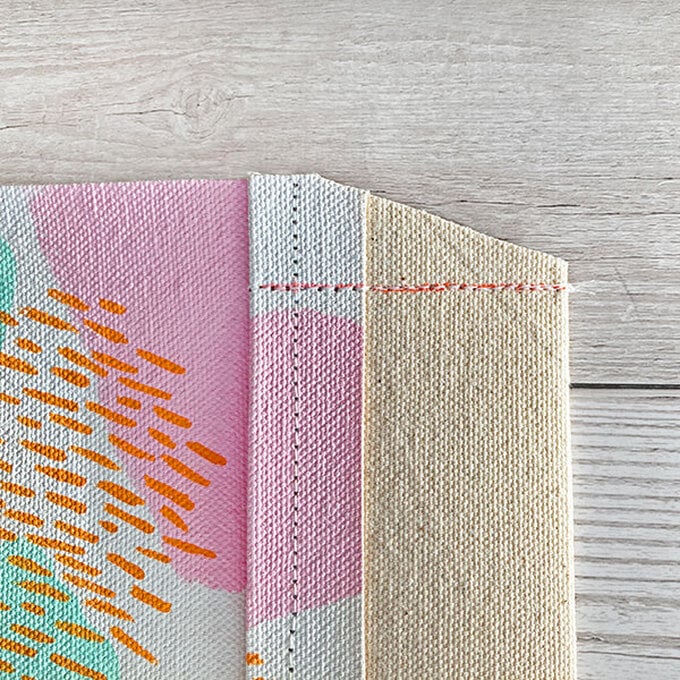
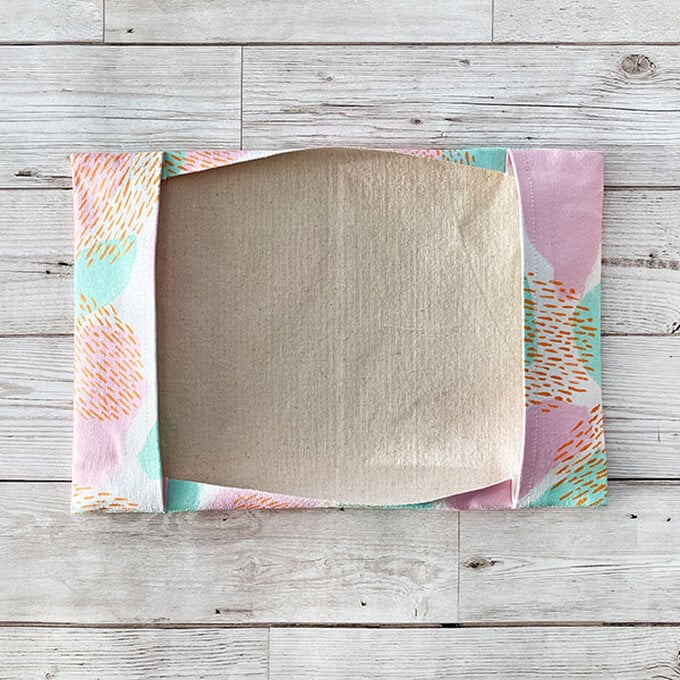
Slide the notebook cover pages inside the fabric pockets to make sure they fit.
Make sure the corners are at a right angle. If not, gently push a pencil into each corner to push them out.
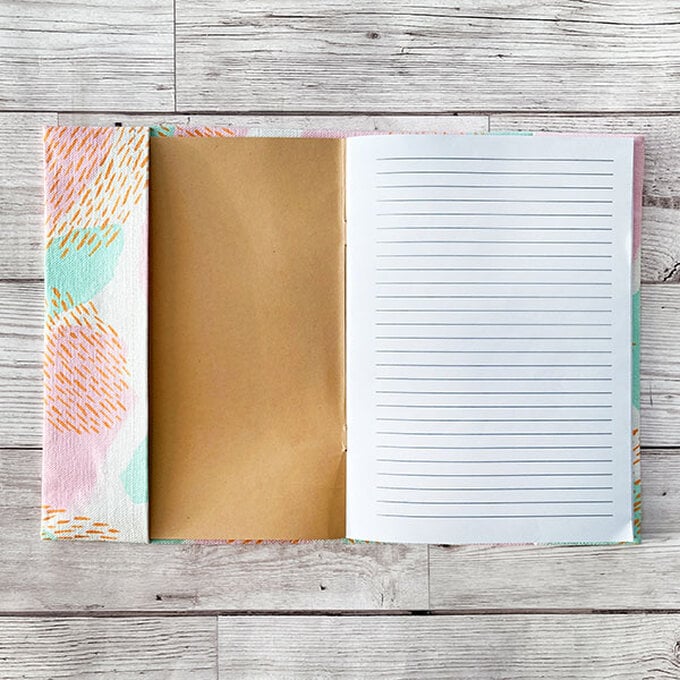
Remove the notebook and continue to paint on the lettering and patterns.
Use the free 'Notes' template download at the bottom of the page and transfer to the front of the notebook cover using a pencil and tracing paper.
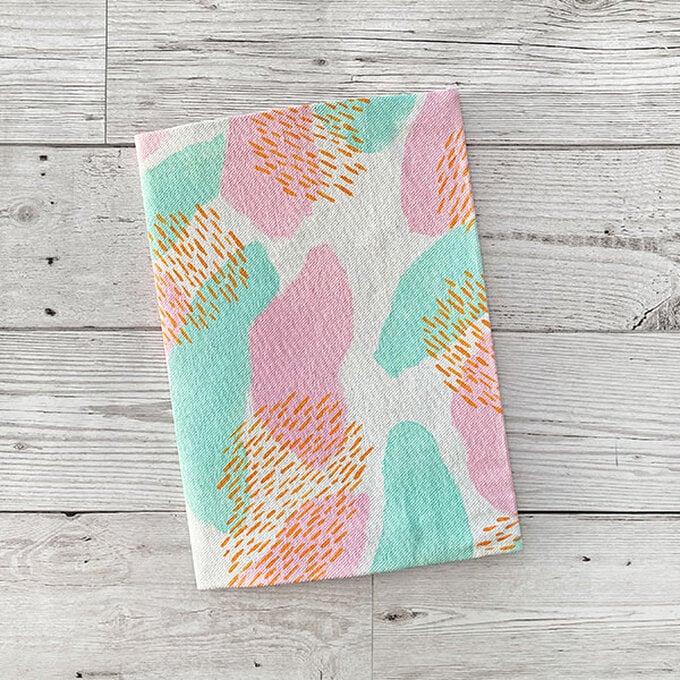
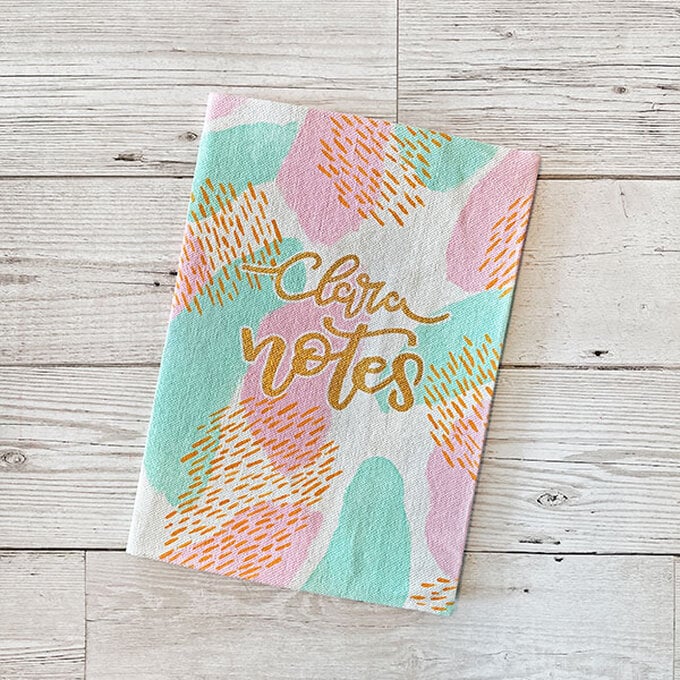
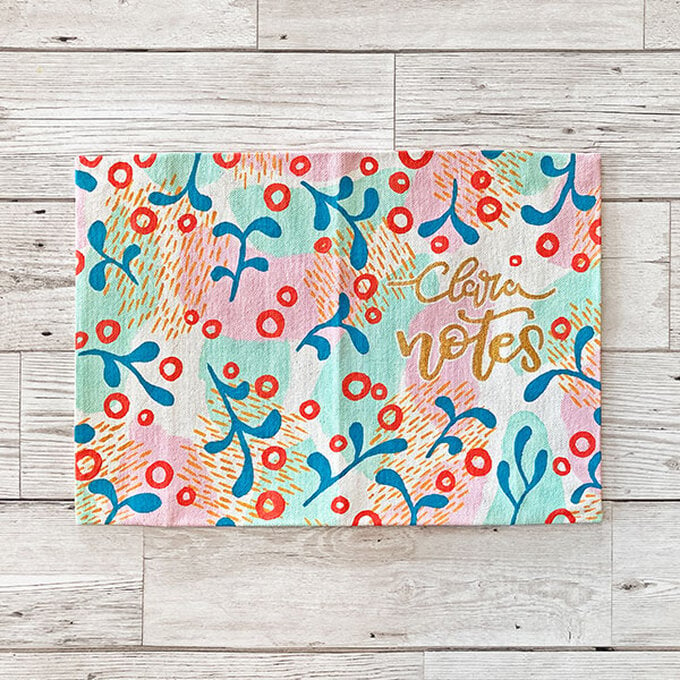
Once dry, add the notebook back in.
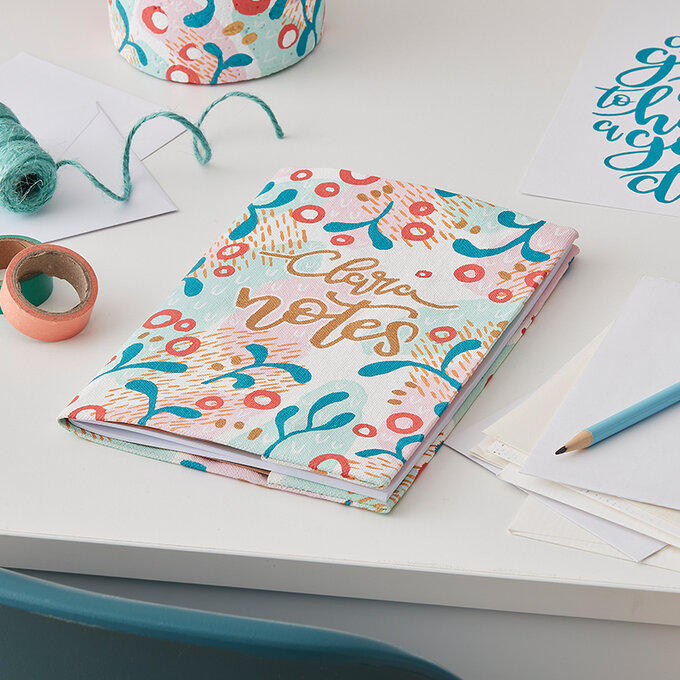
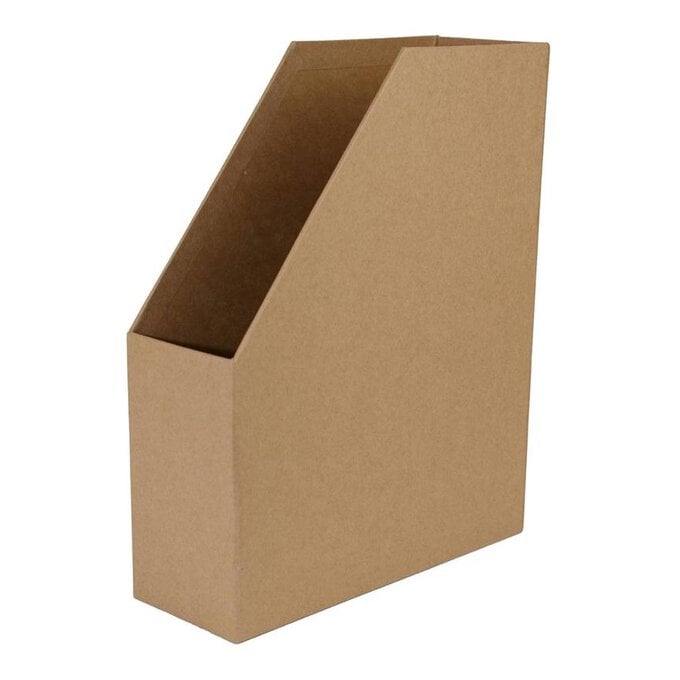
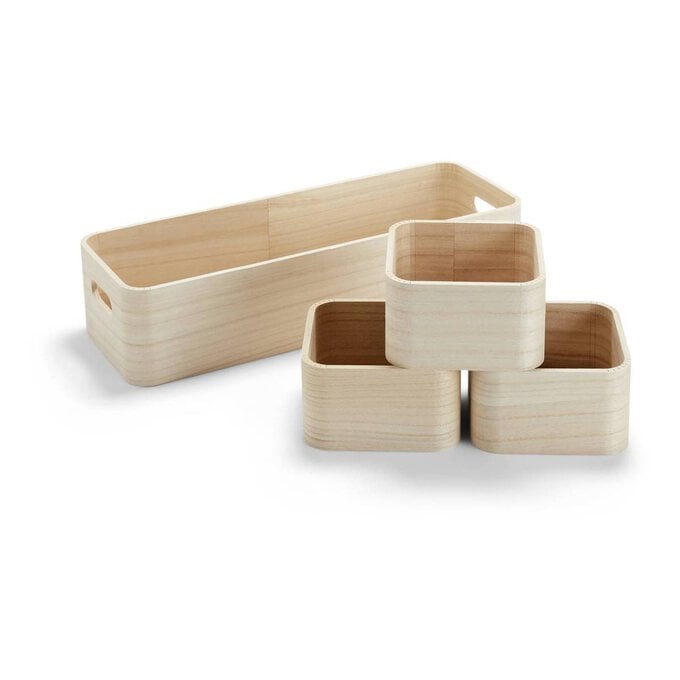
Paint the entirity of the long storage caddy with white paint and leave to dry.
Top Tip: More than one coat may be needed to ensure an even finish.
Once the white paint is dry, use a medium-sized paint brush to create soft round shapes in alternating colours once more.
As soon as the paint is dry, use a fine/detail paintbrush to add some simple lines or dashes. Try to group these in similar soft shapes.
Print off the free template download and transfer onto the planter using a pencil and tracing paper.
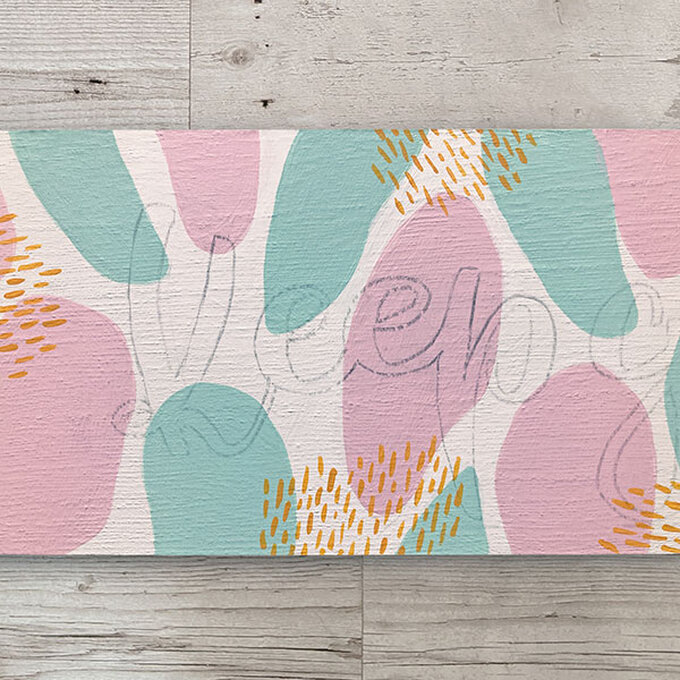
Paint over the lettering with a paintbrush or paint pen.
Once dry, use a white POSCA pen to outline each of the letters to make then stand out from the background.
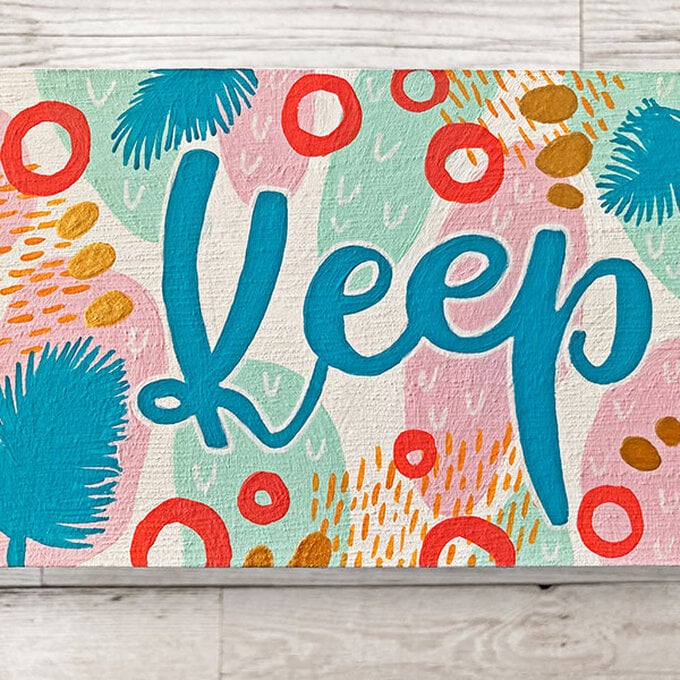
Add small 'V' and 'U' shapes with a white POSCA pen to the background shapes to fill any larger areas. Then use a gold POSCA pen to add small dots or marks in sets of two or three.
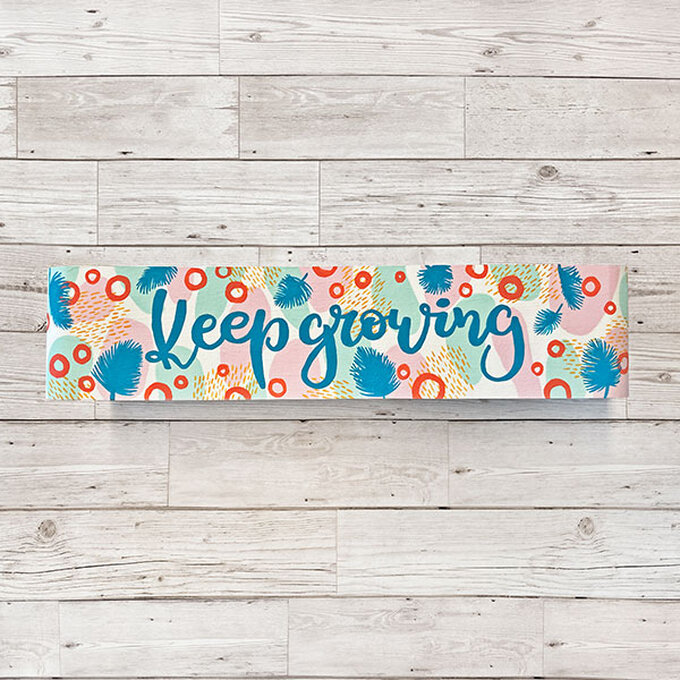
Once happy with the design, leave until completely dry.
Add a waterproof plant tray to the base of the planter before adding in your plants of choice.
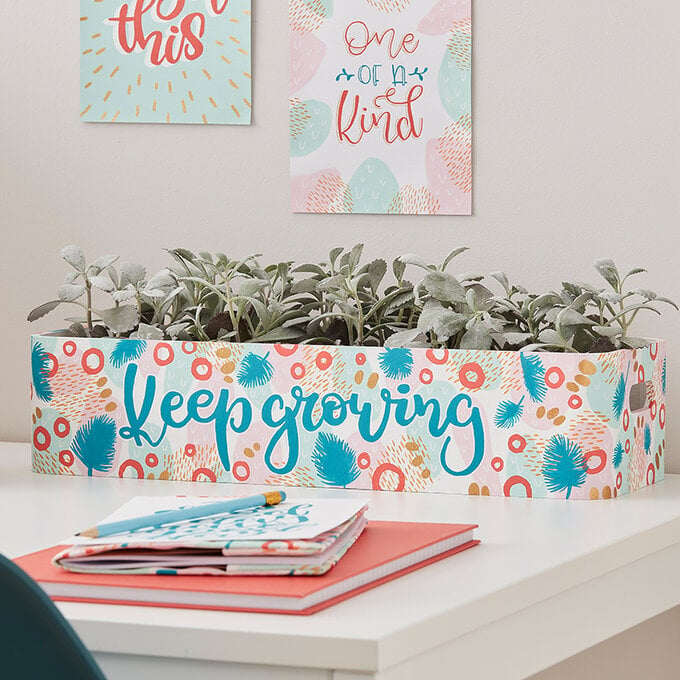
Start by painting the entirety of the document file/s with white paint.
Top Tip: Two coats or more may be needed to get an even finish.
Once the white paint is dry, use a medium-sized paintbrush to create soft round shapes in alternating colours on the outside of the file; these don't need to be equal, just space them out over and around the surface.
Use a fine/detail paintbrush add some simple lines or dashes. Try to group these in similar soft shapes.
Paint over the marked-out circles. Use the lines as a guide to paint the outline or fill the shape; don't worry if they look a little wobbly of uneven.
Once dry add some small dots to any filled in circles.
Top Tip: If you're making more than one document file, why not line up the marks so they flow over one or more of the files, when placed side by side.
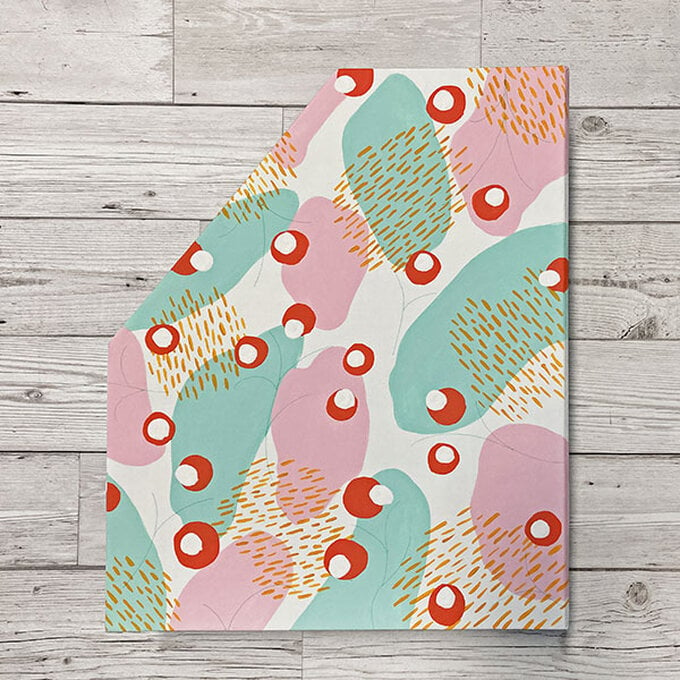
Using another colour, paint out the leaves again using the lines as a guide.
Top Tip: Create the leaves by varying pressure on the paintbrush. Start at the larger end of the leaf with a firm pressure to spread the bristles of the brush, and then reduce pressure as you get to the other end to create a thinner line.
Paint the inside of the files in your preferred colour, then leave to dry.
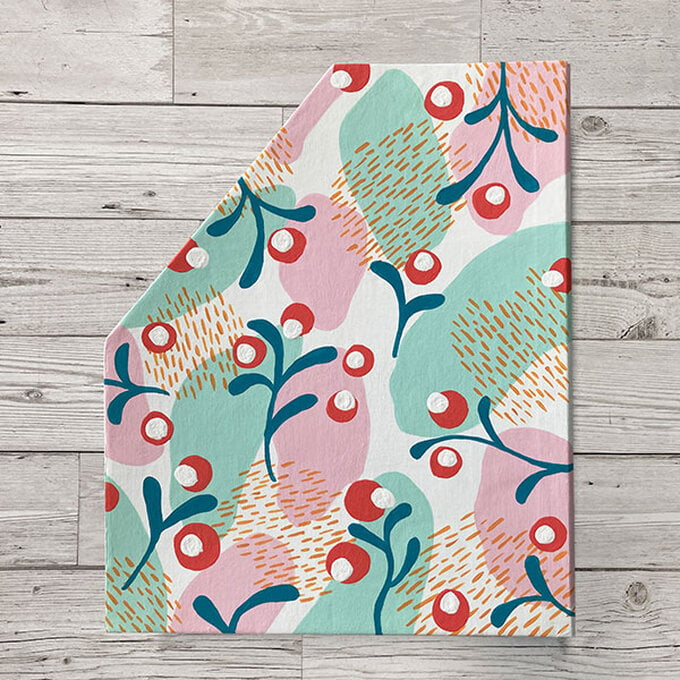
Print off the free template download and transfer onto the front of the document file/s using a pencil and tracing paper.
Paint over the lettering with a paintbrush or paint pen.
Once dry use a white POSCA pen to outline each of the letters to make then stand out from the background.
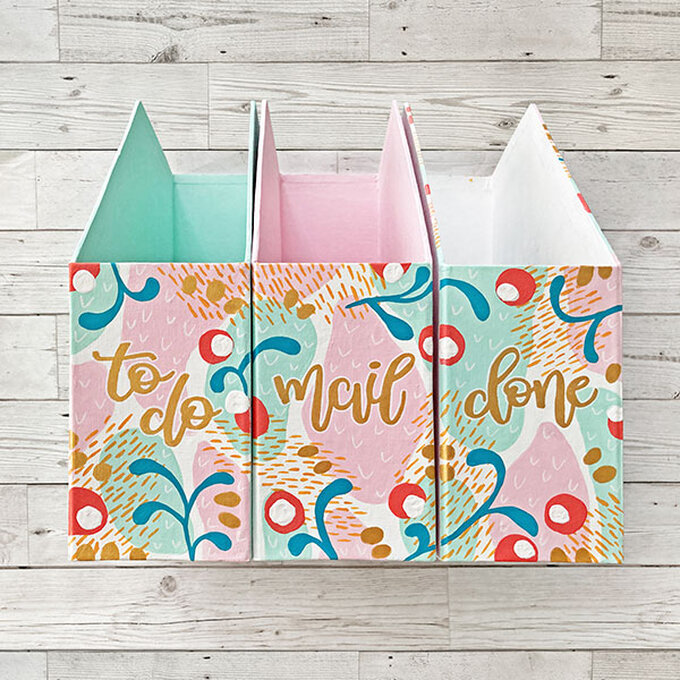
Add small 'V' and 'U' shapes with a white POSCA pen to the background shapes to fill any larger areas. Then use a gold POSCA pen to add small dots or marks in sets of two or three.
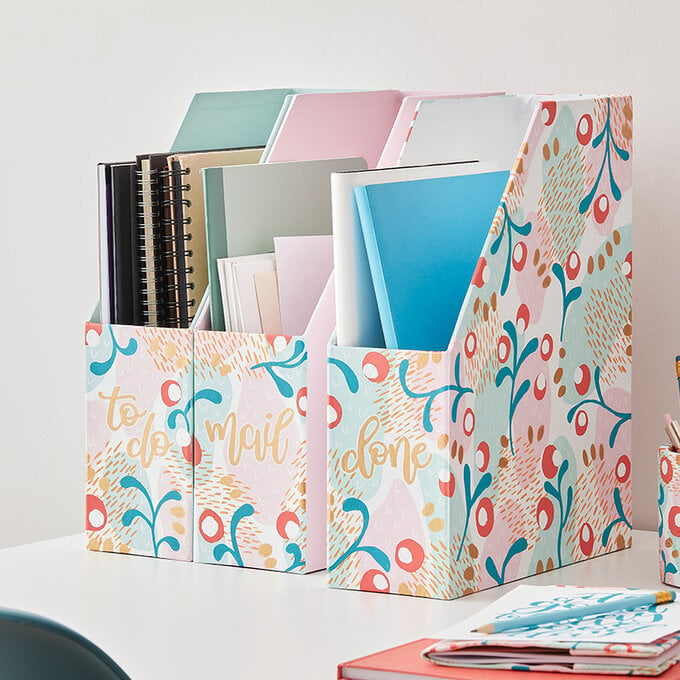
Leave to dry before adding your documents.
Start by practising your mark making on a piece of cardstock, experimenting with different paintbrush sizes, shapes, dots and lines.
Once happy with the shapes you'll be using, download, print and transfer the templates onto an A5 piece of mixed media paper using a pencil and tracing paper.
Use paint and paint pens to add colour to the drawn design/s.
Leave to dry before hanging in pride of place in you work space.
