Cricut: How to Make Valentine's Couple Mugs
Create a set of personalised mugs for you and the love of your life, or maybe for you and your BFF! It'll be the perfect custom craft idea for making a romantic Valentine's Day gift.
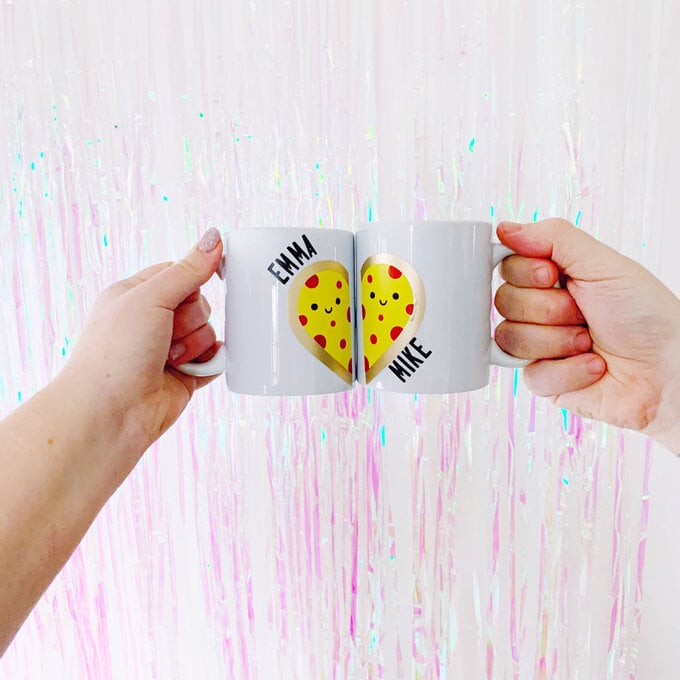
This pair of matching mugs creates a whole heart when the two mugs come together. Using vinyl to customise two plain mugs, this tutorial will show you how to cut, layer and apply vinyl using your Cricut machine.
Project and instructions by Emma Jewell.
This project contains paid-for content from Cricut's Design Space app. Screen grab references images are taken from the desktop version of Design Space.
You will need
Subtotal
Is $ 20.00 , was $ 25.00
Subtotal
Is $ 11.00 , was $ 14.00
Subtotal
Is $ 9.49 , was $ 11.00
Subtotal
Is $ 8.49 , was $ 11.00
Subtotal
Is $ 233.00 , was $ 248.00
Subtotal
Is $ 15.00 , was $ 18.00
How to make
Open the Cricut Design Space app and start a new project. Open the image library and search for 'best friends pizza heart' and add it to the canvas. Remove the best friend wording by using the contour tool.

Add two names to the canvas using the Text insert function, and choose the font of your choice. Use the curve tool to curve the two names around the two heart shapes, one at the top of the heat on the left-hand side and one at the bottom of the right-hand sided heart.
Select the writing and the layer with the faces and click attach.
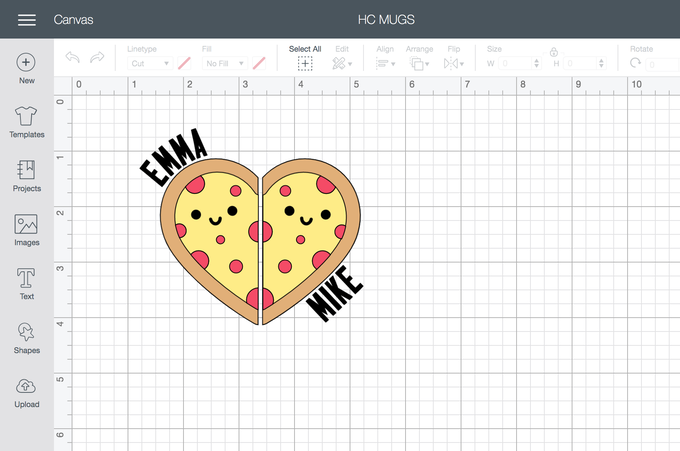
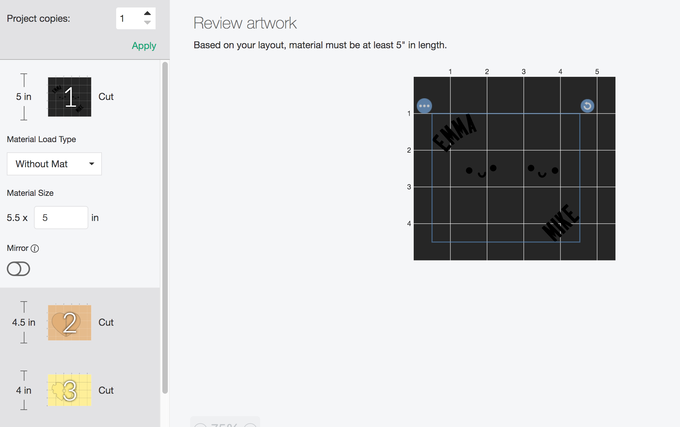
Now head to make it, you'll see each different colour is separated onto a different mat/piece of smart vinyl. Choose your material setting.
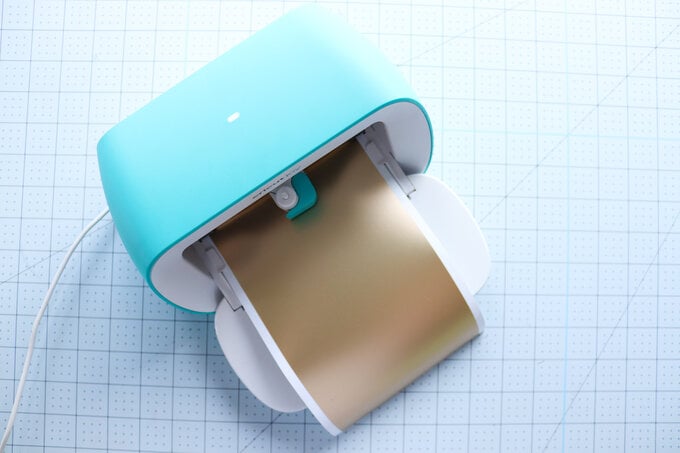
Now load the first colour of smart vinyl into Cricut Joy and start cutting. Keep loading the next colours of vinyl until all of the pieces have cut.
Weed each colour of vinyl, leaving only the design behind.
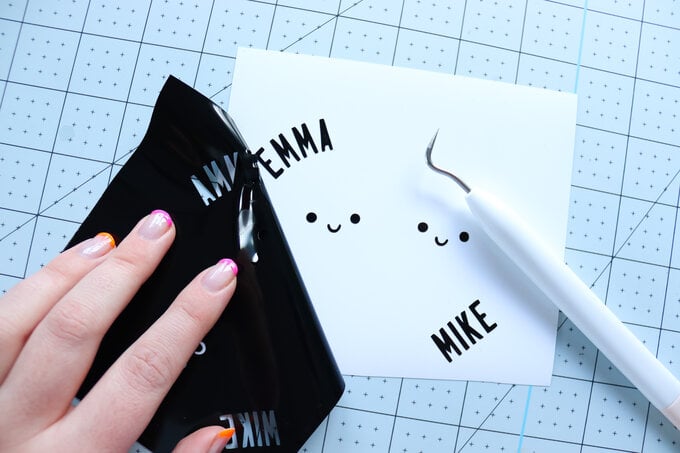
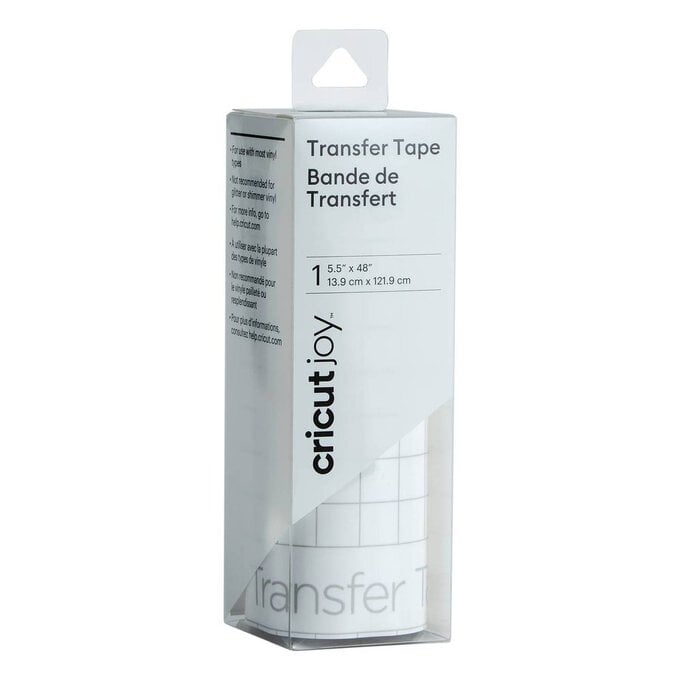
Take a piece of transfer tape and lay it over the black layer of vinyl. Transfer the black vinyl layer onto the transfer tape and remove the backing sheet. Next lay this piece onto the red layer and repeat the process until all of the layers have been picked up from the top layer to the bottom.
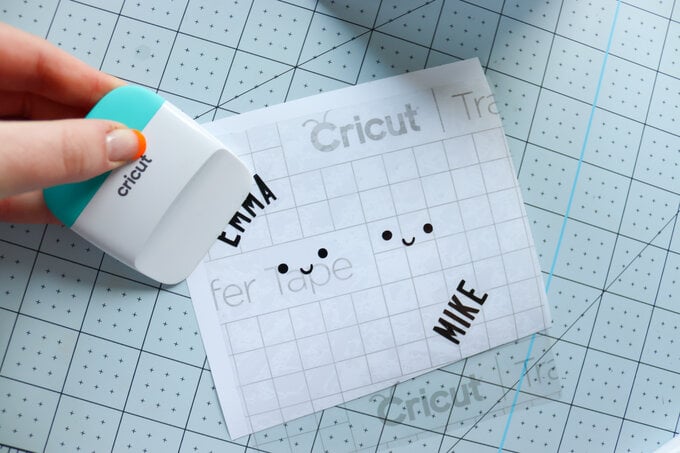
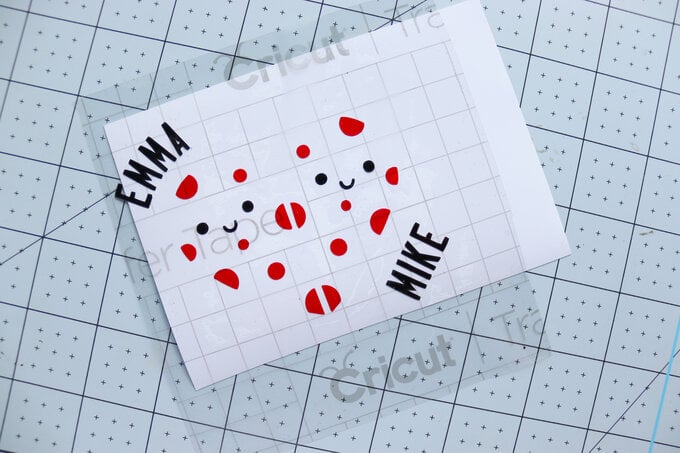
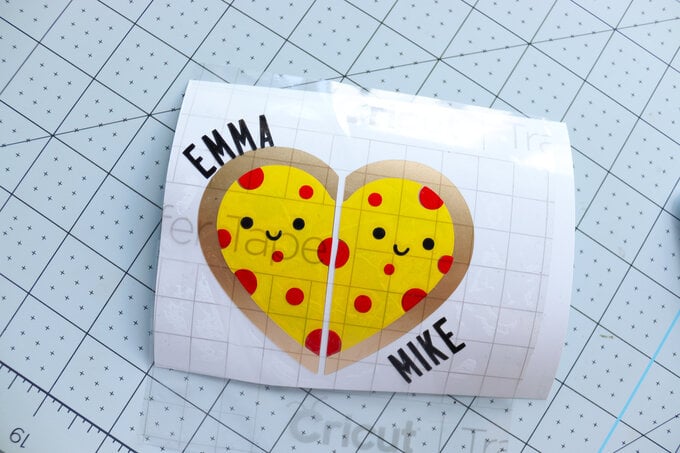
Once all of the design is attached to the transfer tape, cut the two halves of the heart apart so that you have once half for each mug.
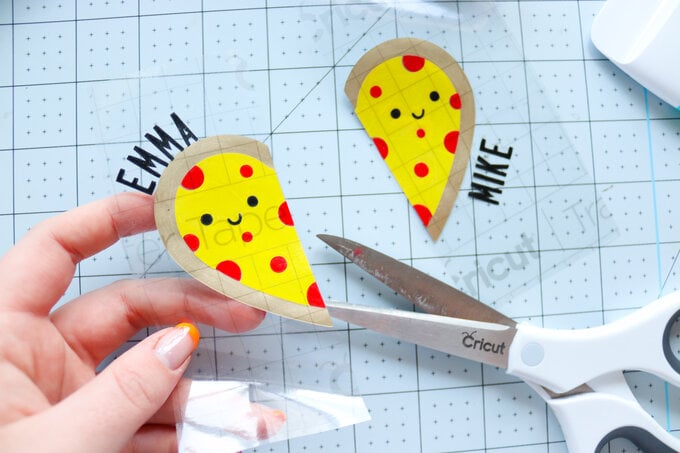
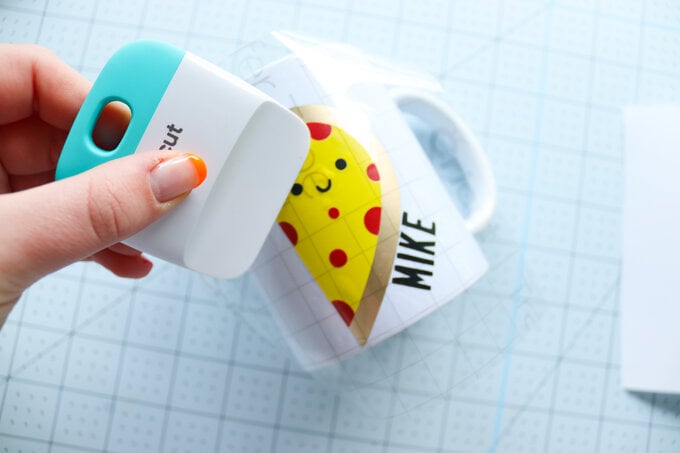
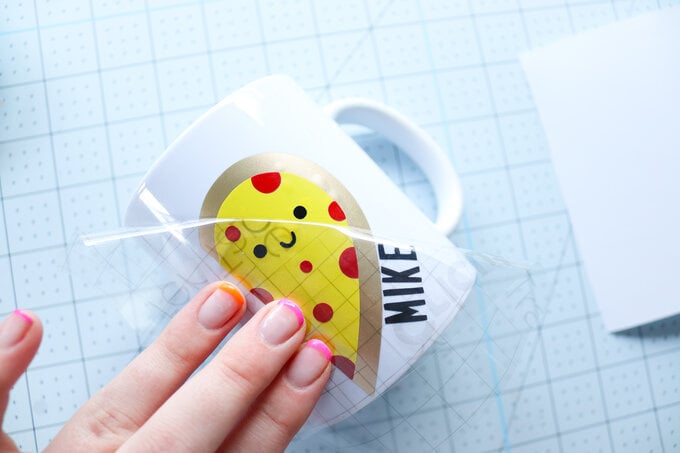
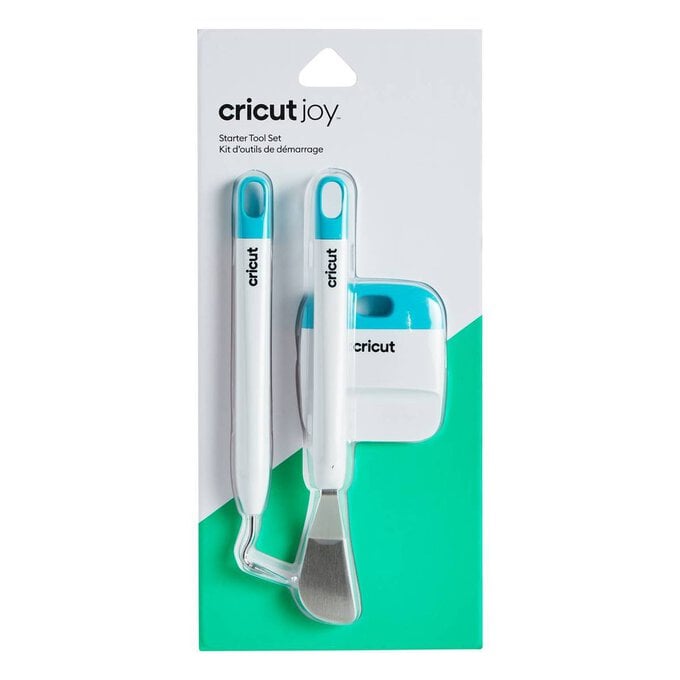
Stick one half onto a mug, burnish it with the scraper tool then, pull back the transfer tape leaving the design behind. Repeat this with the second mug, lining up the designs so that they form a whole heart when placed together.



.jpg?sw=340&q=85)
