How to Make A Sustainable Picnic Set
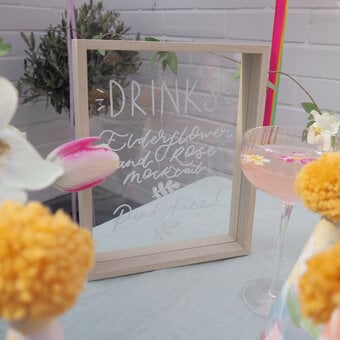
Take a more eco-friendly approach to your days out with these sustainable craft ideas for picnics! Choose from handmade napkins, beeswax wraps, bowls and more to personalise the picnic set while also making sure your items are reusable.
Project and instructions by Becki Clark.
You will need
Subtotal
Is $ 1.49
Subtotal
Is $ 4.49 , was $ 6.49
Subtotal
Is $ 33.00
Subtotal
Is $ 4.49
Subtotal
Is $ 7.49
Subtotal
Is $ 5.49
Subtotal
Is $ 11.00
How to make
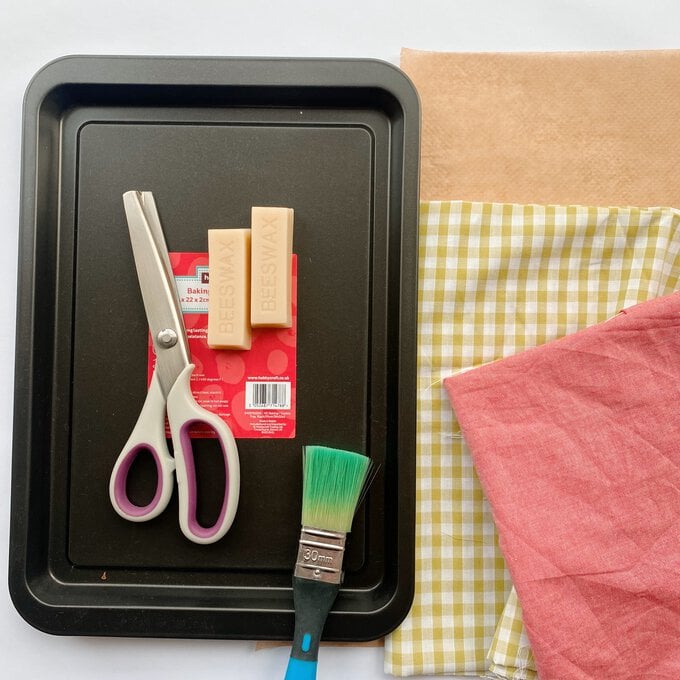
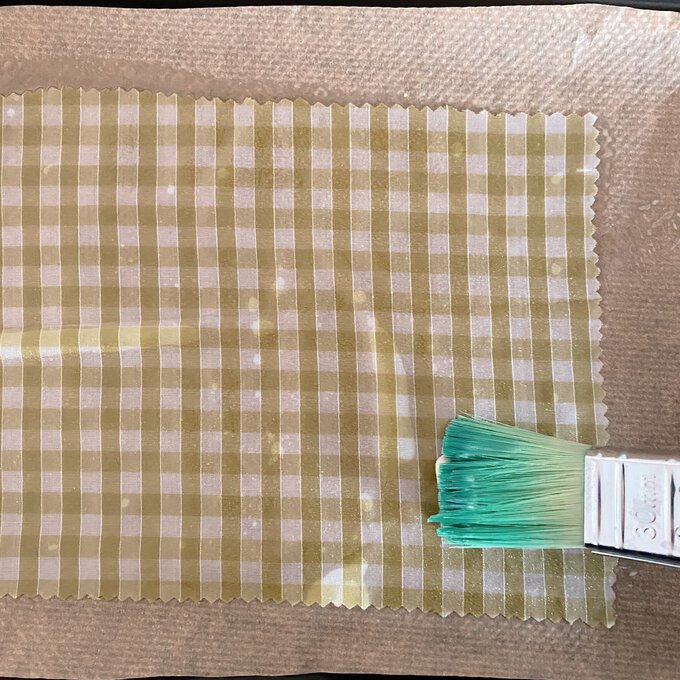
Gather your materials, you will need a paint brush that you are happy to use with the beeswax so grab an old one that you can keep for these kind of projects. I used half a 'brick' of beeswax per cloth. Pre heat your oven to the lowest setting, I popped mine onto gas mark 1.
Materials
Fabric
Baking tray
Pinking sheers
Old paintbrush
Baking parchment
Beeswax
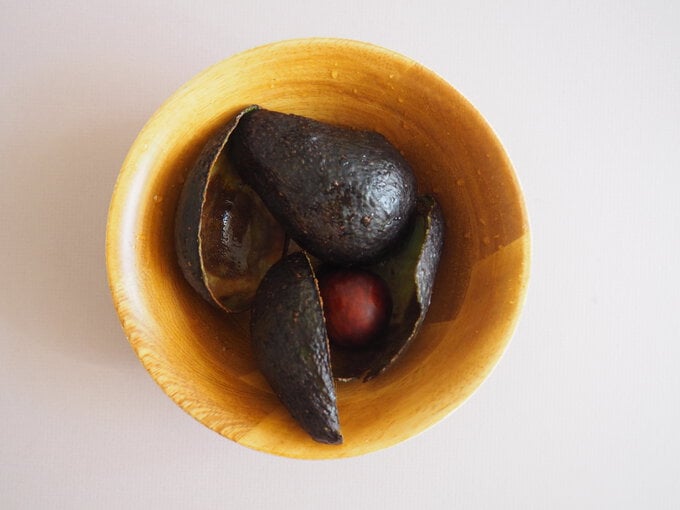
Wash your pits and skins so there is no flesh left on them, this is really important and will save you fishing out bits of avocado later on. Place into a saucepan with water, I used a 2 litre of water to the 2 pits and skins.
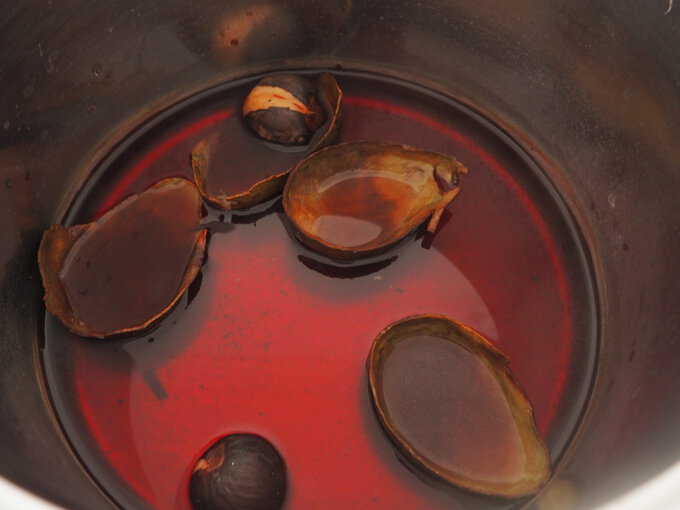
Heat the water to a simmer and leave for 1 hour to create your dye. Sieve your dye into a big bowl so that any excess avocado flesh is caught in the sieve.
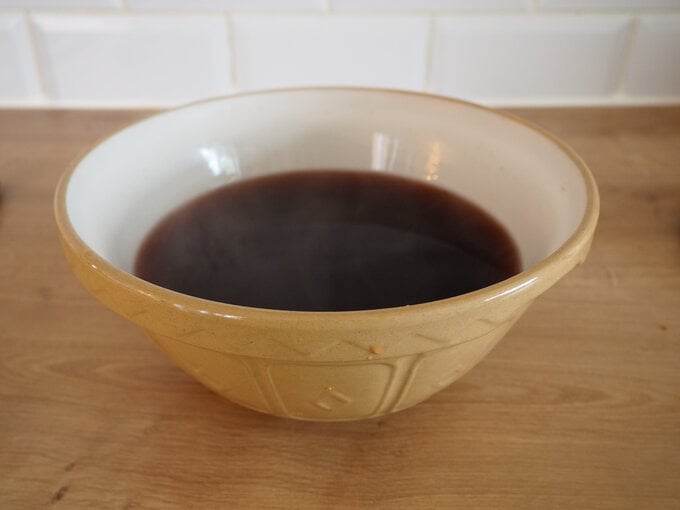
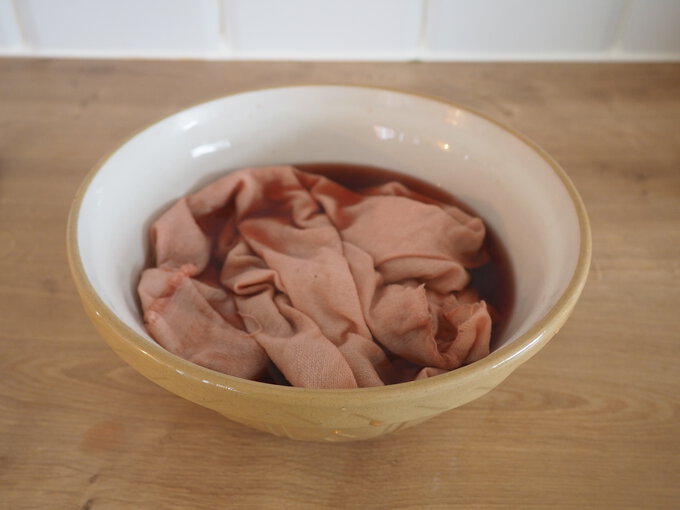
Leave to cool and then place your fabric in the bowl. The longer you leave the material in the dye the deeper the colour will be. I left mine in for half an hour to absorb the dye and create a light blush tone.
Place your tray in the oven for 6-8 minutes until the beeswax has completely melted across the fabric, you'll be able to see the fabric darken and the cubes decrease in size as they melt across the rectangle. Remove from the oven and spread any excess beeswax evenly across the fabric
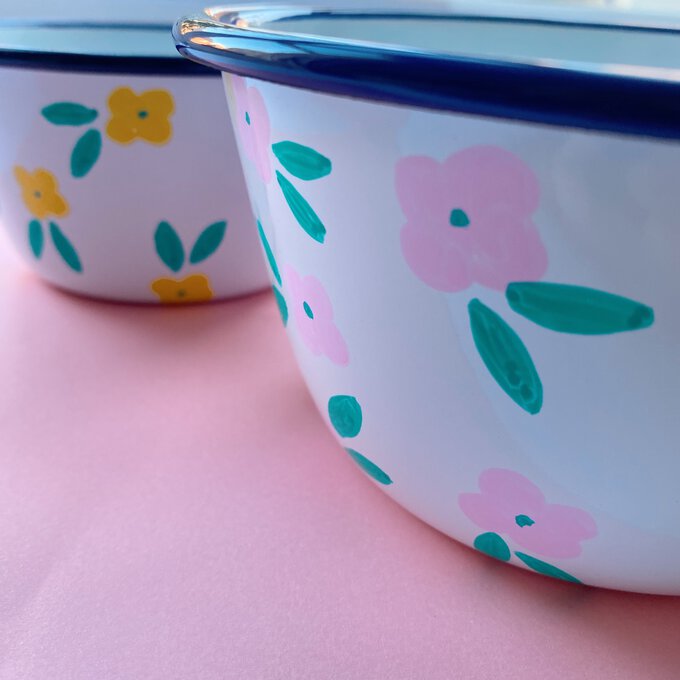
Repeat with as many colours as you want to create spring like bowls ready to take picnicking. To secure your design you can bake your enamel bowls on 100 degrees for 30 minutes, this will set your design although I'd advise hand wash rather than putting them in the dishwasher.
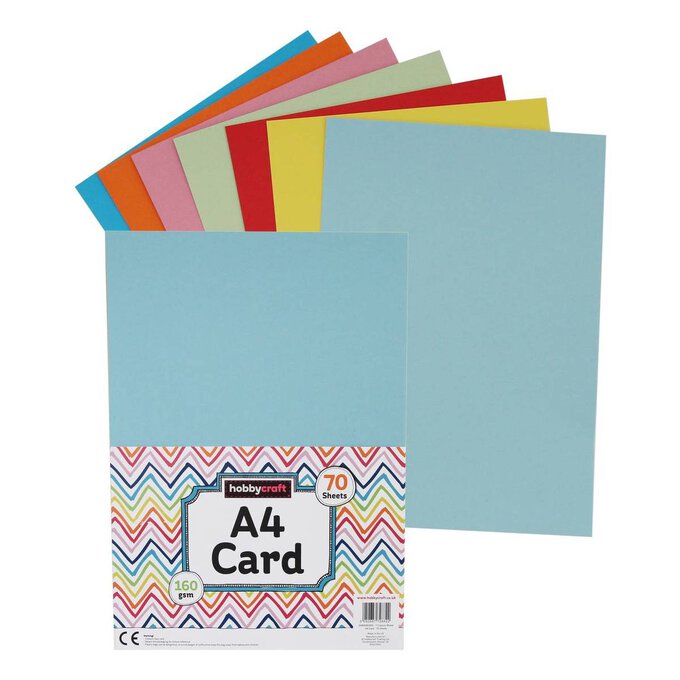
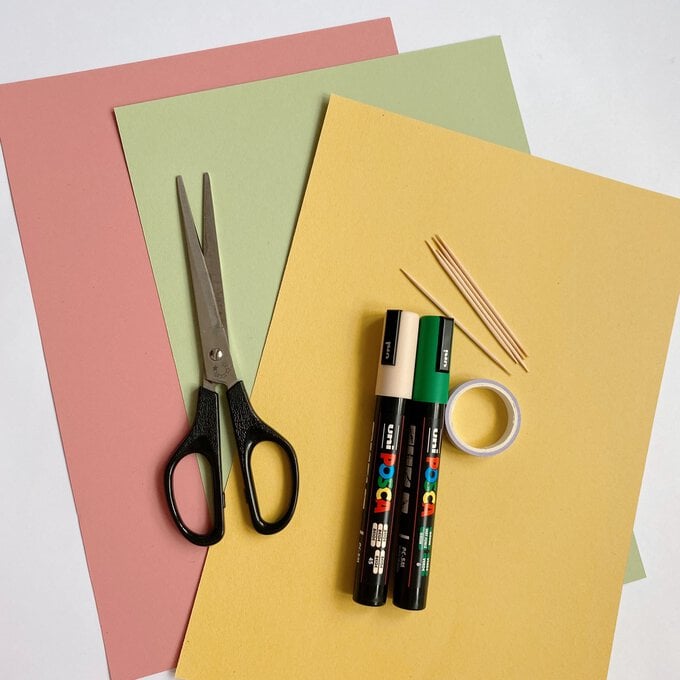
If you're feeling confident draw your own floral and foliage shapes onto the coloured card however if you're not sure where to start you can download the floral templates below. Draw onto the card ready to cut.
Materials
Coloured card
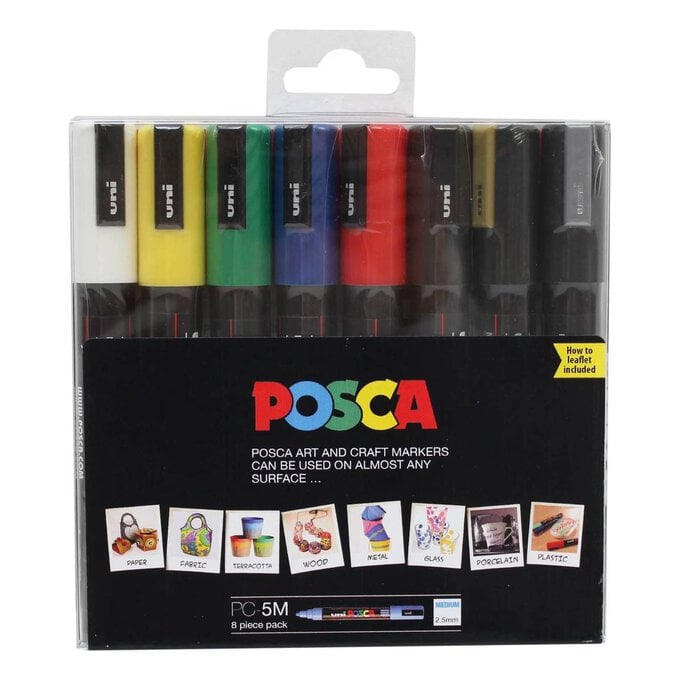
5m Posca pens
Cocktail sticks
Washi tape
Scissors
Templates
Pencil
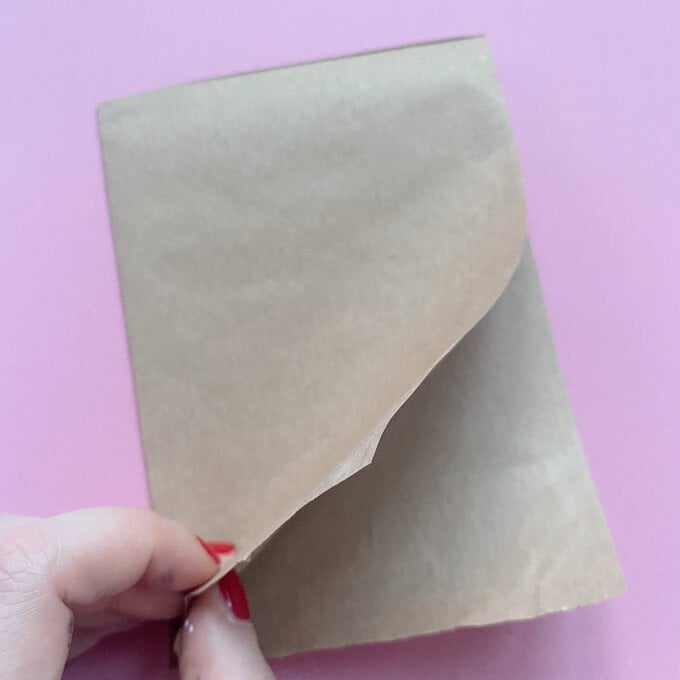
Cut and fold a sheet of A5 kraft paper in half (I cut my sheets to a5 size and this made 2 wraps for every a5 sheet, you could work on a larger scale if you wanted)
Materials
Kraft paper
Scissors
5m White posca pen
Sewing machine (you could also use a glue stick or hand stitch)
This simple ditsy floral pattern is made up of one motif repeated across the dish. To start with draw a 4 petal floral shape around 3 cm wide, imagine it as just the semi circles joining each other rather than overwhelming yourself thinking about drawing florals.
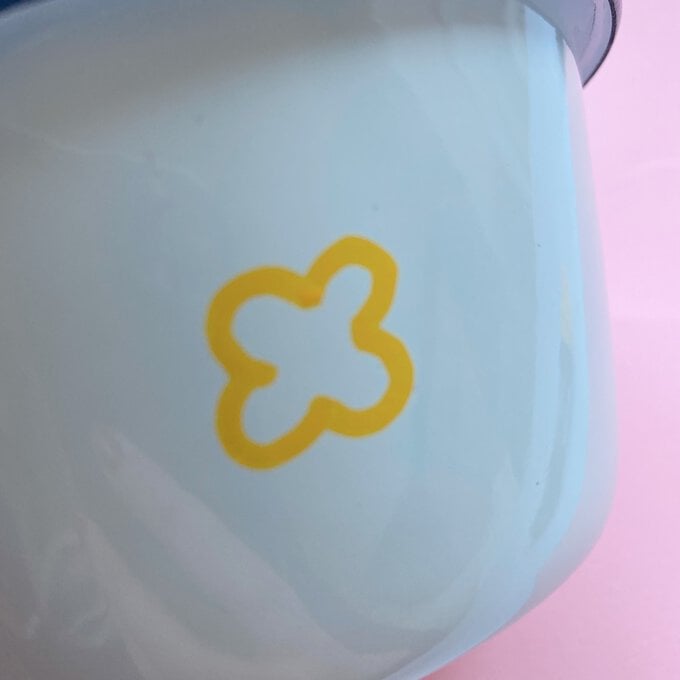
Now with another colour add your leaf shapes, these are made up of elongated ovals with a point on each end and draw them pointing in different directions from one another.
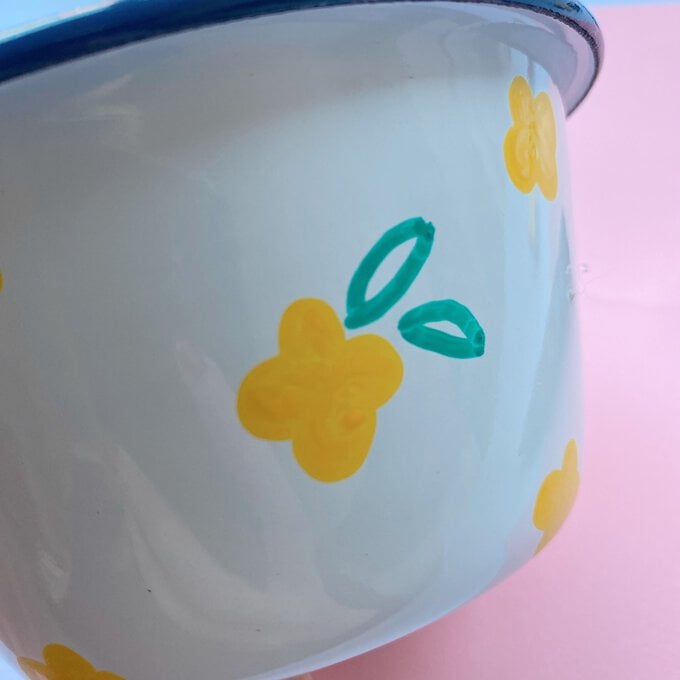
Once dry cut your fabric into squares large enough for napkins, you can use the pinking sheers to give the edges a fun pattern and this also saves you from having to hem the napkins. If you want to add more detail use a contrasting colour to stitch a border into the napkins, this can be done by hand or on the machine if you feel confident.
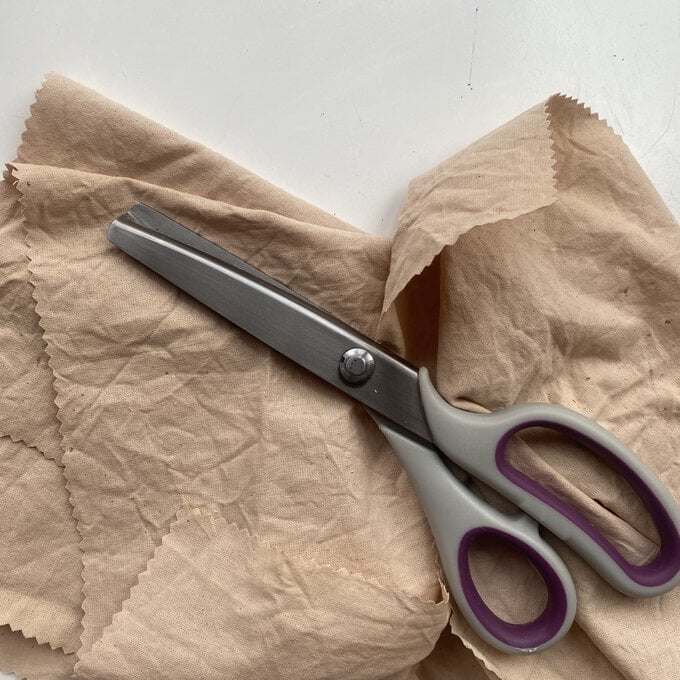
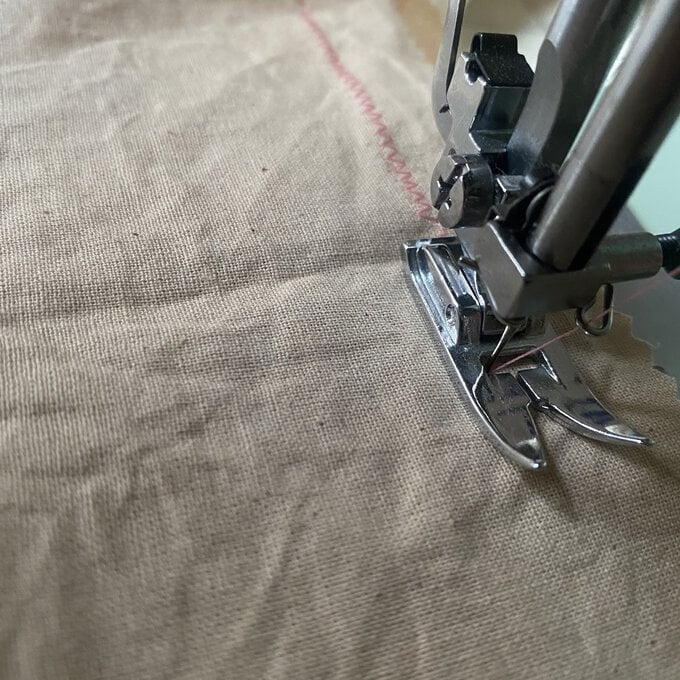
Gather old packaging, thin cardboard and kraft wrapping would work well for this and is a great way to upcyle old cardboard into something new.
Materials
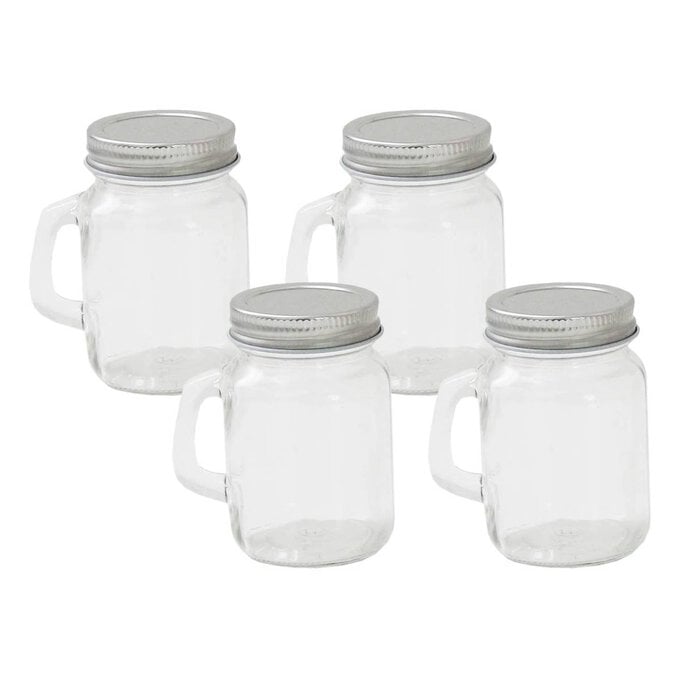
Kilner jars
Twine
Old cardboard packaging
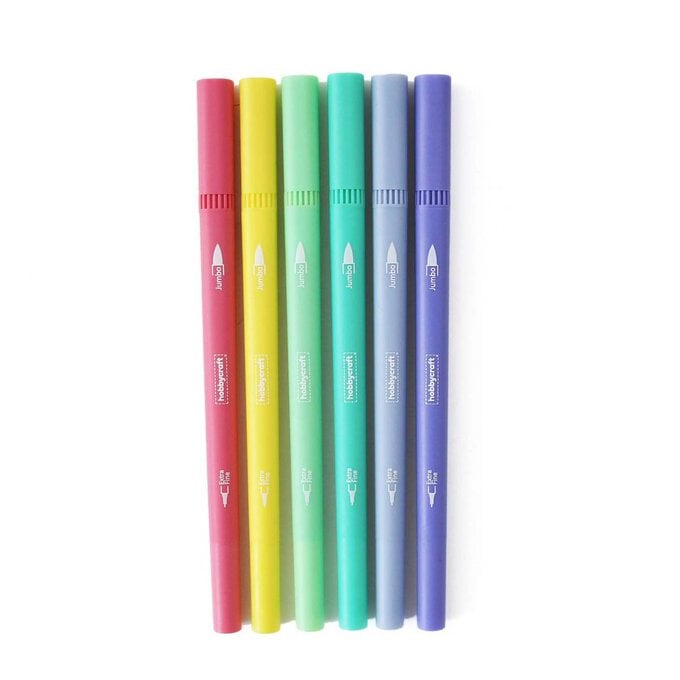
Hobbycraft dual brush marker
Single hole punch
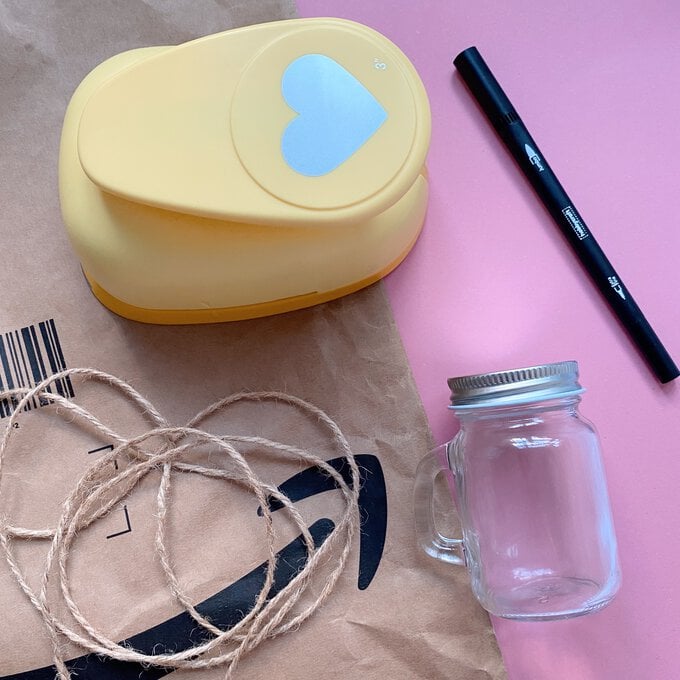
Materials
2 Avocados (You will need the pit and the skins)
1 metre of linen (Any natural fabric will work such as cotton or linen mix)
Saucepan
Mixing bowl
Pinking shears
Thread for a contrasting stitch which can be hand stitched or done on the machine
Remove the avocado from the skin so you are left with the pits and skin. You can save your pits and skins by freezing them until you are ready to use them or if you are planning on dyeing a large amount of fabric you may want to collect batches and freeze them as you go.
